Hey everyone. I really need help. I’m making an artwork about food. Fried food actually. And I wanna add some texture on it. I don’t find any texture brushes that match with the texture I want. Does anyone know maybe some texture brushpack beside from krita bundles?
![]() Hello @Latheefa, and welcome to the forum!
Hello @Latheefa, and welcome to the forum!
Did you maybe think about doing it instead via a texture-layer? So, a fill layer with a texture? For doing that, you must have your food on a separate layer and apply the texture via a fill layer for that layer holding your food?
That would be the way I would try to achieve it, instead of painting the texture solely with a brush.
Michelist
Uhh maybe would u like to explain it more detail? I’m still a newbie
You can create a layer to which you apply a pattern, something that looks as if it is fried, and this pattern or texture can be used to make the layer you connect it to will look as if that layer’s content would have been fried. That allows you even to adjust the strength of this effect. If you have a few minutes, then I’ll prepare a little example to show how it works.
What I have forgotten, you also have to apply a mask to it, not my strength, but I’ll try.
Michelist
Sure. I have plenty times
1 Like
The first pic shows the pattern I used,

To create the fill layer you have to click on the tiny triangle right beside the + -sign at the bottom of your layers docker and select Fill Layer.
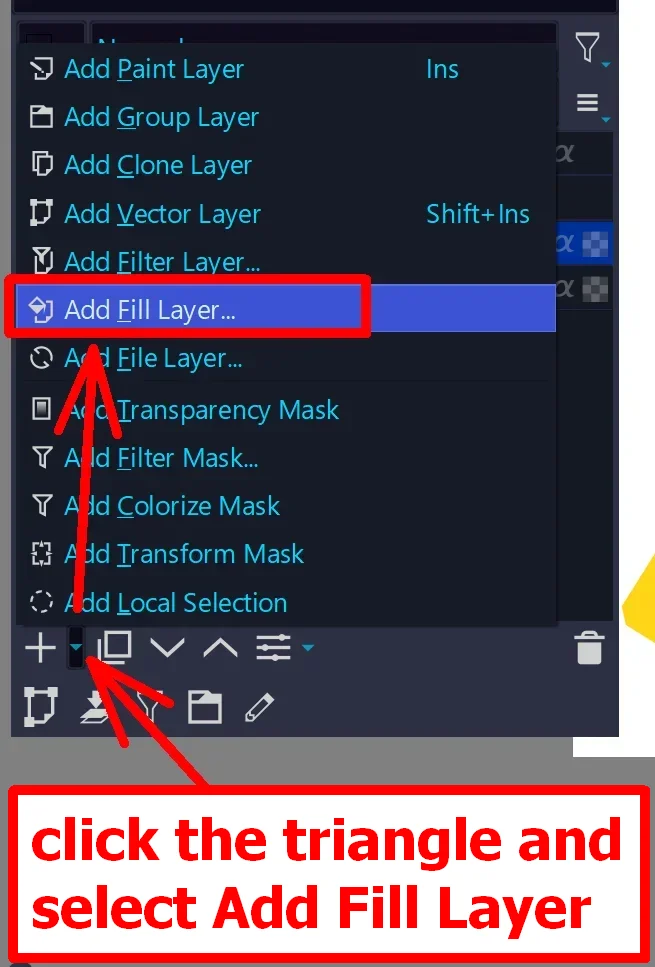
And in the opening dialog click on Pattern, then you can then select a pattern from the list Krita provides, or alternatively a pattern that you can import via the pattern dialog. The import button is under the window showing the patterns on the left.

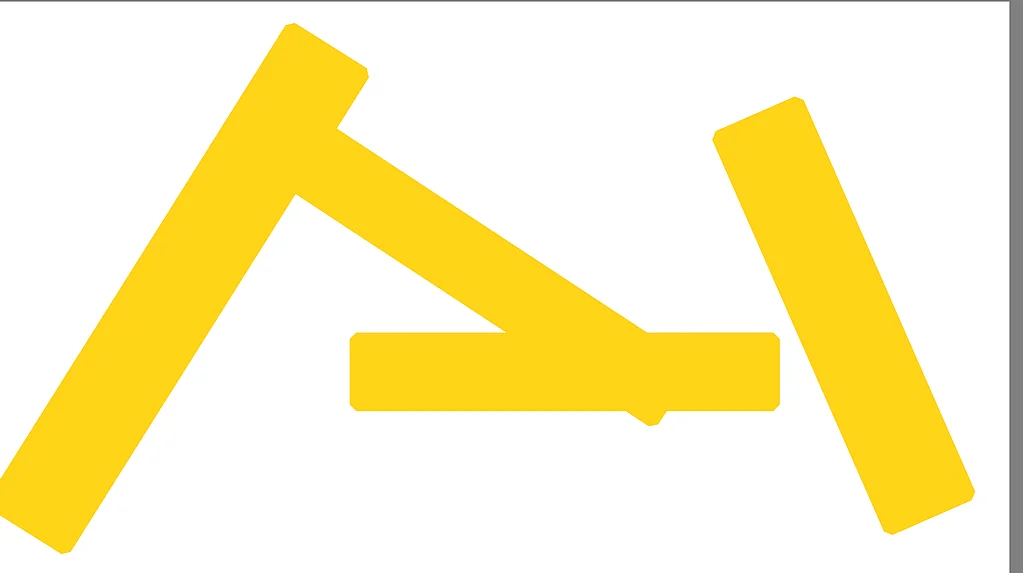
The next picture shows cheap french fries ![]() ,
,
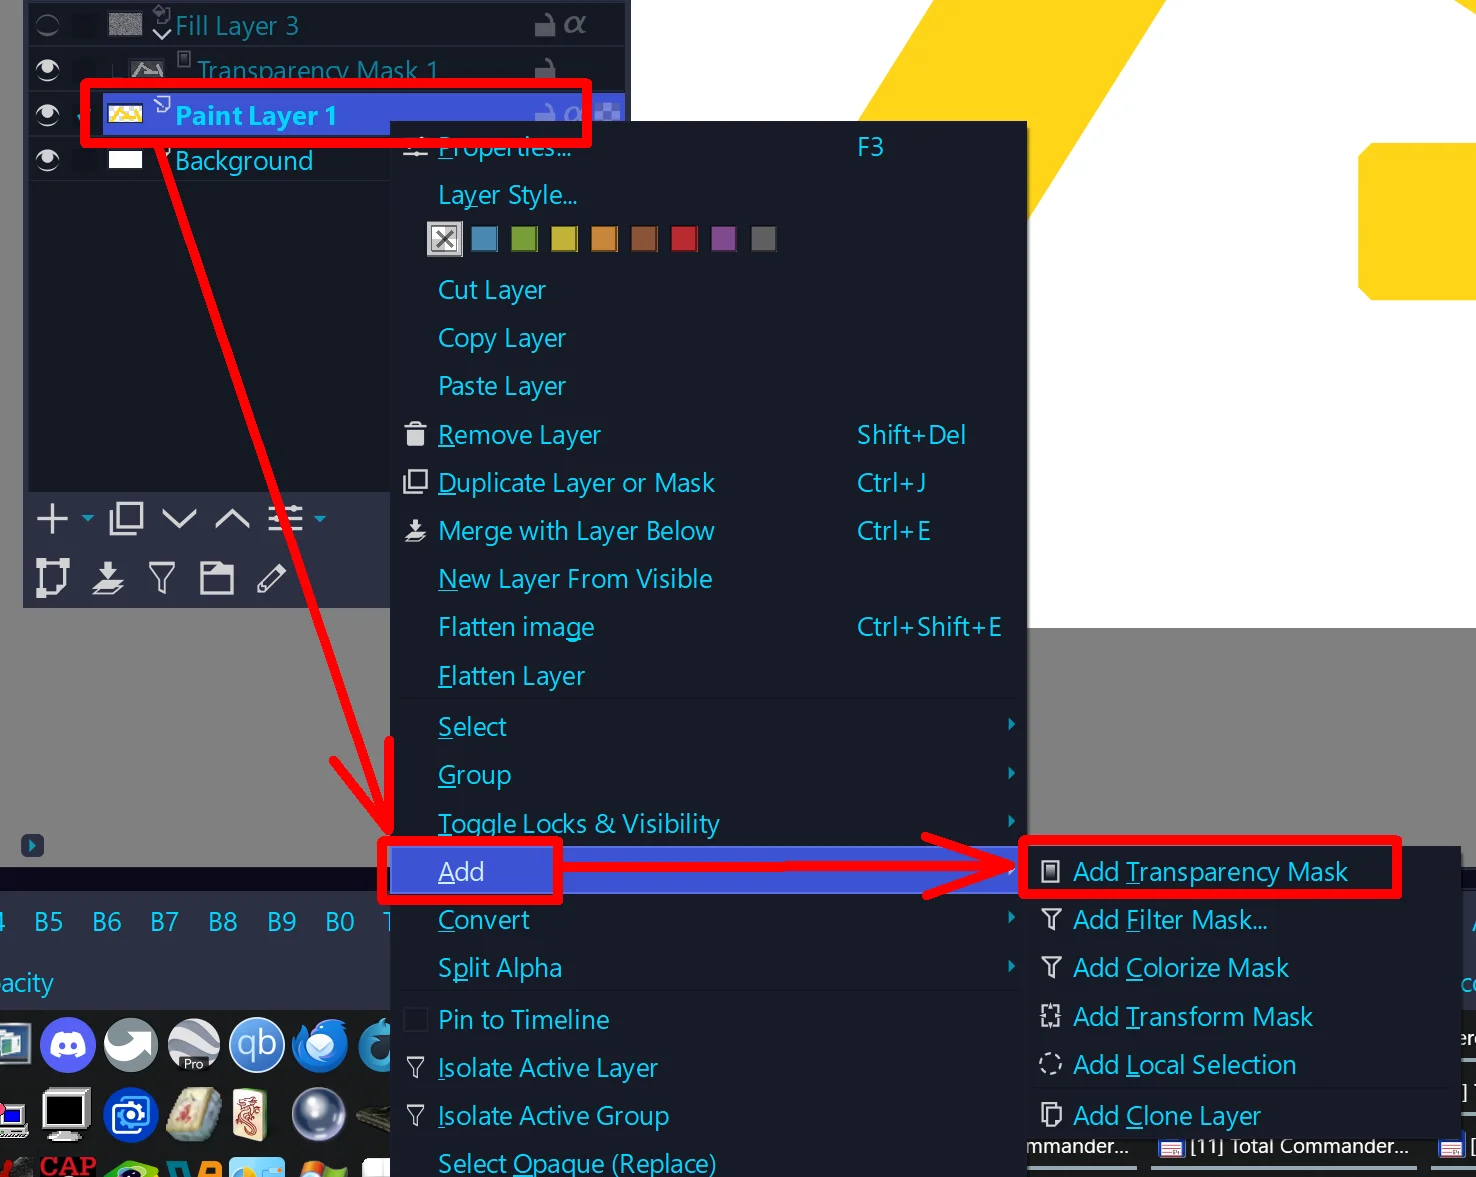
You have to select the eyedropper as tool and then select the french fries with the eyedropper, when the marching ants show up around your french fries you do a right-click on the layer with them, here layer 1 and select from the opening drop-down menu “Add” >> “Add Transparency Mask”. And then, as you can see in the first screenshot, you have to grab and move this Transparency Mask and drop it onto the fill layer, and it will position itself automatically below the fill layer.
The next picture shows these french fries, the fill layer is selected and currently set to 100% opacity with the pattern applied and masked through the before applied mask.

Now I have reduced the opacity to 38% and you can see them with applied pattern.

And here how it looks if you would deactivate the transparency mask.

In case of any questions, feel free to ask.
And please excuse that it took this long, but I had to take my dinner in between, and the one who served it is not used to wait for me finishing tasks in the forum. ![]()
Michelist
2 Likes
Ohh cool. I’ll give it a shoot later cz it’s already midnight here. I’ll wake up tomorrow with eager to continue my artwork. Thank’s for ur help bro! I really apreciate it. Have a nice day
2 Likes
You’re welcome!
… and don’t forget, in case of questions simply ask, here are many experienced users who can support you!
And now I wish you a good night!
![]()
Michelist
1 Like
I often do something similar to add some texture (usually paper texture for the whole picture or for most of it). It makes even the empty parts of the background look less “flat”.
A part of my recent painting’s background after zooming in:
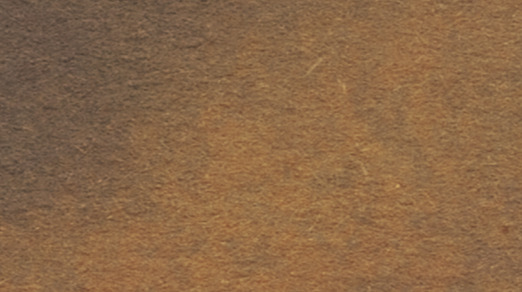
There are a few things I do differently though. I set the layer with the texture to the overlay blending mode. I recommend it because the colors of the picture don’t lose that much saturation this way:
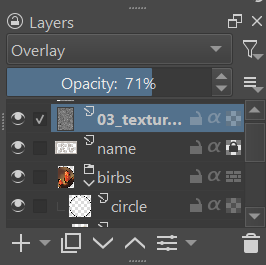
Also, to make the texture only affect a specific part of the picture (the fries in this case), I’d use a layer structure like this:
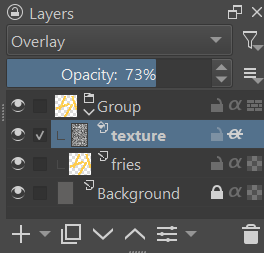
Explanation what’s happening there:
- “Background” is only a layer filled with background color.
- “fries” is a layer with yellow rectangles representing the fries.
- “texture” is a fill layer with a texture on it (“paper grain B” in this case). It has the alfa icon toggled (it can be done by clicking on that icon). It’s the “inherit alpha” option which means it inherits transparency from the layers below this one, so where there’s nothing on them, the texture from this layer also won’t be visible.
- “Group” is a group layer (it can be created with Ctrl + g) containing “texture” and “fries”, but not the “Background”. Group layers make things like inherit alfa or blending modes on layers inside of it only affect the other layers in the same group. So in this case it restrains the transparency inheritance on texture only inherit from fries, but not from the background (otherwise the texture would still be visible everywhere).
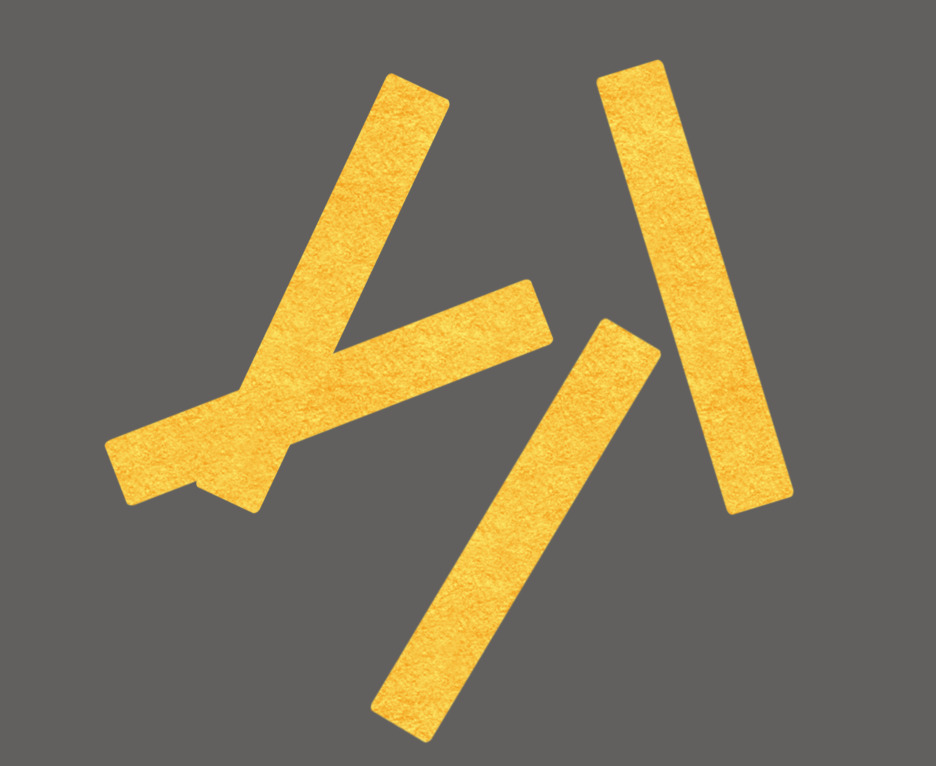
The effect is pretty much the same as with the transparency mask, but despite requiring more time to explain or understand, it seems to be more readable in my opinion. Also - if you decide to add more fries on the “fries” layer later, they’ll be affected by the texture right away without any need to update the transparency mask.
It looks like this:
2 Likes
That is also a very neat solution, and now, seeing yours, I know that I totally forgot the overlay setting and wondered about the off colors. Reminds me that working in a hurry with someone sitting in your neck (“Hey, it’s dinner time!”) isn’t very productive. ![]()
Michelist
2 Likes