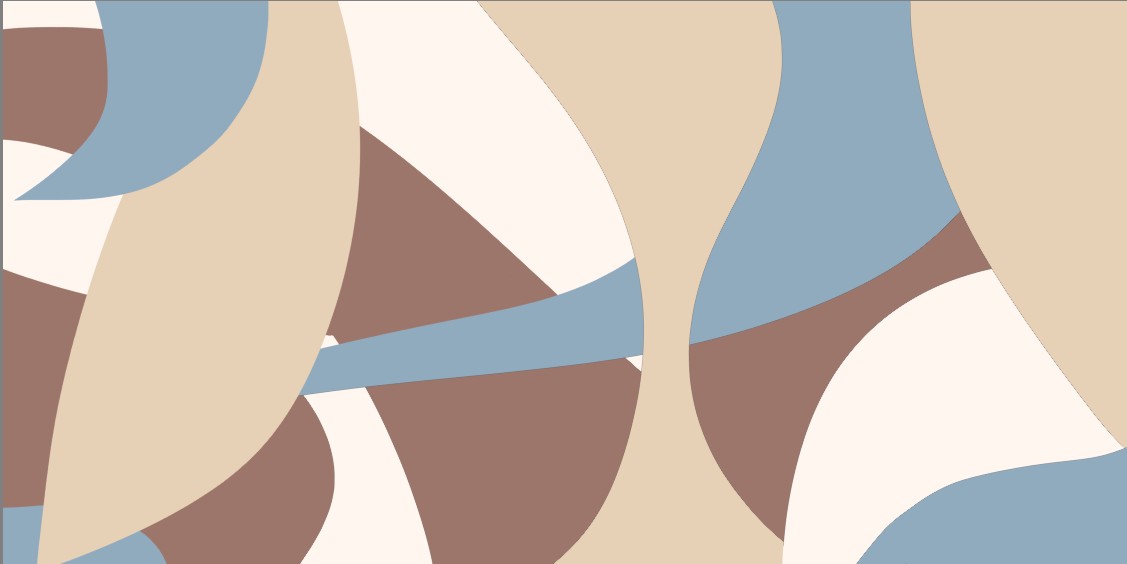
Hi, I’m new to Krita. I am designing a wallpaper for my home. I have made an abstract painting with some colored areas. Now I want to make these areas more lively with the texture brushes in new layers. But I would like to finetune/change the color of these brushes after I have made them. How do I do this?
![]() Hello @blacktulip, and welcome to the forum!
Hello @blacktulip, and welcome to the forum!
Let’s begin to define a few things beforehand, so we will speak of the same things, because there are a few definitions in the world of Krita, or digital painting in common, that are sometimes misinterpreted by users new to the matter.
The canvas is the area you paint on, like a sheet of paper, cardboard, wood, or even a real canvas.
A “brush stroke” (or short: stroke) is the path of color you lay down onto the canvas when you paint using your brush presets.
A “brush preset” is the thing most believe it is called a brush, but this “brush preset” usually consists out of a brush tip, which can be a pattern generated by Krita or provided in the form of a picture and the settings that define how this brush tip will interact with the canvas you paint on. So this “brush preset” is “the thing most believe to be the brush”, and you choose it from Krita’s selection of “brush presets” found in the Brush Presets Docker, that in a new installed Krita is found in the lower right corner of Krita. I mean the icons that often represent the picture of a brush, some show an eraser, others show an airbrush icon, and some show other fancy things, these are our “brush presets”.
The thing we call a brush, is the “brush tip” that is assigned to the “brush preset”. It gives the brush stroke of color that you “lay down” on the canvas a form, together with the settings that define and refine the look of the brush stroke you paint.
I’m not absolutely sure, about the following:
But I suspect at least a little bit that you mean with “finetune/change the color of these brushes after I have made them” the already made brush strokes of paint on your canvas, the colored parts that you show in your lower screenshot.
So, if I have understood your question correctly, then you want to adjust these already painted parts of your picture. My following hints are based on this assumption. If I’m wrong, something I’m good at, then please correct me and declare your concern in a way that even I can understand it. ![]()
Because what you are asking for currently makes not much sense to me, so to adjust a brushes color after you made them. Here, I guess you mean to adjust the brush strokes color on your canvas after you painted with that “brush preset”, because you can adjust the color of a brush until you like it before you use it, so it would not be needed to adjust it again after using it, at least not if you had chosen the color you wanted to paint with before using the brush preset.
You can adjust already painted Pictures with filter masks, for example, which can always be undone, this is also called non-destructive editing. If you decide to work directly with filters, then at a certain point it can become difficult to undo further changes using Undo, which would be destructive editing.
Luckily, you seem to have used layers for your different colored objects, this makes it easy to adjust the single colors.
So, on the layer with the color/object you want to adjust, you have to do a click with your RMB in the Layers Docker and select “Add” → “Add Filter Mask …” there, in the opening dialog, below “Adjustment” you can use “Color Adjustment” and then play with the curve presented to you. Grab that curve with your mouse or stylus and move it up or down, maybe add additional nodes to it if you want to experiment, or if you want to heavily experiment and deeply dive in choose “Levels” (but that is more for advanced adjustments and needs a good understanding of the matter, I find).
That would be one way of adjusting a color.
Another way would be to choose Color Balance as the Filter Mask to use to adjust a color, that offers a lot more levers to play with. Also, HSV/HSL-Adjustment is a good way to influence the color of your layer.
And I guess that other users will present you other ideas and ways to influence an already painted part of your picture.
Michelist
Thank you, that was what I meant. Works great!
Which of the methods did you choose?
And can you mark this topic as solved, please? This has two reasons, on the one hand users having a question similar to yours, they’ll see here could be a solution for them, on the other hand is it a sign for helping users that this topic does not necessarily need more attention, and they can try to solve other requests.
Thank you!
Michelist
I used your first method. Will try the other ones. I am afraid my laptop isn’t strong enough to use this program effortlessly. It is a big canvas (9000x4500)
Yes, large canvases can be demanding, but it also depends on the effects used and other things. But of course nobody can say anything about the expected performance of your laptop without knowing its characteristics, such as CPU, RAM, HDD or SSD, the GPU is of little importance for most things in Krita, as it usually only paints the picture on the canvas that the CPU had previously calculated.
Michelist
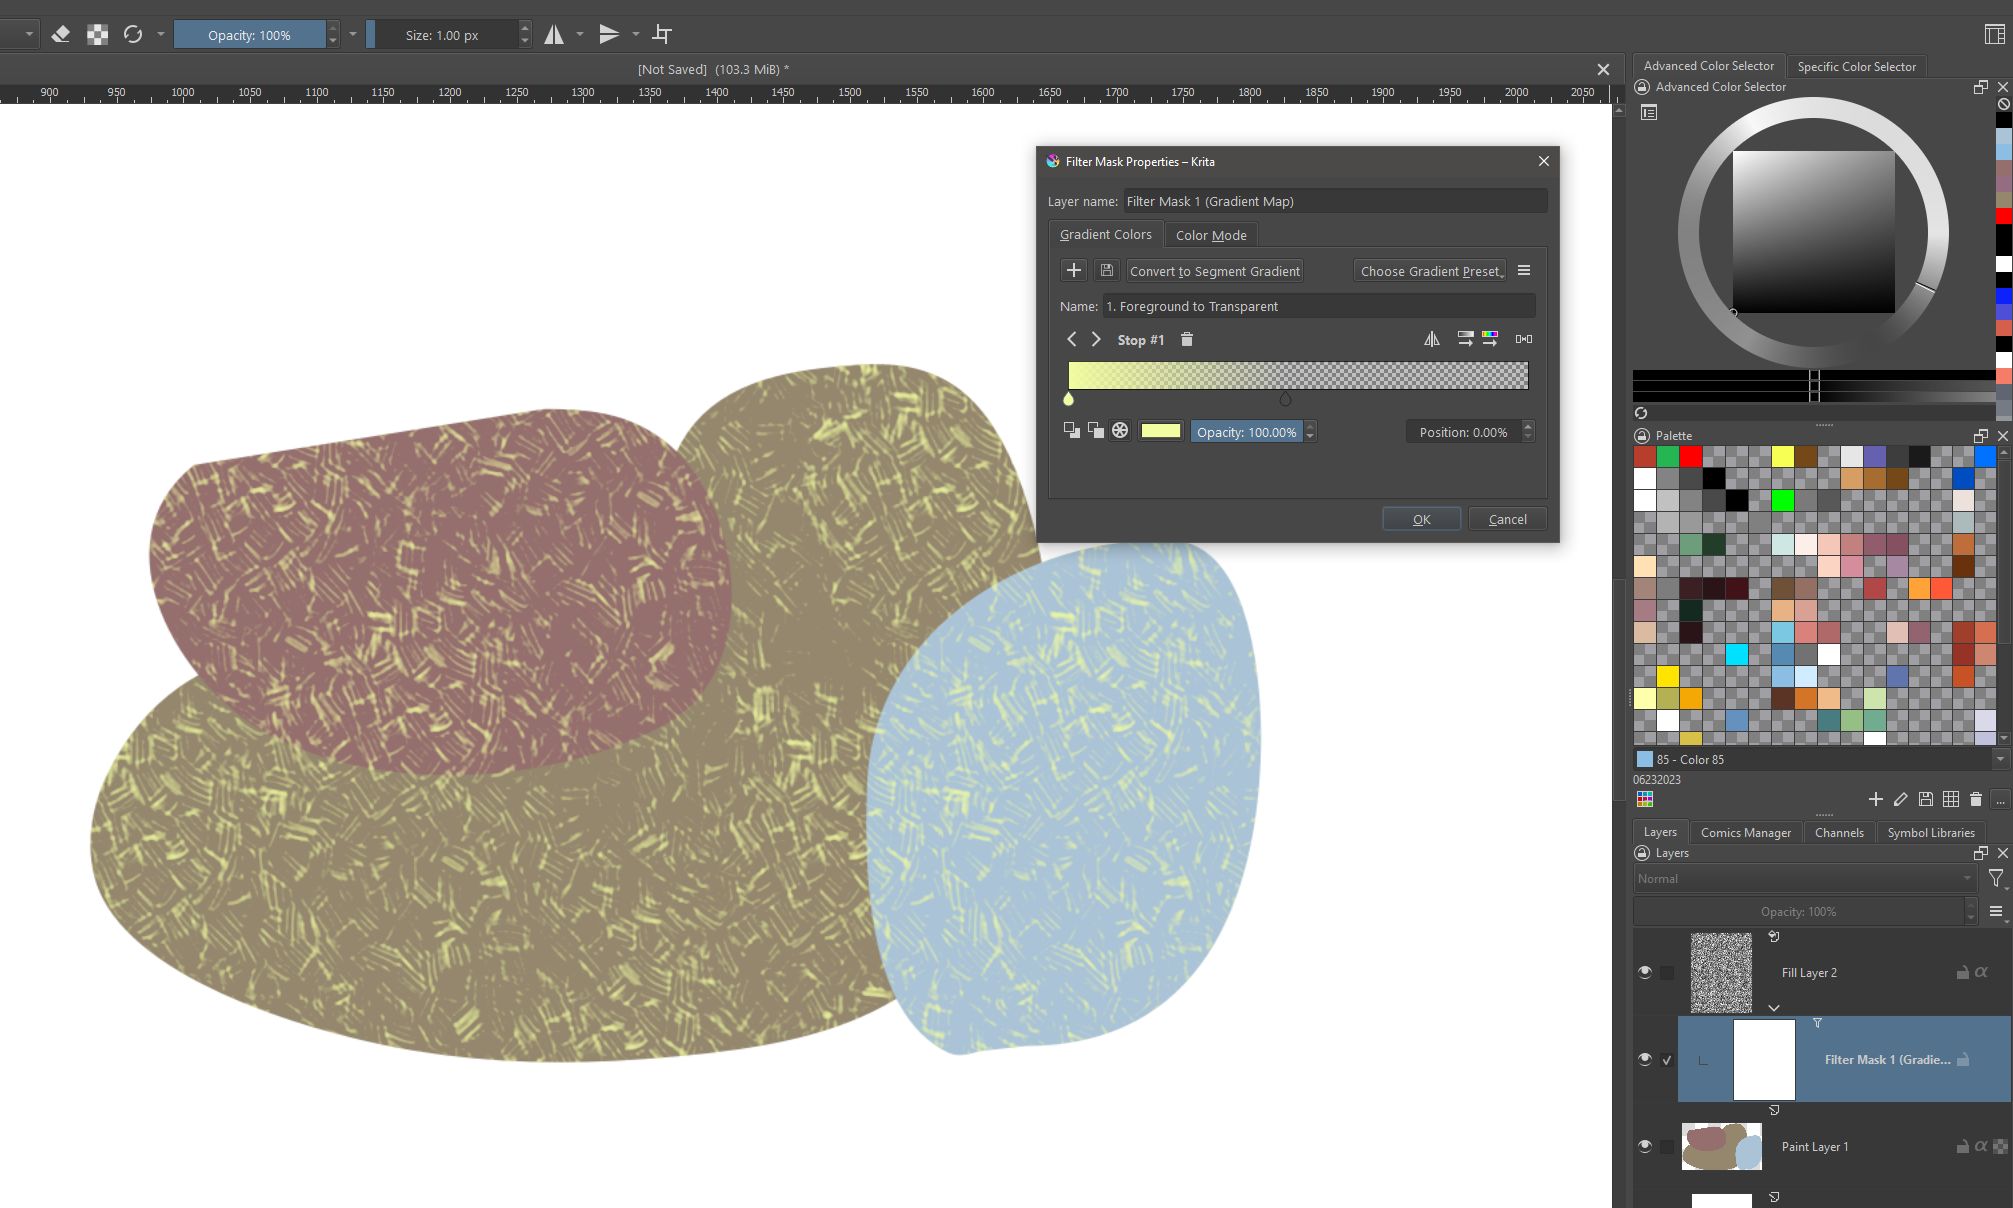
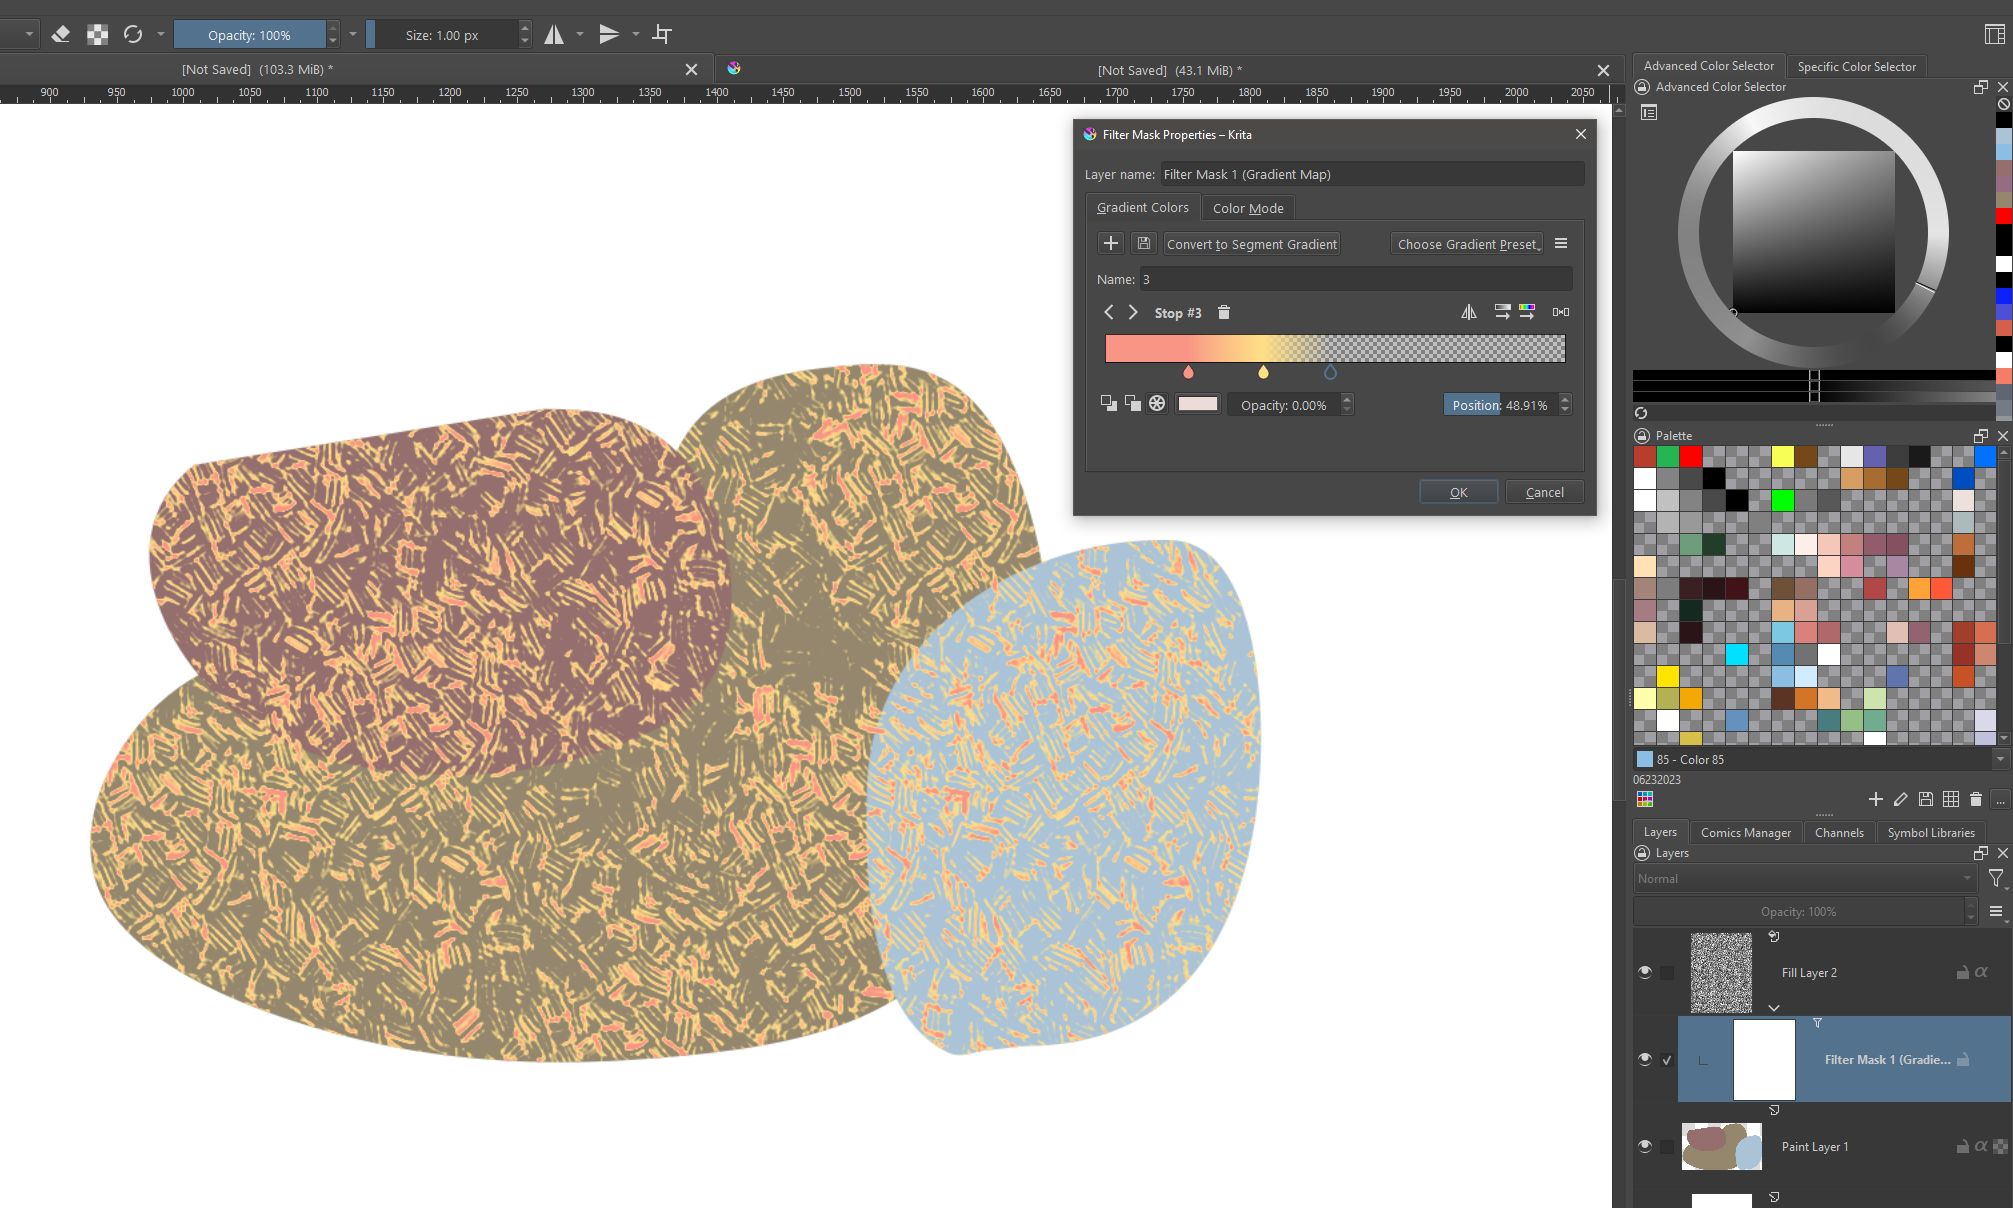
You might also consider using a Gradient Map Layer Mask to control the color of the texture. In the screen shots below, I was able to not only change the color of the texture, but also the strength of the texture being applied, by changing the colors on the nodes, making the nodes either opaque or fully transparent, and then moving the nodes (in the case of the third photo, I added nodes, give extra color variant to the texture).
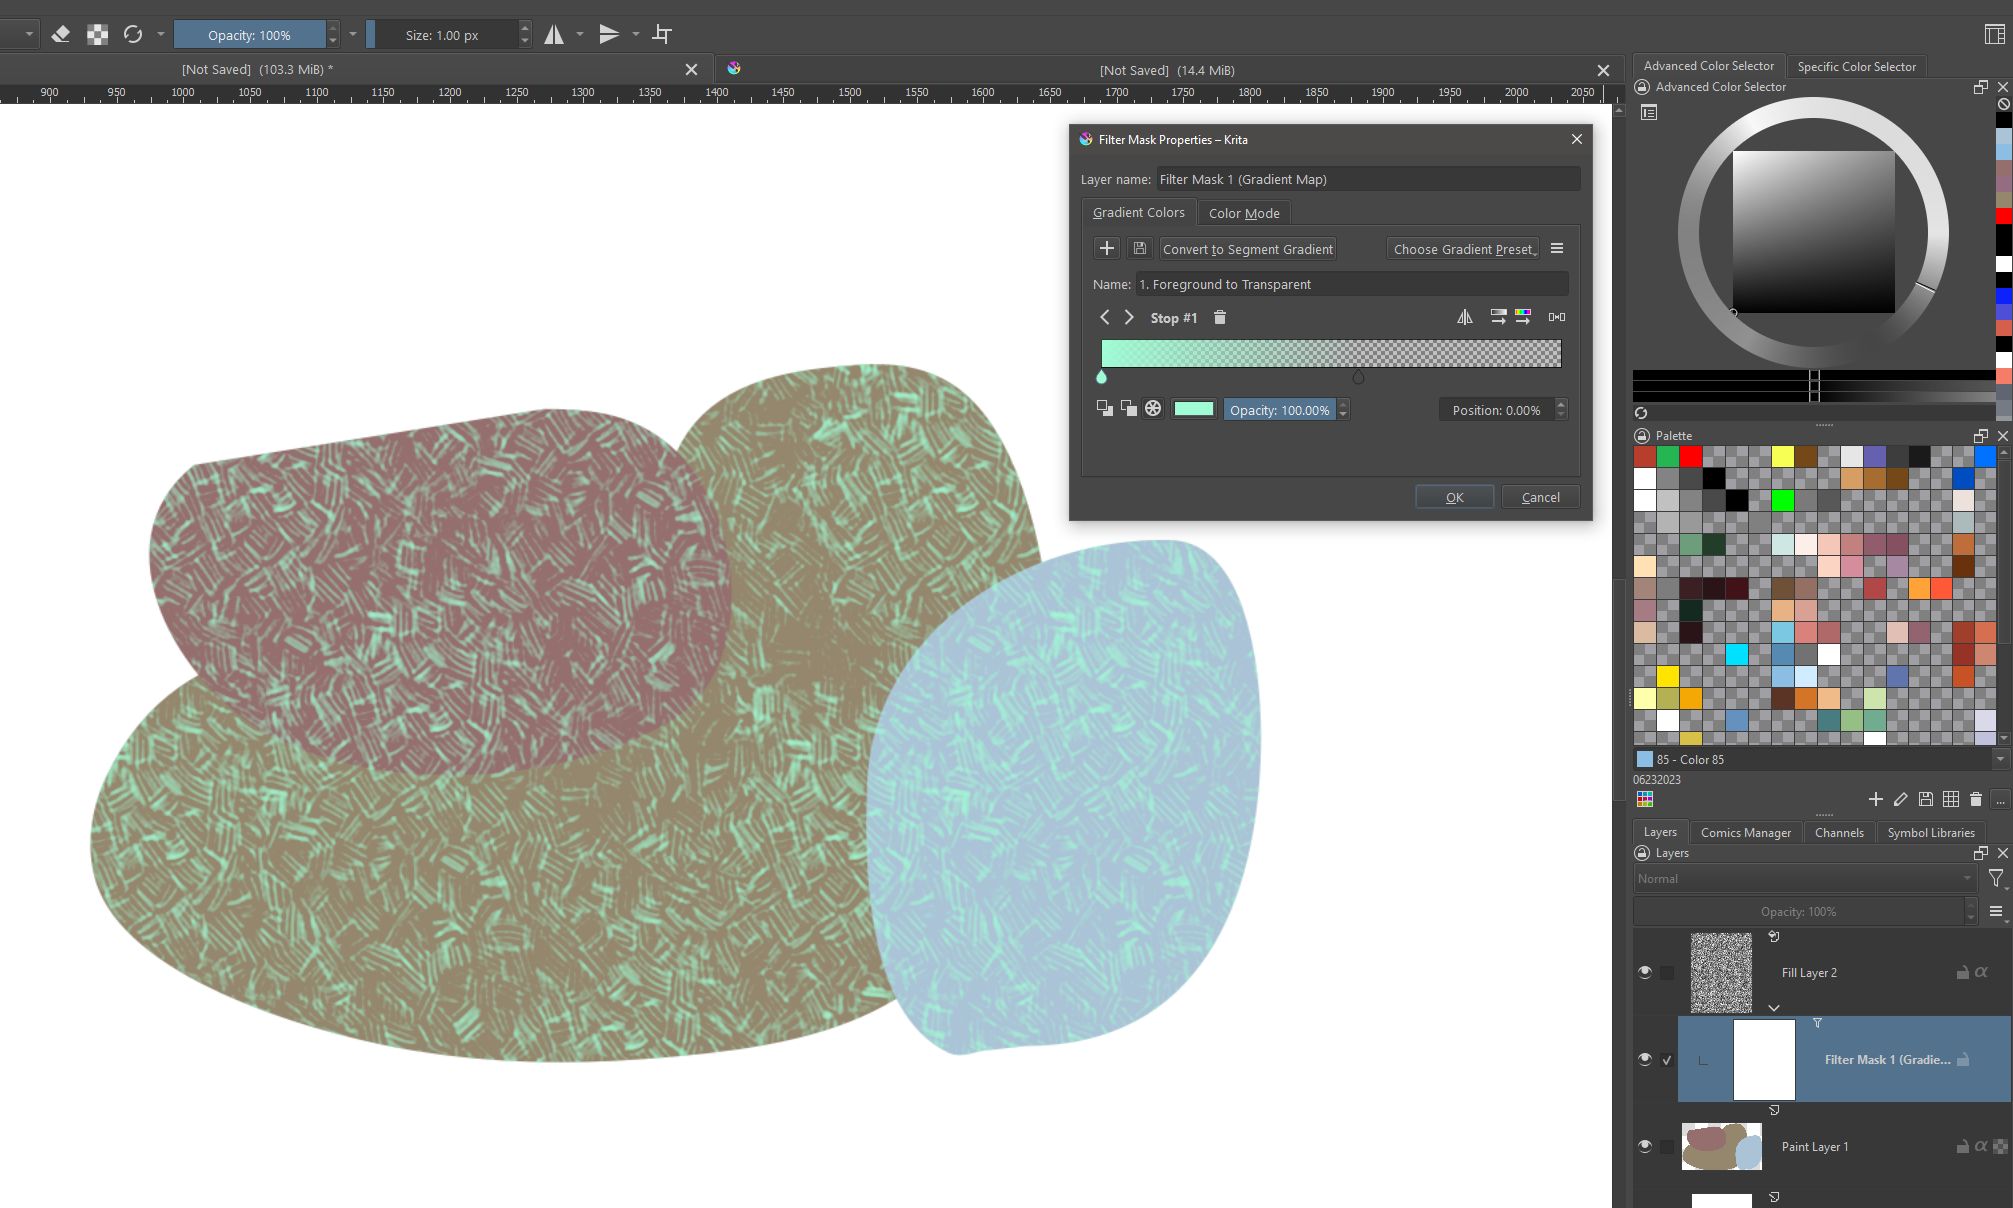
Added nodes variant:
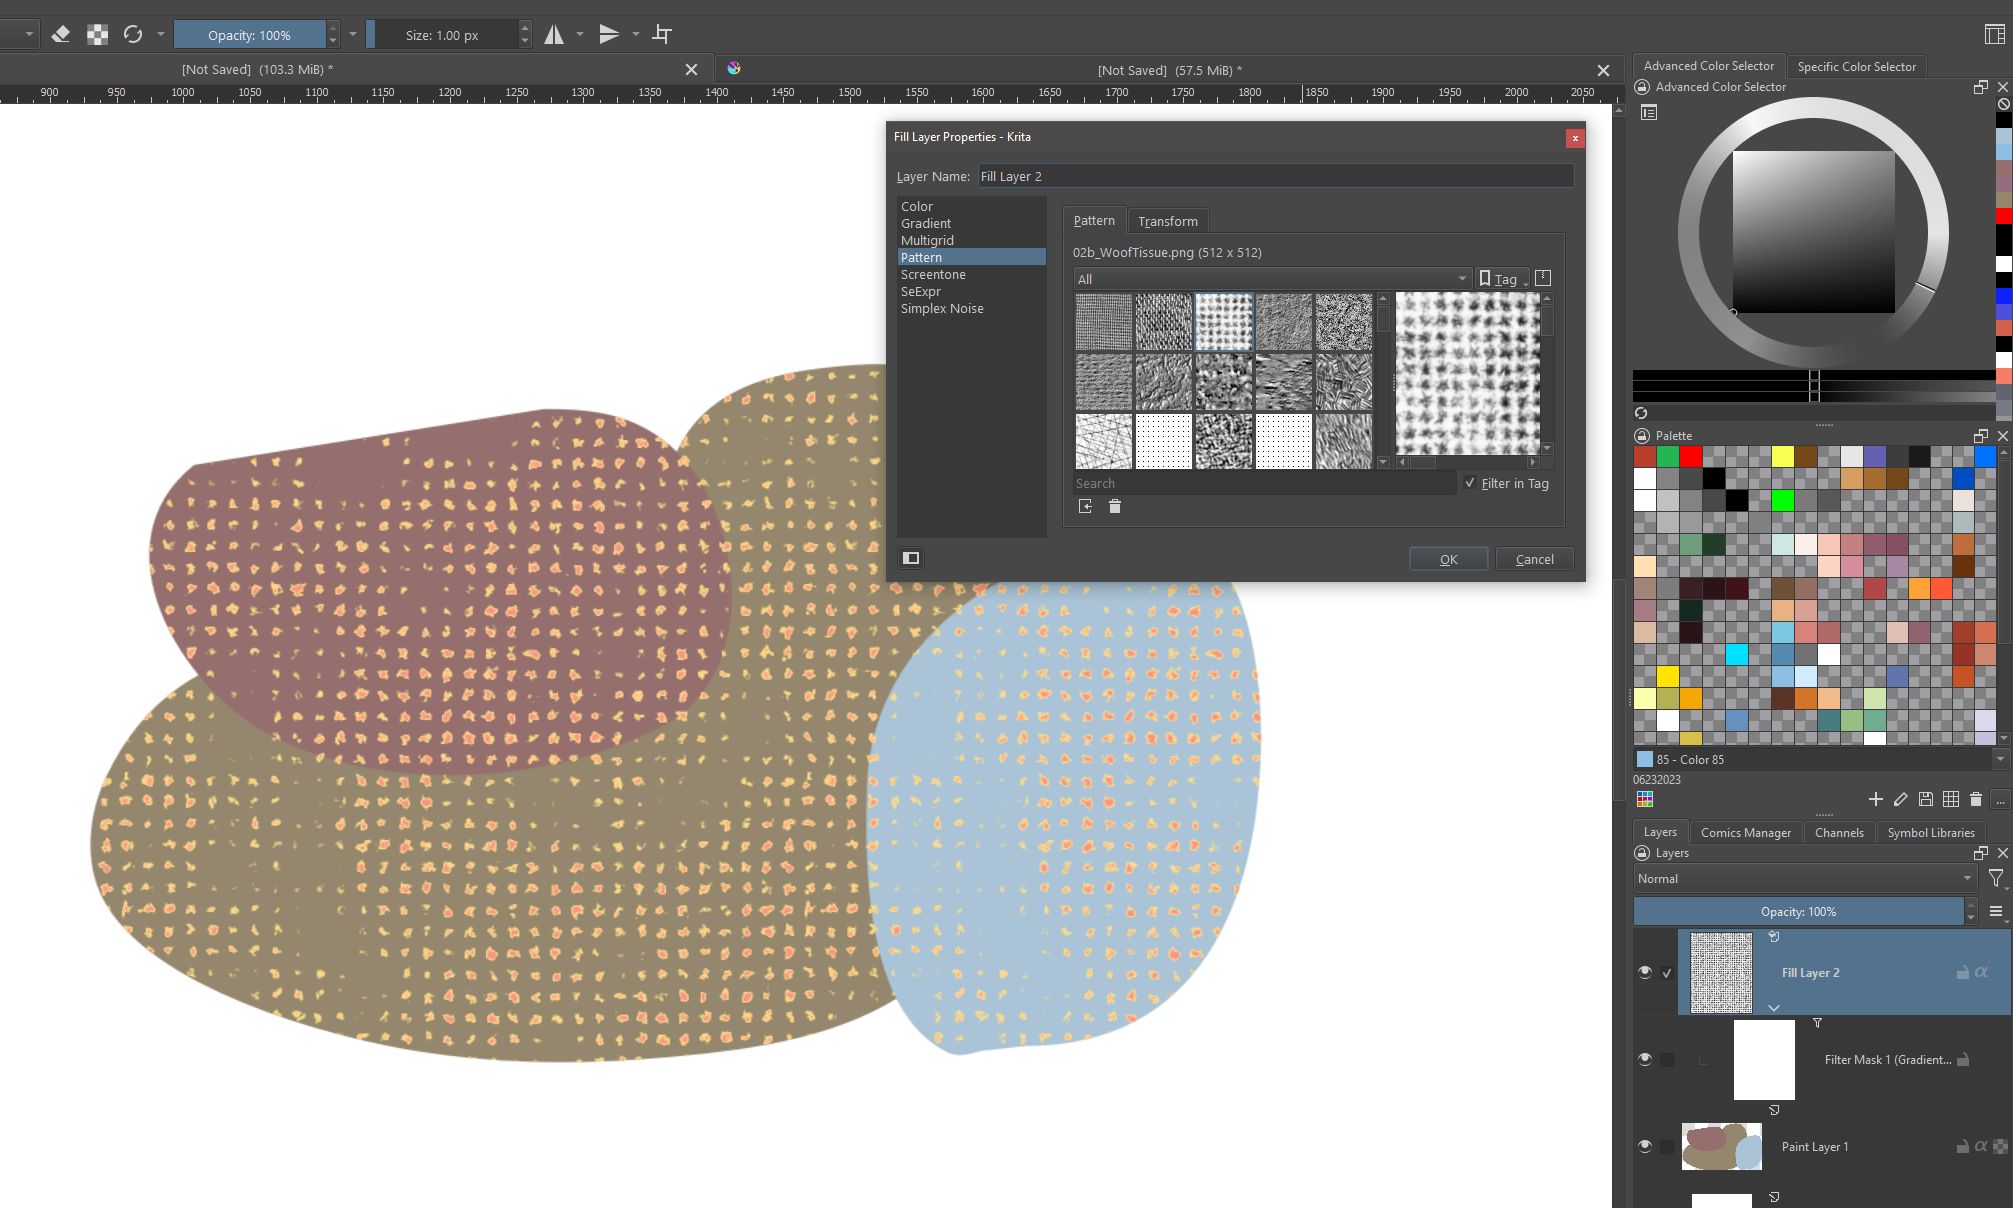
Also, by using the “Pattern” version of a Fill Layer as the texture source, you can easily apply different textures.
That method is called the:
“Let’s have fun playing the Krita game!”
![]()
Michelist