While experimenting with GMIC filters, I found an incredibly useful, but largely overlooked filter which allows the user to create After Effects’ style Displacement Maps inside of Krita. To demonstrate:
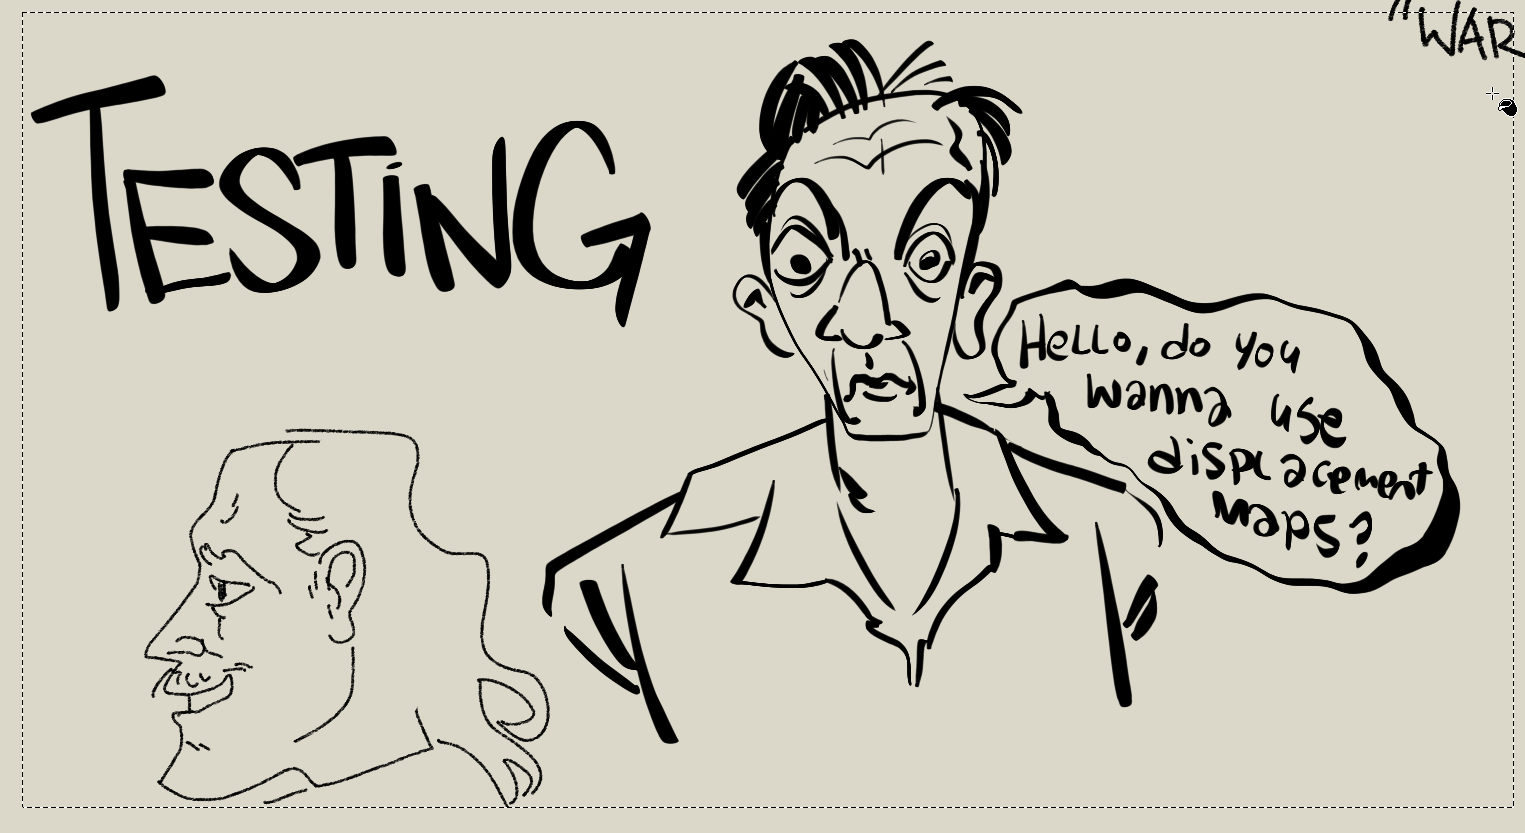
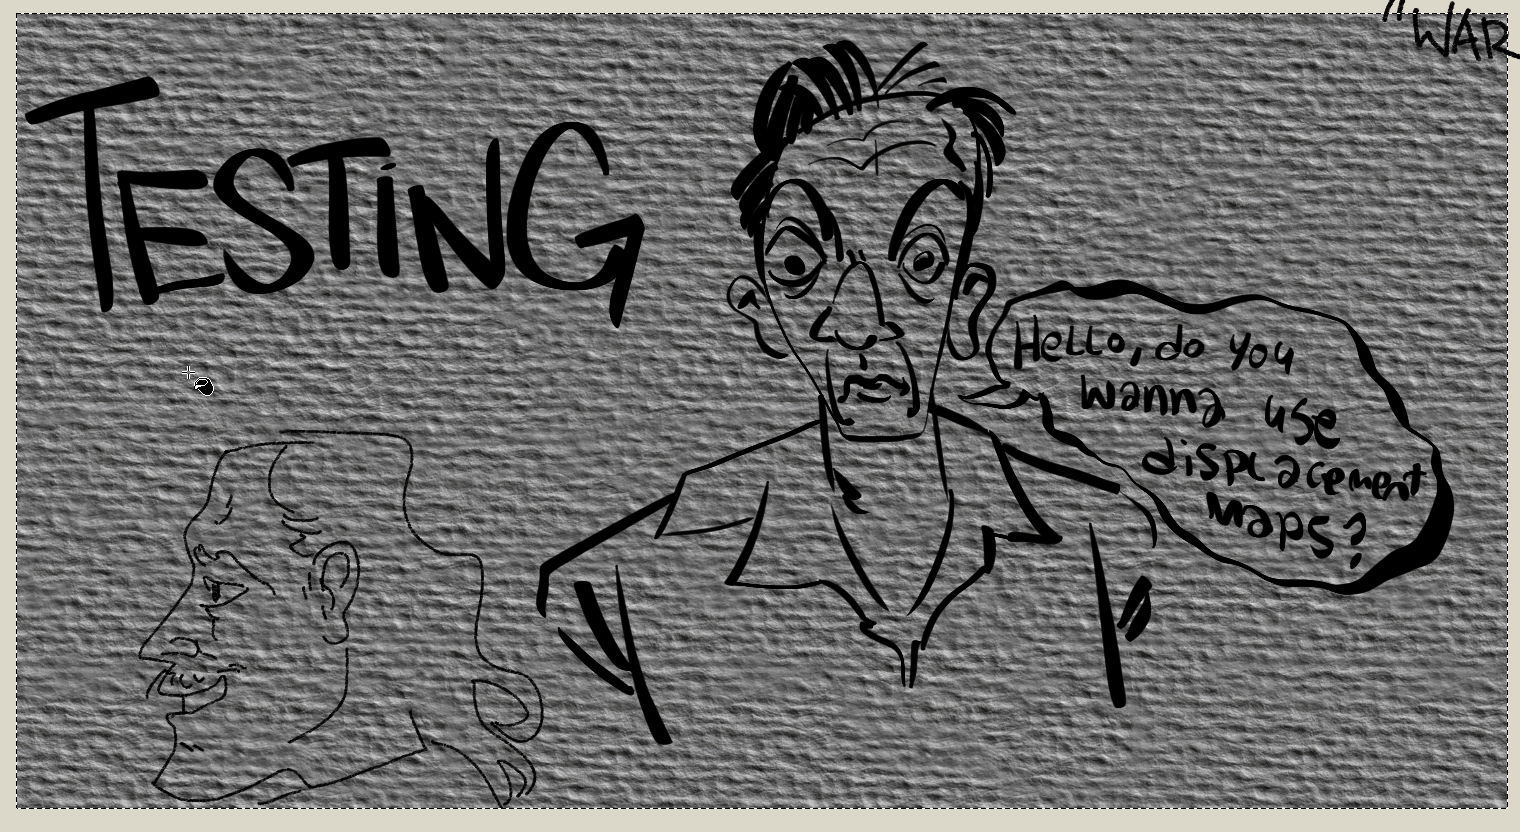
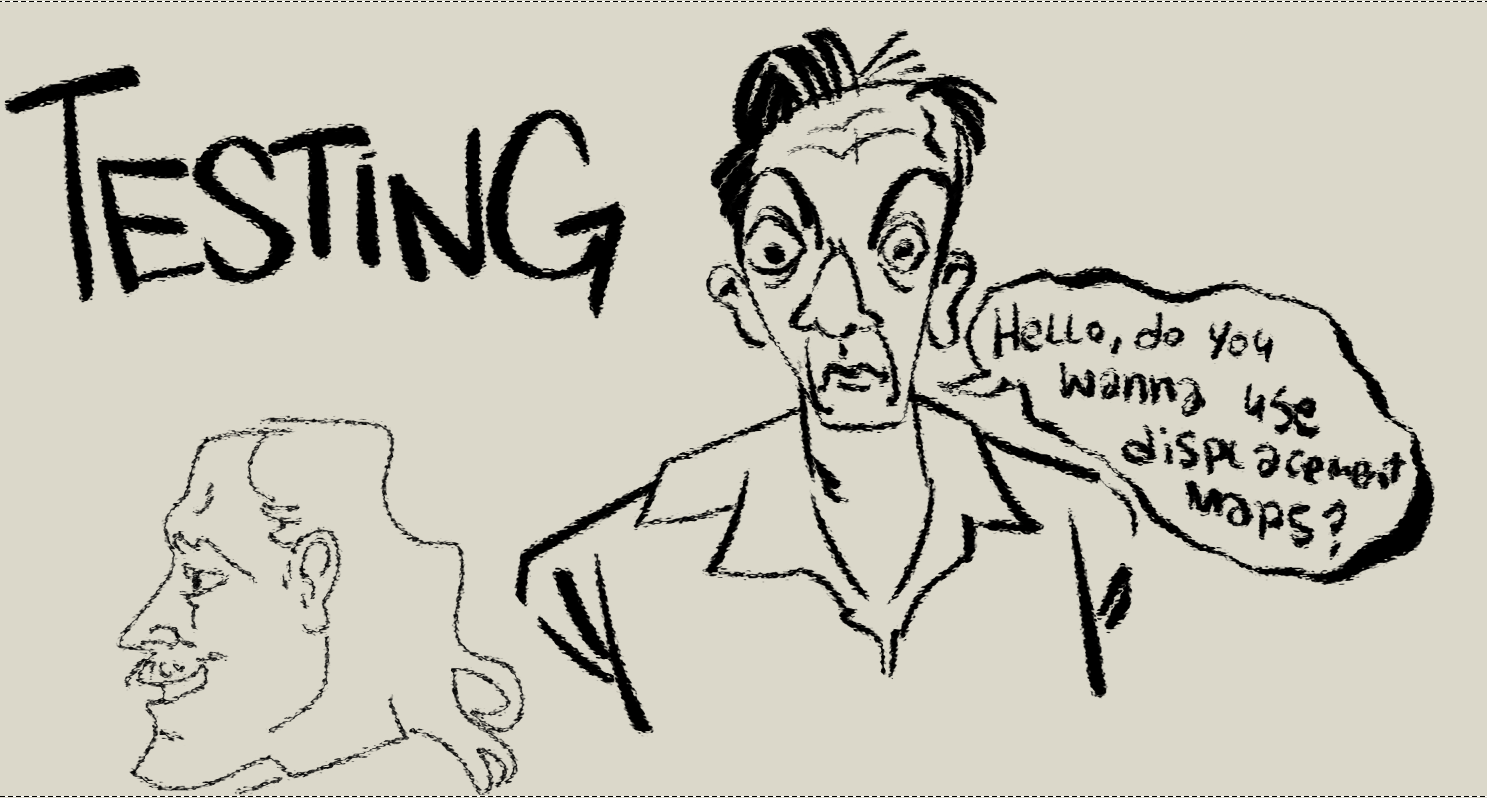
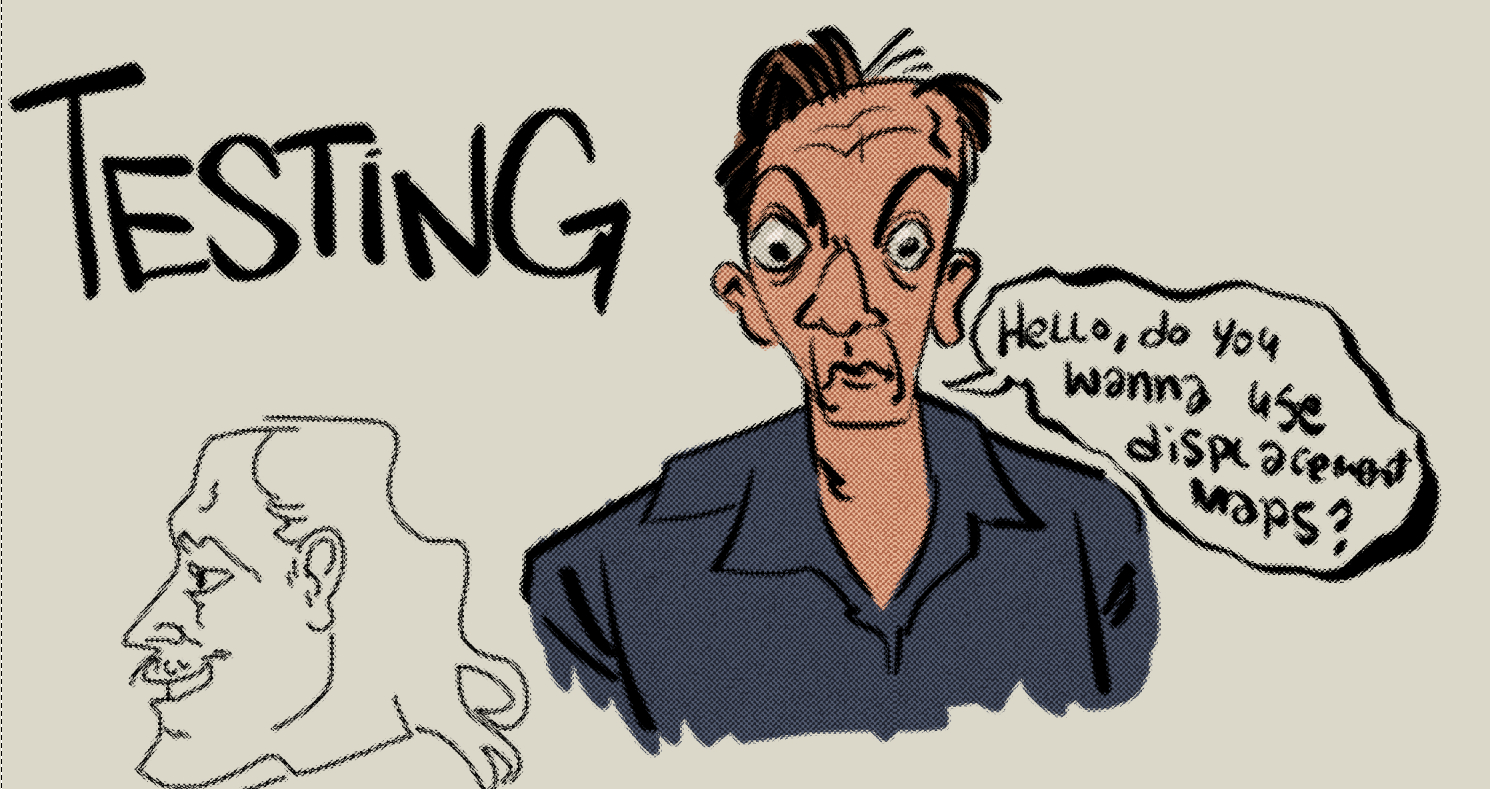
Here’s a quick (ugly) doodle I did using relatively clean brushes. Create two layers, one for your lineart and one for the image you’ll be displacing it with. Select the displacement layer below.
![]()
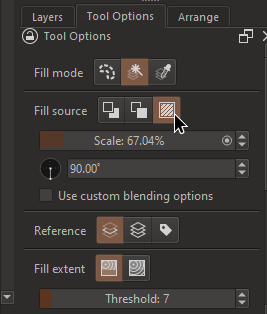
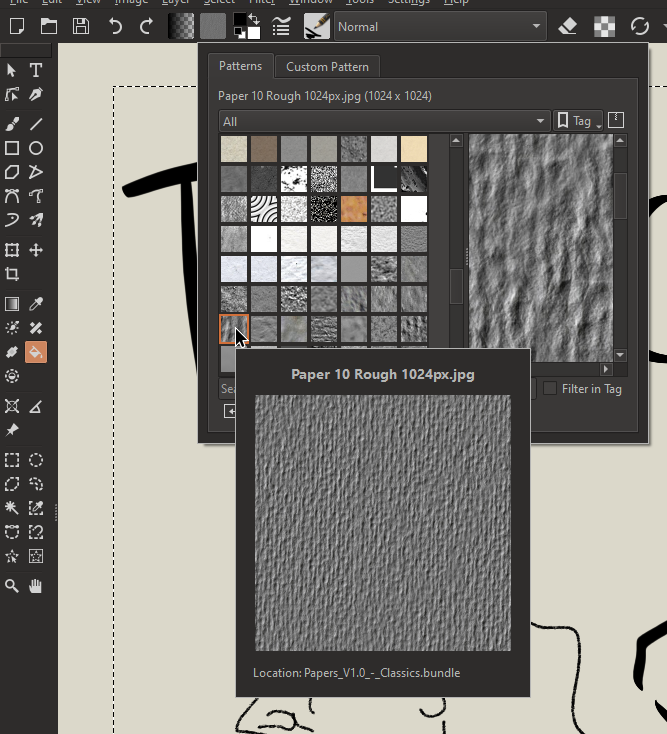
Next, we’ll insert our displacement texture. For this, I’m just going to fill in an area engulfing the lineart using one of my patterns. You can either drag your texture into the image, or you can select the Paint Bucket tool, and navigate to Tool Options and set the Fill source to Pattern.
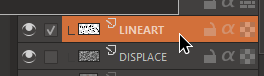
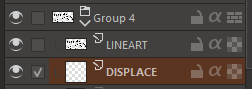
With the displacement map placed, select your lineart layer.
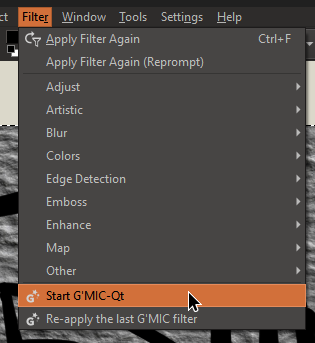
Then, navigate to Filter > Start G’MIC-QT
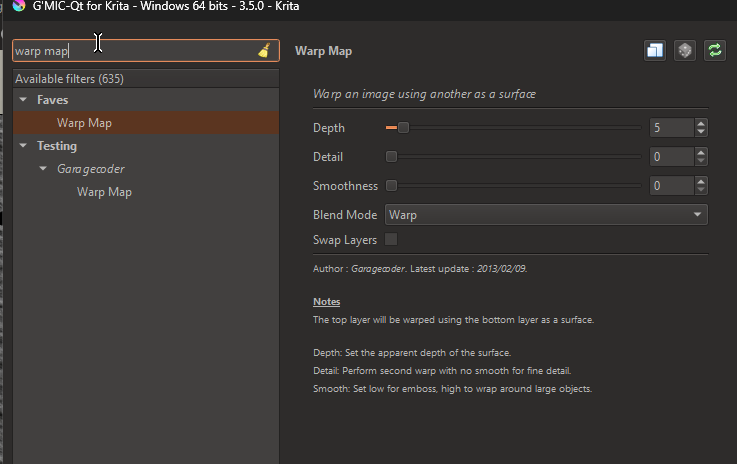
Search for ‘Warp Map’ and select. You’ll find it under Testing > Garagecoder > Warp Map
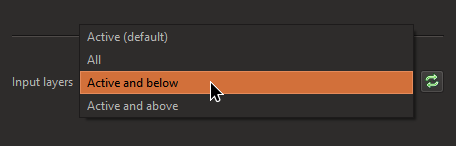
Then, select the dropdown menu next to “Input Layers” and select, “Active and below”
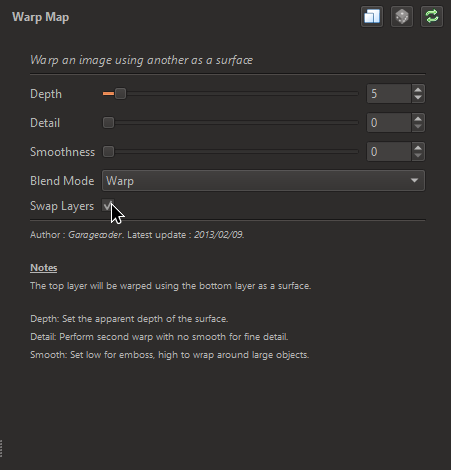
Afterwards, check “Swap Layers”
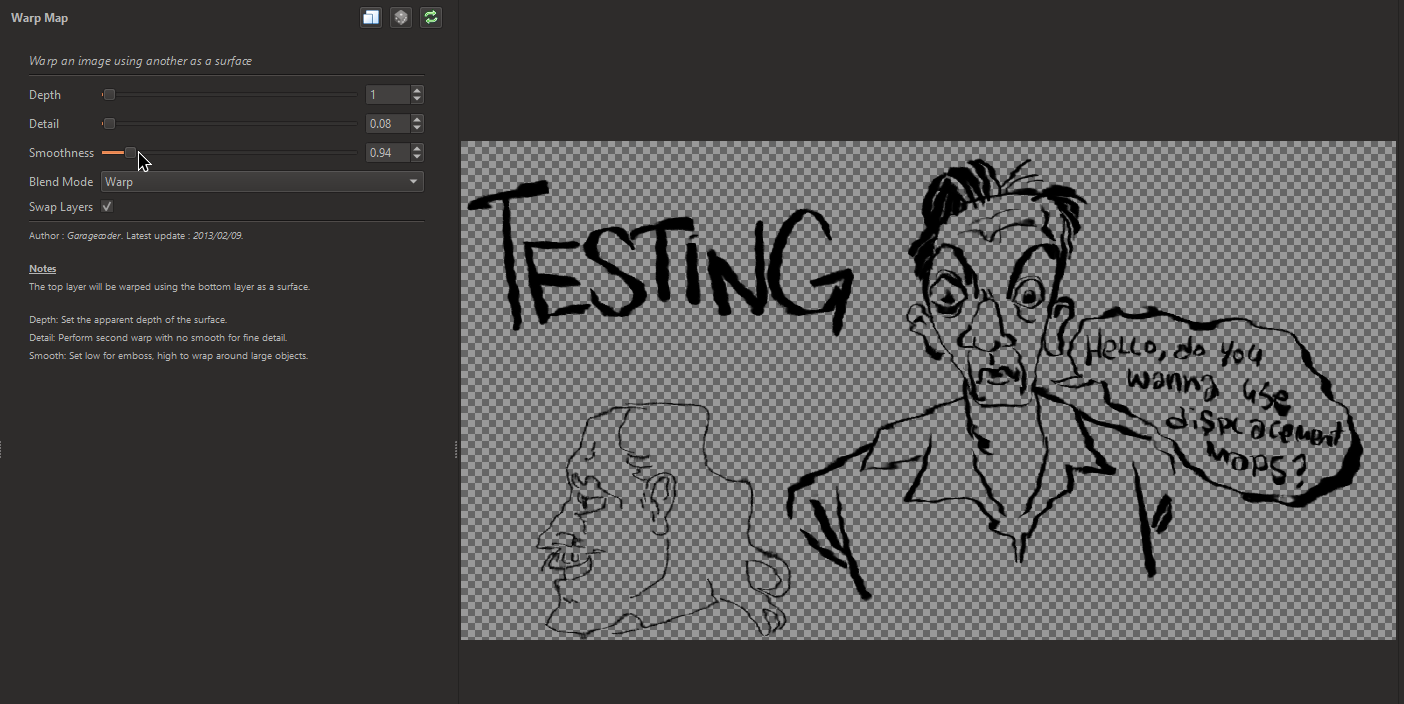
Now, you can go crazy! Mess with the sliders and see what effects you can create, if it gets too grainy, turn up or down the Smoothness. Depending on the image you use for the displacement map, you can create tons of unique effects!
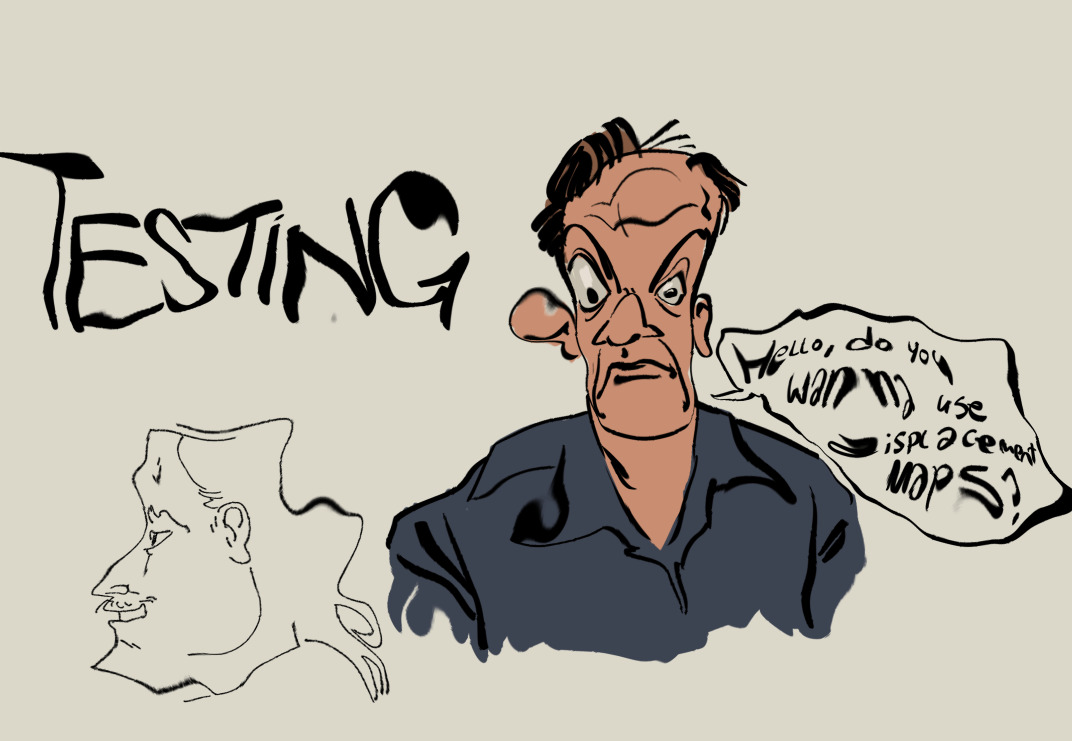
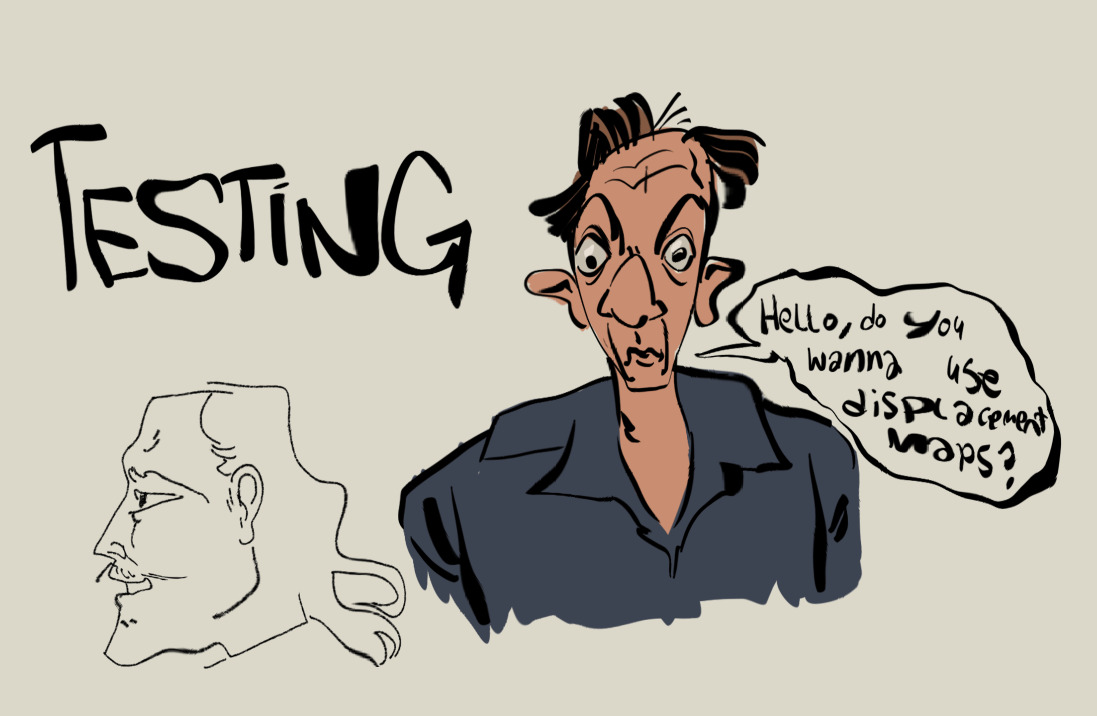
Here’s some examples using different combinations of parameters and displacement images:
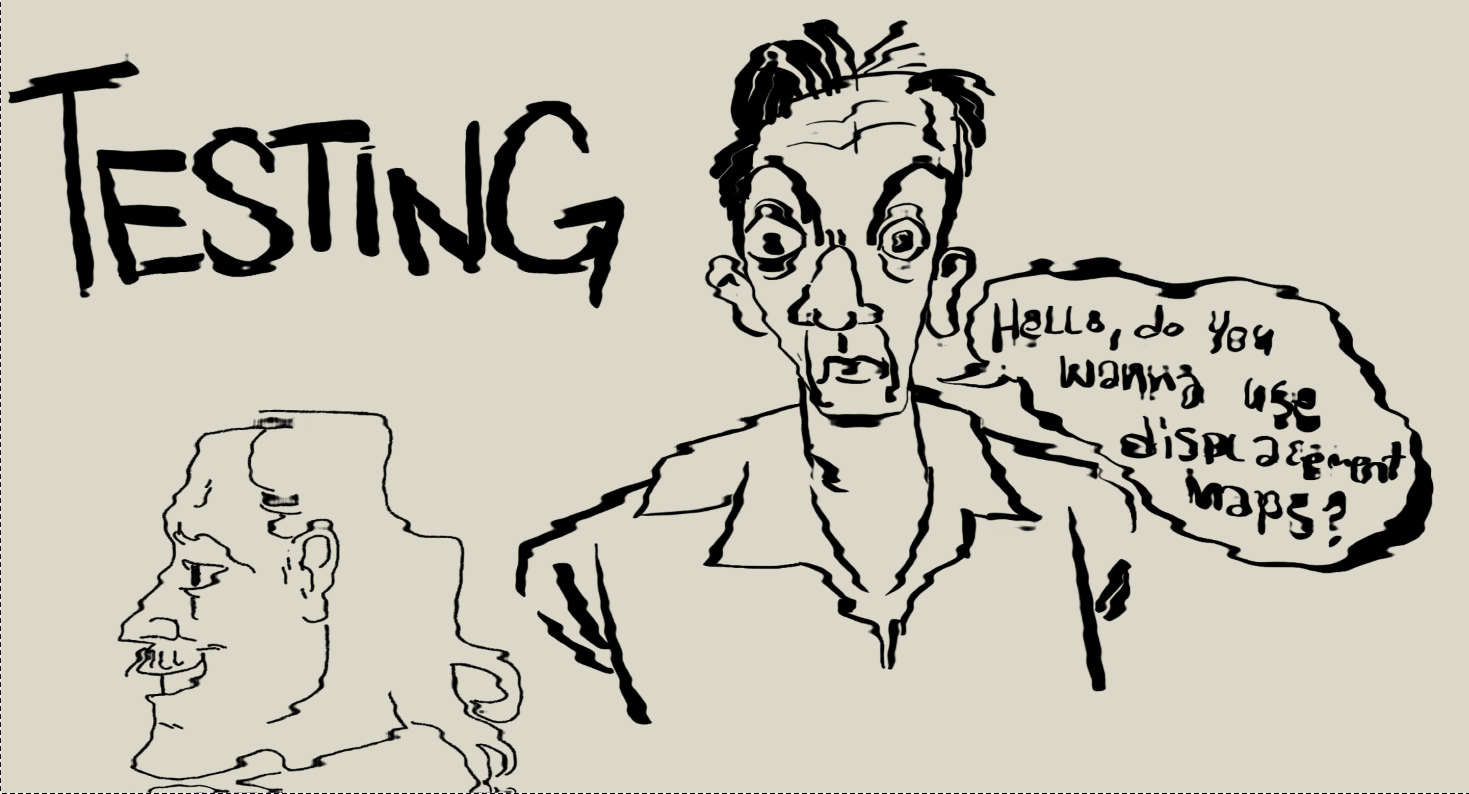
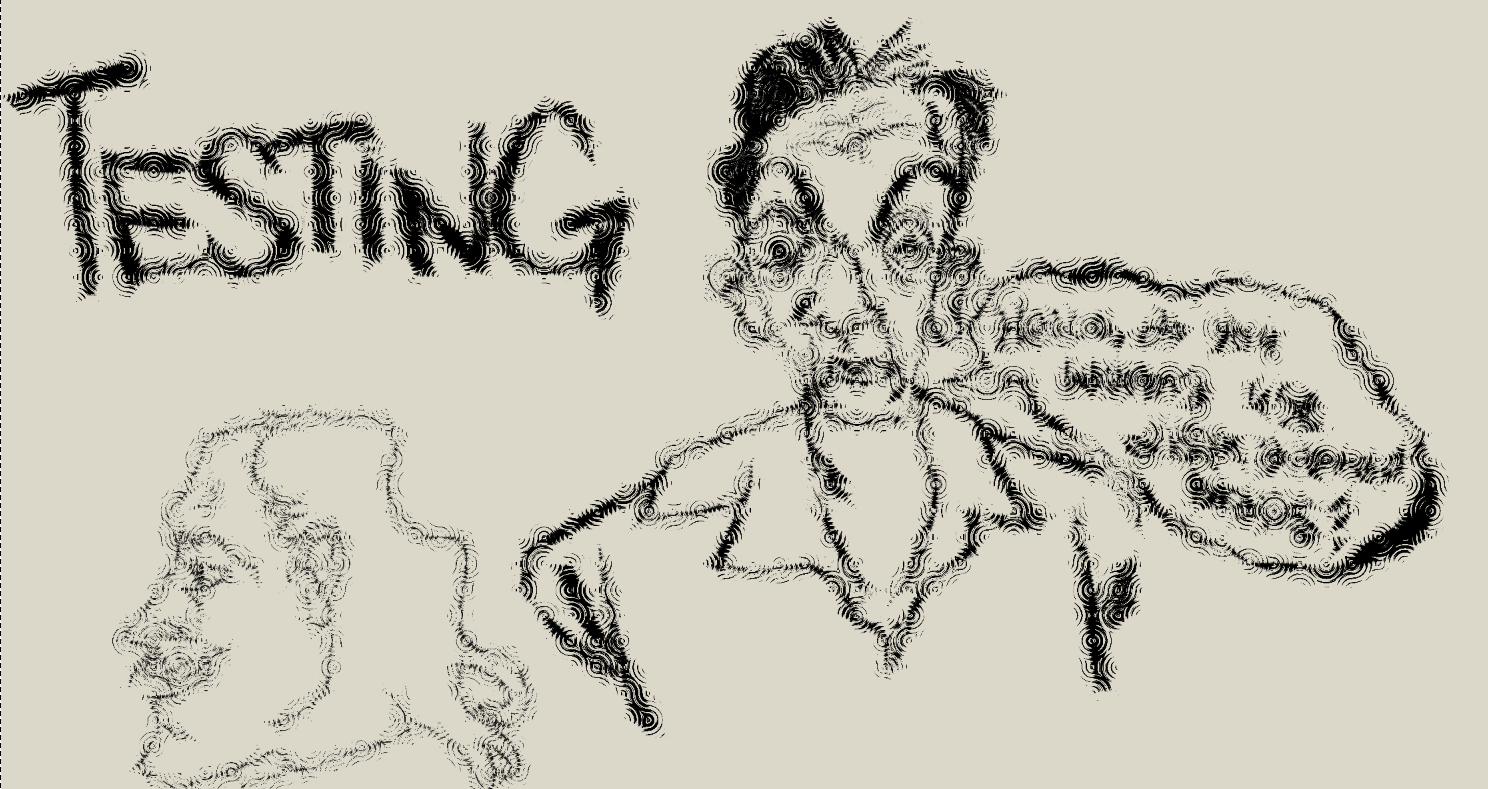

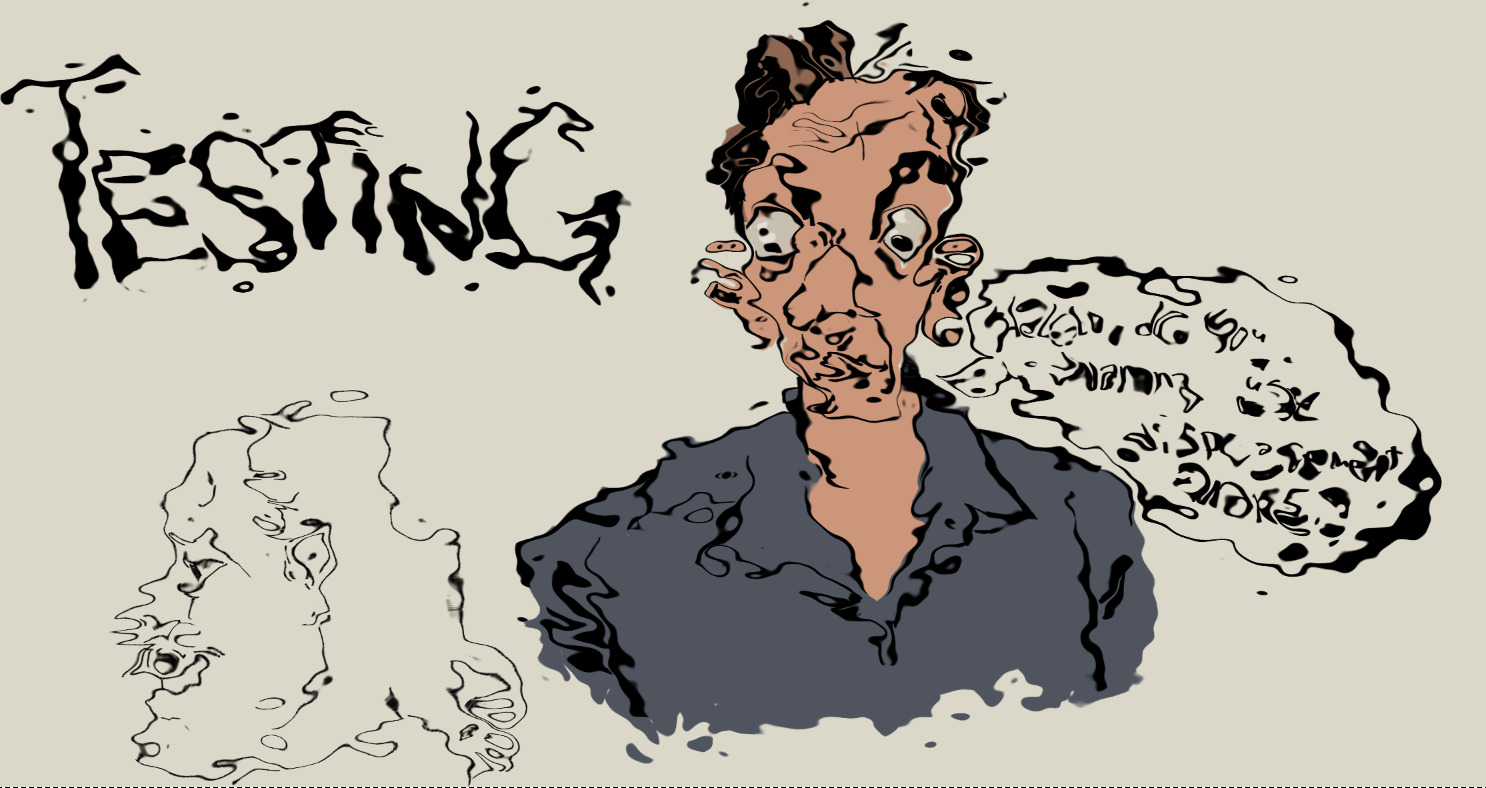
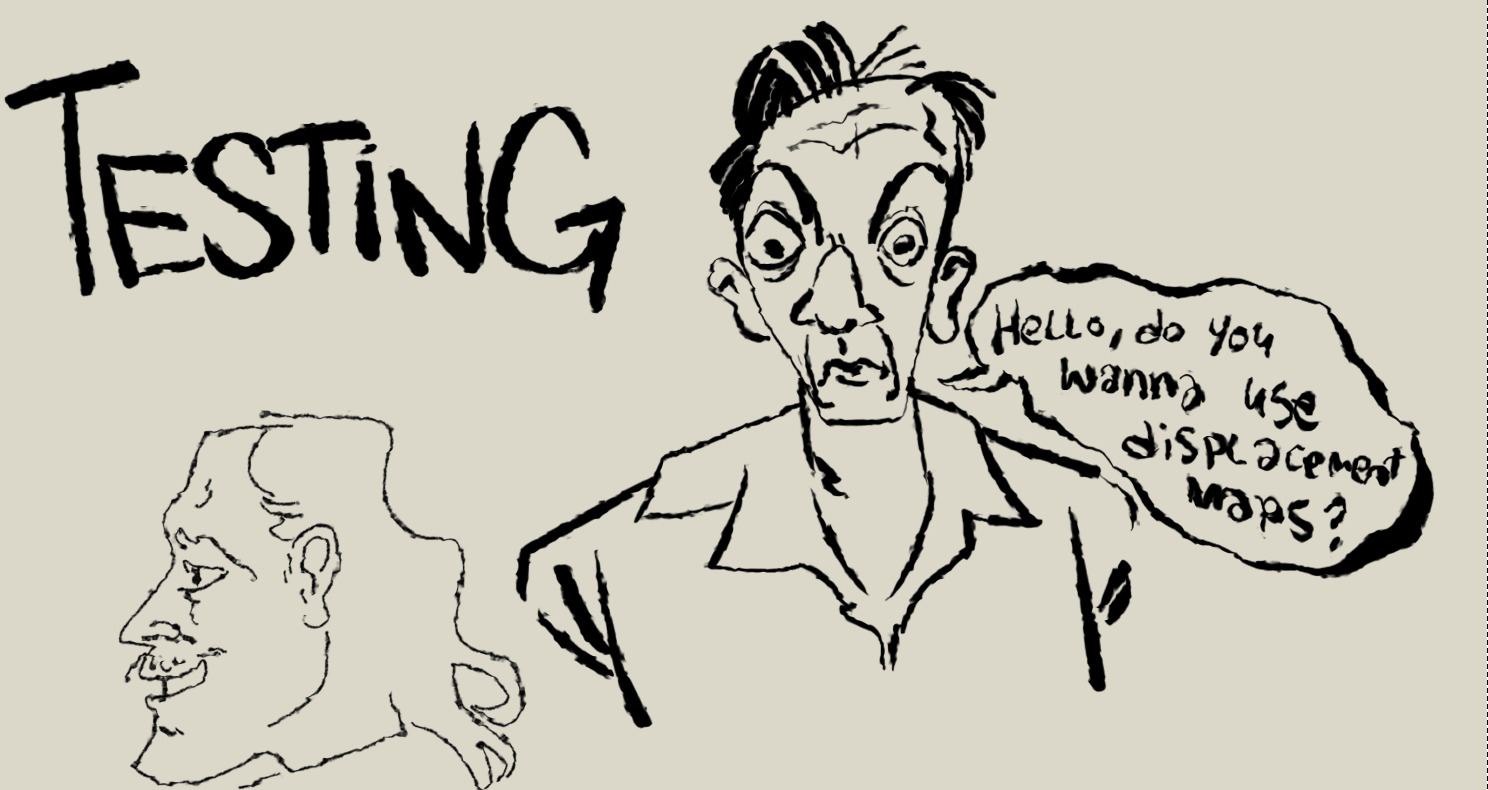

Immediately, this stands out to me as being useful for experimental shape design when crafting characters as well as being useful to emulate the look of newspaper/comic print.
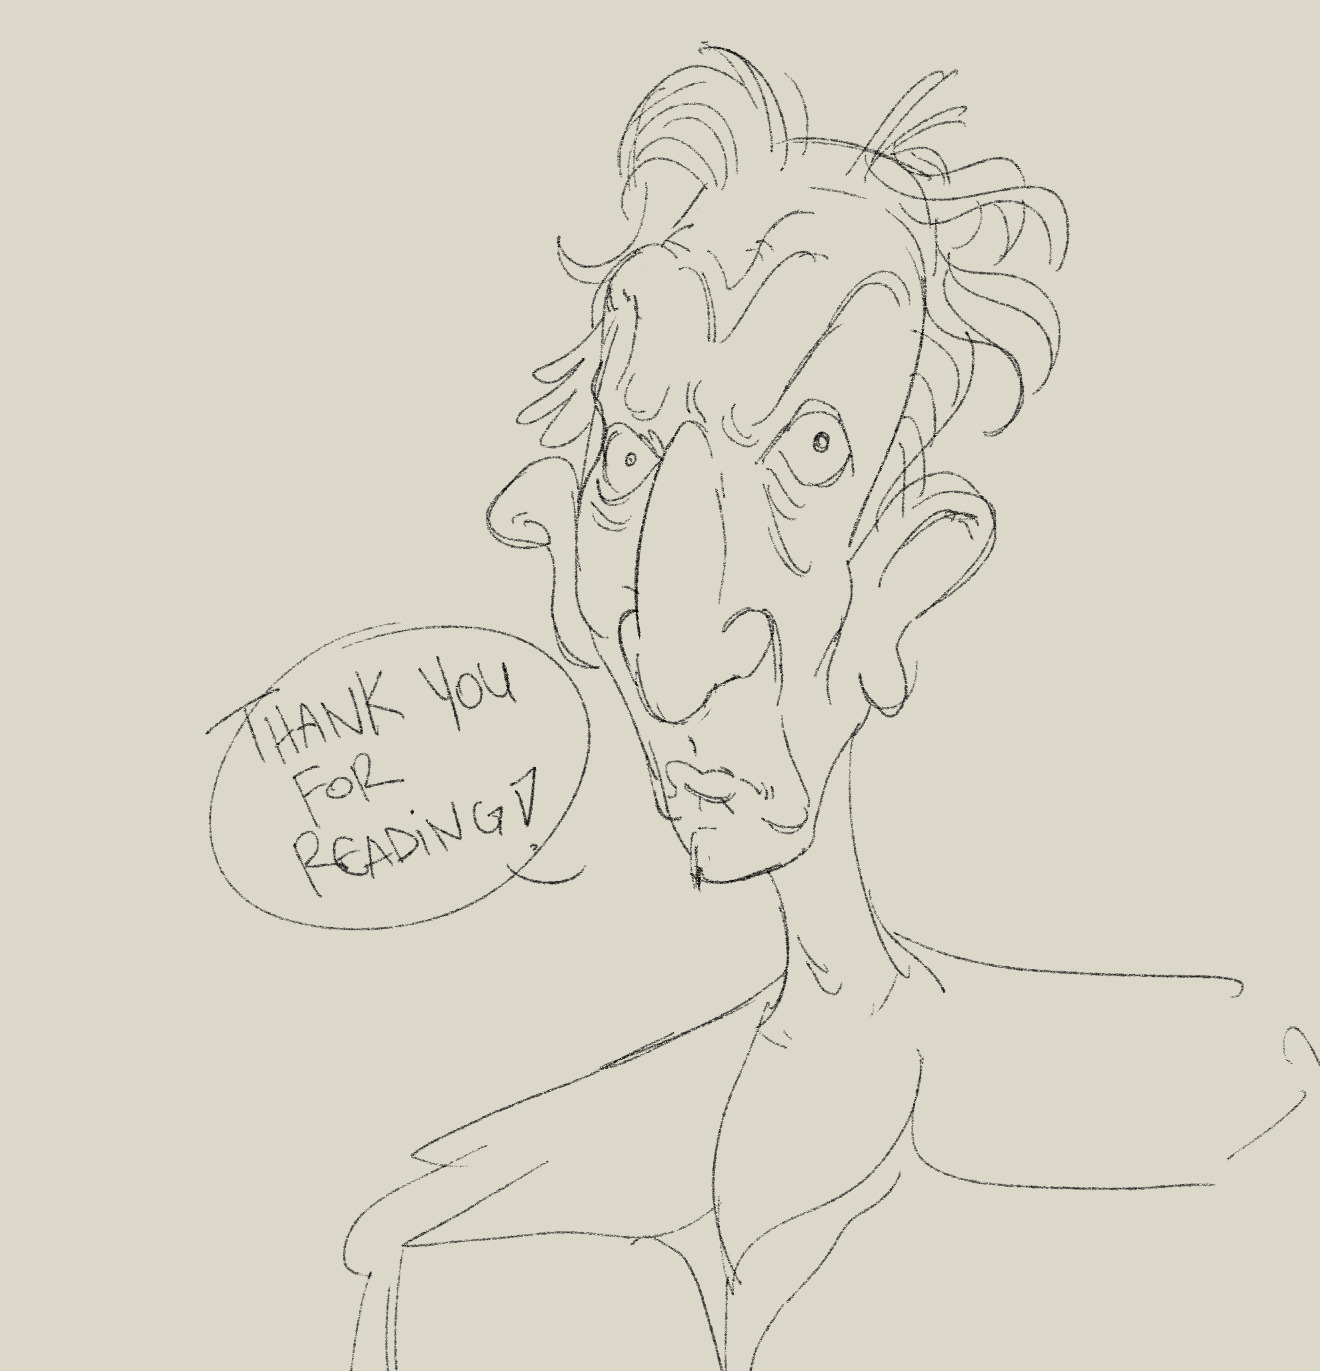
This single effect has a ton of potential for some really creative uses and I’d love to see what you all can come up with!