Giving myself a hand for opening a new sketchbook for the year.
From sketching the basic building blocks to drafting, I left all of the marks on one page to show how the basics help build a more believable drawing.
From sketching the basic building blocks to drafting, I left all of the marks on one page to show how the basics help build a more believable drawing.
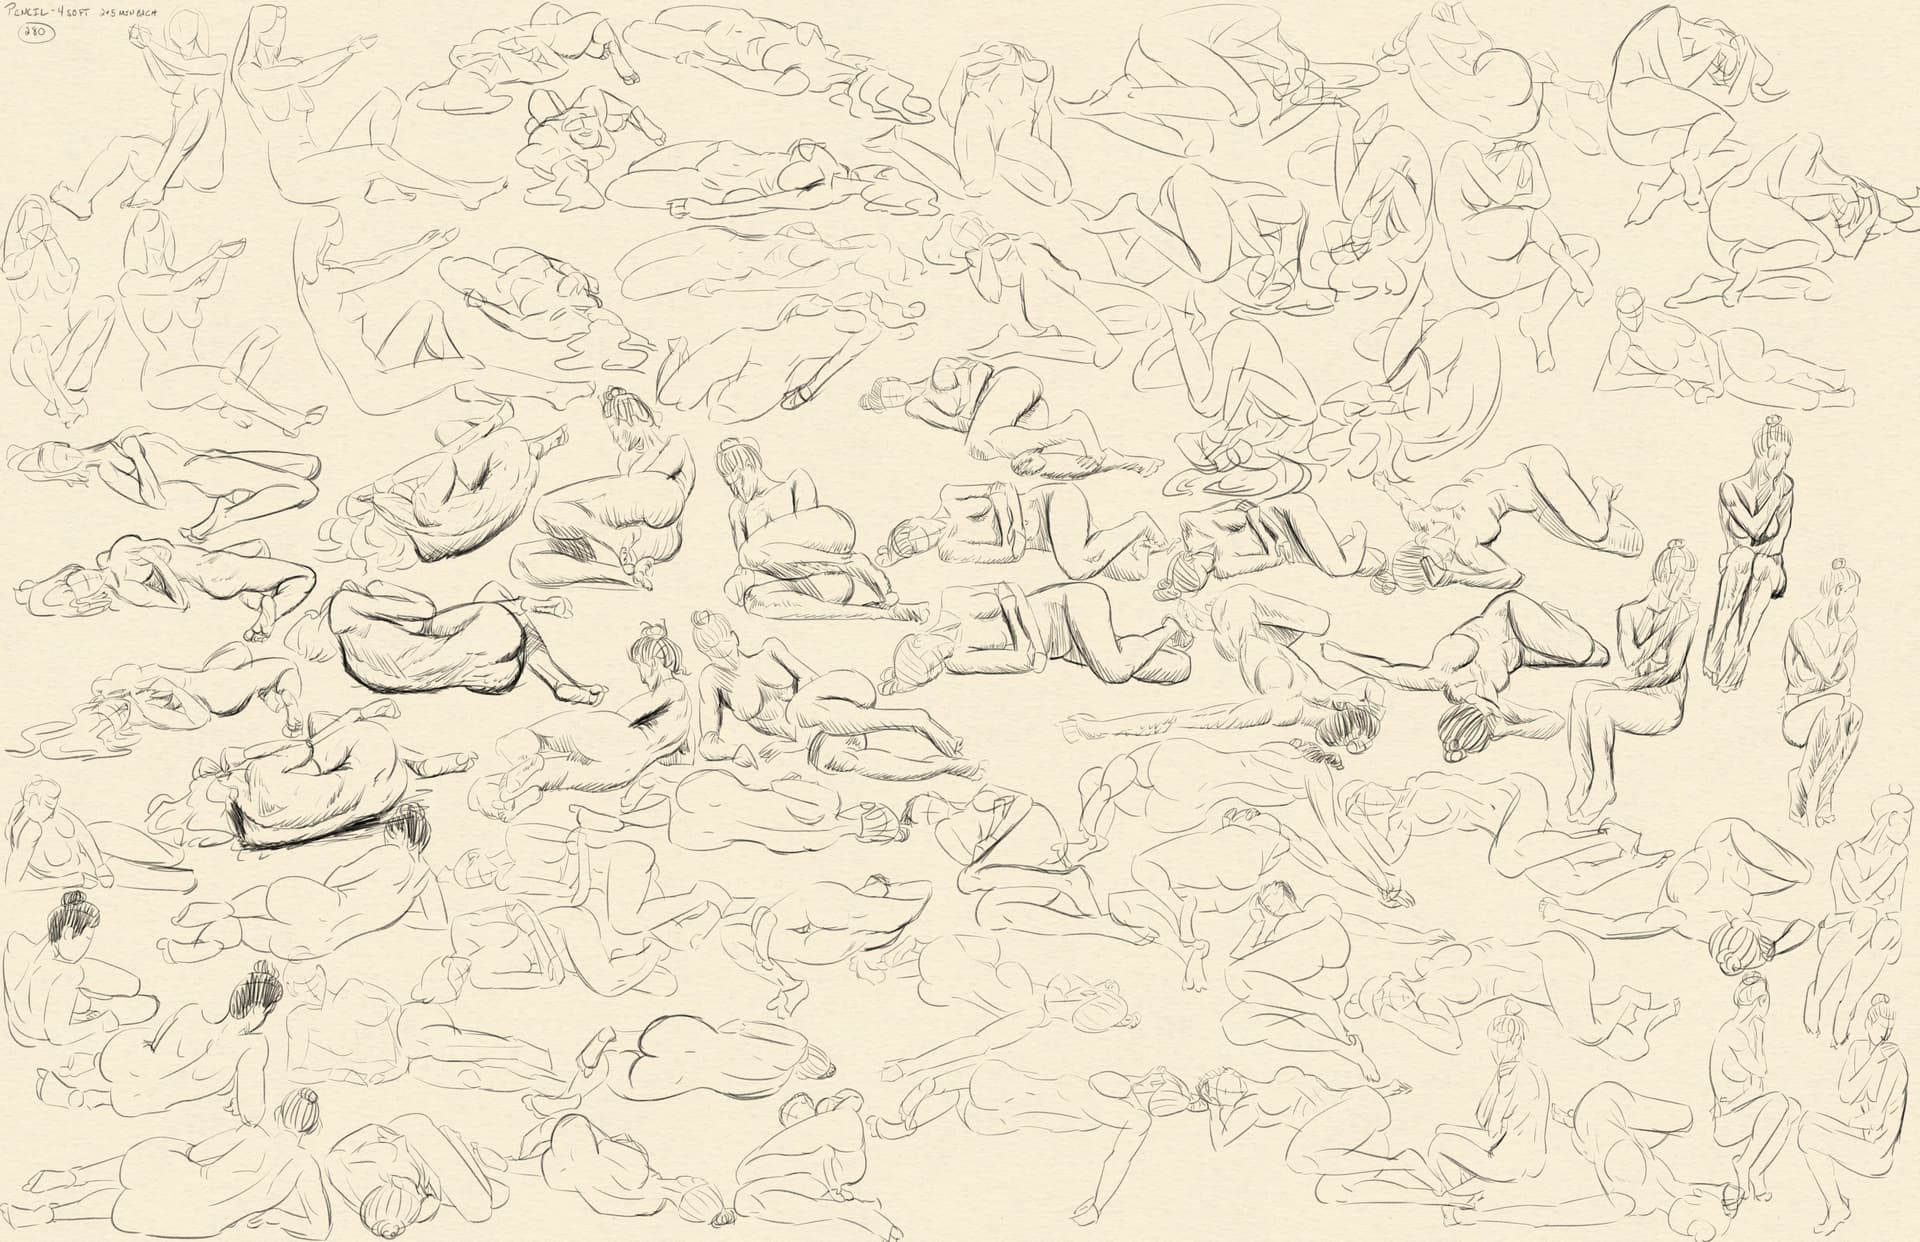
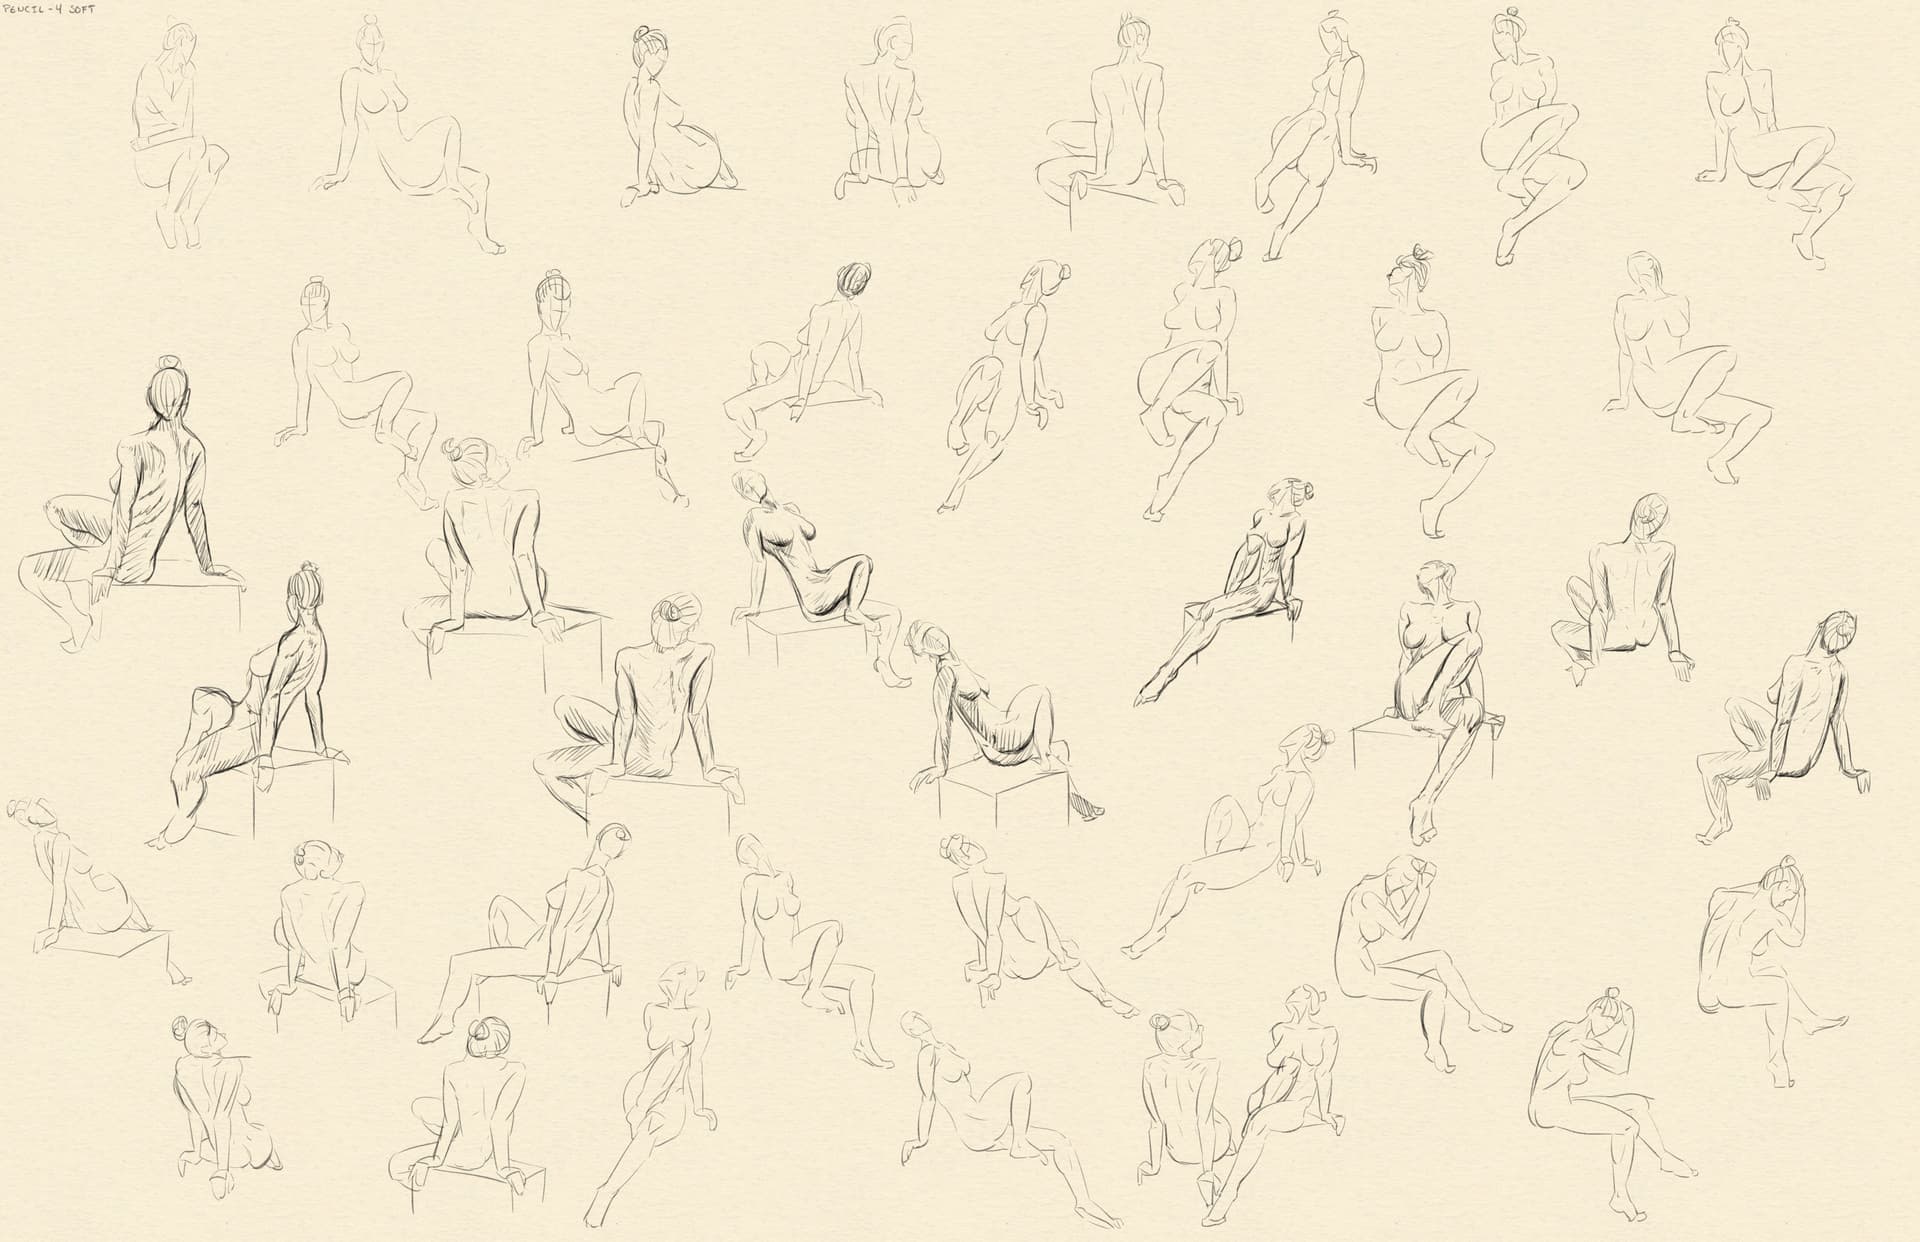
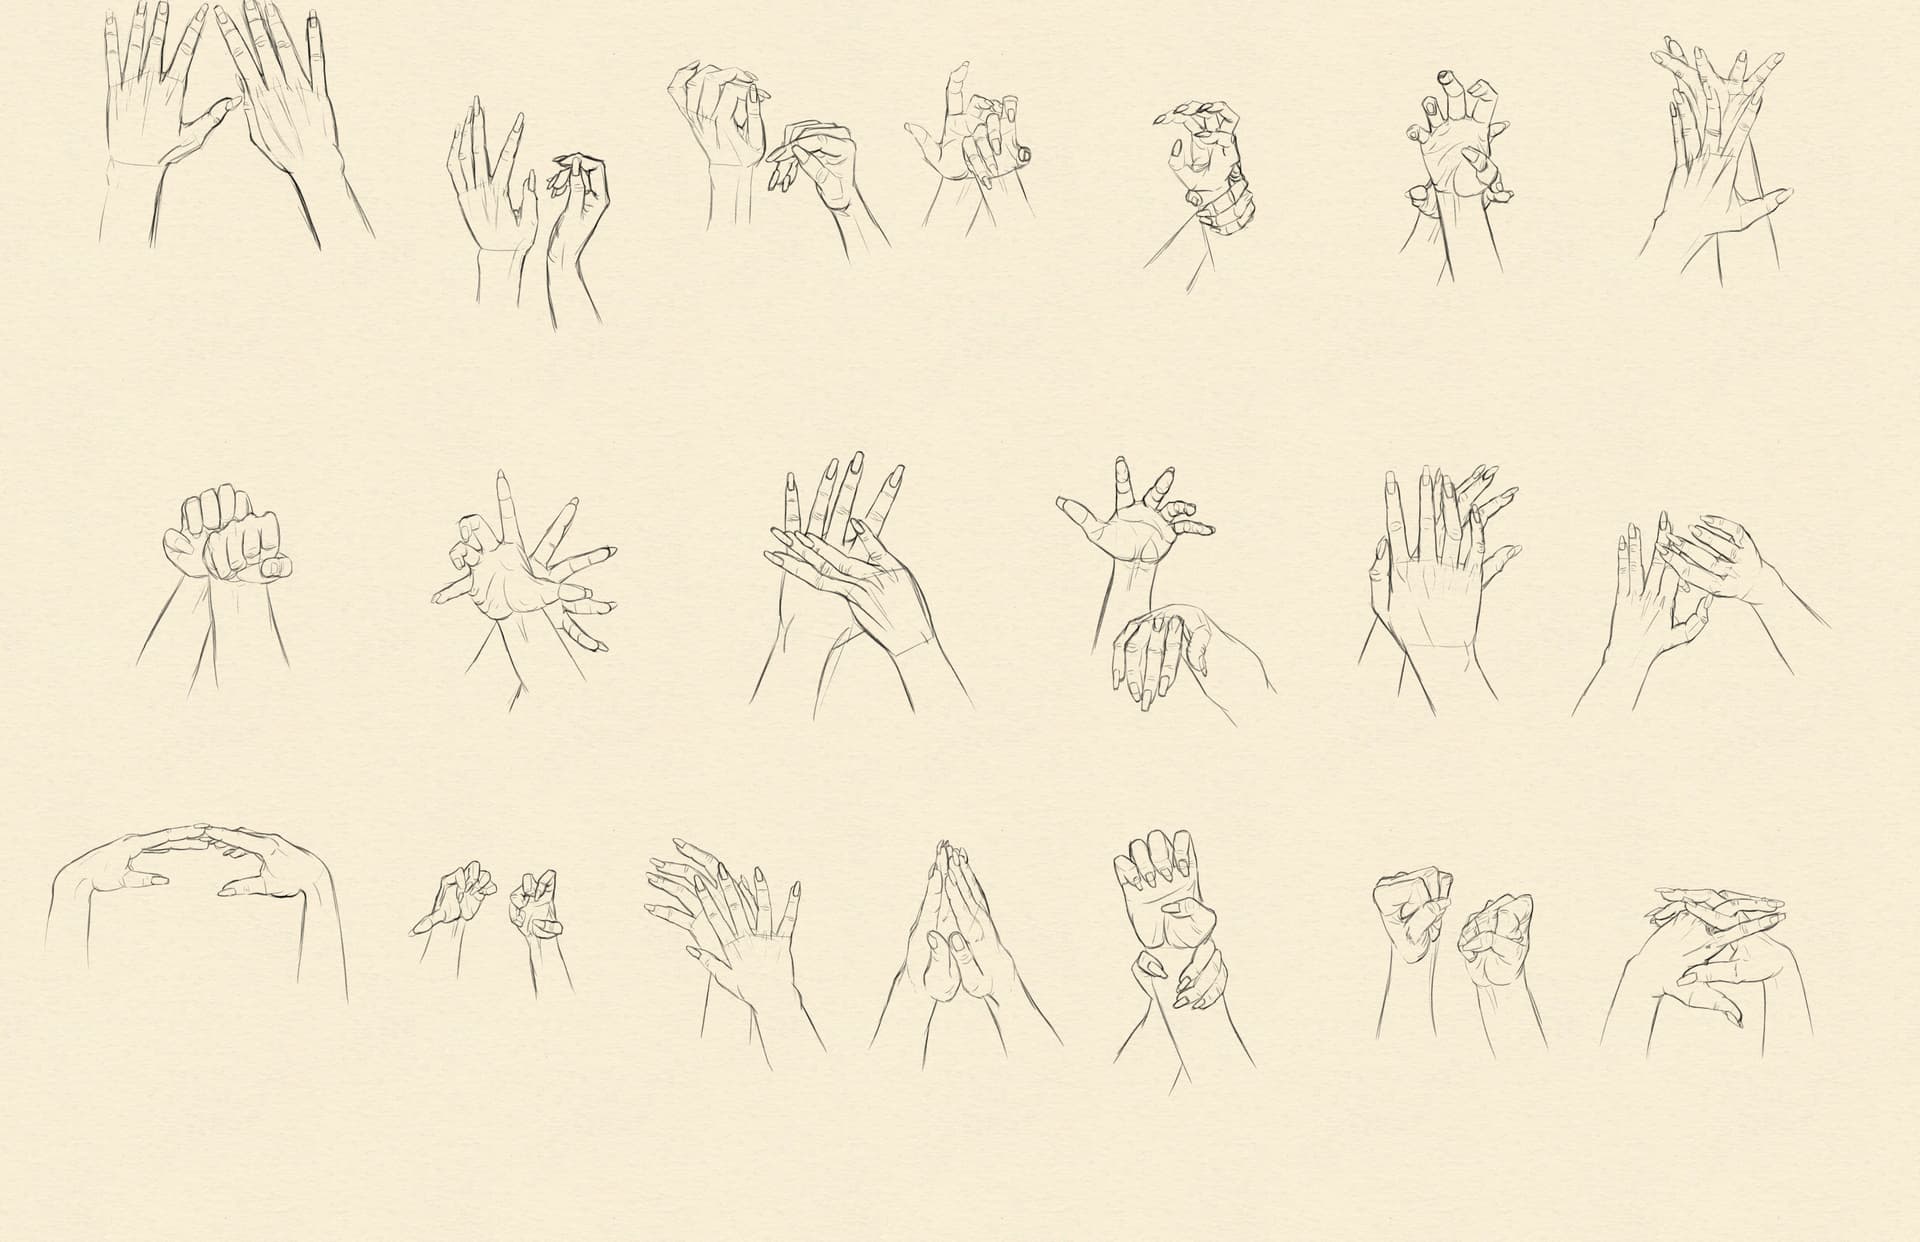
2 & 5 min gesture drawing.
Some of the poses were difficult. With the model on a turn table, it got a little frustrating drawing the same pose over and over.
However, pushing through the frustration and continuing to draw, I was able to get a little more comfortable drawing them.
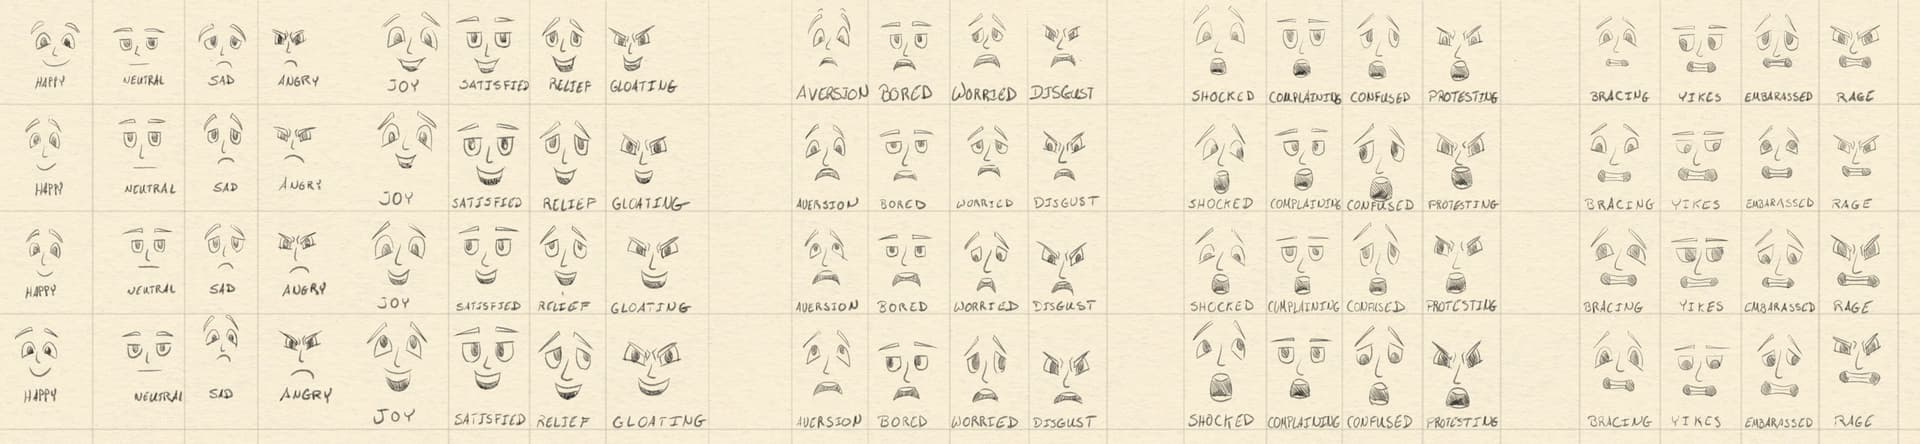
Lets make some faces!
In researching different ways to express emotions, I came across a video by Marc Brunet.
")
The video was very helpful in learning basic aspects of facial expressions. I probably went a little overboard but the repetition gave me an opportunity to do a bit of variation on the theme. It helped me understand that emotion can be captured in more parts than just the eyes and mouth.
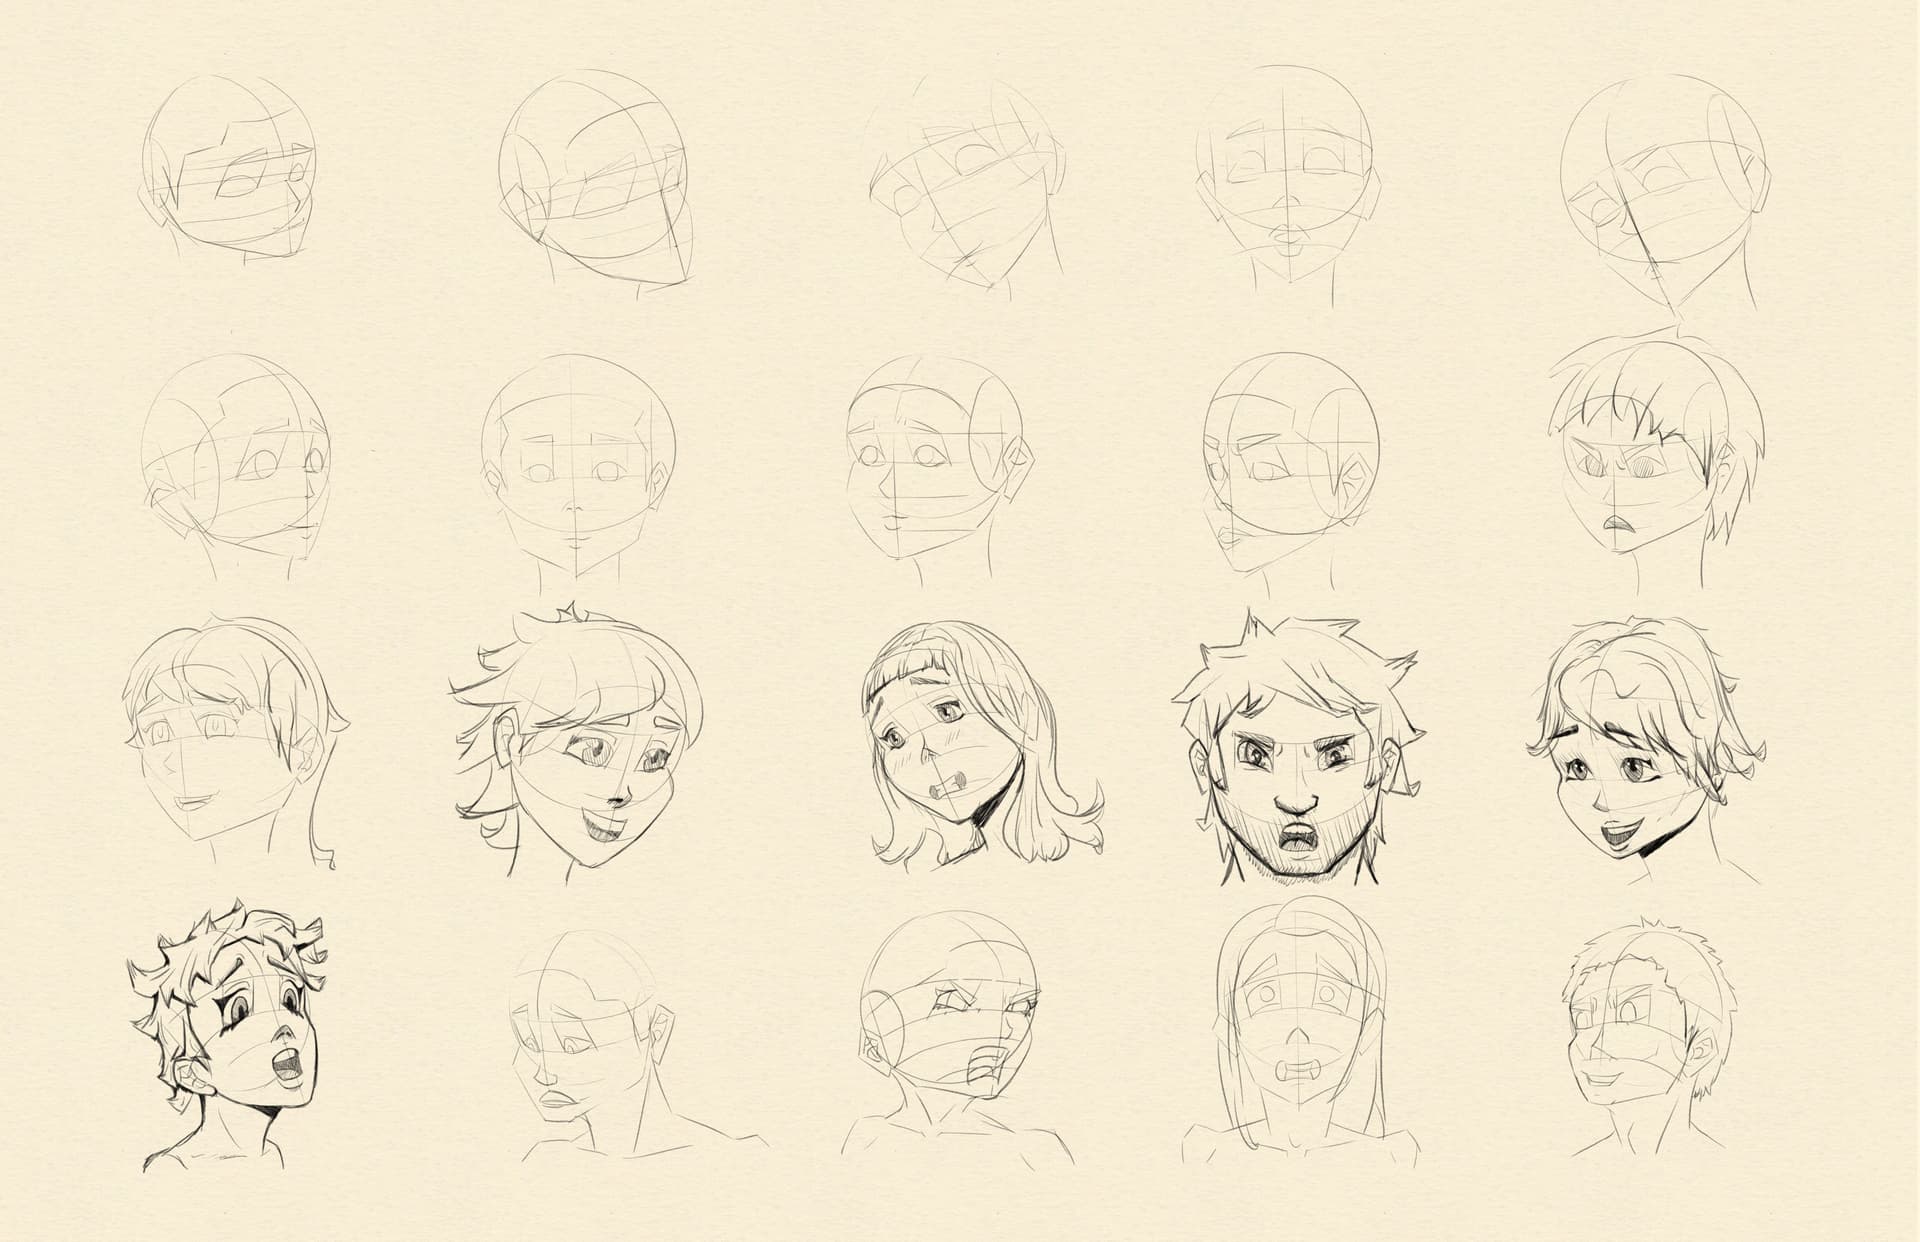
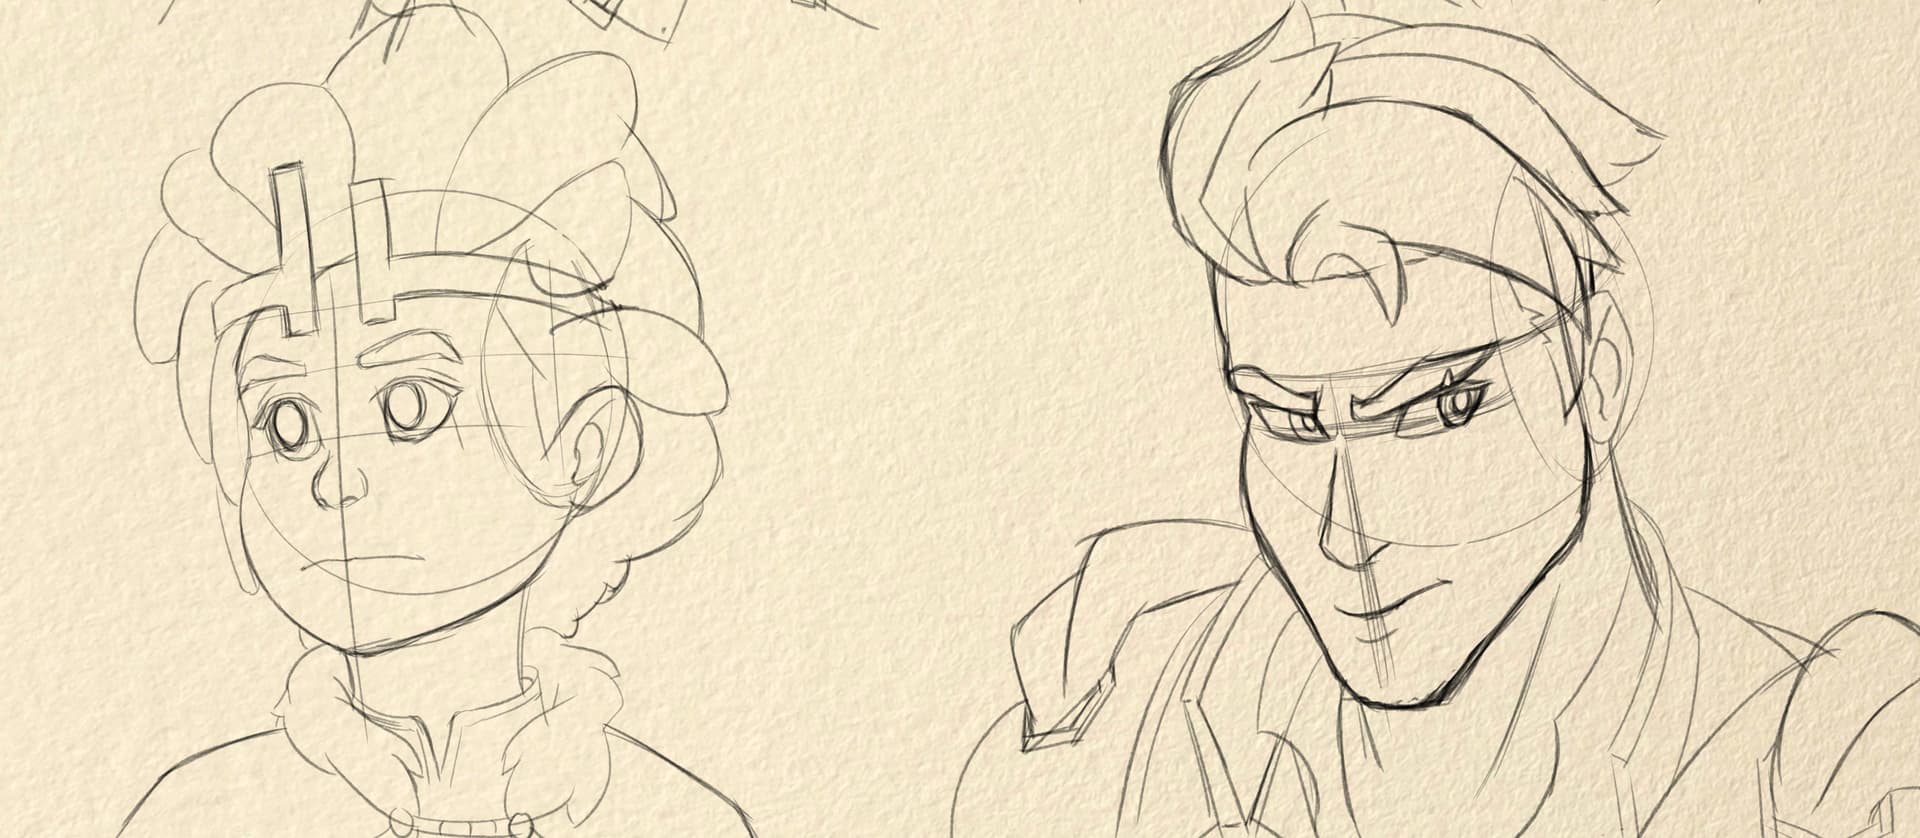
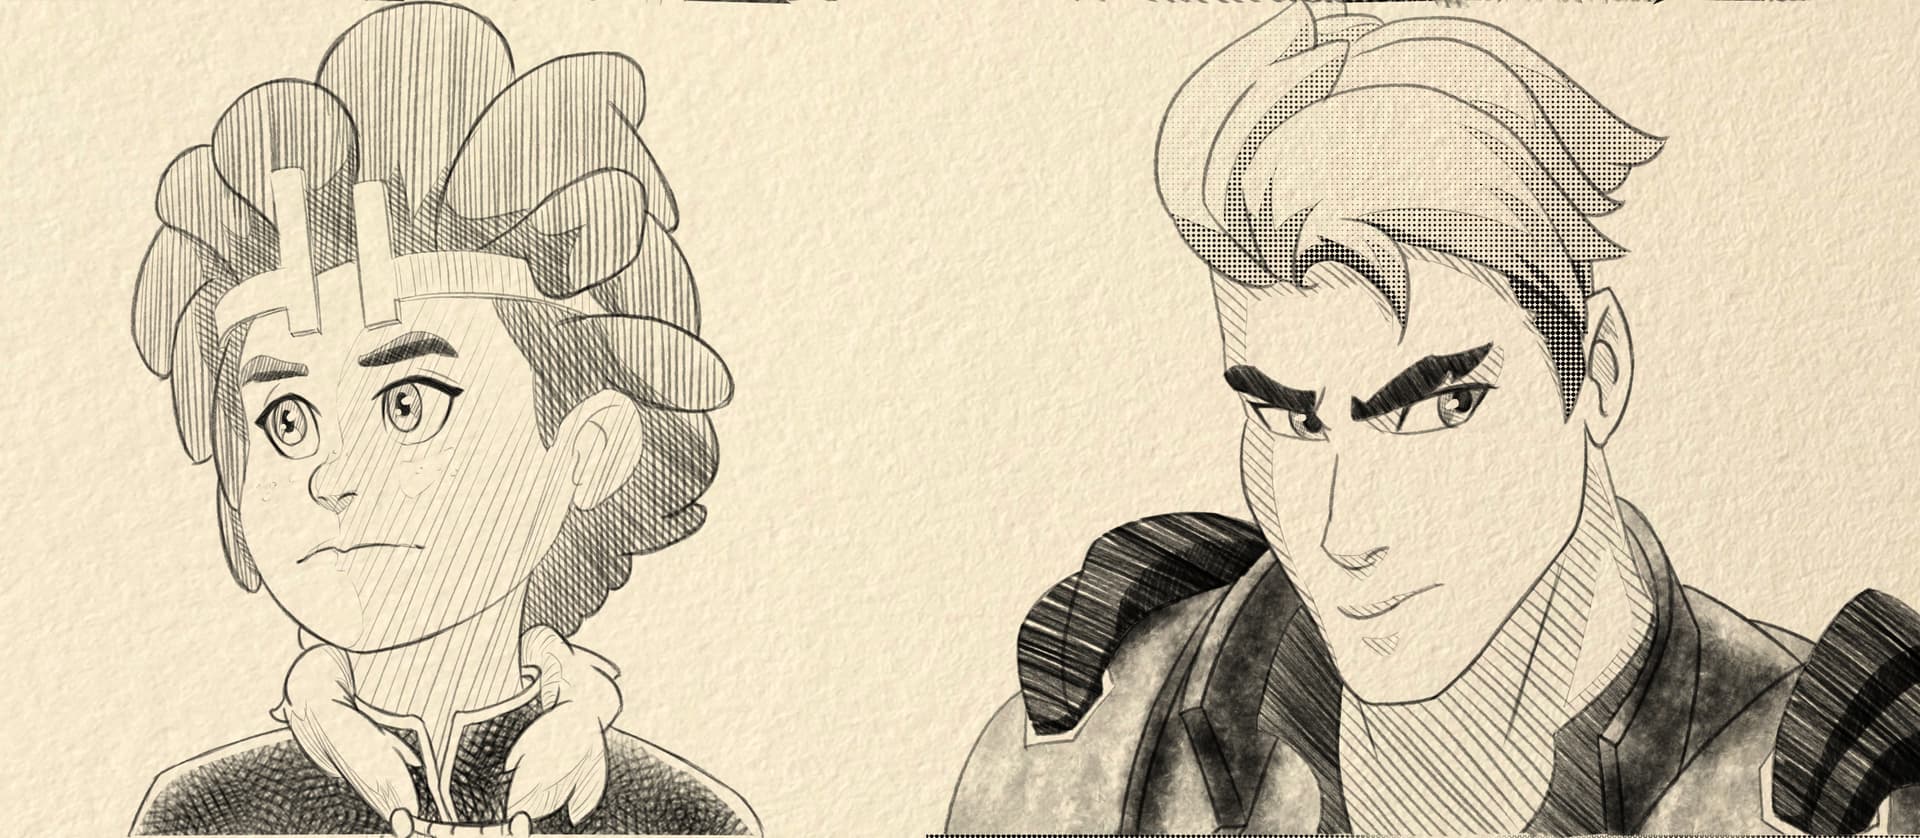
Applied what I learned about conveying emotions with the face by combining it with a practice in basic drafting and sketching portraits.
The first is the basic sketch while the second is the final sketch. You can use the keyboard to swap between the two to see how it developed.
As for the ones that basically look the same… I’m still working on my layer discipline. ![]()
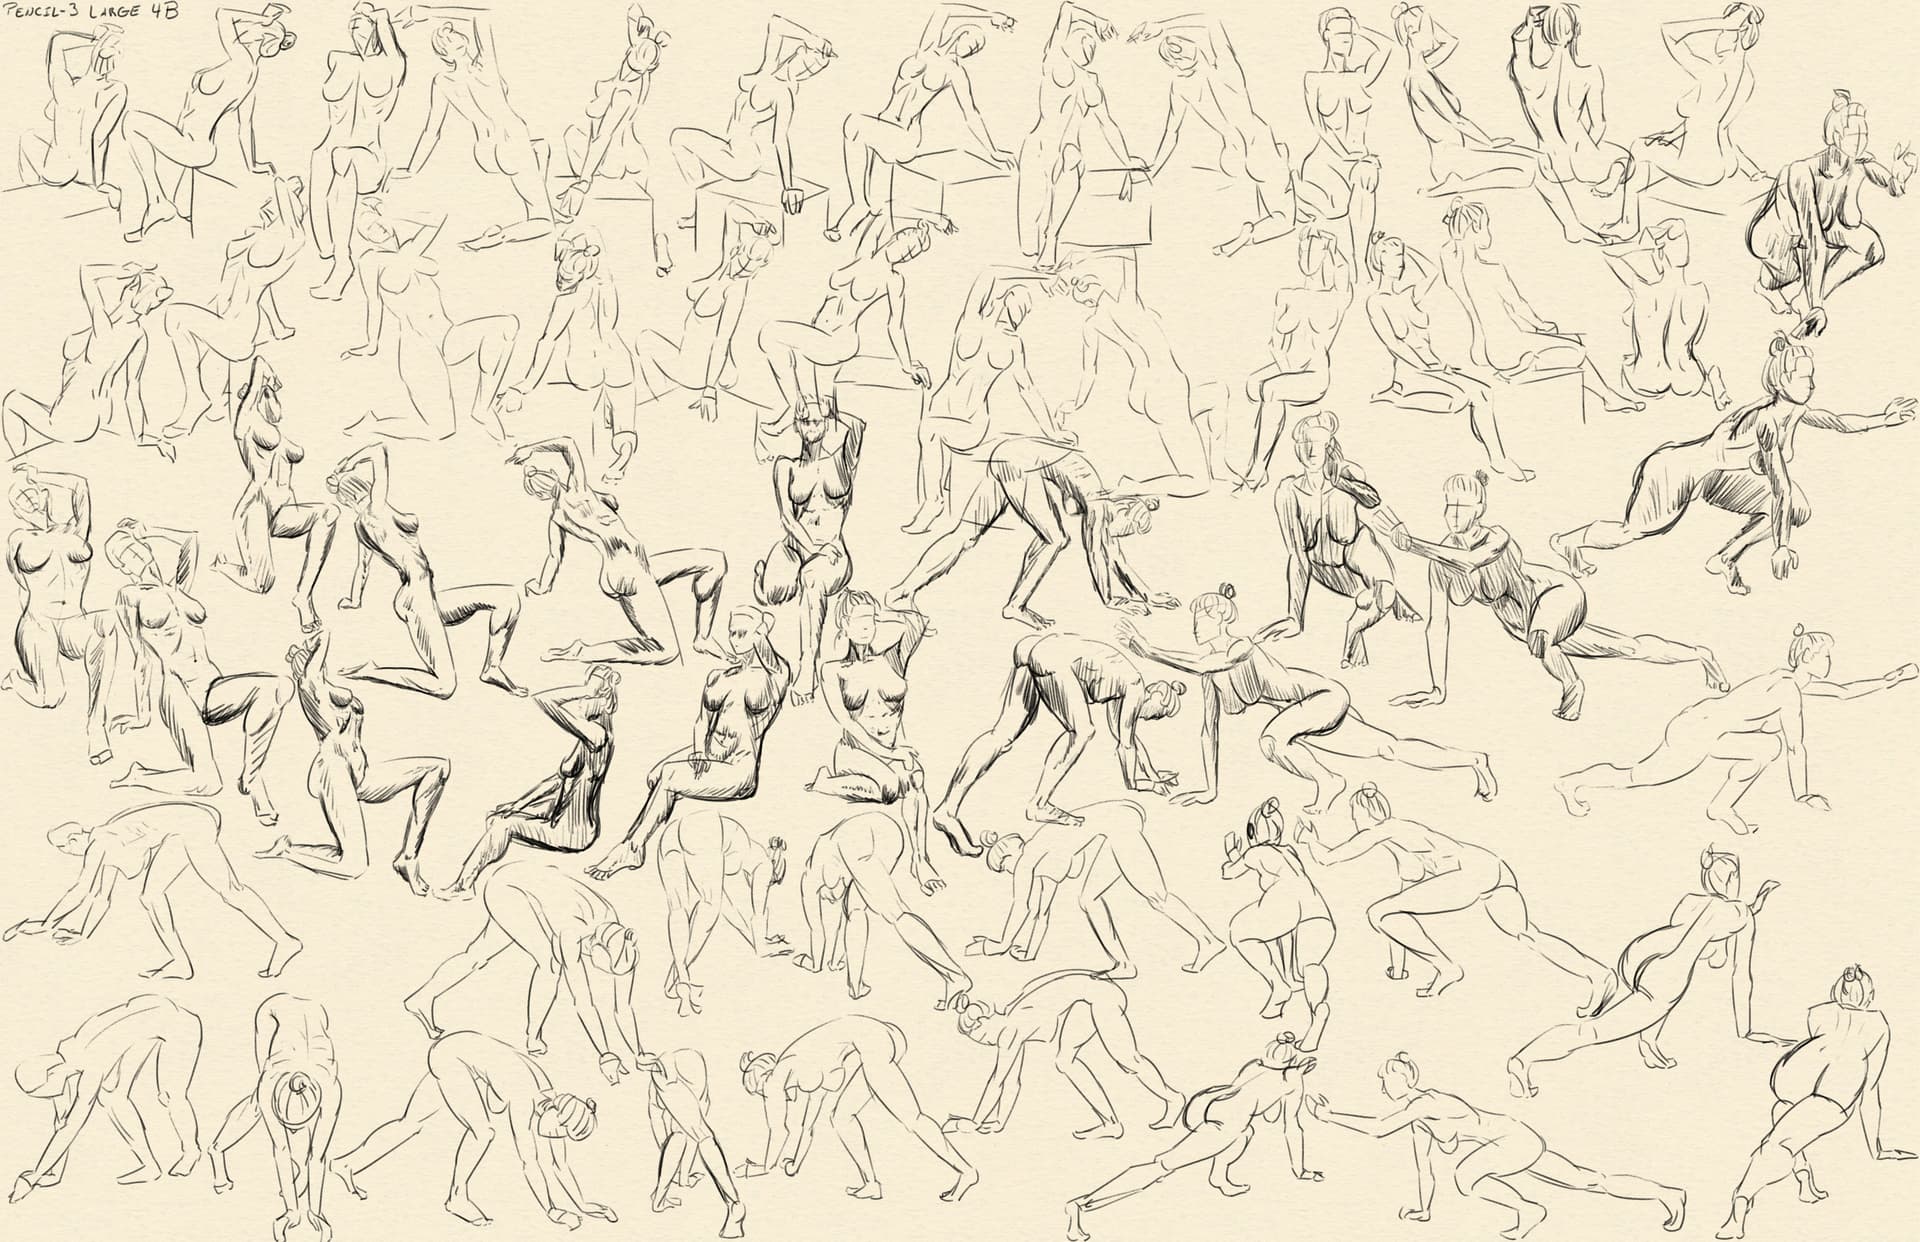
Trying out the Default Large 4B pencil. I was a little apprehensive at first but after a bunch of gesture drawings it’s growing on me.
The top and bottom third was 2 min each with the middle third 5 min each. I think I’m plateauing with gestures. I’m sure I can get better but I feel like it’s a diminishing return. However, I think just doing them exercises my memory on anatomy, so even if improvements are not that great it’s not a total loss.
Referenced a lot of different advertisements for this one. The ones with models are best otherwise you’re looking at a piece of clothing ironed flat or inflated by air; neither allow a good study on folds.
Pencil-3 Large 4B (Default)
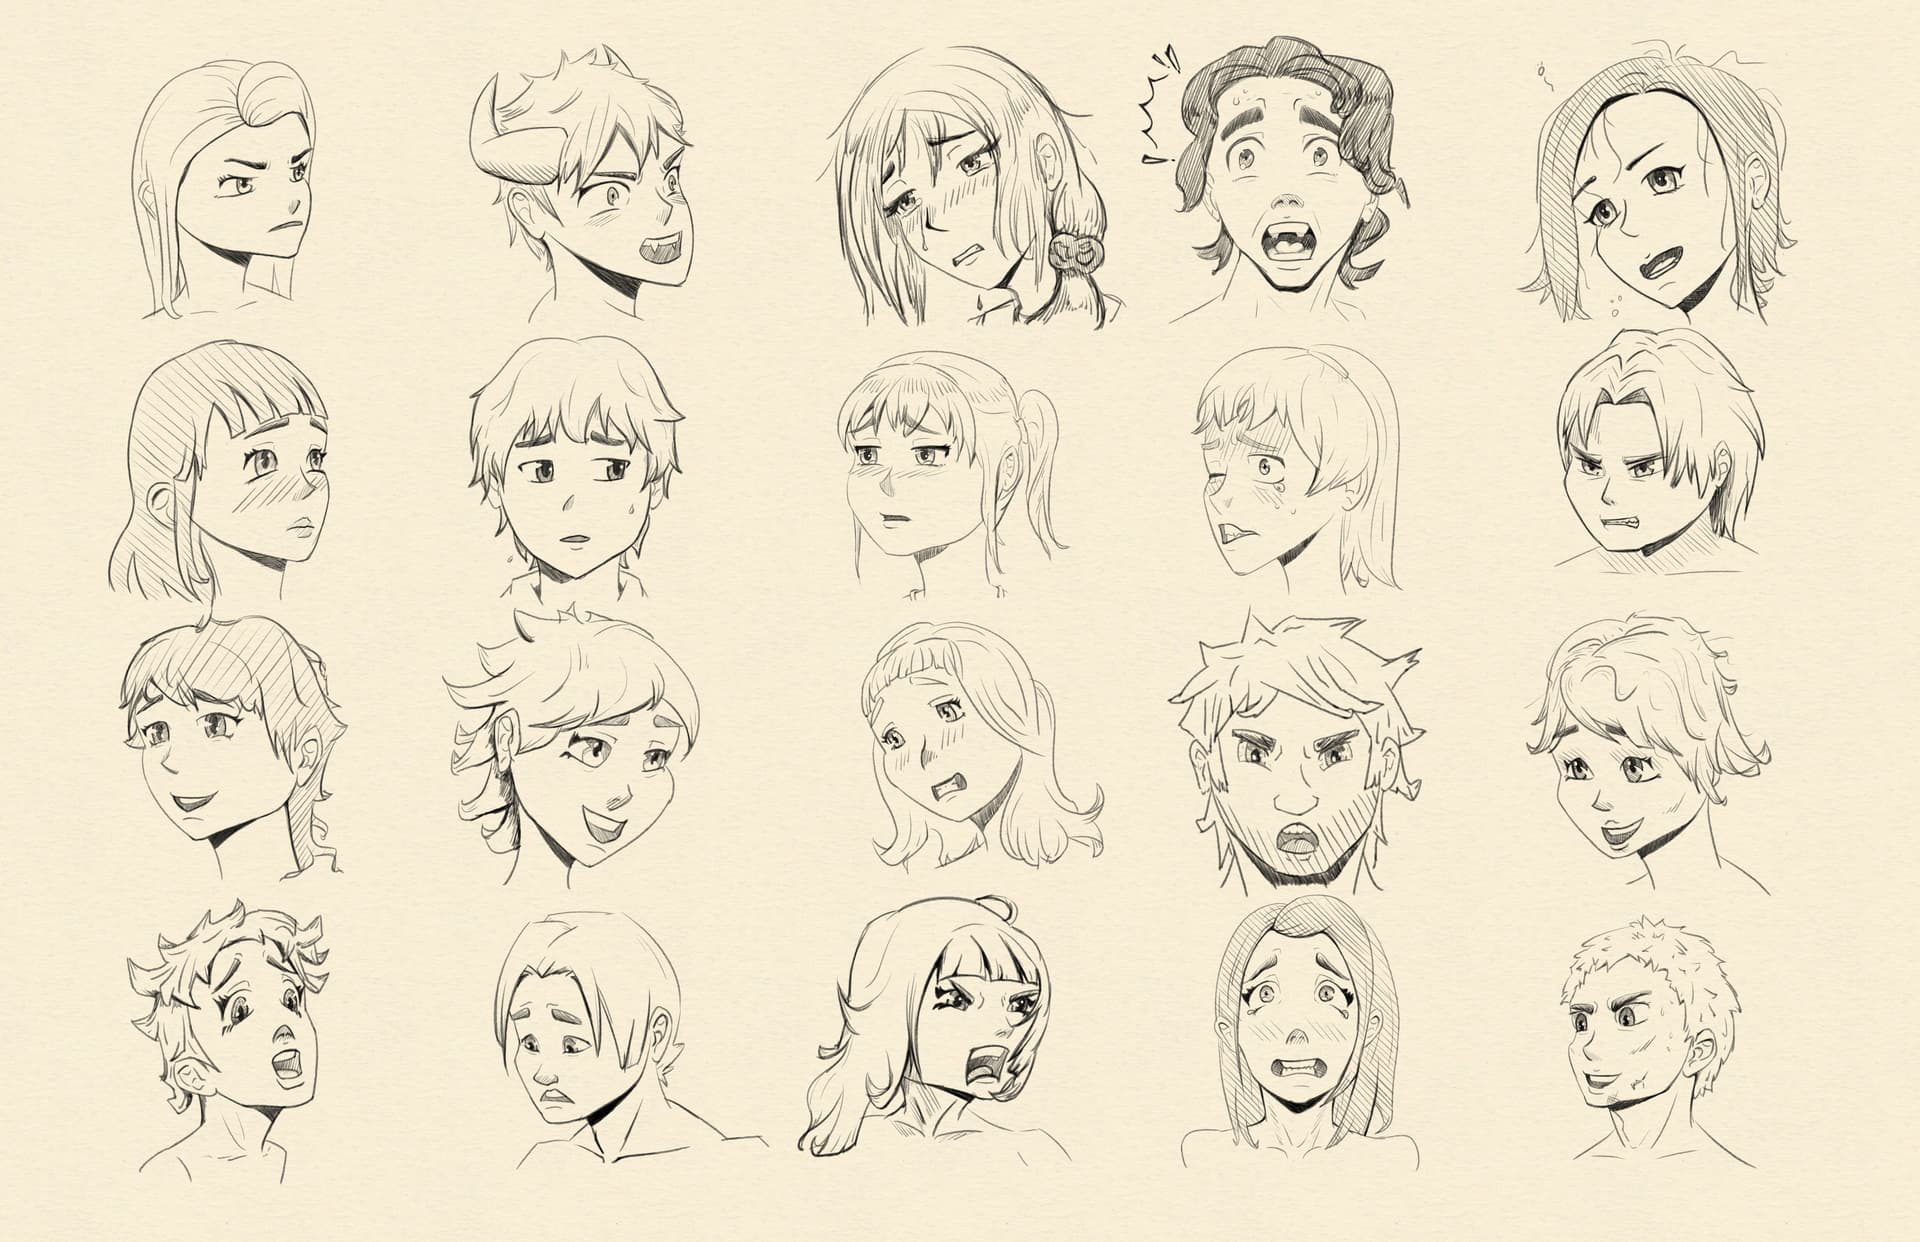
I was on the struggle bus on this set of portraits. Couldn’t tell if I was fighting the Loomis method or the American comic book style. Either way it was fun to give it a go.
These are excellent!
Michelist
Working on some perspective and backgrounds.
There were a couple of times where I got lost in some of the perspective lines but eventually I worked them out.
The method that worked for me was to make one person however sized you want. Then set the perspective vanishing point (Krita Assistant tool works great) and use the perspective lines to construct other boxes around the scene with the same dimensions as the first.
I’ve included the final draft along with perspective lines and flats with the other. The X’s on the walls were me looking for the middle of each of the wall windows.
More gestures.
Top and bottom rows are 5 min each with the middle row 10 min.
Doing gestures longer than 2 min I end up spending time on shading. I guess that’s okay, it does help me think about volume and shape. Even so, I can’t help but wonder if I should instead spend that time observing the subject and visualizing my pen strokes before making them.
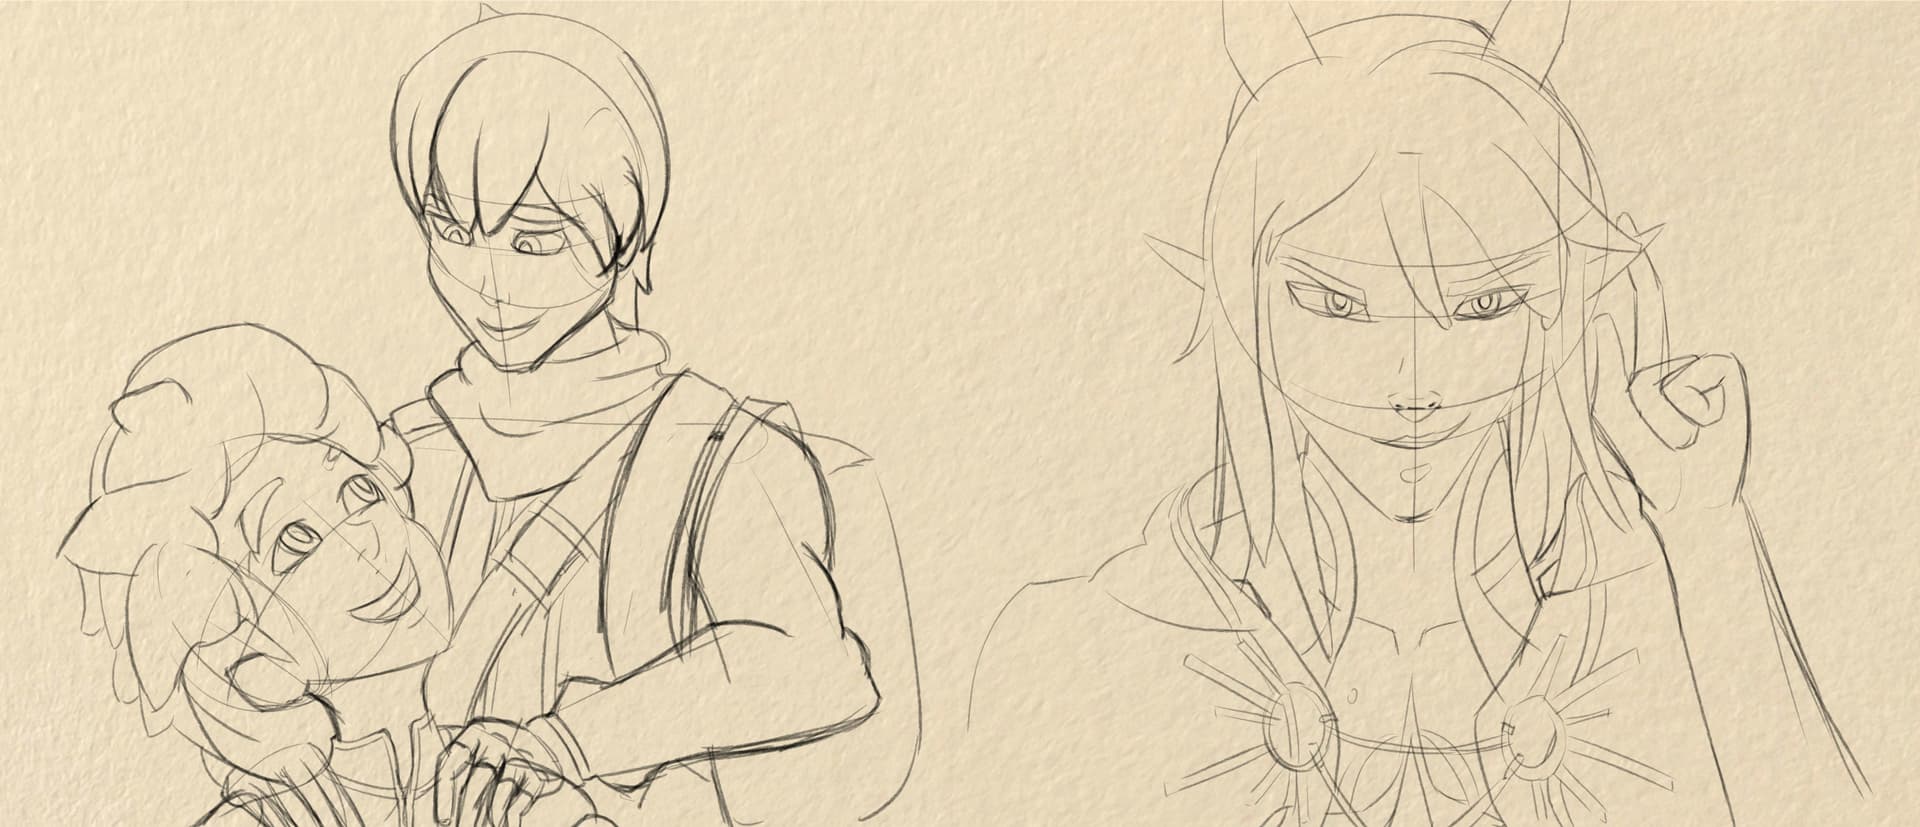
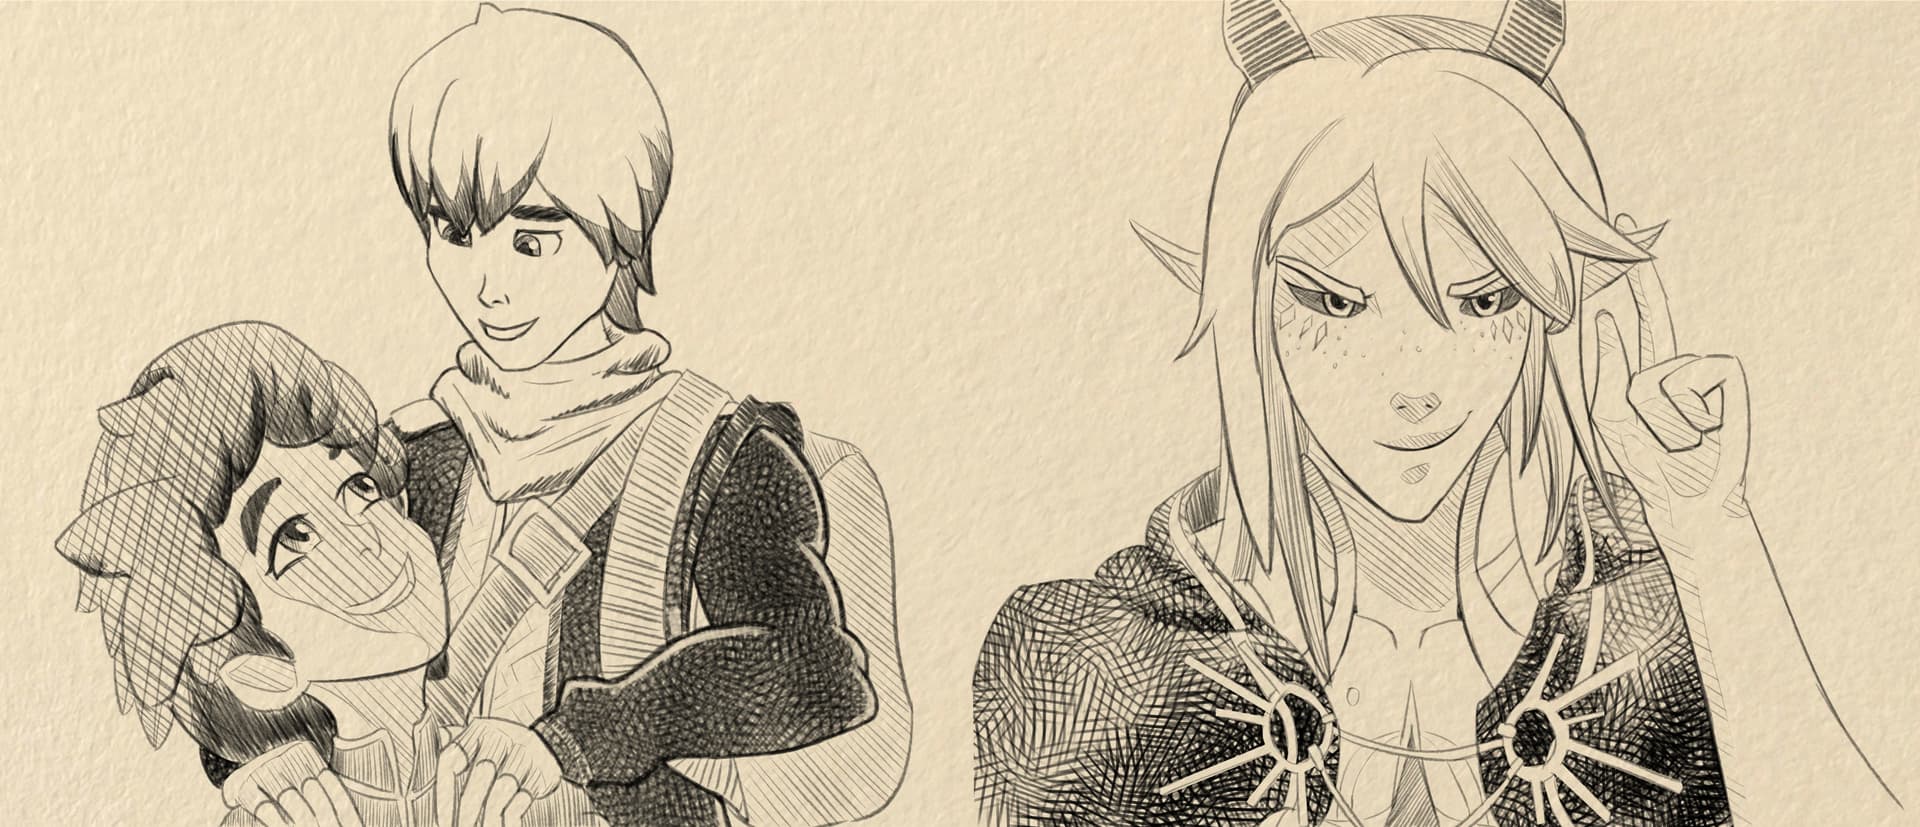
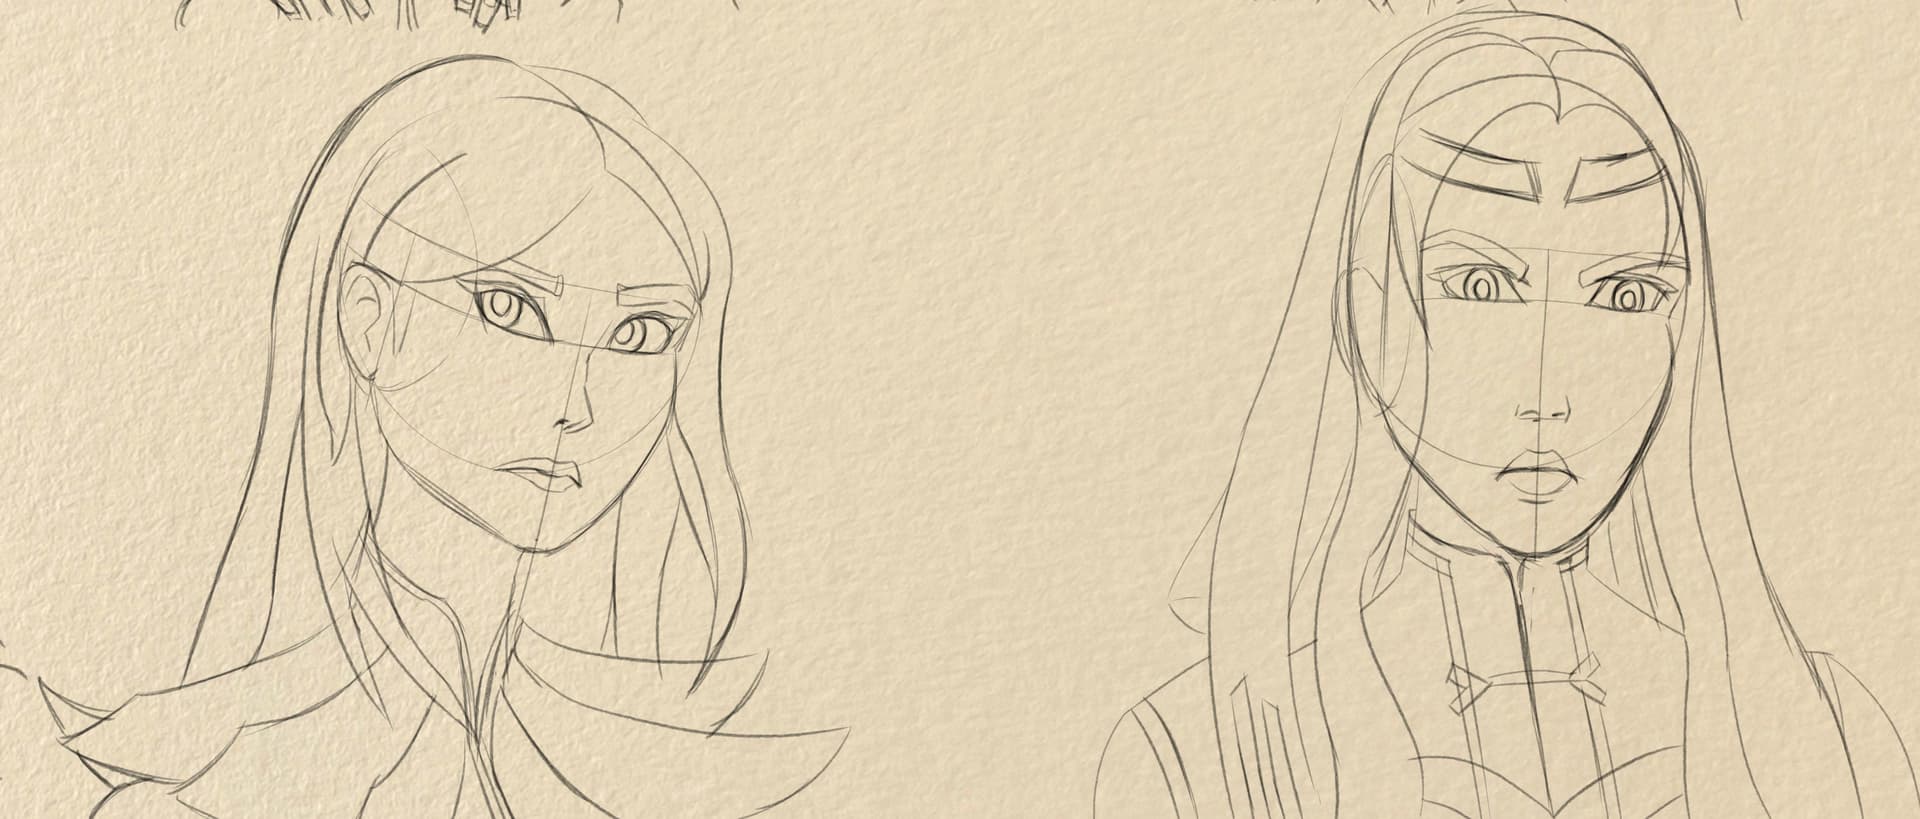
Showing my method with a twist.
I’m including the rough sketch along with the second (final) sketch. I’ll do them on separate layers to give myself feedback on how parts of the rough sketch feeds into the final sketch. That way if I research better basic shapes or observe how the spacing was off in the beginning I can catch and fix things in a future drawings BEFORE I get near the end.
At least that’s the theory. You can use your keyboard to flip back and fourth between the sketch and final.
The twist is working on this technique while doing fan art of the streaming series, “The Dragon Prince.” As well as experimenting with the default screen tones and textures in Krita.
Definitely not a loss keeping this kind of practice, this improve your observation and ability to notice proportion mistakes. If you think you already have decent reading speed when observing figure, try adding limbs pivot practice where you move some parts while locking other parts in place. Eventually you could do the 3D posing with only your imagination. Great work ![]() :, I should revisit this practice too
:, I should revisit this practice too ![]() .
.
@ynr_nohara , thanks for the tip. Moving some of the limbs should be a great test to see if I’ve improved on my observation and drawing skills with humans. If anything it’ll get me to push myself a little more.
Another pair of characters. This time I added to simple background to one of them. Hopping it’ll help make them pop a little more.
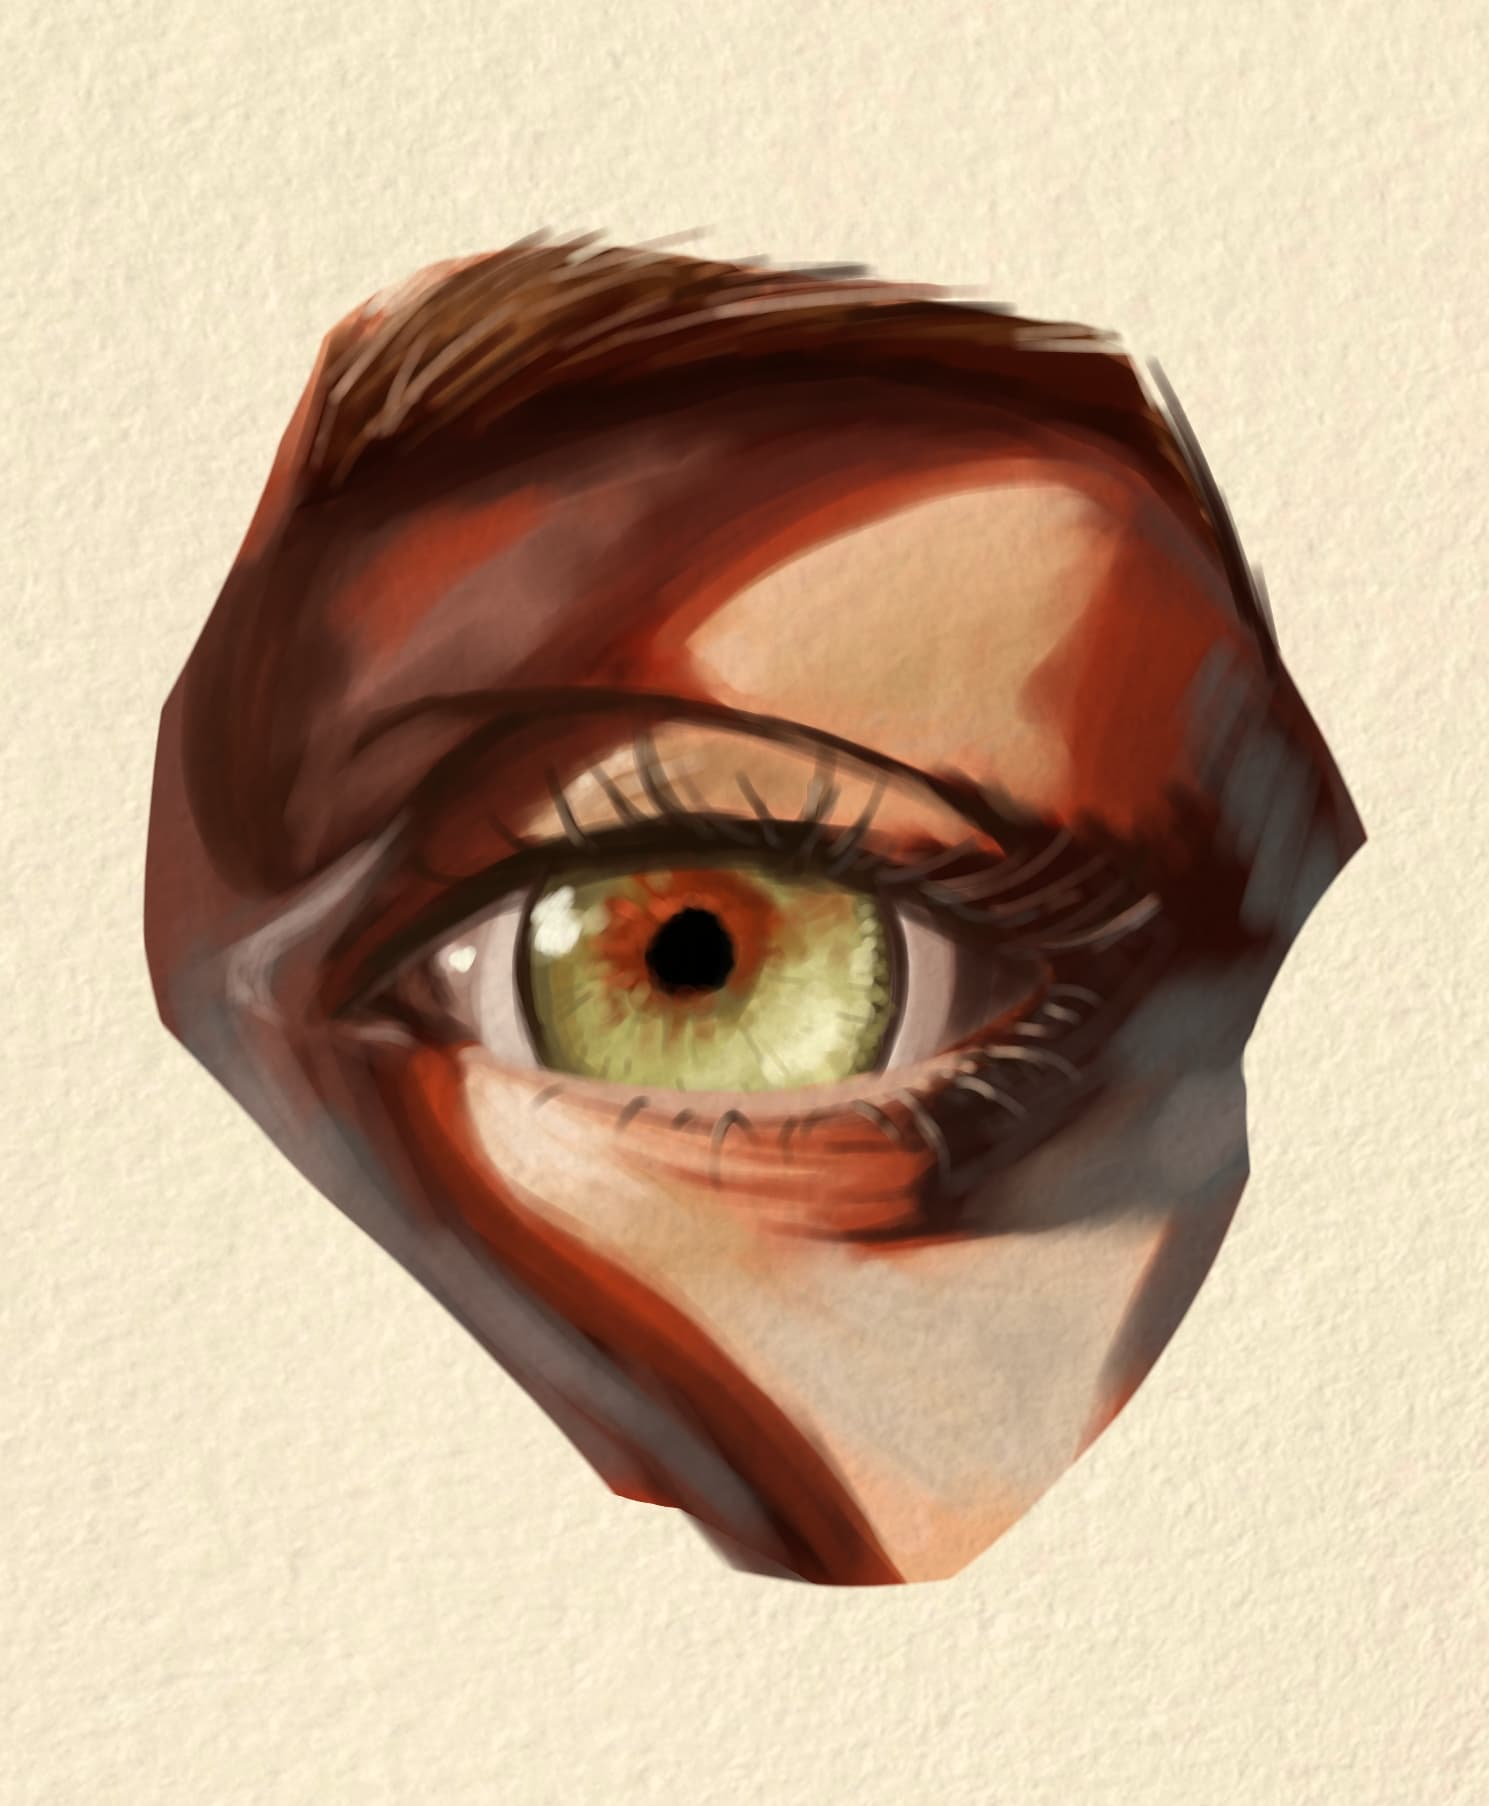
I always wonder, what’s the best way to turn greyscale into color in digital medium like Krita? I end up repainting everything and used the greyscale as reference only most of the time.
@ynr_nohara I haven’t tried that method yet. It does look like an easy button when they work in grayscale and then just throw down a gradient of color to finish it.
I typically go for the comic book style of laying down flats and then add a shading and highlights layer above them. Makes it easier to select certain parts of the work and I don’t have to worry about smearing onto other parts. Plus it makes it easy to make regional color adjustments later on.
I do have to be careful with layer control though. I did a paint along with an artist who used more than a dozen layers long before the half way point on the piece. I got so lost I just smashed all of mine down to one and painted my way to the end. Turned out to be much less of a headache and I ended up with a similar result.