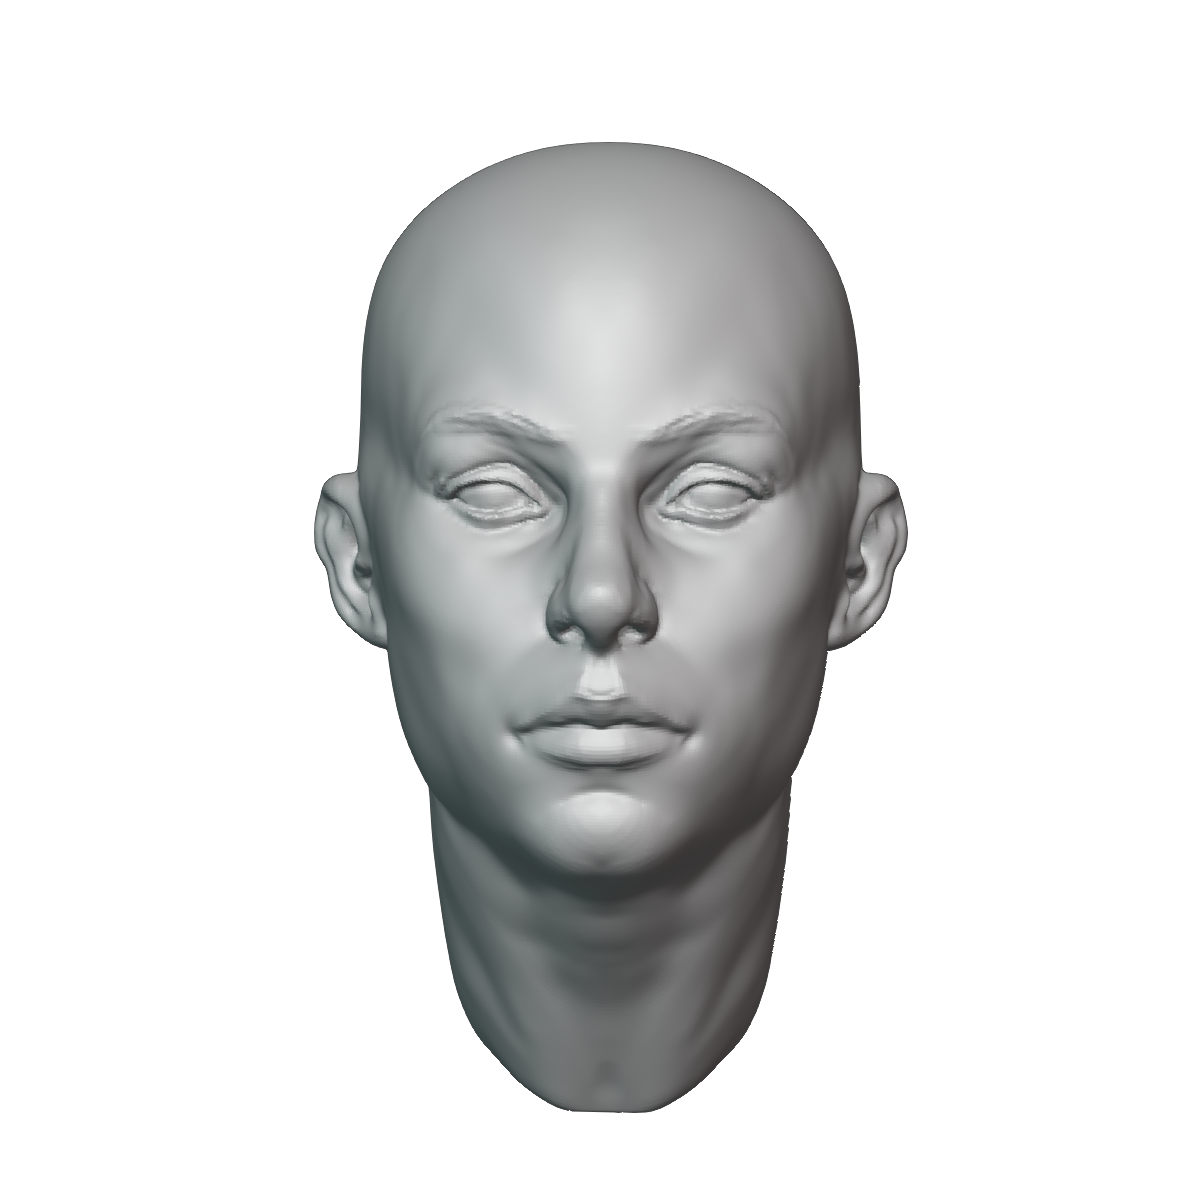
If you are having trouble with blender-krita add-ons, like me, then I hope this will help you. I have taken the .ply from blender and created ‘stamp’ brushes for the model. The .ply file is from here by riceart, and is allowed for commercial purposes as long as attribution is given. There are 16 female face models, with 180 degree range (full 360 degree range possible with mirroring.) I have also included a screenshot of the attribution and the original .ply file, if you wish to open it on blender.
This is the first model that all are based around:
Thank you for sharing your work with the community.
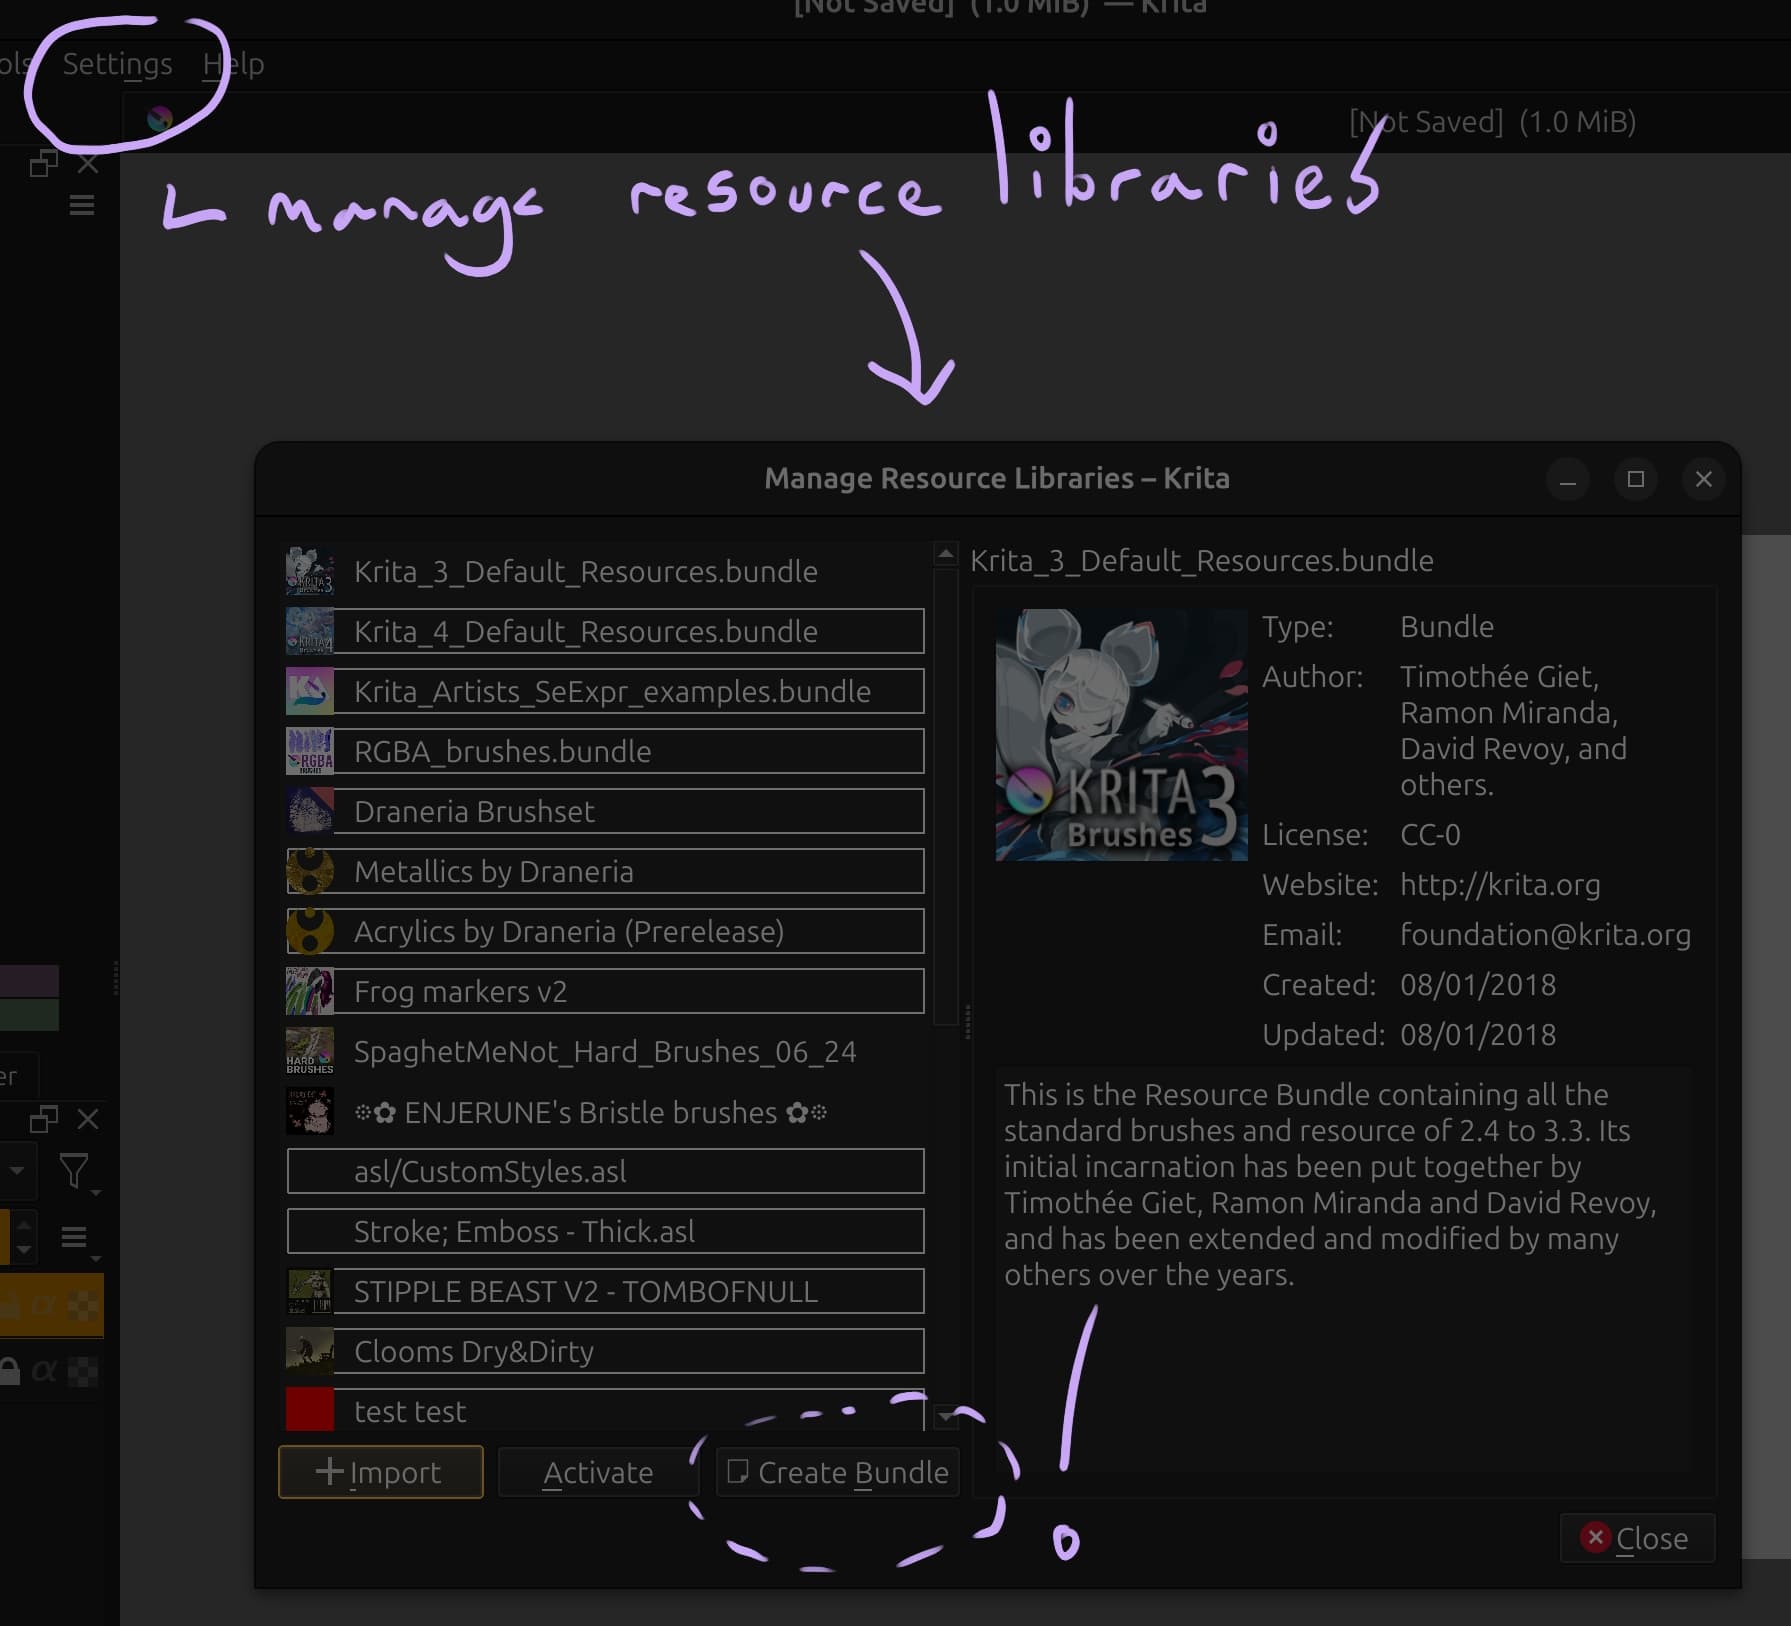
By the way, your way of distribution is a loose collection of resources belonging together, but not what Krita users expect if something is tagged or named as bundle. A bundle is a file which contains all parts of a collection like those you published so far.
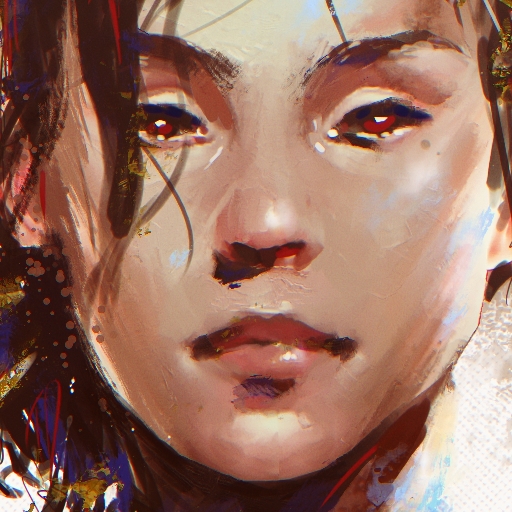
I took the liberty of tagging them and making it a bundle so it’s easier for people who aren’t sure what to do with .kpp files. Also I painted this using your base today, it’s exactly what I’ve been needing ദ്ദി/ᐠ。‸。ᐟ\
Like every good software that adheres to standards, Krita has a “wonder-button” hidden under the keyF1, nearly every time you wonder how something may work, where to find something, this button has a solution to discover, like in this chapter here where it describes how a bundle is made using Krita:
F1 is the button who leads to the manual of a software …
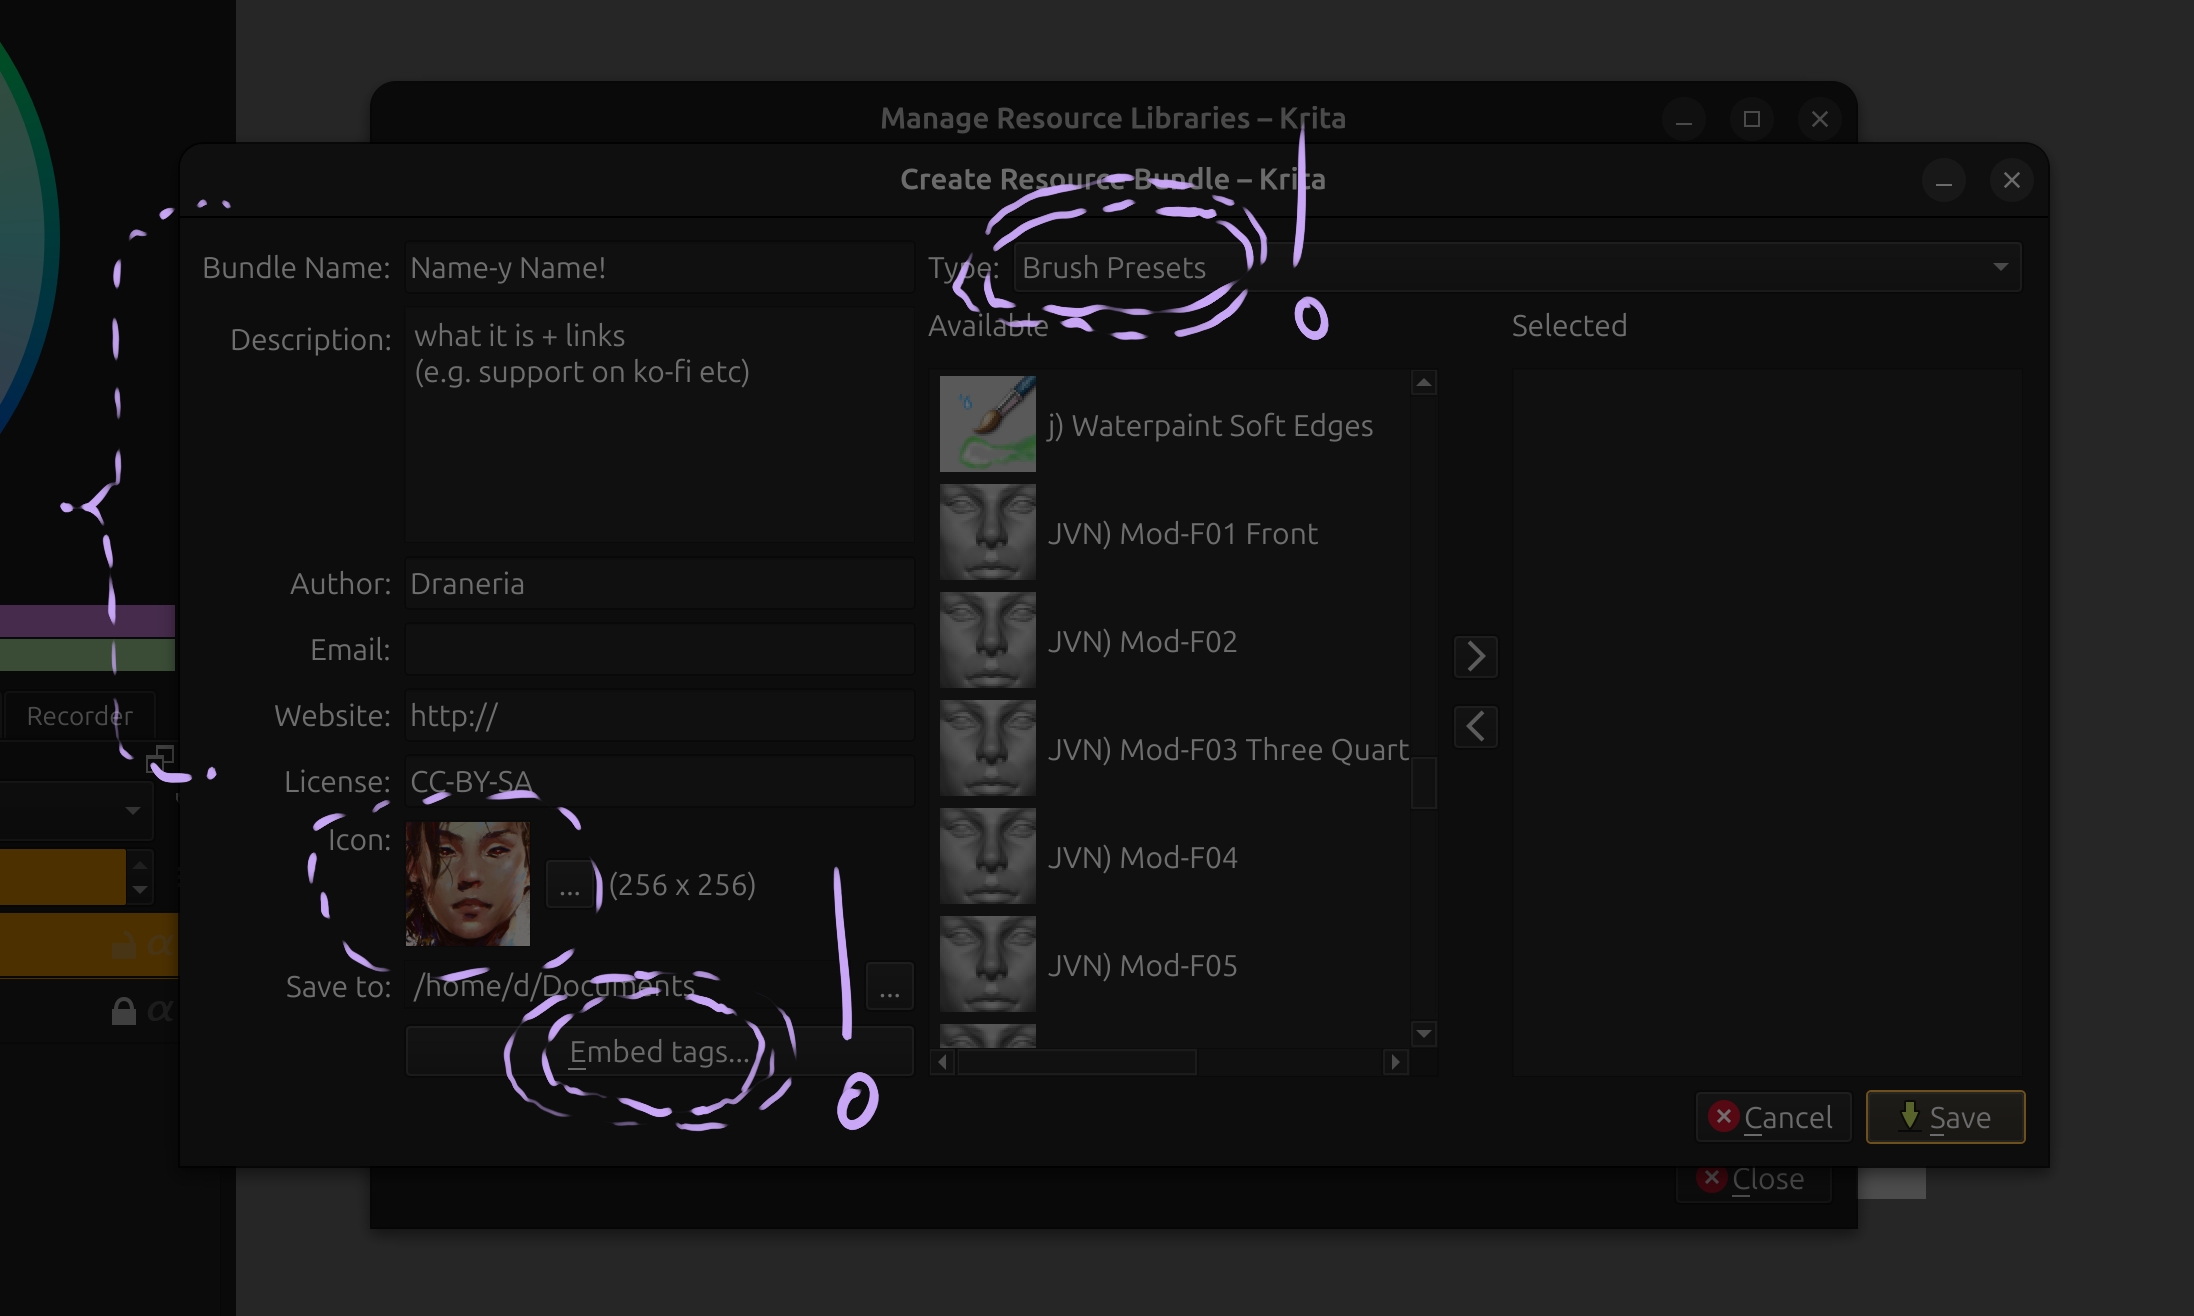
! Notes: Brushes are actually referred to as “brush presets” - that can trip ppl up. Everything gets bundled into the “preset” so you don’t need to do the brush tips as well, for example.
! Notes (2): Tags! Always embed the tag - it makes stuff easier for the user.