I’ve tried G’mic edge and edges filters, but they’re not quite consistent.
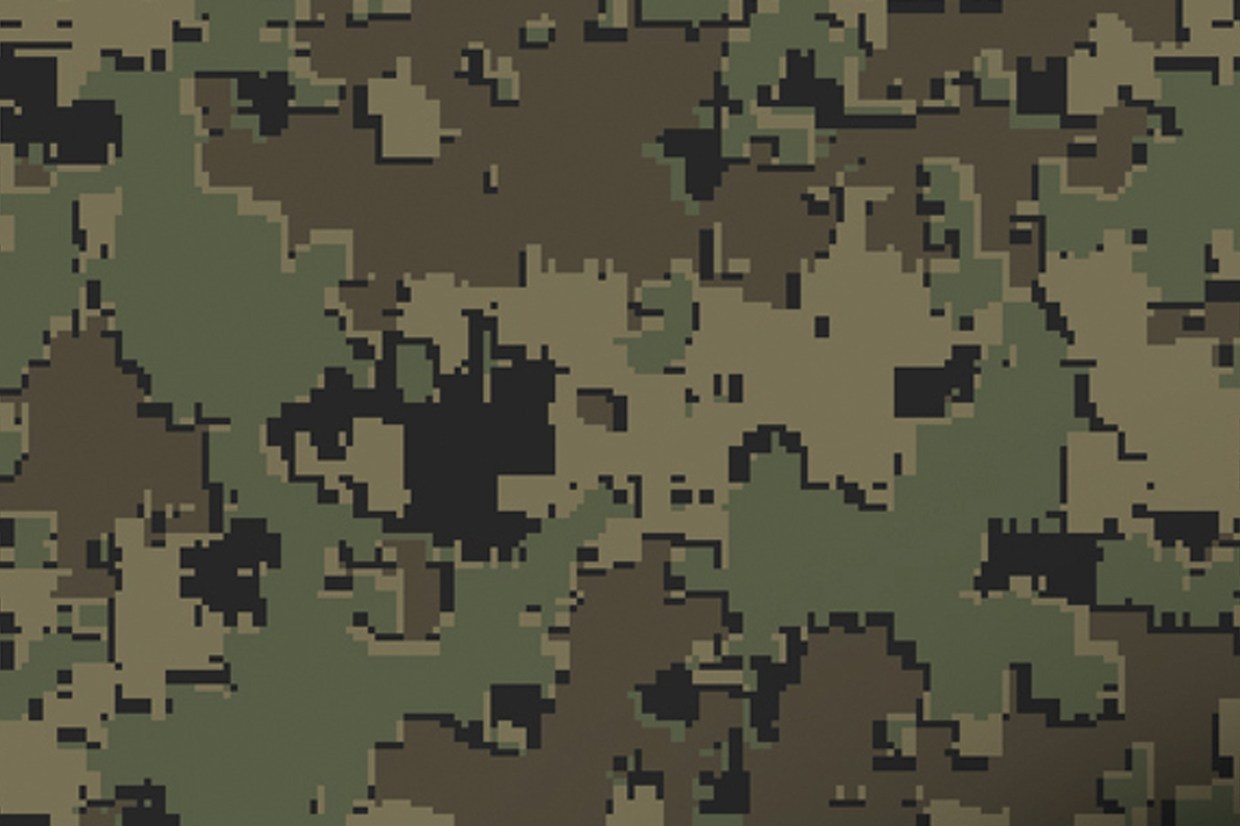
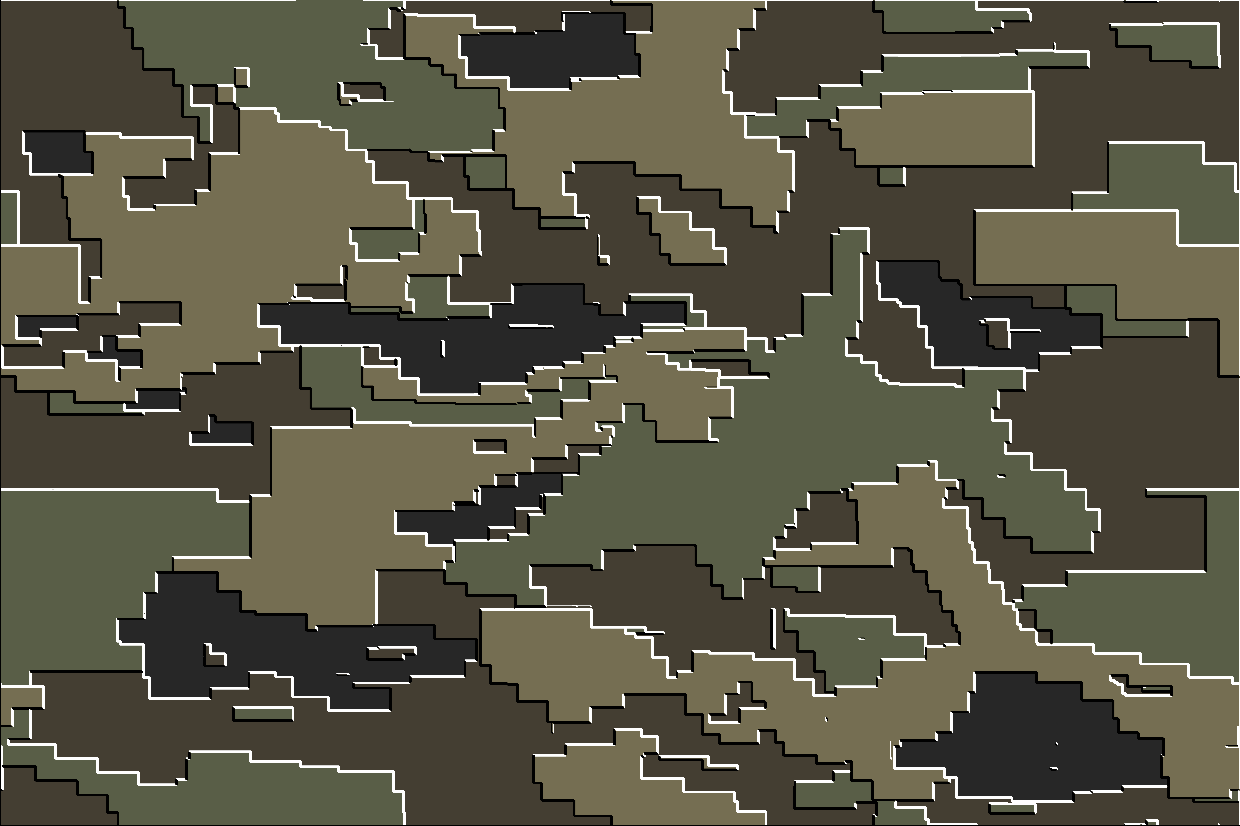
See here in the example photo, this is the effect I’m going for. Notice how there is a light and dark outline around these shapes (somewhat inconsistently, but nonetheless!).
I’ve tried G’mic edge and edges filters, but they’re not quite consistent.
See here in the example photo, this is the effect I’m going for. Notice how there is a light and dark outline around these shapes (somewhat inconsistently, but nonetheless!).
I have tried many things with your pattern, but nothing was near an acceptable result, sorry.
Michelist
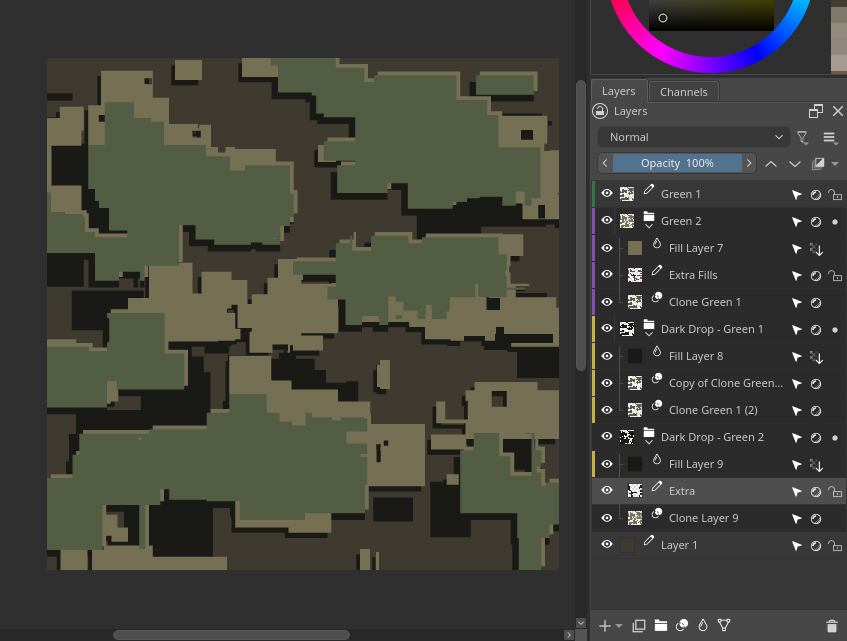
I tried to recreate your effect, dunno if I did 100% right, but it does seem similar to me. What I did;
What could be better, is to make several “spots” layers each with their shadow and light layers, so to give it a less flat appearance.
There’s no filter I’m aware of. If you look closely it’s not simply a drop shadow and a light outline, these follow closely some colors but then extend beyond that.
My approach would be similar to @Katamaheen’s, but using Clone Layers for the regions that follow some other color closely, so they’ll update automatically when you alter the source region.
Basically I started with the green, cloned it, nudged the clones up and down, added extra shapes for the sections of a color that deviate from the source, and altered their colors with fill layers.
Your pattern will only be as good as the source shapes you created.
Here’s the .kra file for you to play: Download lazy_camo.kra | LimeWire
Link will expire in 1 week.
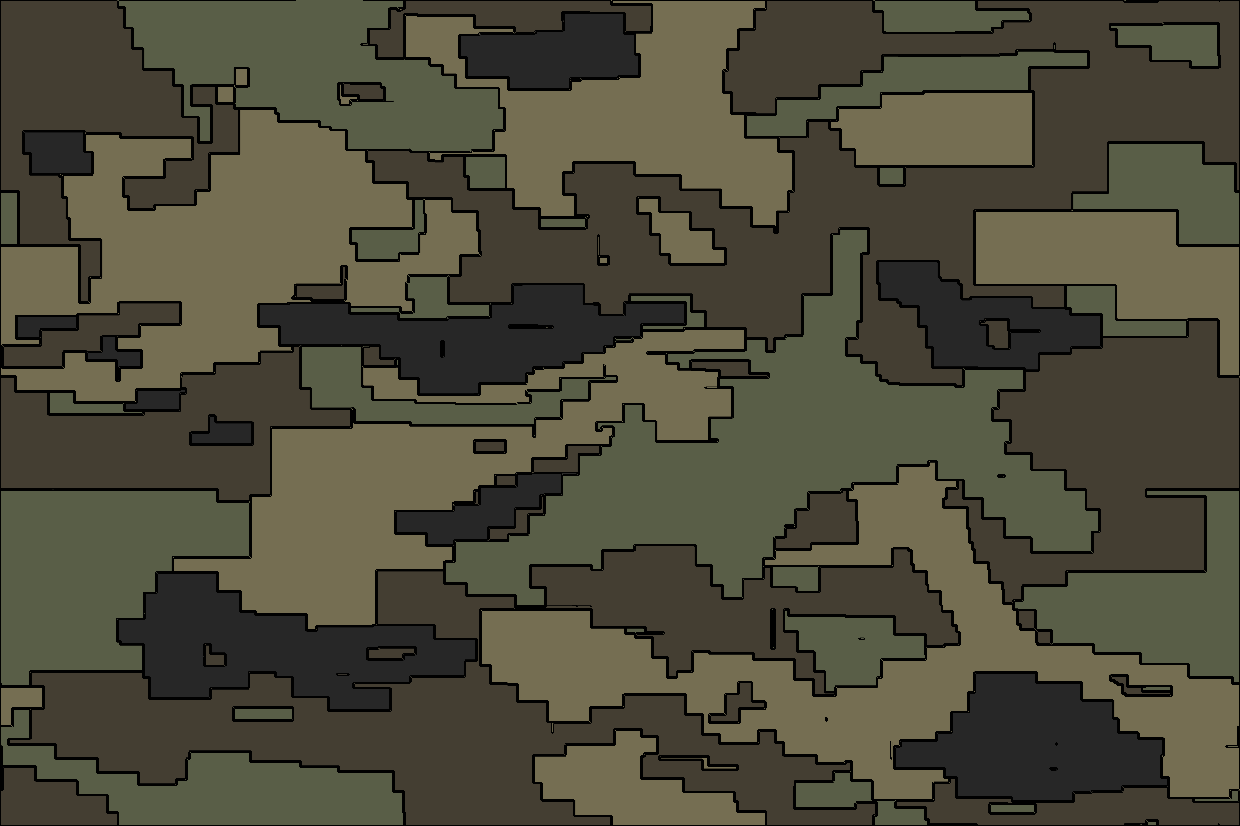
I’m not entirely certain I understand the goal, as the title of the thread asks for an outline around the shapes, but the post itself notes a “light and dark outline”. So, I can up with a method that can produce both, which is non-destructive to the original layer and will allow you to edit the original layer and still have the effect apply to it. Here’s the two results you can get, followed by the steps to get there.
Type 1:
Steps:
1 - Right Click the original layer with your camo and select Add → Add Clone Layer.
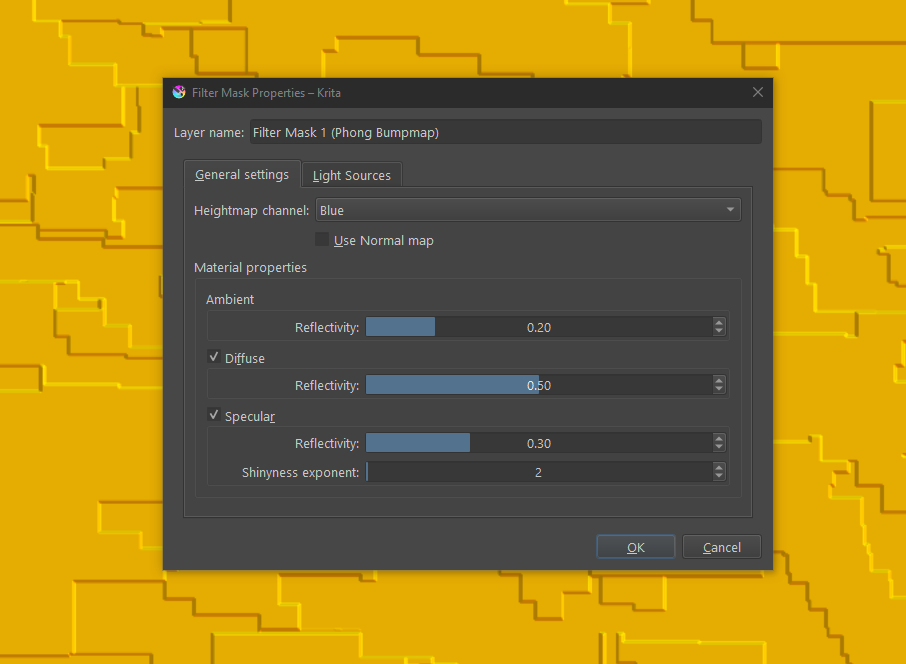
2 - Right Click the Clone Layer, select Add → Add Filter Mask and select the Phong Bumpmap option from the Map category (no setting changes need, just click ok to apply it).
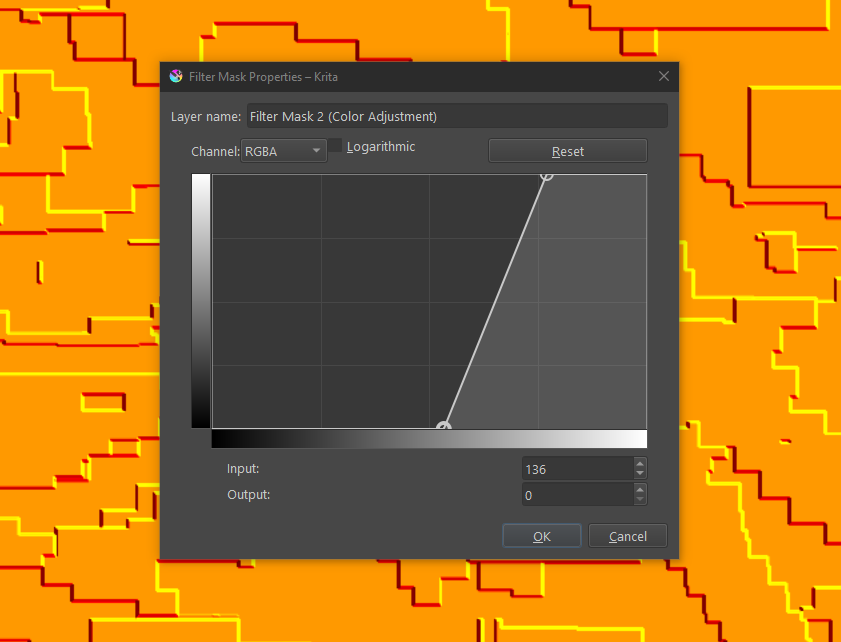
3 - Right Click the Clone Layer again and select Add → Add Filter Mask and select Color Adjustment from the Adjustment category. Move the nodes with your goal being a harsher contrast.
4 - This is the step that provides the results. Right Click the Clone Layer once more and select Add → Add Filter Mask and select Gradient Map under the Map category. Here, you’ll want to add a four node Stop Gradient. The left node should be black at 100% opacity. The right node should be white at 100% opacity. The two center nodes can be any color, but both should have a 0% opacity. The goal is to drag these nodes towards the center, until you’ve effectively removed the color from the midtones, while sharpening the highlights and shadows. This will give you the beveled-like edge effect. If you want a solid line, just make the white node black, and you’ll get a solid black outline.
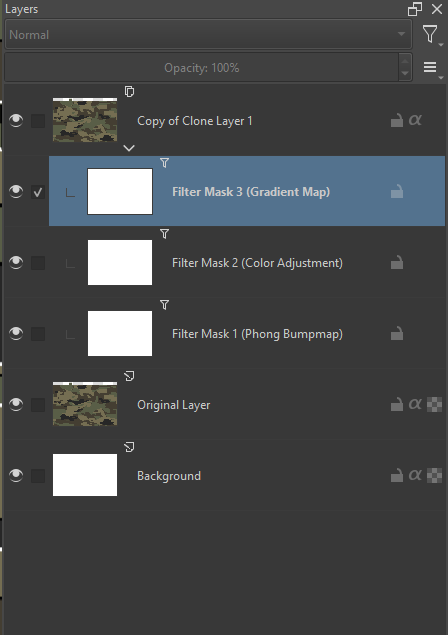
This should be your entire layer stack when completed:
All of these methods have their uses, thanks everyone I have learned a lot!
This topic was automatically closed 4 days after the last reply. New replies are no longer allowed.