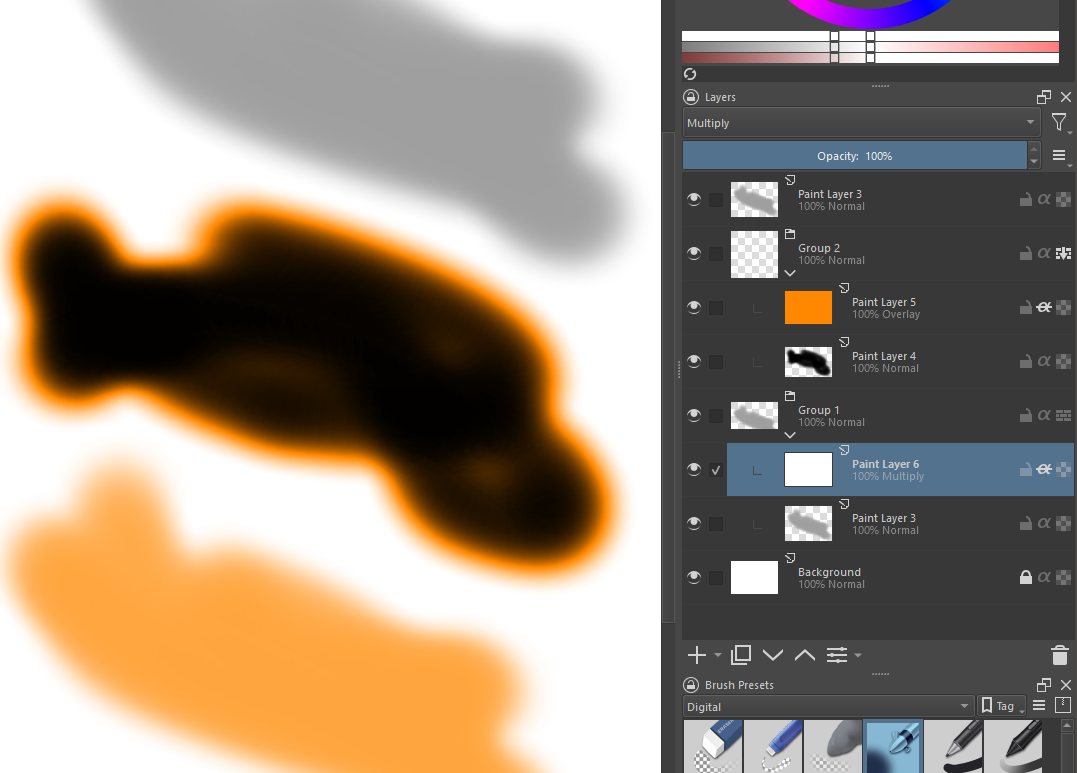
I’ve been trying to figure out how to either make a layer ignore an overlay layer or apply an overlay layer only to the specific layer group it’s at the top inside of.
I’m quite happy with how the sepia sketch layer is working. The problem is the “paint” layer (behind the mask but above the background in the video) is always affected by the sepia overlay. Grays are sepia tinted and other colors are off as well, but grays are the most noticeable.
I’ve kind of hit a wall - and my searches are turning up no new information. I was under the impression that layer groups should do the job of isolating effects from one another. Either I’m missing something or that isn’t the case.
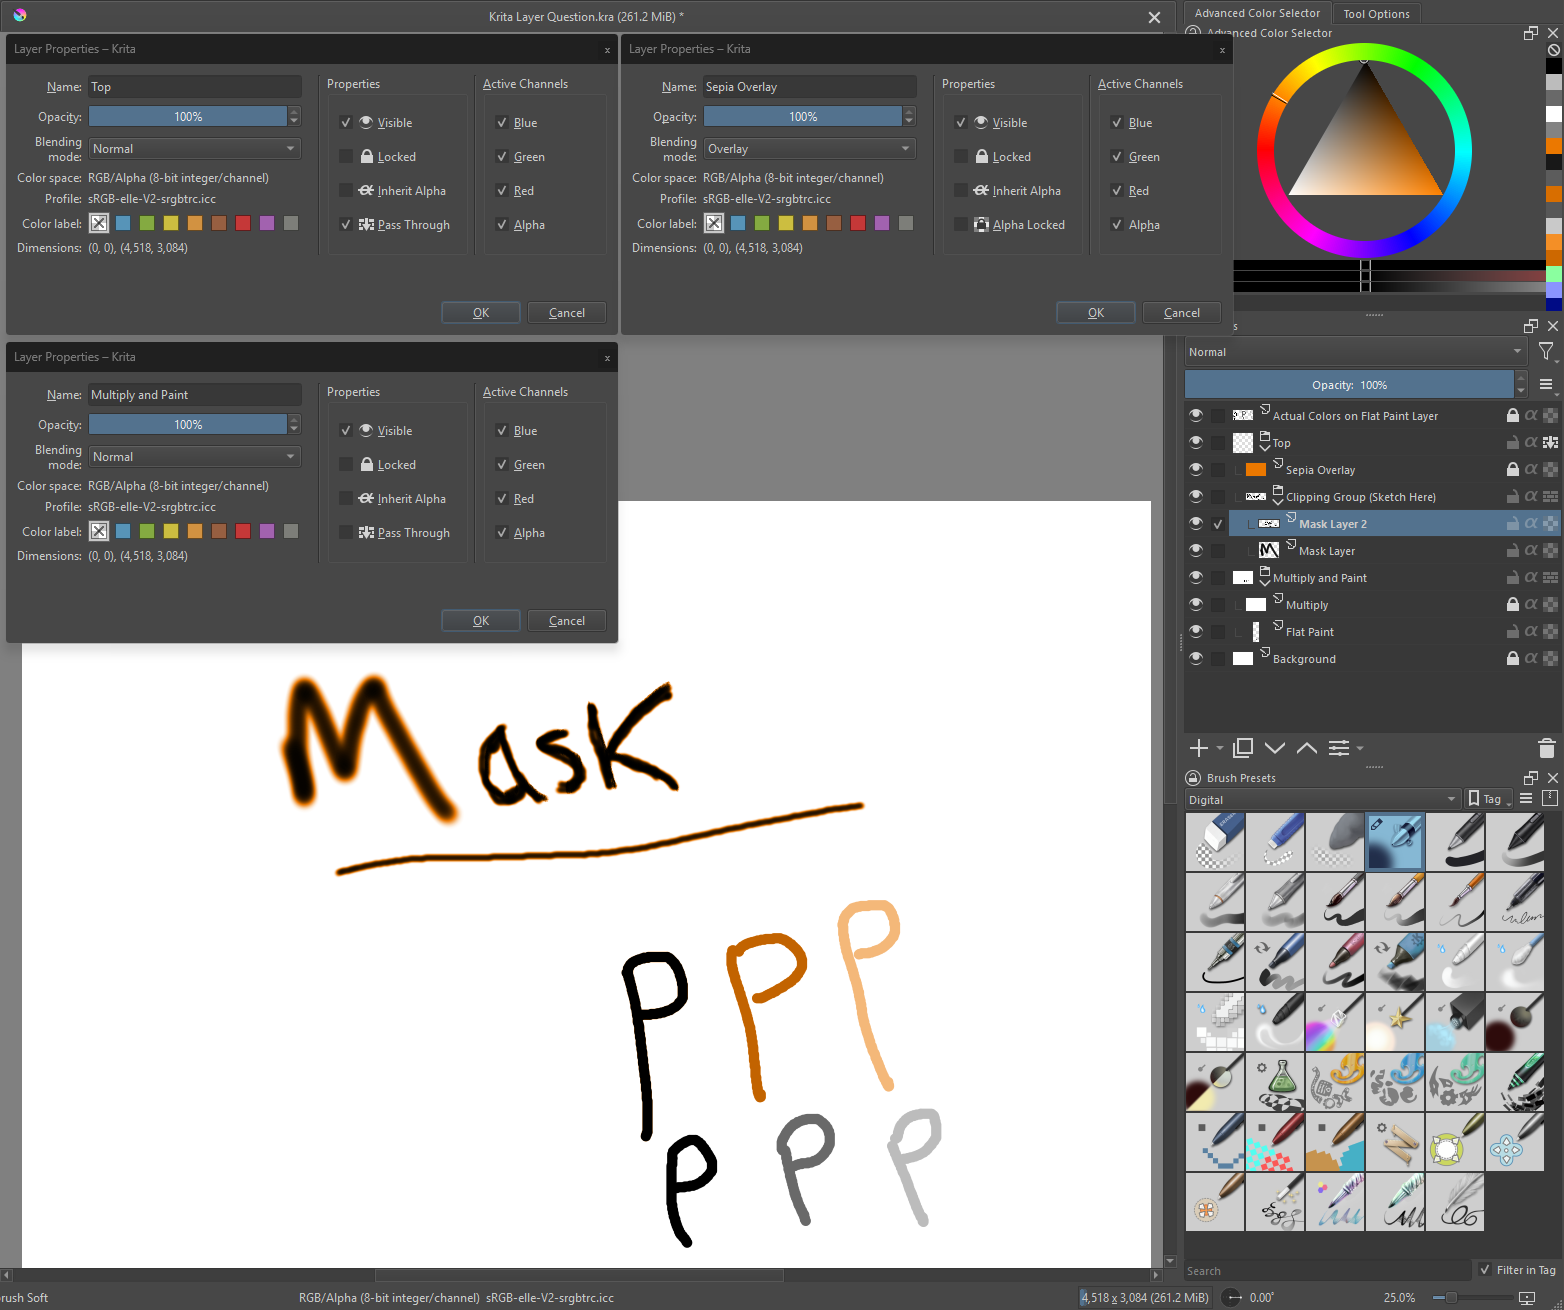
My layer setup is as follows:
Top Group (Must enable Pass Through for desired effect on mask)
Sepia Overlay
Clipping Group
Mask Layers (Sketch Area)
Multiply and Paint Group
Multiply (White Fill)
Flat Paint
Background (White Fill)
I’ve attached a screenshot of any non-standard layers. I imagine there is a relatively simple way to get this behavior out of Krita. I hope I explained my issue well enough. I’m sure there are several parts of this template that aren’t necessary as well due to the differences between Krita and Procreate. Thanks for any help.
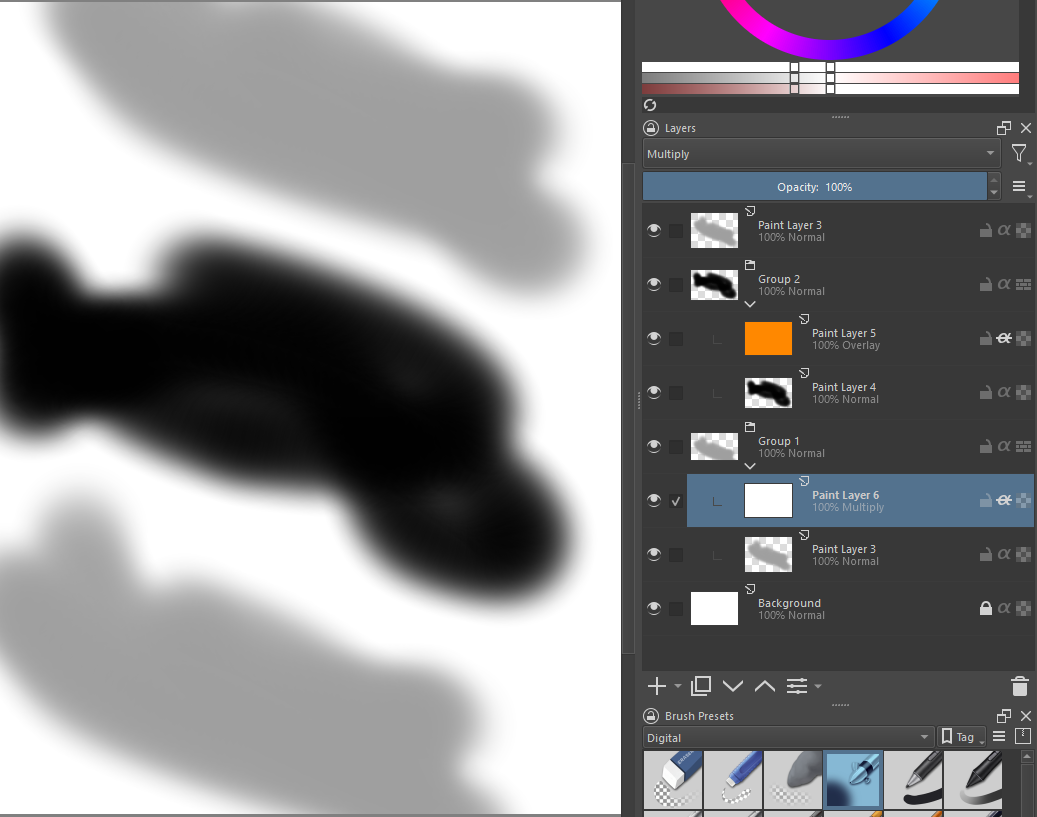
The overlays layers, or any blending mode can normally not apply to layers outside the group they’re in because groups act as scope limiters. The reason why it’s different in your case is because you set the group to pass through mode which disables the scope limit and essentially makes it as they weren’t grouped at all.
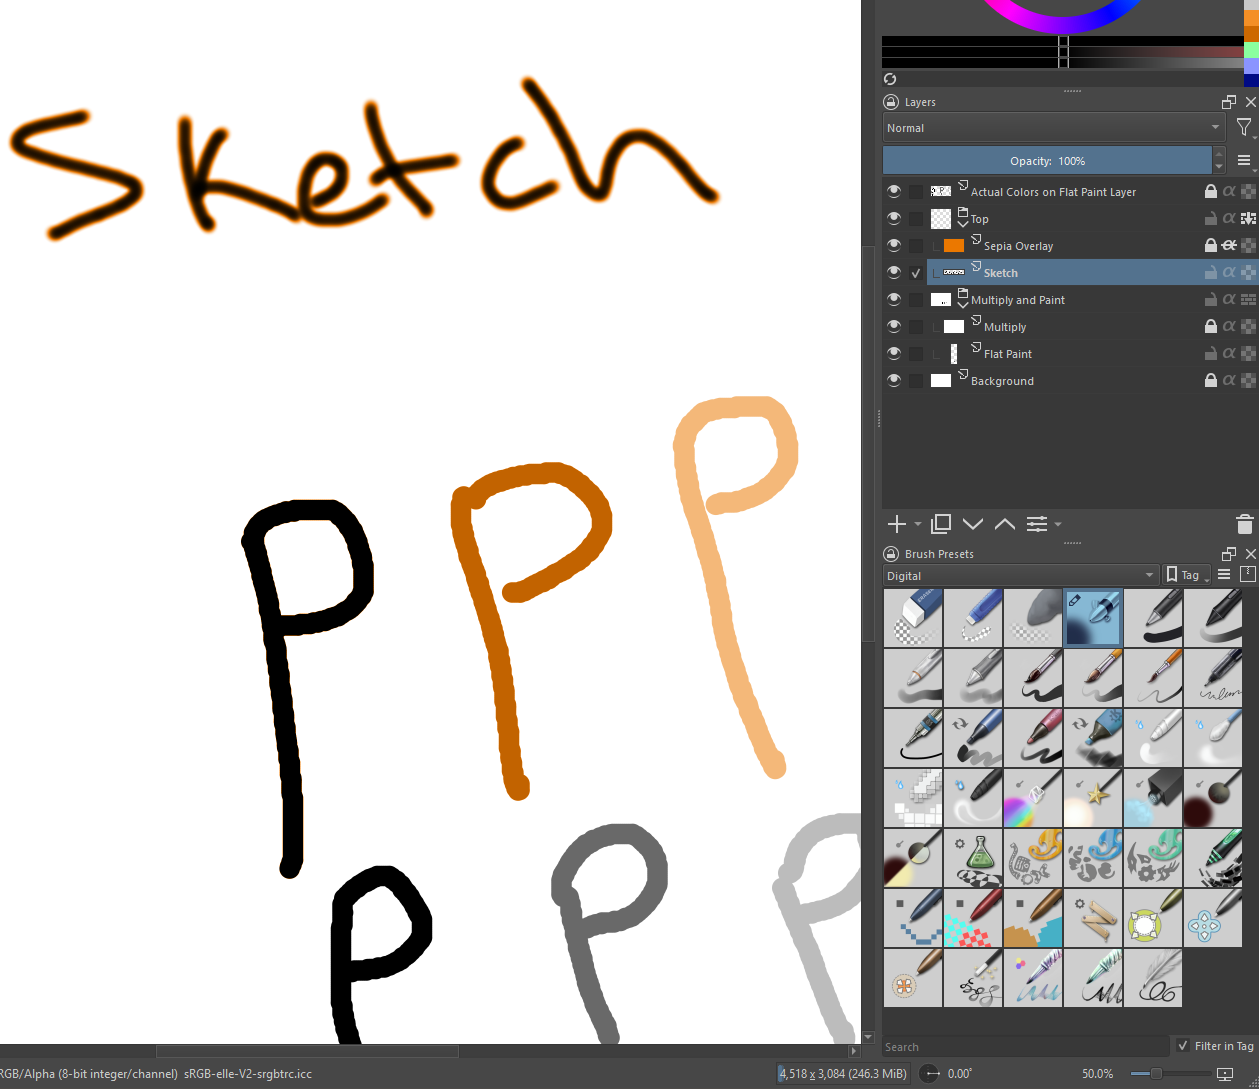
If that is the case why do I need to enable pass through for the desired effect on the sketch layer from the overlay when they’re in the same group? (attached examples of pass through on/off)
Are you sure that everything is on the correct layer because it looks suspicious that the layer thumbnail for the top group looks completely empty.
I’m not sure waht’s going on but it looks like the layers are applied in reverse order.
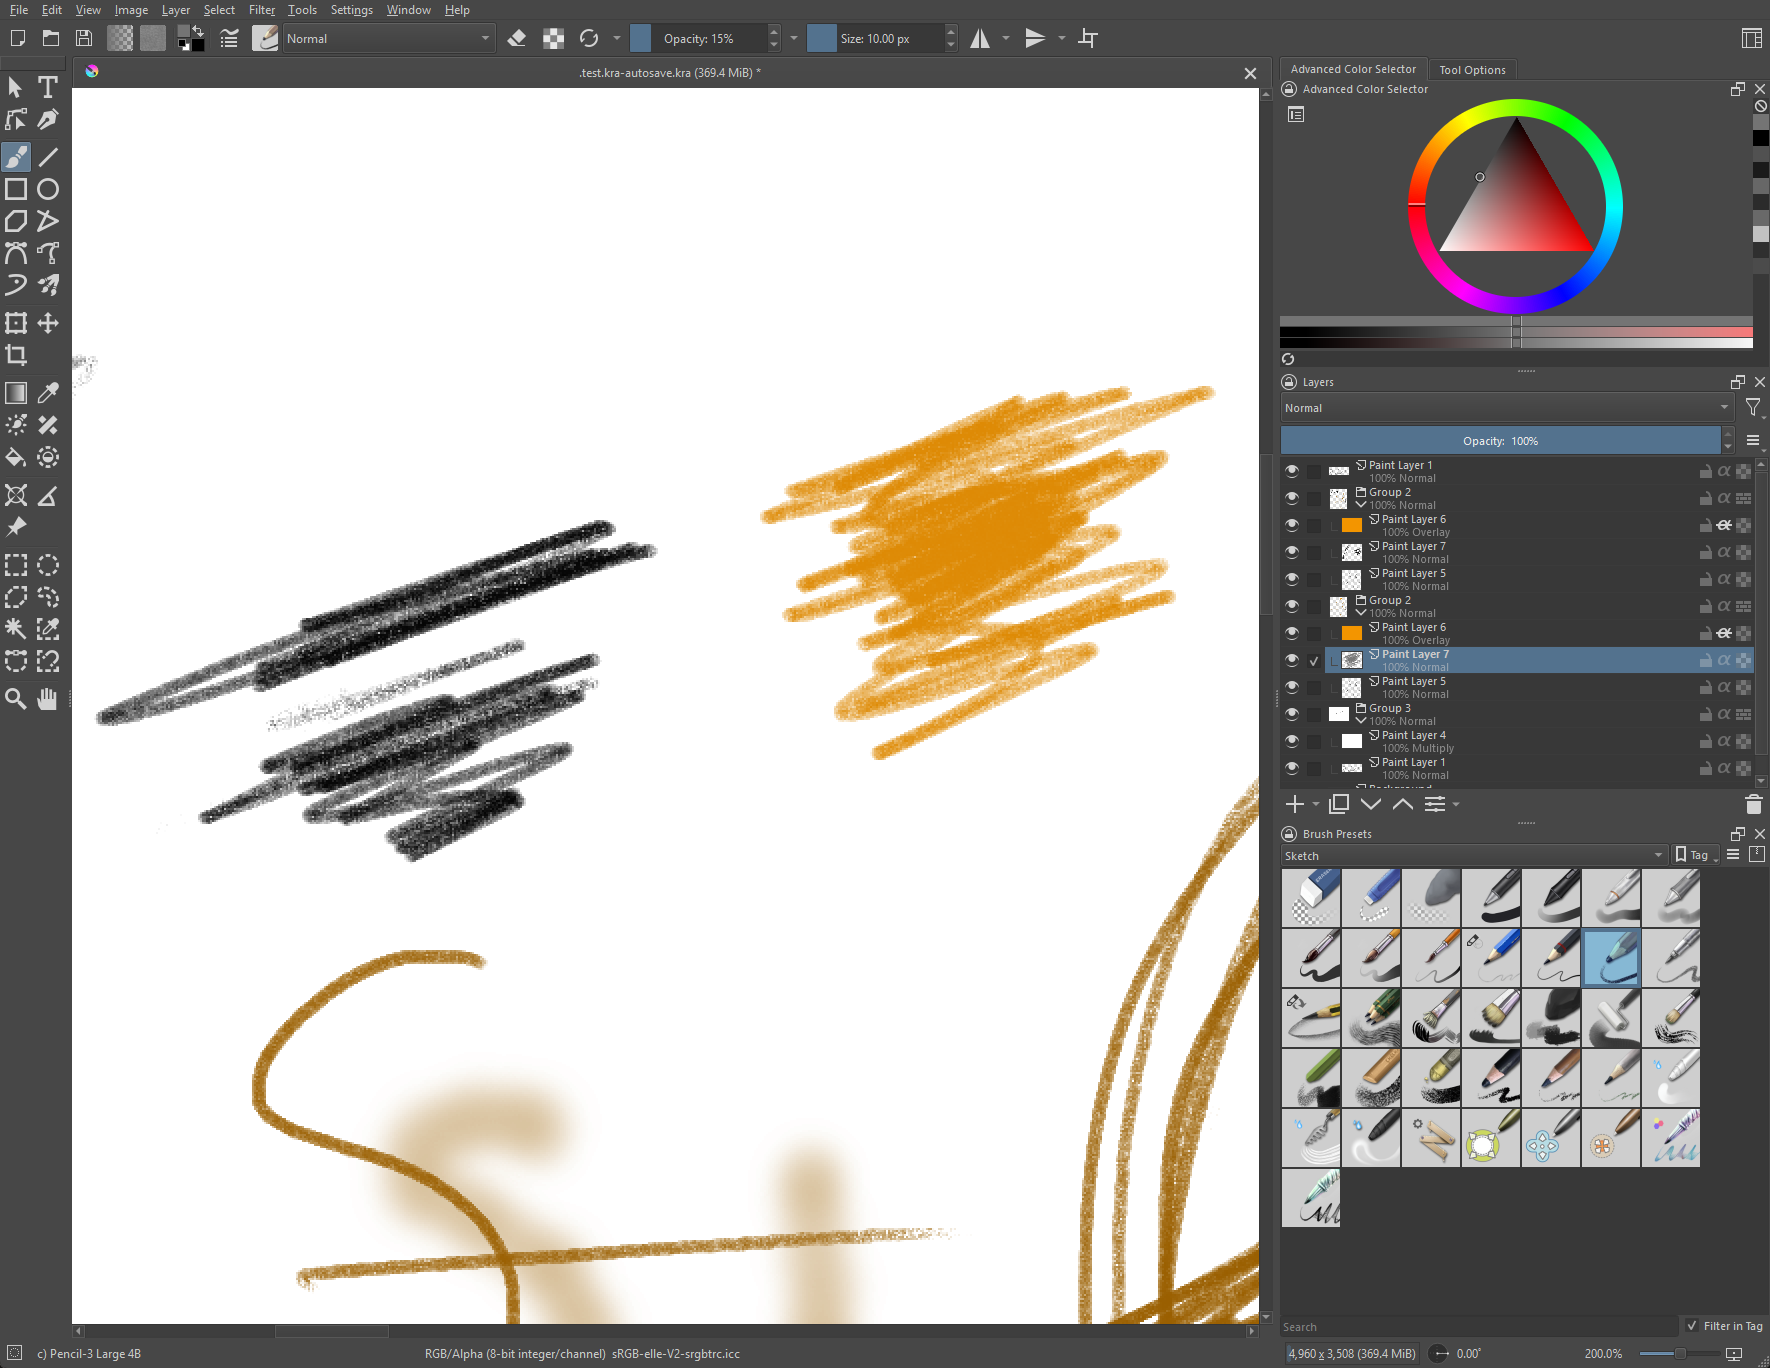
I’m currently trying to replicate your issue but it looks like my Krita has the strangesd bug in that it does not apply layers in the order they’re on the layer stack.
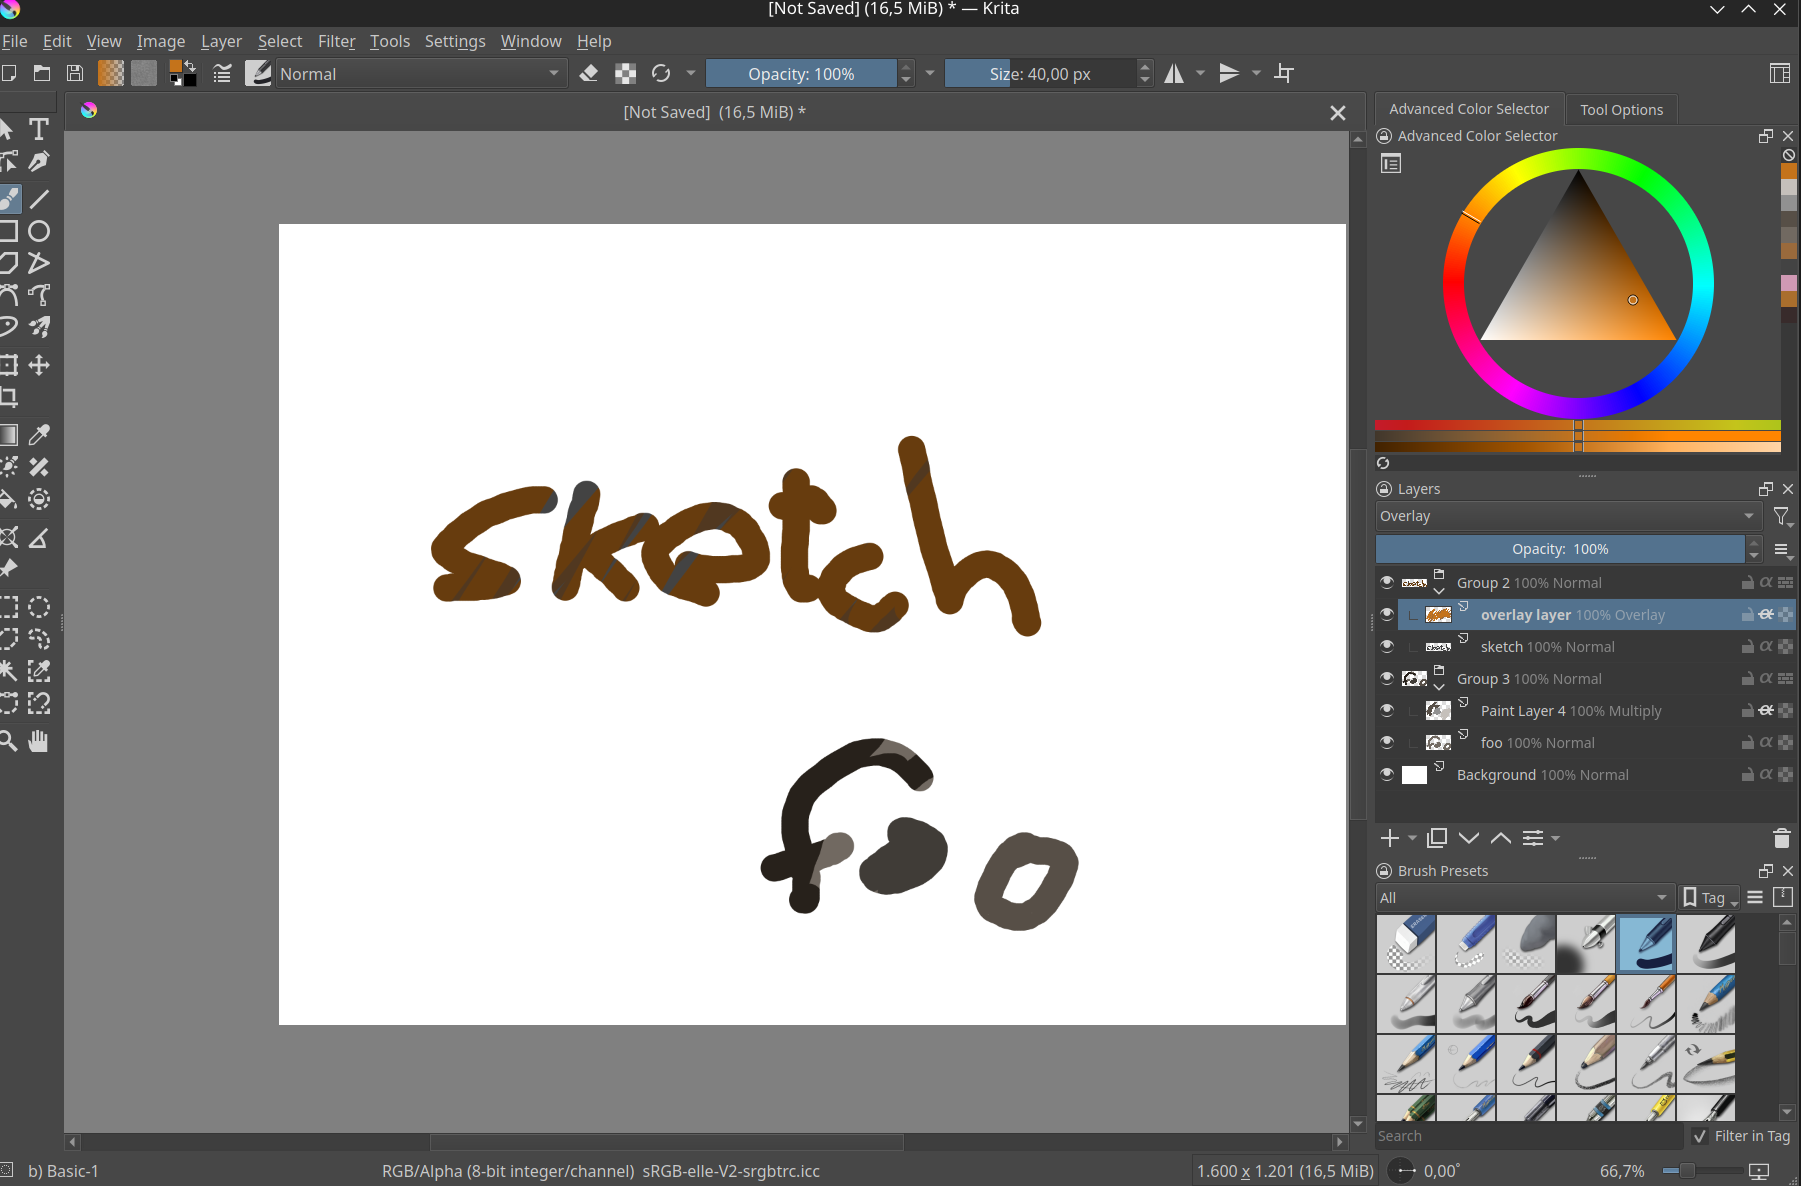
As you can see my overlay layer only affects the sketch layer (where the word sketch is written on) and not the foo layer and it’s content’s as it’s supposed to be.
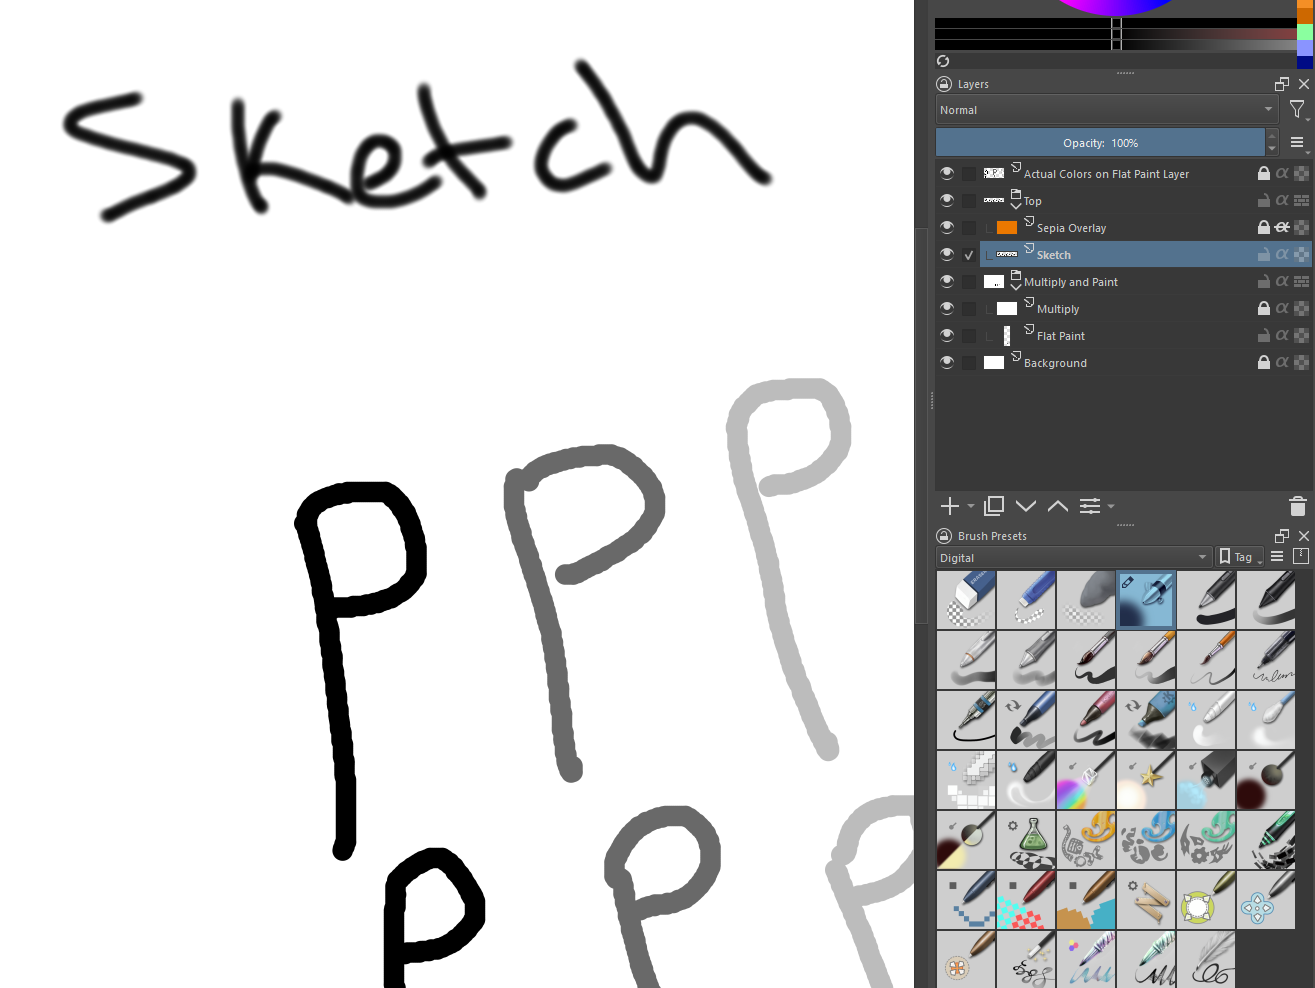
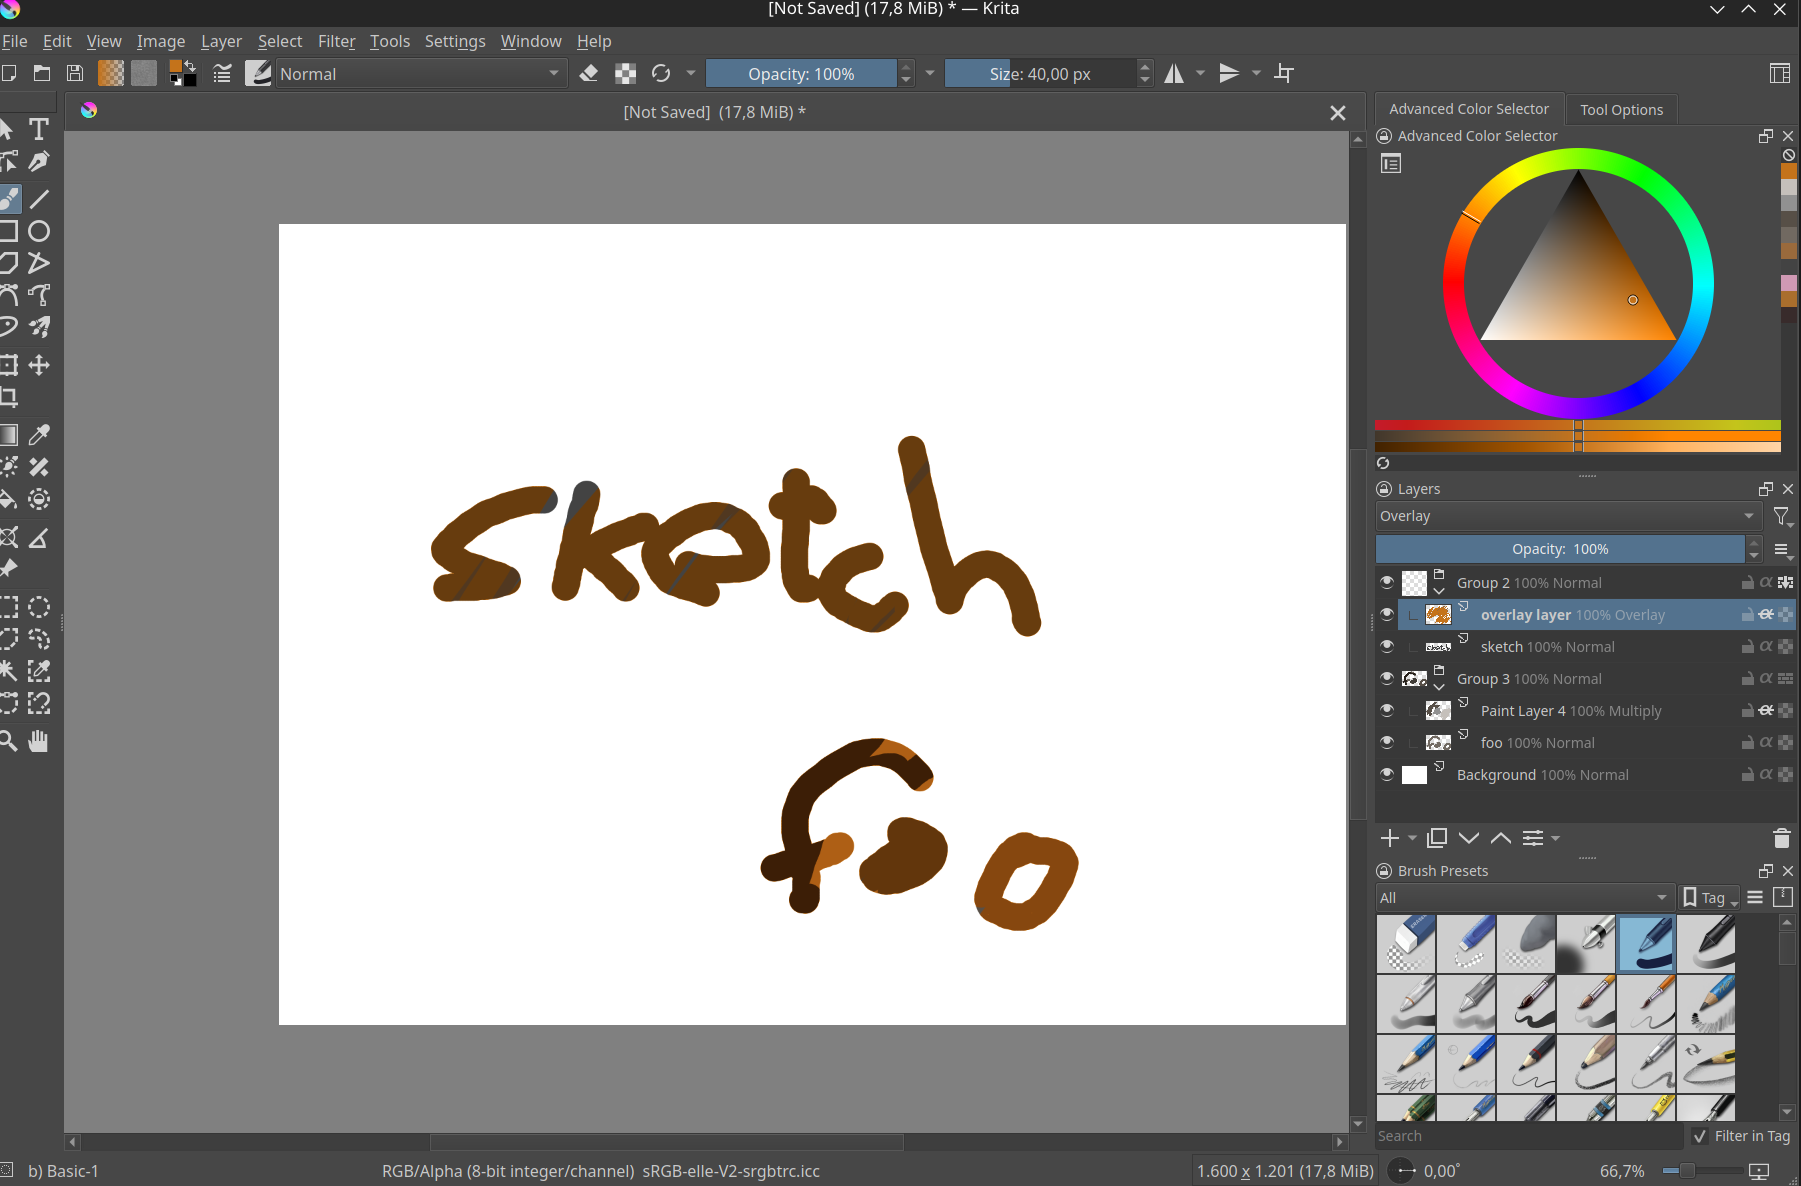
Only when I enable pass through the foo get’s color too, because in pass through it’s like the group is not even there.
I just saw your reply above, I will update and try again.
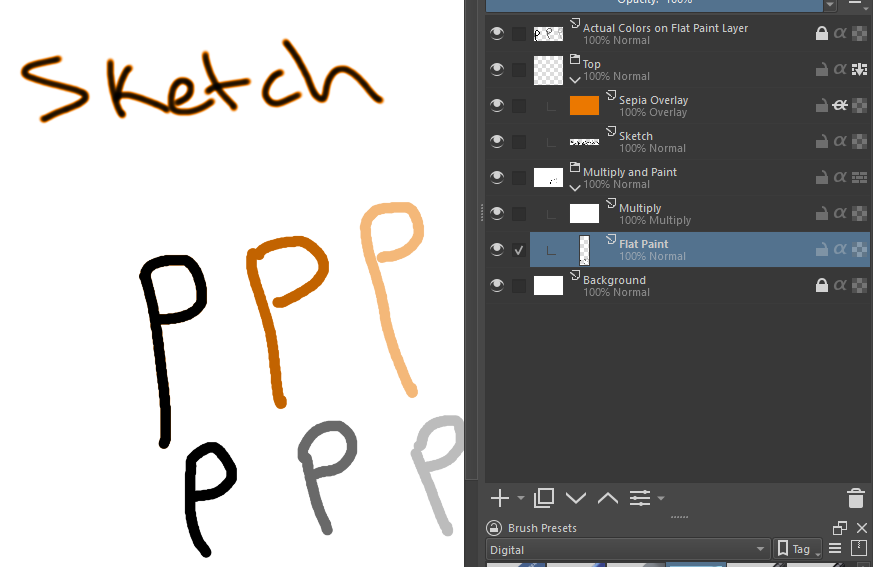
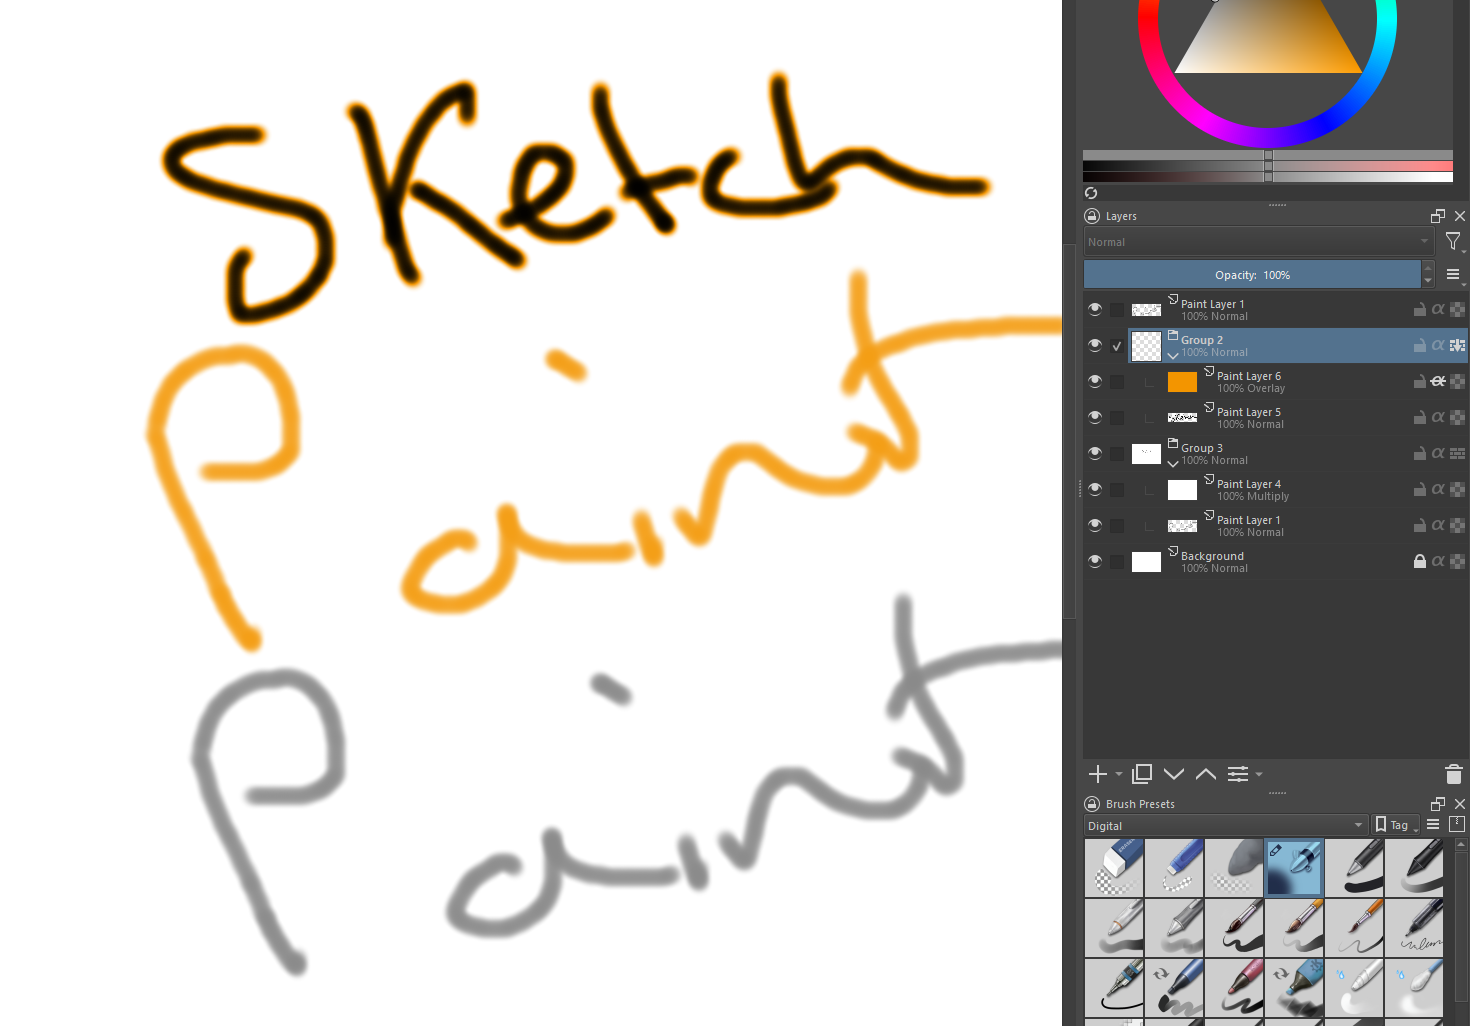
I started a new project and recreated the layers from scratch. The thumbnail for “Top” changes if Pass Through is enabled or not (still must be enabled to affect sketch layer).
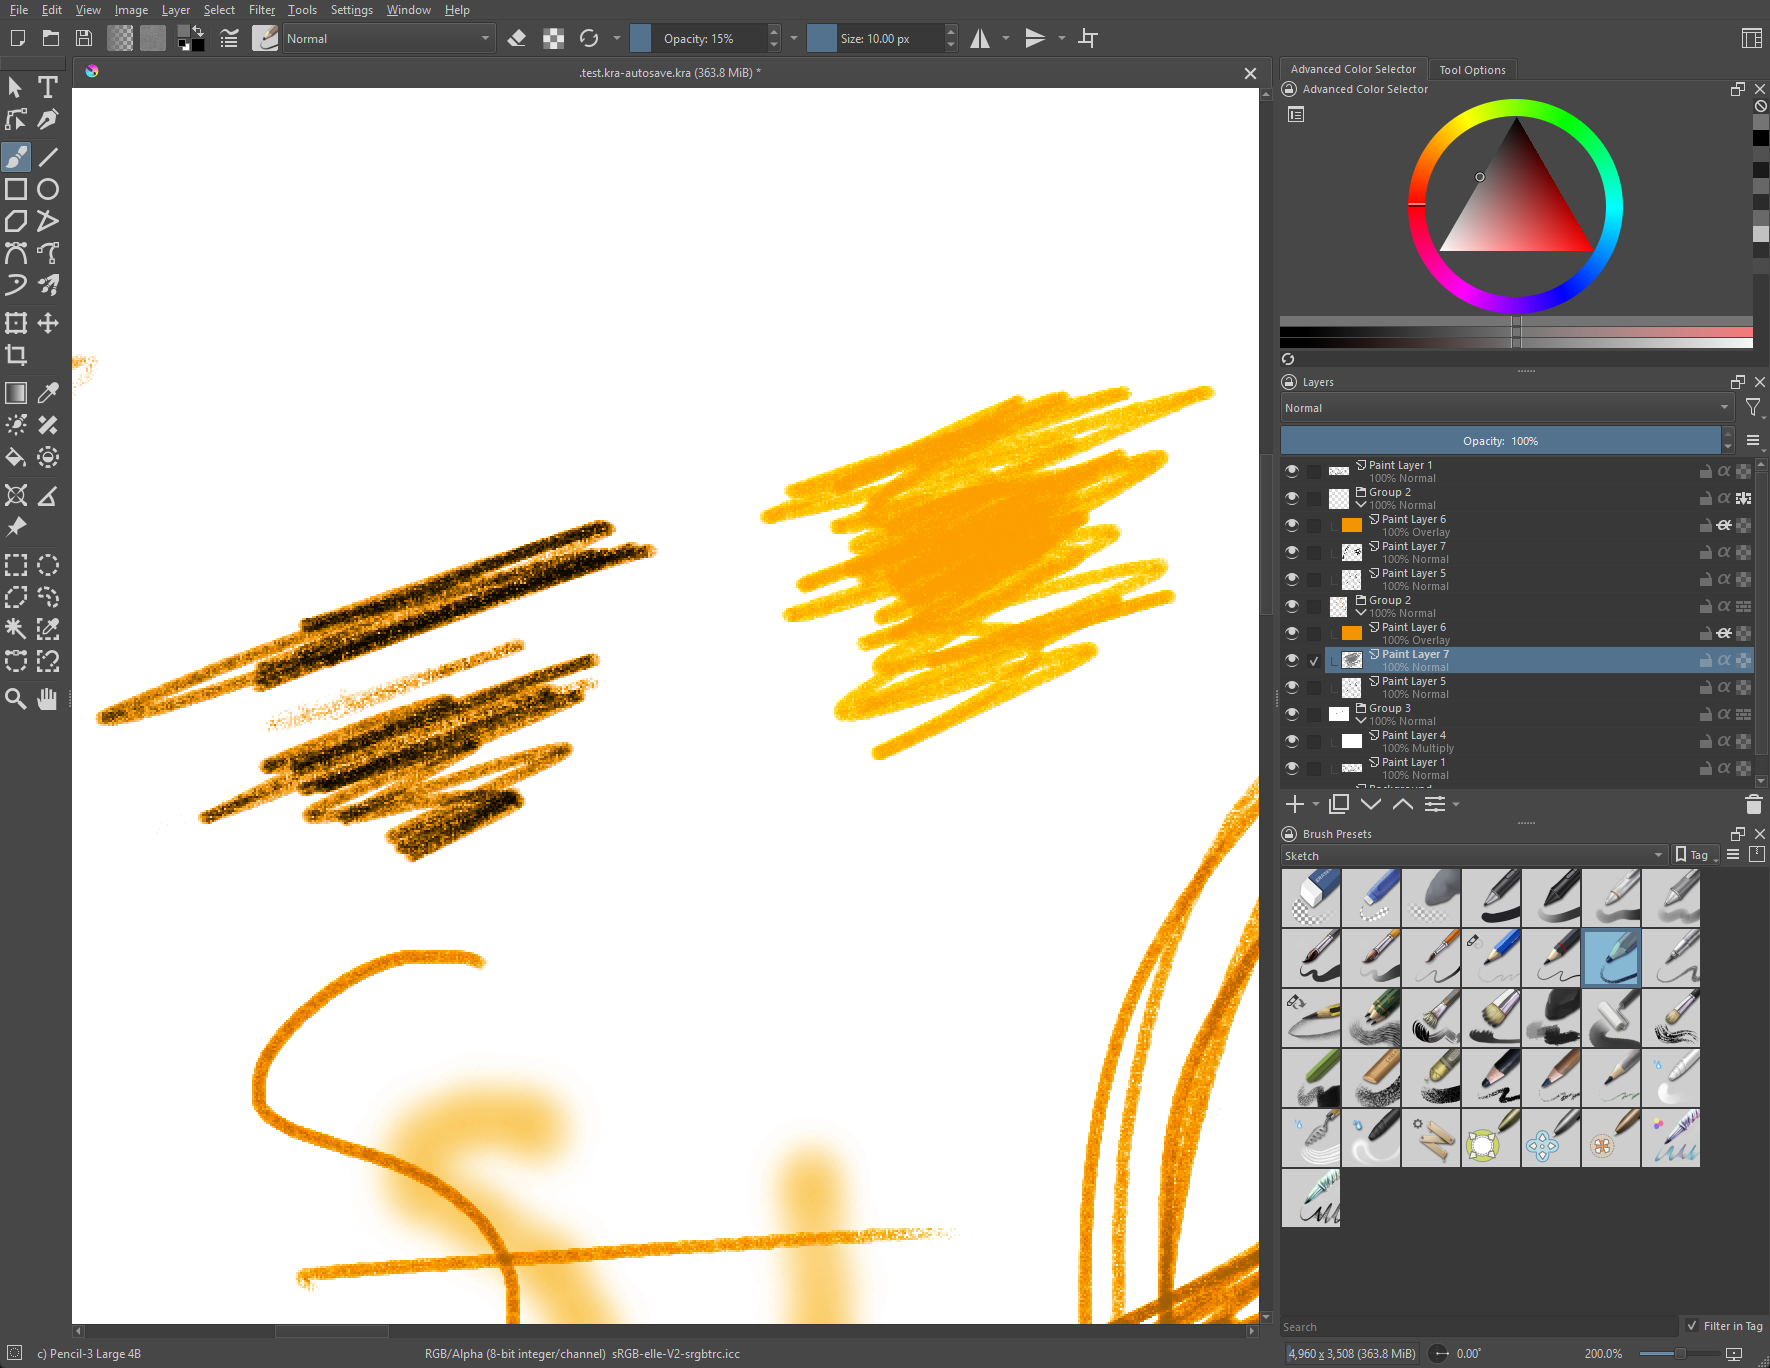
I changed nothing in the course of creating the example other than as shown (change layer 6 to overlay + enable inherit alpha, change layer 4 to multiply)
Did you paint the black with a 100% black? Overlay does not work on 100% black the reason why it works and makes a halo in pass through is because the white background get’s mixed in and instead of 100% black with alpha it is now a “gray”.
Okay! Now we’re getting somewhere! Seems like a different approach may be needed entirely within Krita.
I was indeed using 100% black. However, using lighter grays dos not establish the desired effect, there is very little color variation… (It should be turning black-or-close-to-it with heavy pressure/many passes as it does when I toggle pass through on)
A combination of the Multiply and Screen blending modes, switching between both at a middle-lightness.
Overlay checks if the color on the upper layer has a lightness above 0.5. If so, the pixel is blended like in Screen mode, if not the pixel is blended like in Multiply mode.
This is useful for deepening shadows and highlights.
Multiplies the two colors with each other, but does not go beyond the upper limit.
So when the values like black and white are multiplied, (0 and 100), well multiplying with 0 does give 0 again and with the maximum it can’t go brighter than bright, basically. Same for Screen blending mode but in revers, both together make up overlay.
But there are other ways to adjust color one of which is adding an adjustment filter layer and using HSV adjustment, perhaps in colorize mode, for example.
This was what I ended up coming up with. It at least works the way I intend, but I’m sure there is a more efficient way to go about it. I’ll probably settle on this as “good enough” unless I get more hints on how this could be accomplished without so many layers.