Layer mask density?

I manage to work around it, but thought I’d ask just in case I missed an existing workflow: in Photoshop I often used a Filter Layer to (for example) darken the image, but then used a painted mask in order to only affect parts of the image. I would typically first go overboard with masking (painting black) to then reduce the influence of the mask with the Layer Mask Density slider.

In Krita, I can paint the mask, either on the Filter Layer itself or via a Transparency Mask. I first go overboard and then, to mimic the Layer Density slider, I apply a “Levels” filter to the filter layer or the transparency mask. This gives me the desired flexibility but is a destructive operation. Is there a non-destructive way of getting the same result?

Thanks!

I’m not sure, because I always tried to solve my “problems” painterly, but I guess you want to stack it like this:

Michelist

Thanks for the reply! Let me try to clarify:
I have an image that looks like this without filter layer (photo is mine):

In the evening I am liking a certain effect very much, but only want to apply it to certain areas (exaggerated example):

Setup:
image

The next morning I open the image and see that I have totally overdone the effect and need to tone in down. In Photoshop, I would reduce the Layer Mask Density to ensure that the filter layer influence is reduced. In Krita, I now apply a “Levels” operation to the Transparency Mask, or I’d need to paint it again. Both are destructive and I would like to know if it can be avoided? It does do the trick:


image

Thank you for your input!
Robert

When you use the filter layer you can at any point just edit the layer properties to change the strength, and you can also change it’s transparency to make the effect lighter depending on the filter may have different results.

So if you tomorrow think your color adjustment was too strong, right click on the layer in the layer’s docker, choose properties and adjust the filter layer.

If you want to change your transparency mask but don’t want to loose the previous one, you can add as many transparency masks as you want to the same layer or group and also hide the ones you don’t need, still have them if you want to go back to them.

Hi Takiro,
Thanks for the input! Indeed I can edit the filter layer at any time, but here’s the thing: I use Color adjustment curves a lot, and because of their non-linear behavior, I find adjusting them to increase/decrease their influence while keeping the overall effect the same difficult. But you’re absolutely correct, it would work!

Also having multiple Transparency Masks is not something I thought of before, so I’ll store that info for later.

Then to make it short: am I correct that something similar like Layer Mask Density does not exist in Krita (which is totally fine, just want to be sure)?

Thank you both :slight_smile:

Maybe it’s oversimplifying the concept on my part, but would lowering the opacity of Krita’s Color Adjustment layer work for this or would this have a different appearance to what you’re expecting (example in screenshot)? I predominately use the filters when coloring my artwork (using gradient maps), rather than editing photos, so my understanding of the changes you’re after might not corelate (especially since I’m not familiar with the Density feature you mentioned in PS).

Note to Admins, for usage rights varification: The photo used in this example is a personal picture of my own (of me).

1 Like

I’m not sure if this is exactly what you’re looking for…

When I want to balance the tones of an image, I duplicate the layer. I apply levels to the copy layer. If it’s gone too far, I reduce the opacity of the copy layer… when it’s where I want it, I merge the layers.

This is for general adjustments. If I need to fine-tune the lights and shadows, I duplicate the layer twice. In the first copy, I change its mode to Multiply and in the second, to Screen mode.

I put Transparency masks on these two layers and these masks are completely black. I edit them by painting with white, using an airbrush with low opacity and with a medium or small brush. I usually get good results with this…

1 Like

Thanks for chiming in! I appreciate it. Reducing the opacity indeed allows me to tune the impact of the filter layer, but at times that does the opposite of what I need. Let me try with another example:

Here’s the original image:

I want to darken the edges (add vignetting) and to get there I first darken the whole image with a Color Adjustment layer:
filter:


result:

I then use a brush on a transparency mask (or on the filter layer directly) to reduce the darkening on the center of the photo:

Transparency mask:
image

result:

Next day, I see that I went overboard with reducing the darkening on the center of the image. It’s too bright and I want to darken the center of the image slightly more, that is increase the effect on the center of the image.

  • In Photoshop, I would reduce the Layer Mask density, which brightens the dark parts in the mask

  • In Krita, I know I can:

    • Paint the mask again, but now a brighter grey
    • Apply a “levels” filter to the mask (or to a copy, thanks @takiro!)

Lowering the opacity of the filter layer would result in the opposite of what I would like to achieve. It would brighten the edges more, while keeping the center as bright as before. Here is the image but now with the filter layer opacity reduced to 50%:

I hope this explains the use case better. It’s OK if the equivalent operation doesn’t exist in Krita. I am well aware that I’m (ab)using a painting application for photo editing and I’m already happy with how it performs.
Cheers!

1 Like

Thanks for responding! It’s a nice technique to use the two layers with the two different blending modes. I was looking for a way to reduce the weight of the mask(s) that you paint on, without a destructive operation like painting again or a filter. Perhaps the concept of a filter layer applied to a transparency mask best explains it?

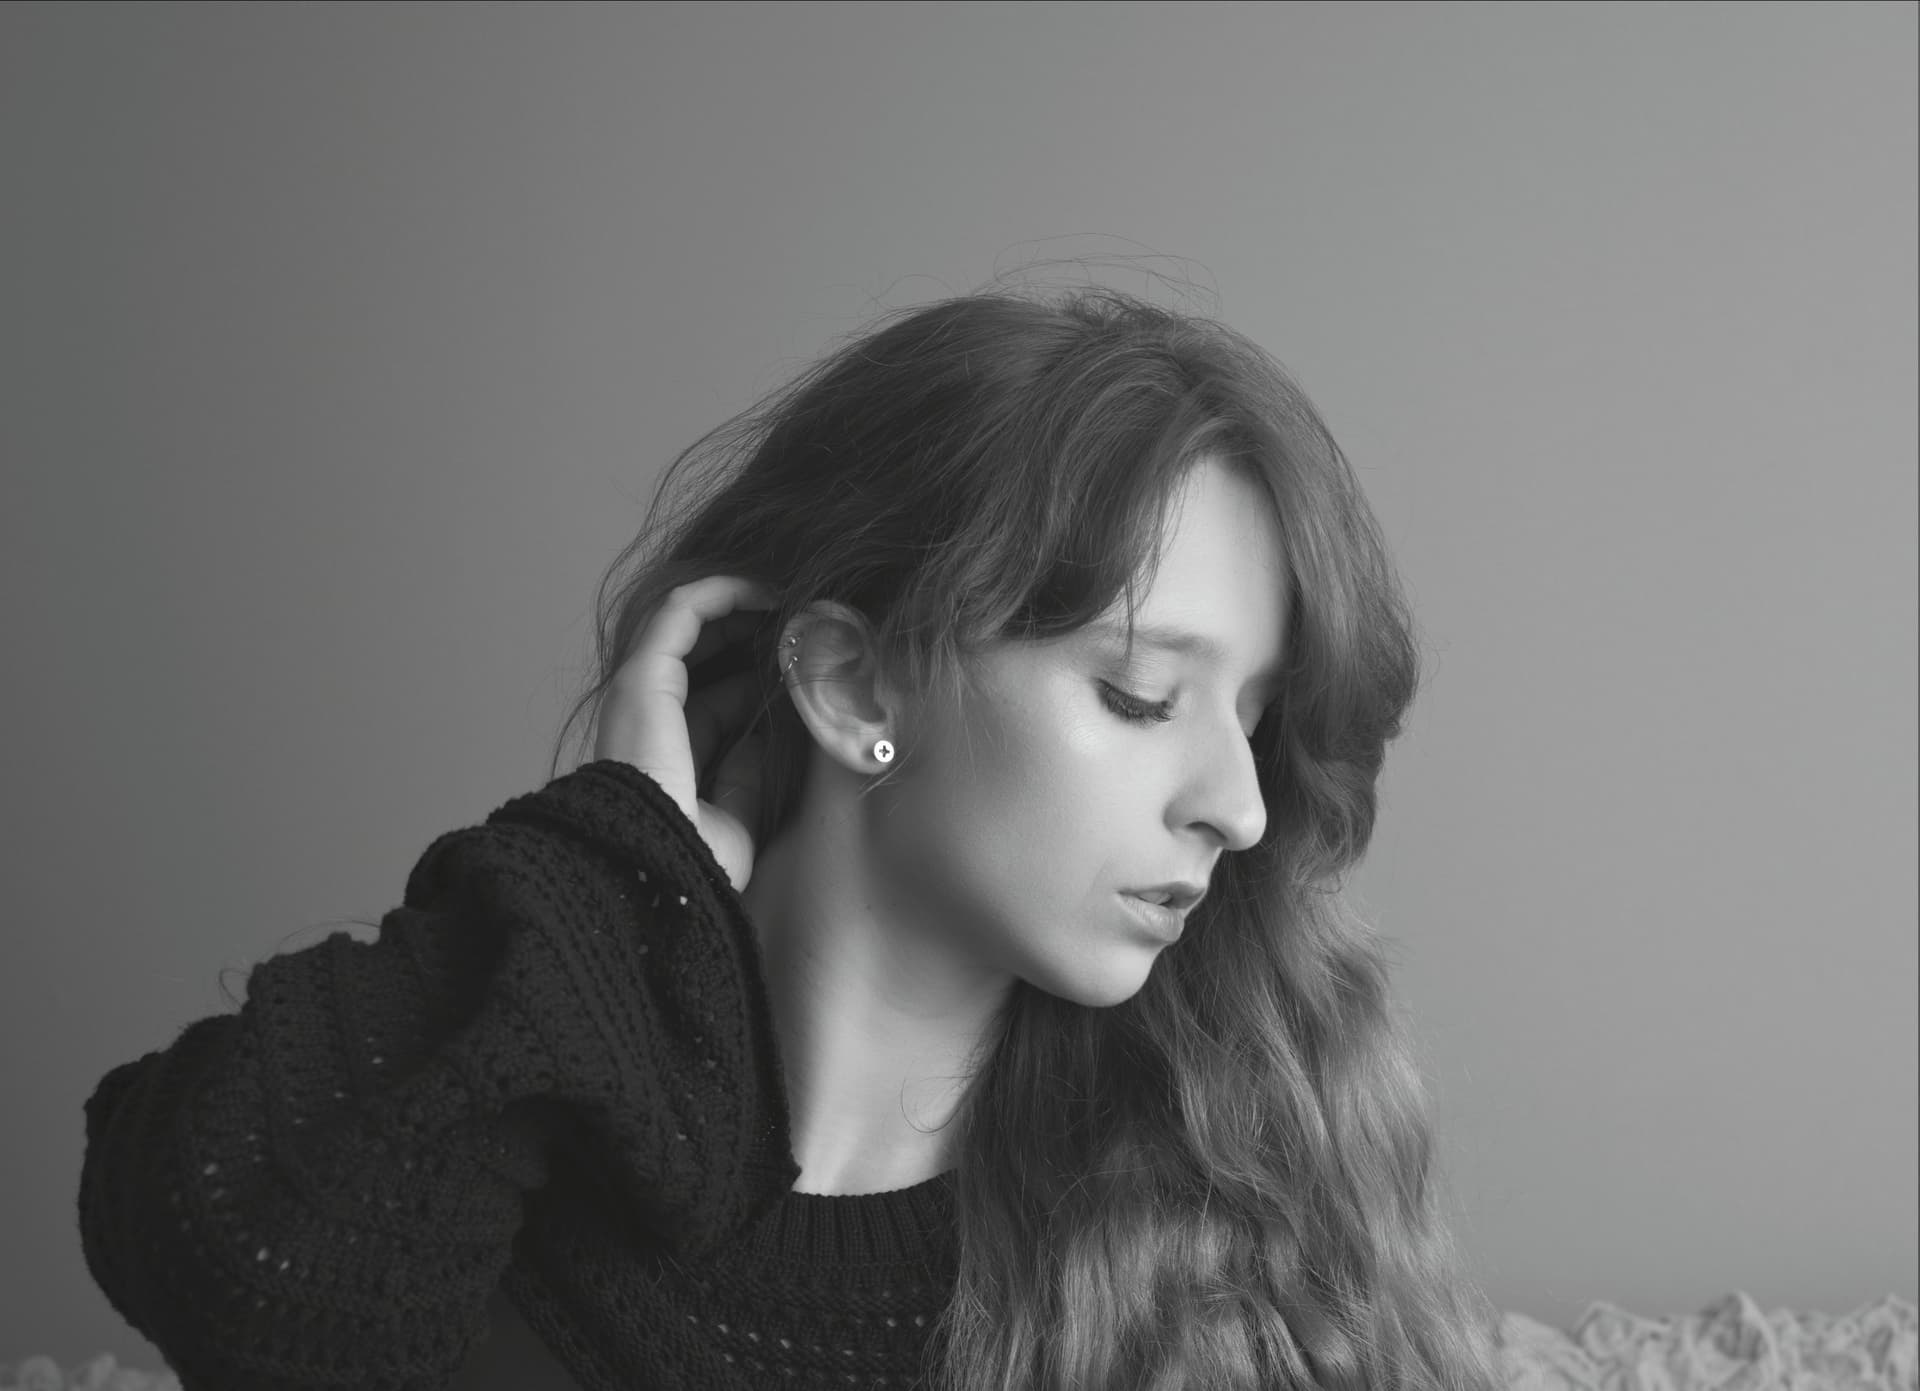
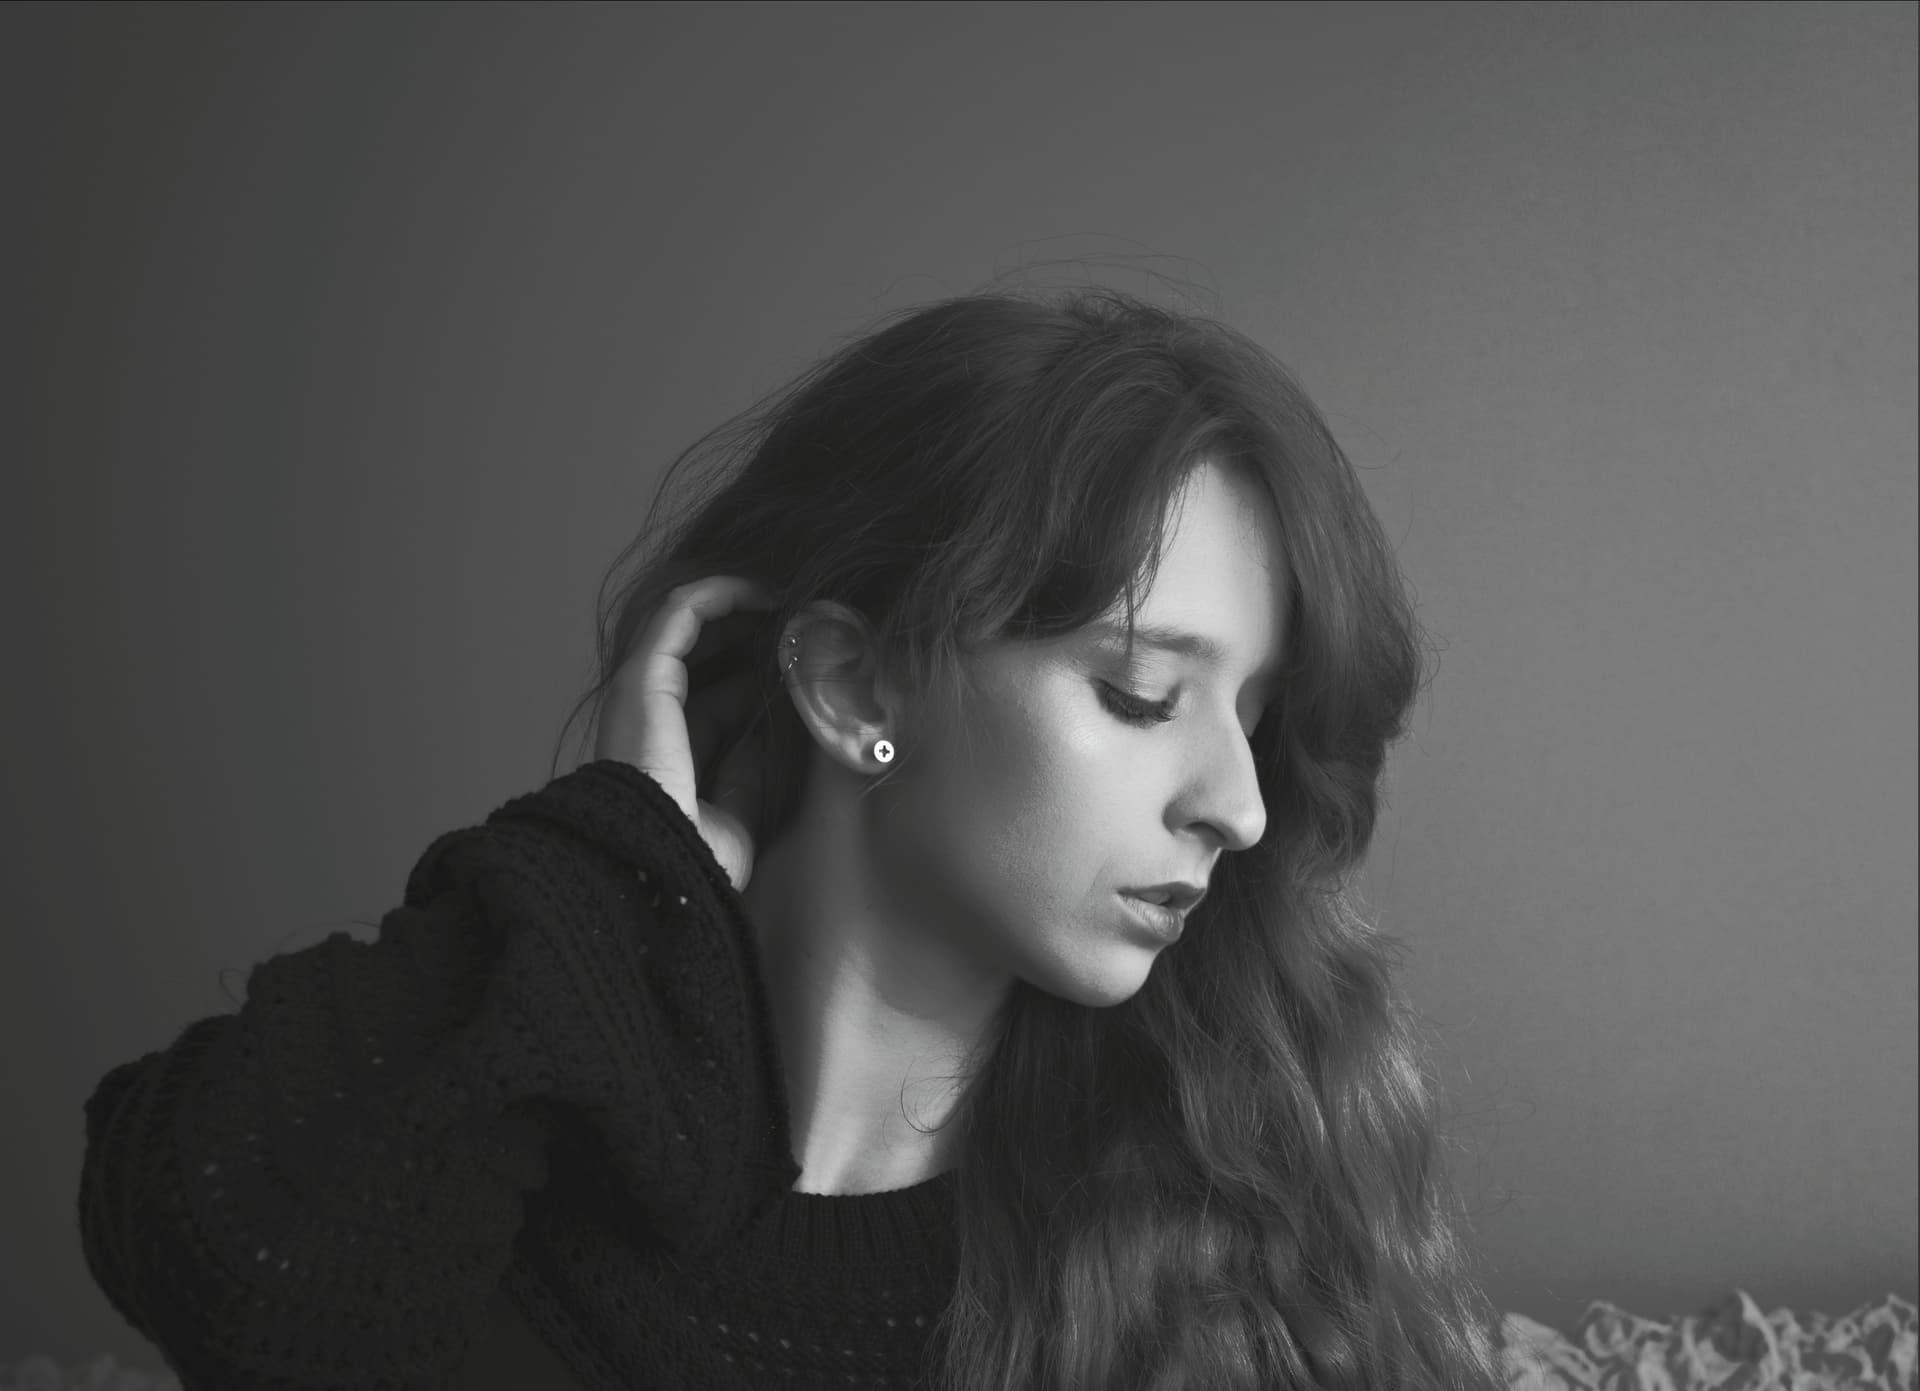
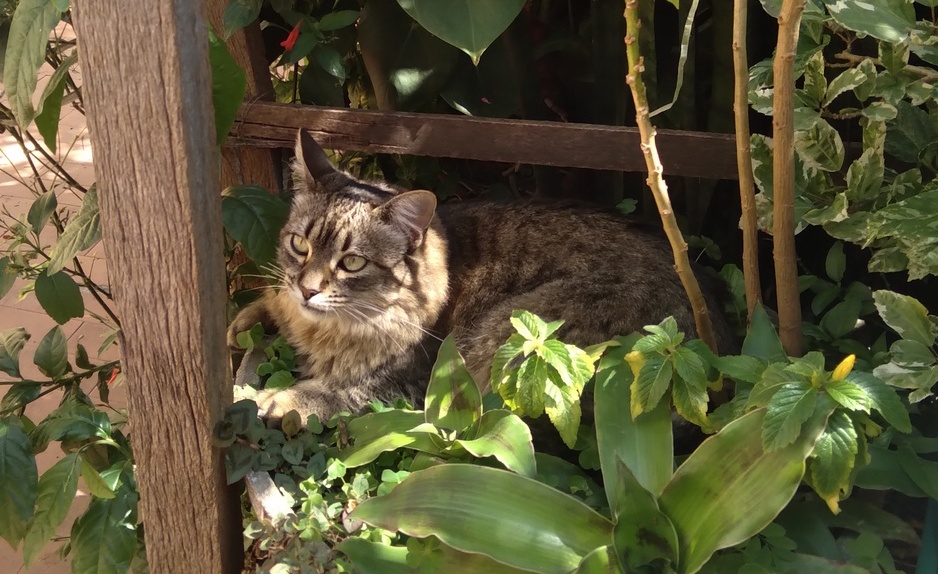
To find out for sure, I just did a test in Krita. I’m using a photo of my brother’s cat, taken with my cell phone, and I cropped the photo to make it smaller:

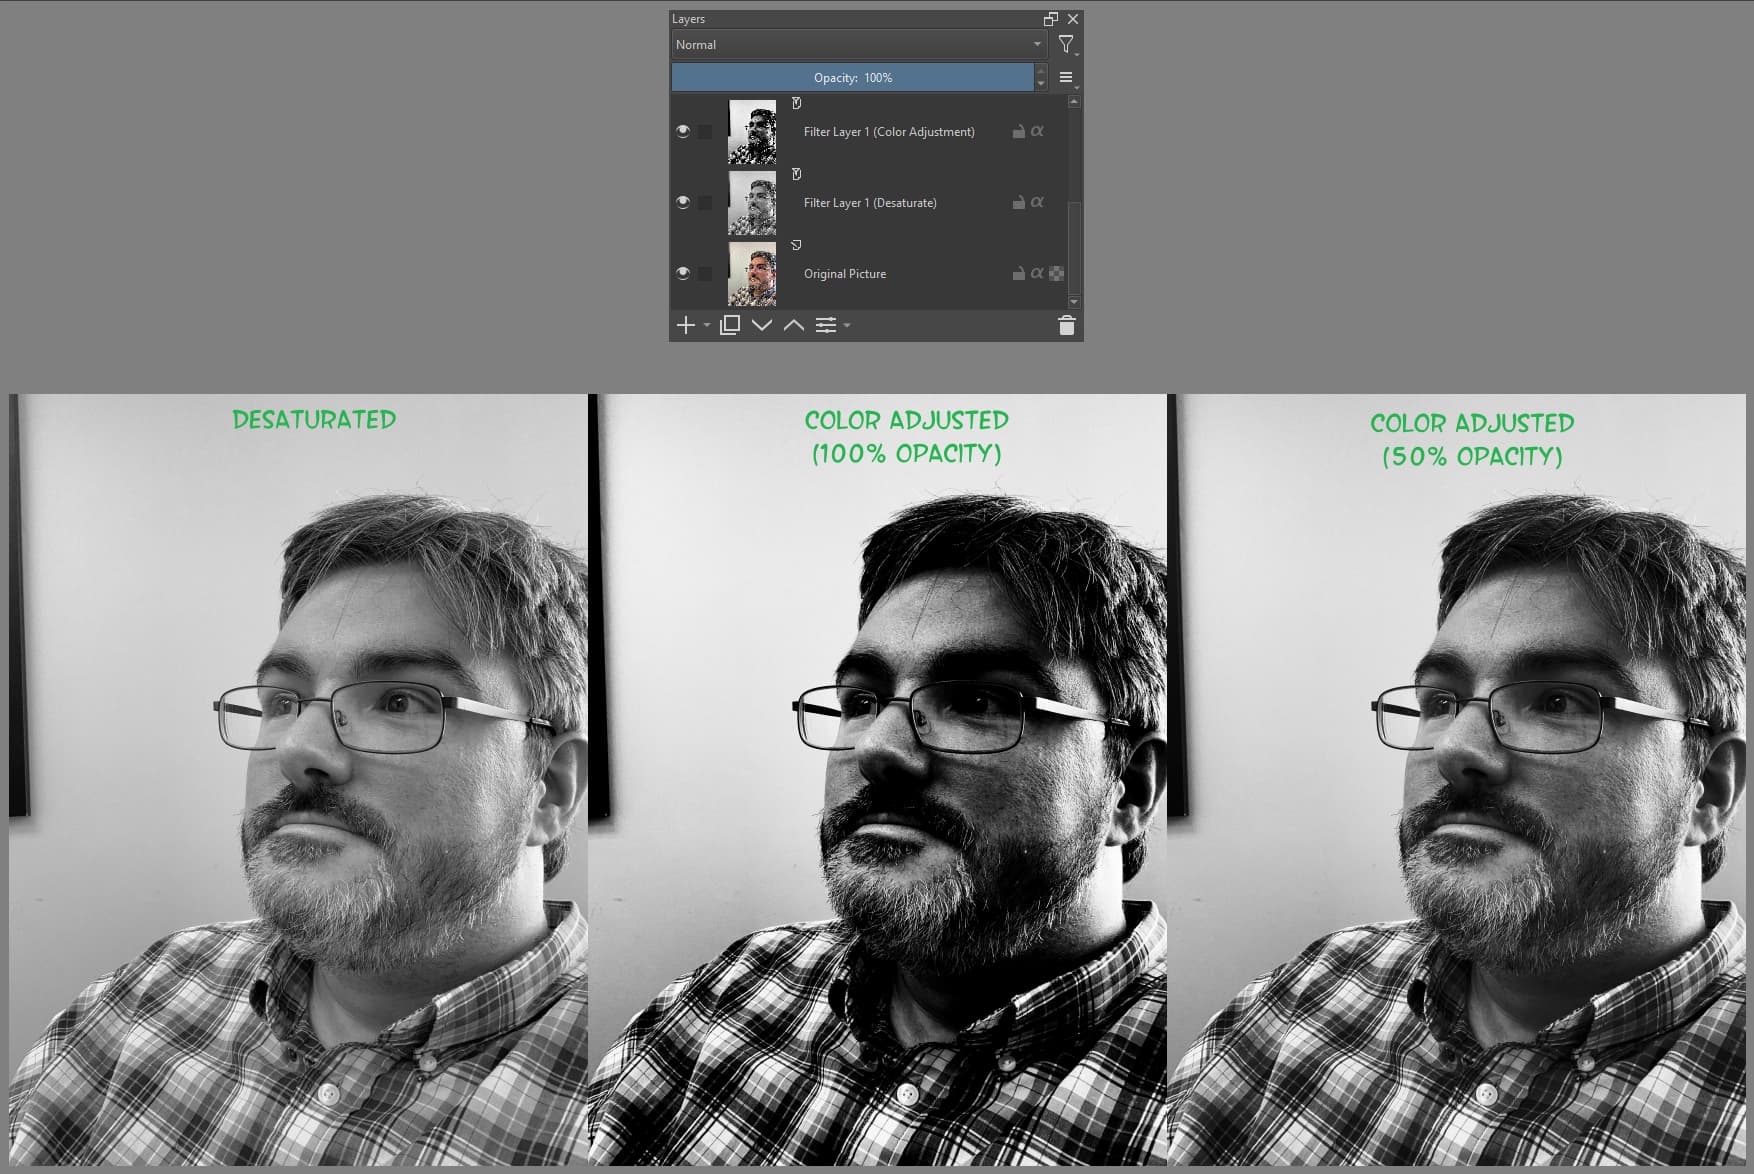
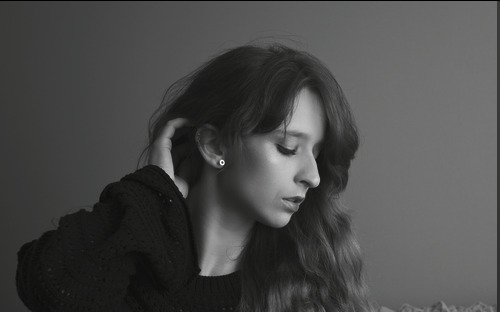
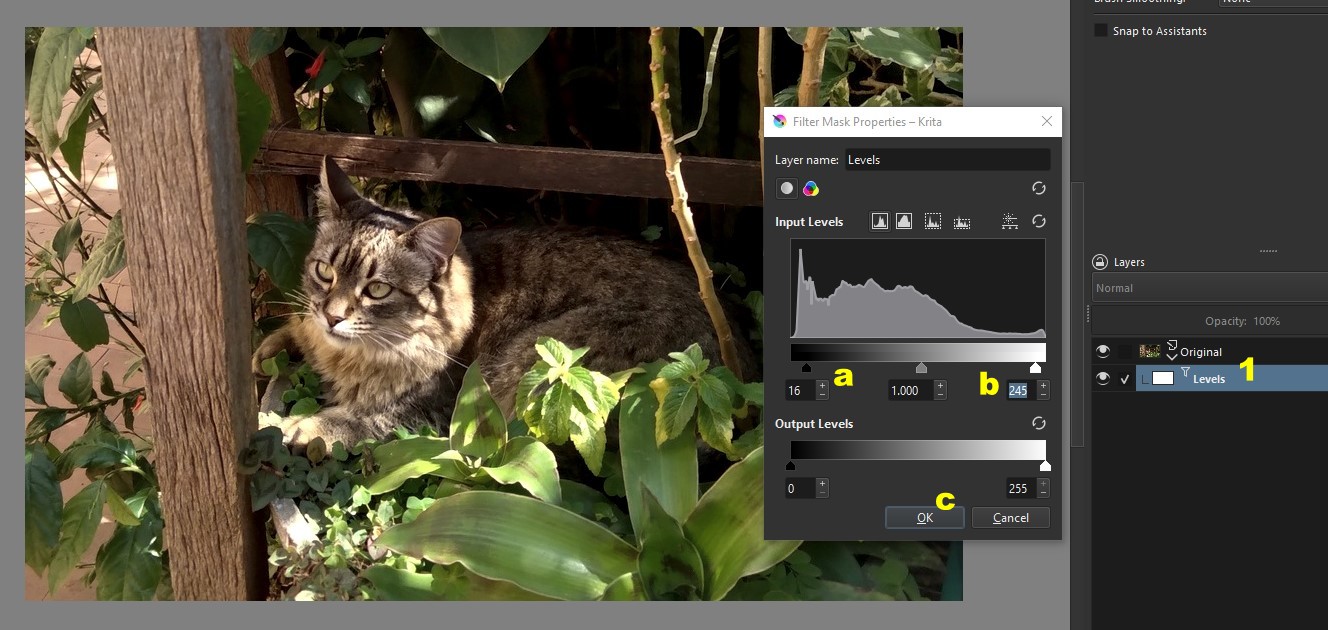
I didn’t even duplicate the layer, I just renamed it as: Original. I went to Filter > Adjust > Levels. I adjusted the "Input Levels" as usual: I dragged the top left slider a little to the right and the top right slider a little to the left, leaving the central slider untouched. I also didn’t change the “Output Levels”. Of course, the adjustments will depend a lot on the image…

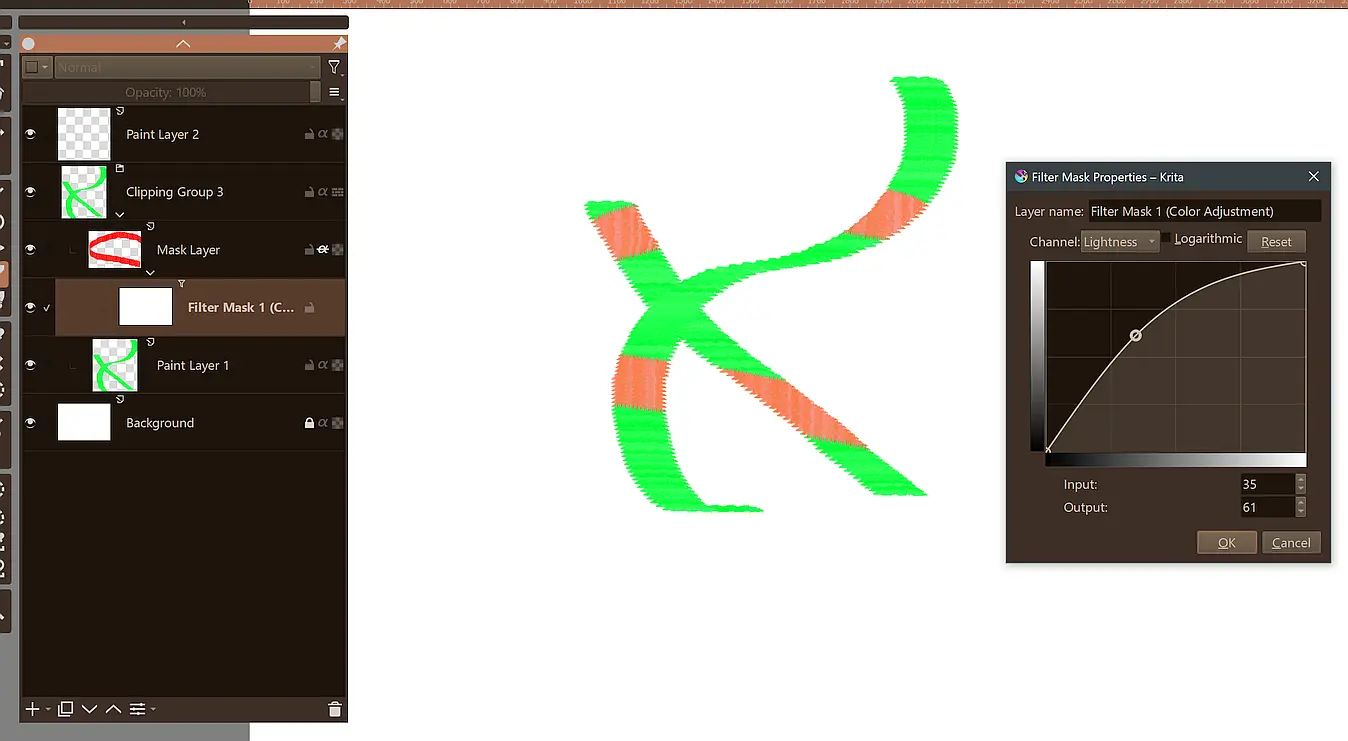
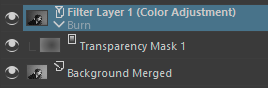
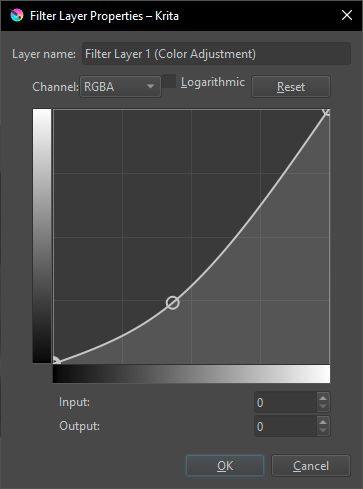
==> Now, the important thing: click on the “Create Filter Mask” button, not on “OK”! Because that way Krita will create a mask and you can go back to the filter dialog box if you need to redo the adjustments. To do this, just go to the layers docker, right-click on the filter mask (1) and choose the first option, "Properties": the dialog box will appear again. You redo the adjustments (a and b) and click OK (c) when you’re done.

I made adjustments by editing the filter mask exactly as I would a regular transparency mask. I used “Airbrush Soft”, with Opacity of 25% and Size of 150 pixels, for the editing.

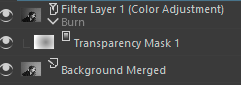
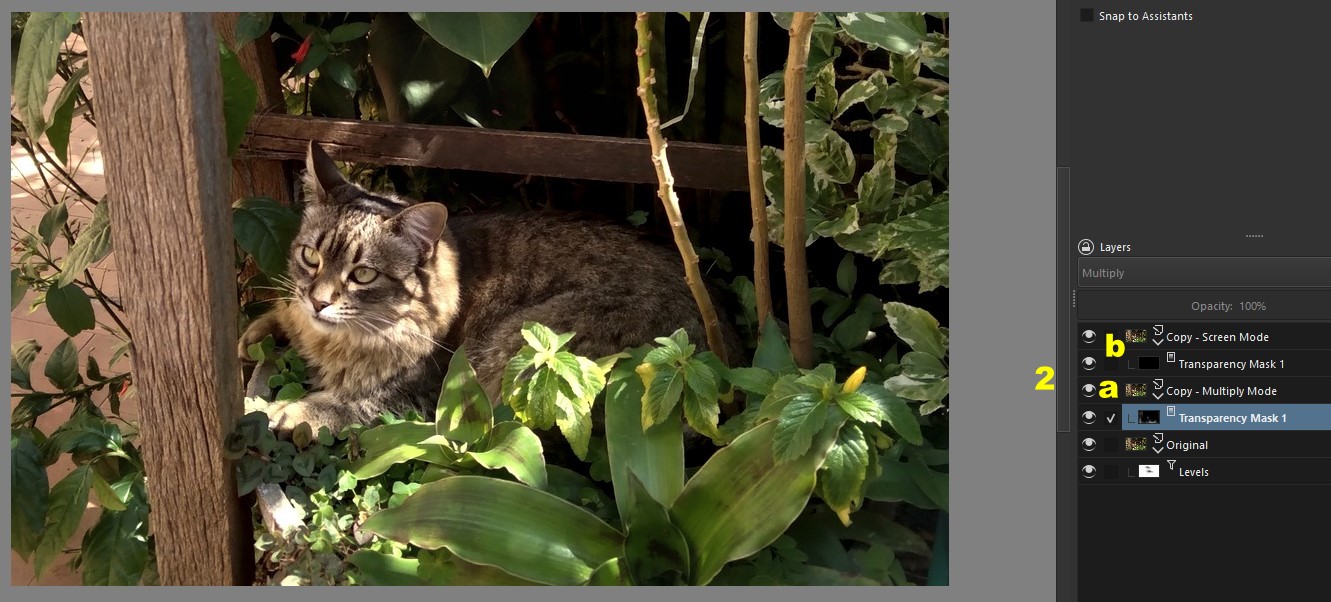
I took the opportunity to test what I said before: I created two copies of the Original layer, deleted their filter masks and, in their place, put transparency masks painted entirely with black (2). I changed the mode of one of them to “Multiply” (a) and the other to “Screen” (b).

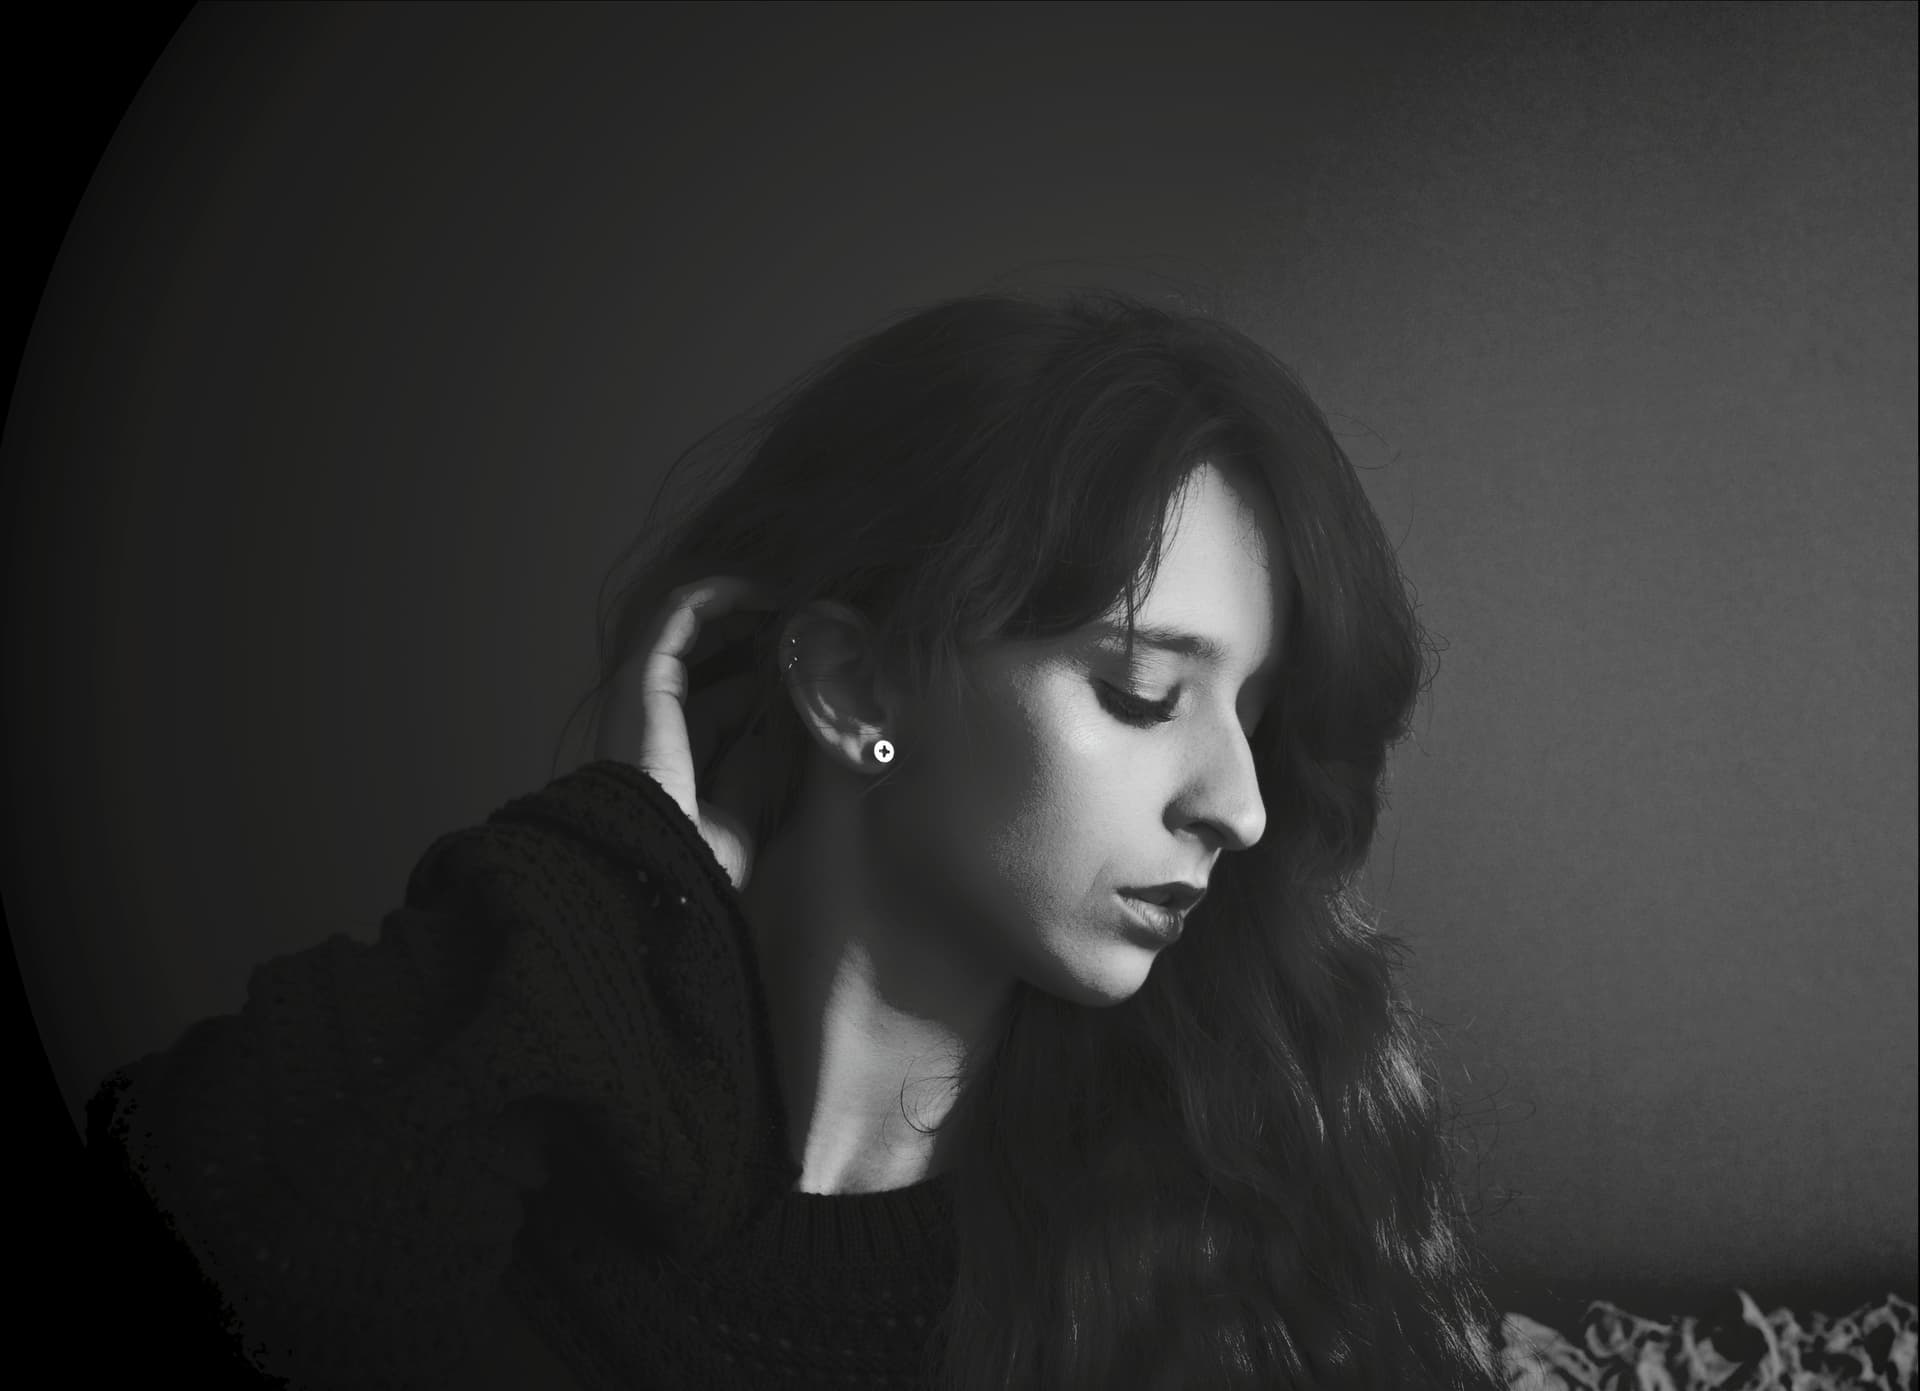
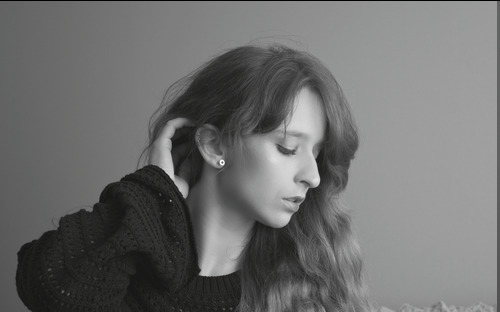
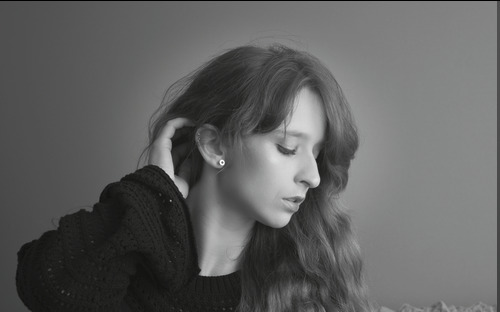
In the image below I had already edited the transparency mask of the “Multiply” layer, to make the plants on the left side and the larger plant in the right corner clearer:

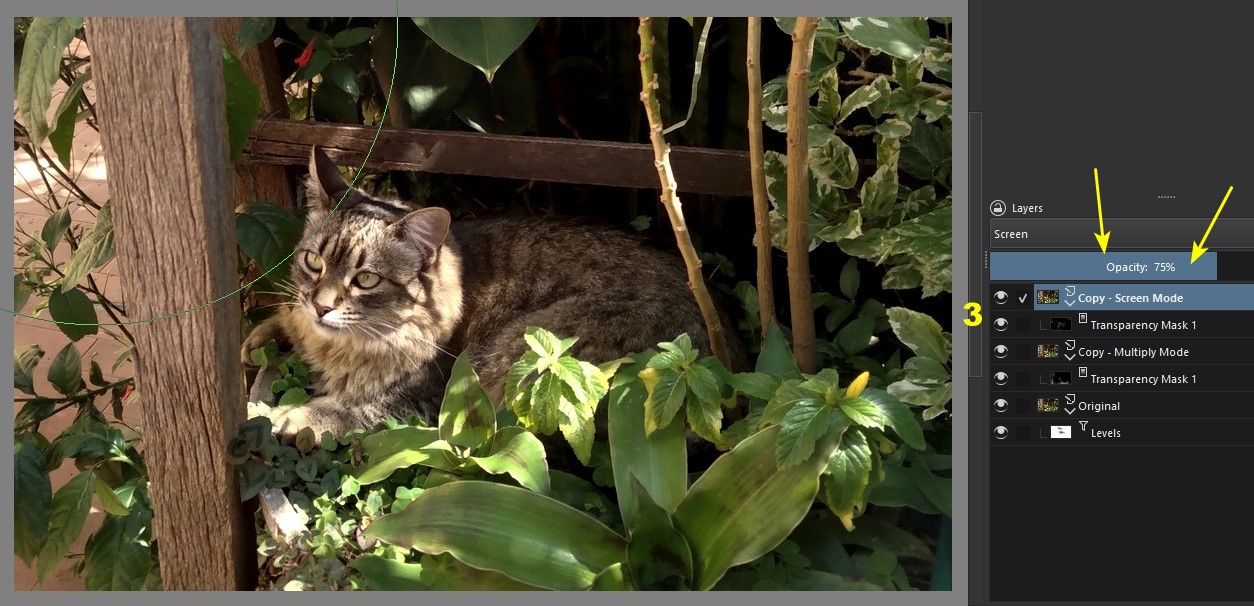
Finally, I edited the mask of the “Screen” layer (3): I mainly retouched the cat’s body, in order to make it stand out more. As my retouching was a little more than ideal, I reduced the layer opacity to 75% in order to solve the problem:

3 Likes

I see… I probably would have just hit the Color Adjustment Mask/Layer with the Color Adjustment filter, but that’s not exactly a non-destructive method. Though it would allow you to shift the transparent area of the mask (that Krita recognizes as black or a shade of gray) towards white.

Exactly. It’s similar to using a levels filter on the Color Adjustment mask what I’ve been using as a workaround. It’s destructive but does get the job done. I’m gonna conclude then that there is no obvious way in Krita to do this non-destructively, but that’s all right. I just wanted to make sure

Appreciate everyone’s input!

1 Like

Maybe I didn’t understand what you’re trying to do, but @Guerreiro64’s suggestion of using a filter mask instead of a layer is non-destructive.

You retain the ability to adjust the filter parameters and can edit its transparency by altering the mask itself in the same way you alter the extra transparency mask.

If you still want a separate transparency layer place the adjusted layer in a new group and either add a transparency mask to the group or a paint layer in Erase mode on top of the others. The advantage of the erase layer is that you can slip multiple erase layers between other layers and it’ll only affect the ones below, and you can apply masks to them (but not a color adjustment filter mask, only ones altering their outline visibly affect them like blur or a transparency mask).

Once you’re done set the group blending mode as you’d with your adjusted layer.

In your place I’d not even duplicate the base image, I’d clone it so it updates automatically if the original is modified. The resulting workflow is fully automated and non-destructive.

A note of caution: The more masks and clones you have, more demanding Krita gets. A moderate stack on a high resolution image can hit the PC hard.

2 Likes

Mask editing is non-destructive, as long as it meets at least two conditions: 1) you do not apply the mask permanently; 2) you do not edit the layer instead of the mask by mistake (this sometimes happened to me in Photoshop :().

One additional clarification. I used to do the technique I explained in the image of the cat in Gimp. In Krita it is even better because the Levels dialog box has this button to create a Filter Mask… allowing me to edit the filter effects by mask.

1 Like

Thank you for your reply. I am aware of the fact that I can edit Filter Layers and Filter Masks settings after applying them, which indeed is a non-destructive way of applying the filter itself. But I am looking for a non-destructive way to edit the filter mask. I almost got to what I wanted with the erase paint layer, but still hit a speed bump. Let me try to explain what I want with the actual thing in PS:

Here is a setup of a base layer and a “Filter Layer” (PS: Adjustment layer), where the filter is set to Curves (Krita: Color Adjustment):

I added a mask to block the filter from affecting the center of the image. I painted the mask with pure black, meaning the filter layer does not affect that part at all.

I now go to the Mask properties tab, and reduce the Layer Mask density to 40%. Note how the pure black part of the mask is now a light grey, indicating that the filter layer does affect the central part of the image. Also note that this slider is altering the mask itself in a non-destructive way: I can reset the slider to 100% and I have my original mask back.

In Krita, I mimic this by applying a Levels filter directly to the mask, which gives very similar results but is destructive: the values of the pixels in the mask are altered themselves. I have not found a way around this yet.

The Paint layer with Erase blend mode almost got me there, but unfortunately the blend mode is only sensitive to the pixel’s opacity, and not lightness, and there is no Filter layer/Mask (again, AFAIK) that can change pixel opacity.

Thanks again for your reply. I think we’re talking about slightly different things: indeed with what you describe, the image can be edited in a fully non-destructive way. However, what I’m looking for is a non-destructive way to alter the mask itself.

Thanks for that tip on the Create Filter Mask button! That’s a nice shortcut

1 Like

Perhaps the editing you want should be done in Gimp. In that program, you can save custom filter settings. I use the Levels filter a lot to adjust photos and I have at least two settings saved.

They serve as a starting point for adjustments. Here is a tutorial on how to save custom settings in Gimp.

This topic was automatically closed 30 days after the last reply. New replies are no longer allowed.