Hello! I’m coming from ibispaint to krita since I got my hands on a display tablet. I was wondering if anyone would be up for helping me transfer my custom brushes to krita. I tried looking into making them myself but I got very overwhelmed
Hi there! I’d be willing to help & explain on the way :-]
Fantastic! Should I share the setting of a brush to start? I’m not sure how any of it works lol
You can share the settings of any/all brushes, but it will be probably best to do it…
…like this,
so that others won’t get a gigantic wall of images : P Alternatively, use something like google drive! I also own Ibis, so sending links will work for me, too.
My only warning is, blending will most likely function very differently from what you’d expect; so if a lot of what you use are “blendy” or painterly brushes, some behavior will be slightly-to-drastically not what you expect.
I will try to explain the brush settings for you in more detail, so you can later go off & tweak them to your liking! <:-] I find the official Krita docs to be pretty good, but you can’t just put down walls of text just for like. A single engine.
Alright! So, I checked these out, and luckily (kind of) they’re super simple & don’t require completely new textures, and I can basically just recycle the textures & brushtips from my bundle. The con is, the last brush. It is basically a dual-brush, or a masked brush, whatever you call it – this is the “blurring” option in Ibis. Krita does not have dual brushes that do color mixing. I ended up having to make two versions of it; one with, one without color mixing. I’ll explain the logic for this below.
(EDIT: He did not, in fact, explain the logic for it below. I will in the next posts, though, sorry for the confusion!)
Airbrush rough
This one is incredibly easy to re-create, as it’s just a soft brush with a “noise”-like texture. For this, I used a generated tip and a noise texture.
In this case, I went with the “burn” texture mode, but this has its own problems.
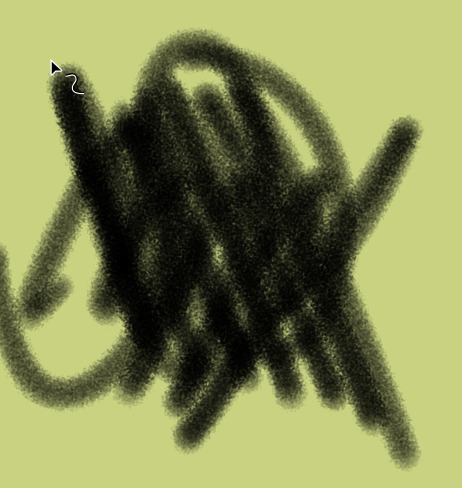
Several strokes, burn texture mode, soft texturing, strength 36%
The problem is that low opacity, like on the original brush, is not really possible in Krita’s per-dab calculation of textures. There is also no “normal” texture mode! So you’re stuck without the outer low-opacity edge that the OG has. It’s just not possible in Krita, imho. Maybe the closest you’d get is using the (X) dodge modes, like so:
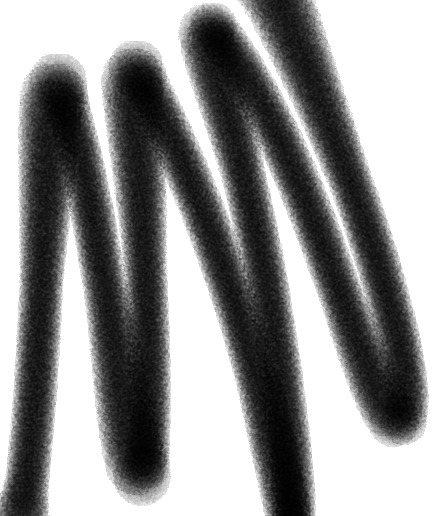
This is soft texturing on, 20% strength, linear dodge mode.
It’s much closer to the original, but still not quite there. In the end, I went with these settings for the brush tip:
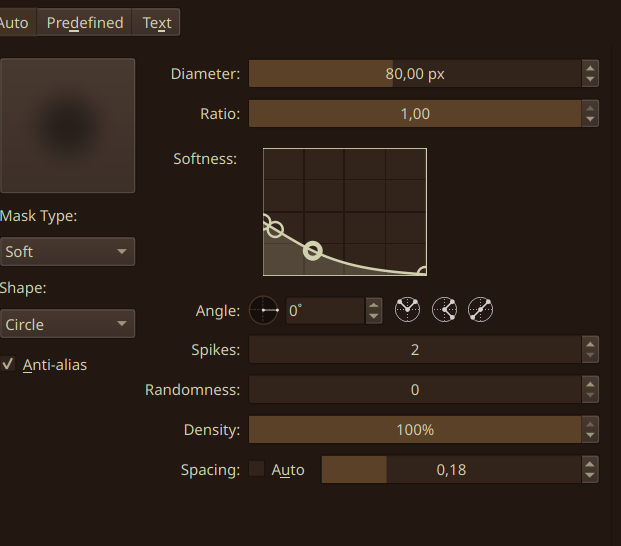
Mask type: soft allows me to “generate” a custom brushtip without having to make an image. “Softness” controls what the image will look like. “Shape” is, well, the shape. The rest is not important for us at the moment. The end result is this:
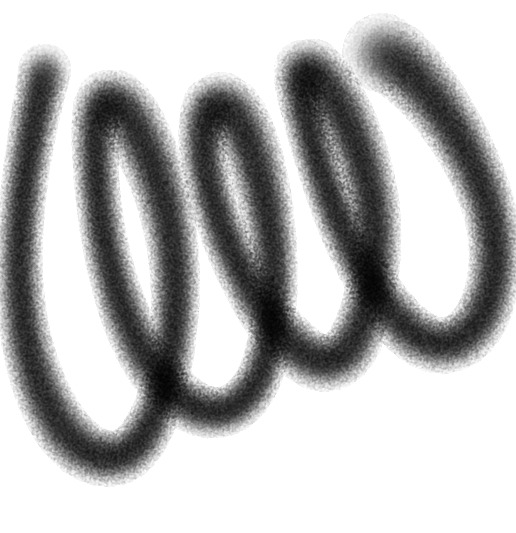
Moving on.
The brush has very basic settings. These are extremely easy to move to Krita, and I’ll show you how!
Let’s start with size variations.
The original brush has “Thickness” (this is what “Size” is!) at -42% on Speed, meaning the brush gets smaller the faster you move your pen. In Krita, it would look something like this:
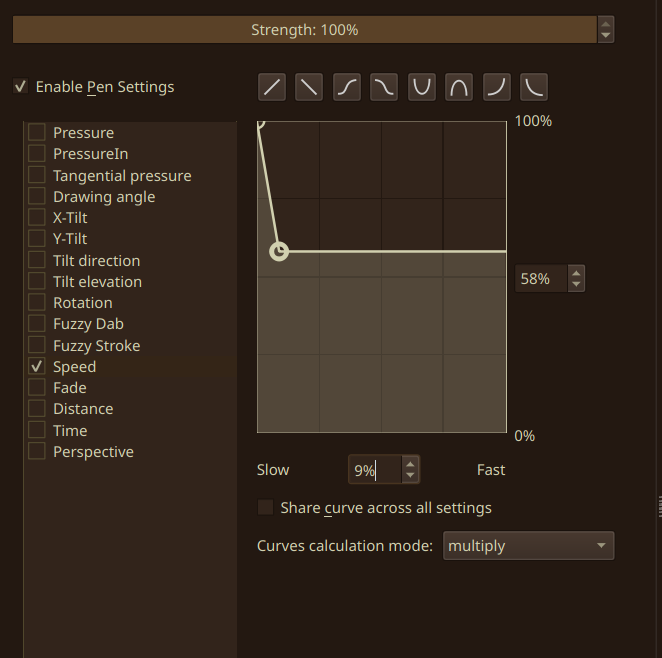
This is because “-42%” would be 58% of the original size. Krita’s speed calculation is also kind of wack, and on my Renaisser, I have to set it to 5-11% on the horizontal axis, or otherwise the curve does nothing for me.
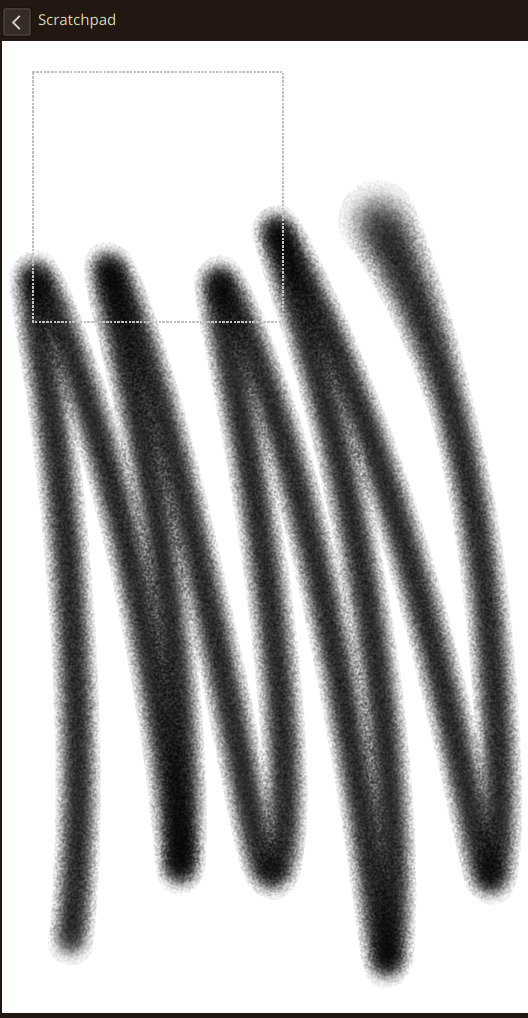
Now the brush gets smaller if you go fast!
Now, for the opacity. In Ibis, there is “Speed - Opacity” at 80%, and “Pressure - Opacity” at 100%. This means that the Opacity gets increased when you draw fast, and the stroke gets darker the harder you press down. The first one is, right off the bat, not really possible in Krita. There is no way (that I know of) to ADD opacity on top of opacity. So the best we can do is this:
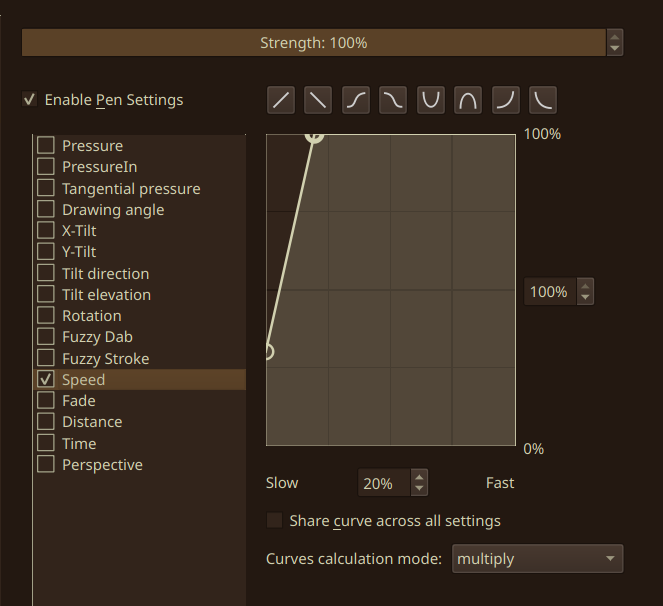
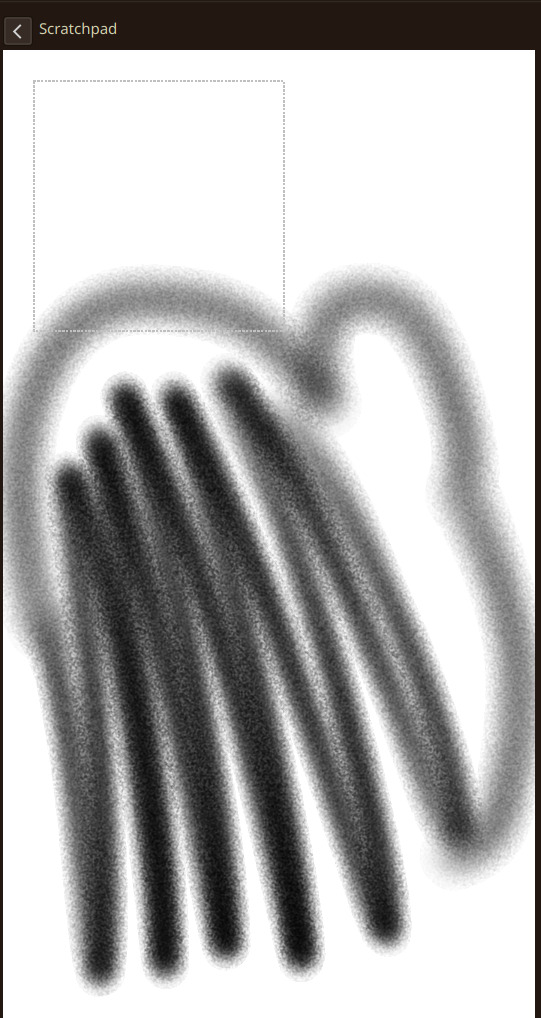
Mind you, this is NOT in the “opacity” tab. This is in “flow”, and that’s because this is the closest I could get to how Ibis calculates “opacity” in the case of this brush. This makes it so that you start off with a low flow, but it will increase with speed, like this:
For pressure, I used the preset curve, like so:
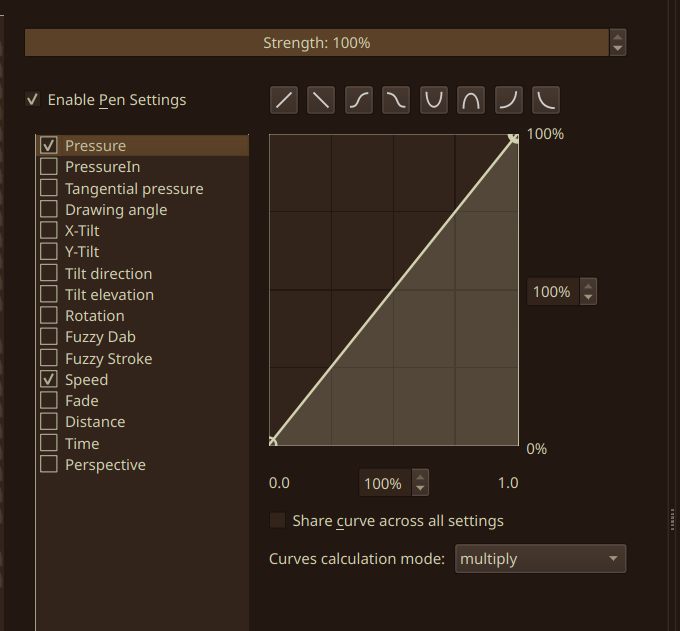
And voila!
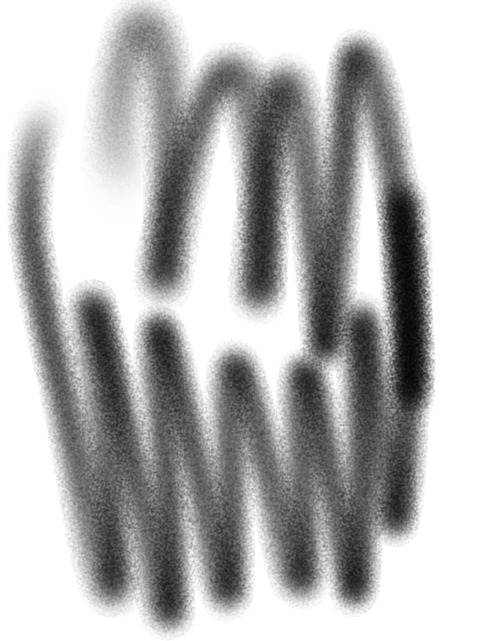
But things still do not look right; the stroke is too light compared to how dark the OG gets. So, we have to make one final change:
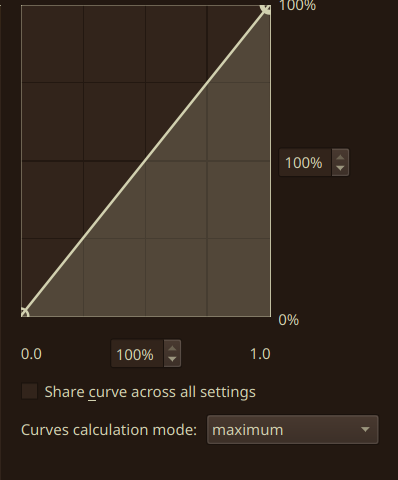

Under all of your curve settings, there is “curves calculation mode”. This setting is INCREDIBLY important to make note of.
- “Multiply” will make it so that your curve value 1 is multiplied by curve 2. So if your pressure is at 100%, and that gives you 100% flow, but your speed is at 5% and that gives you 30% flow, your final flow will be 100%*30%, so 30%.
- “Addition” will add the curve values. So if your pressure is at 30% with 30% flow, and speed is at 0% with 100% flow, you will have 100%+30% of flow. Krita caps this only to 100%, so you will never go above 100%, even if we in theory now have 130% of flow.
- “Maximum” will always use the maximum possible number. So, if my pressure is at 30% with 30% flow, and my speed is at 5% with 80% flow, Krita will use the 80% and ignore the 30%.
- “Minimum” will always use the minimum number. So, if my pressure is at 30% with 30% flow, and my speed is at 5% with 80% flow, Krita will use the 30% and ignore the 80%.
- “Difference” is, well, the difference between the curves. So, if my pressure is at 30% with 30% flow, and my speed is at 5% with 80% flow, this means we have a 50% difference in flow – so our flow will be at 50%.
We want our brush to get quite dark most of the time, so we will go with “maximum” as it seems to be the closest to Ibis.
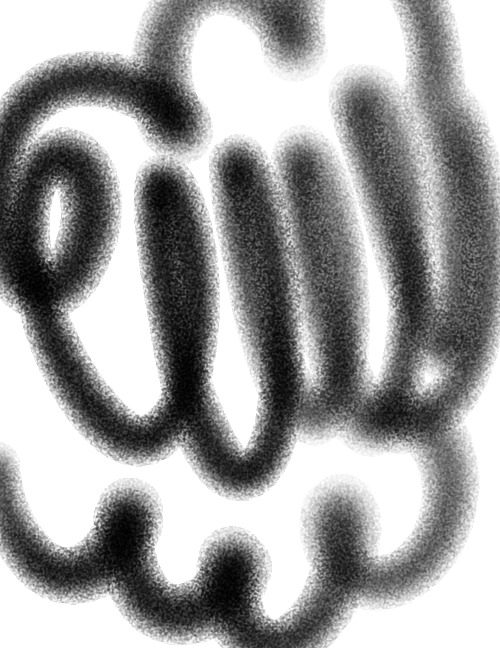
This is basically the rundown of all the basic settings used in just this one brush!
Now, for the final settings:
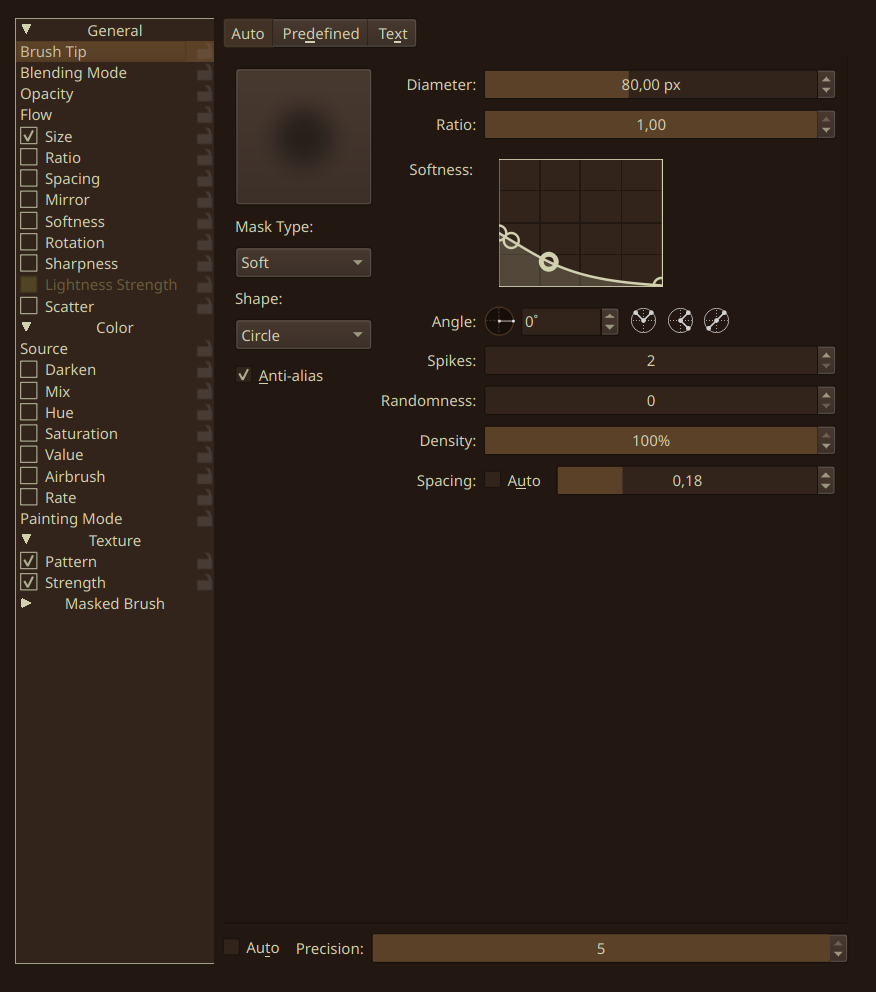
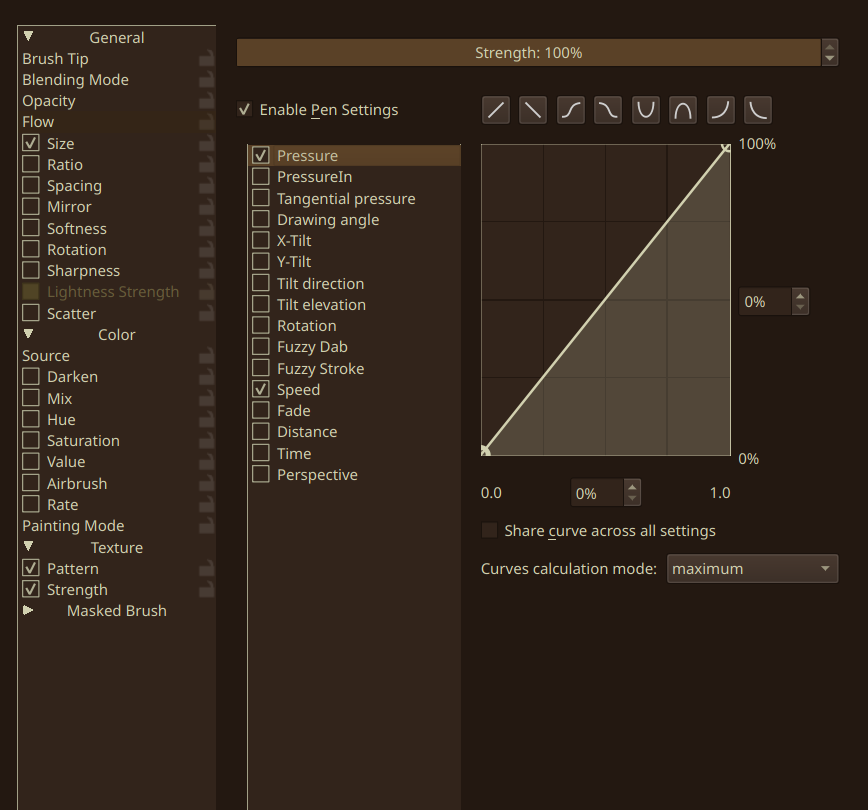
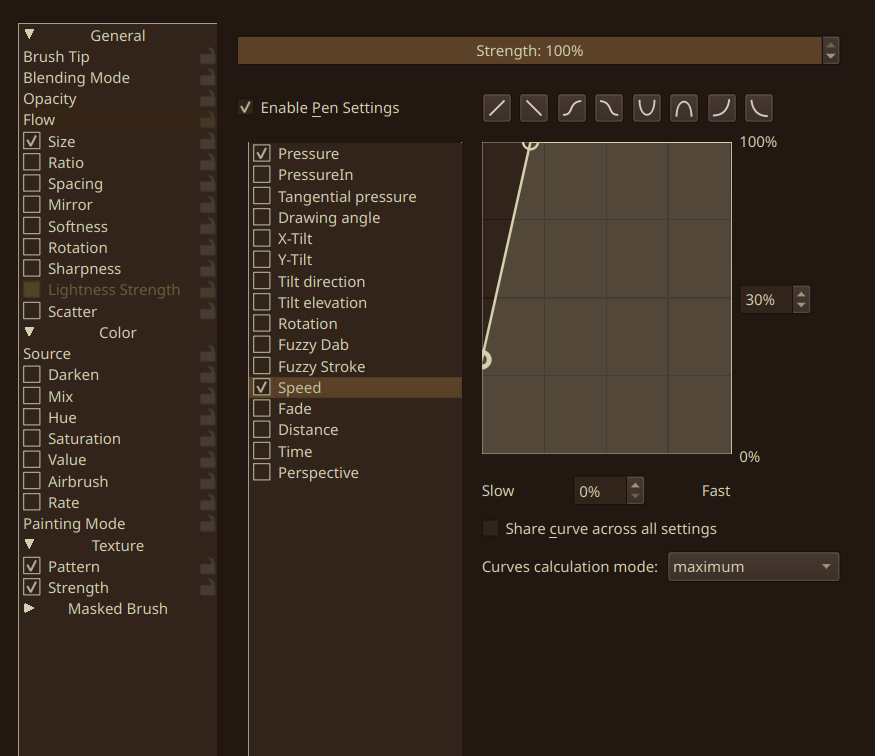

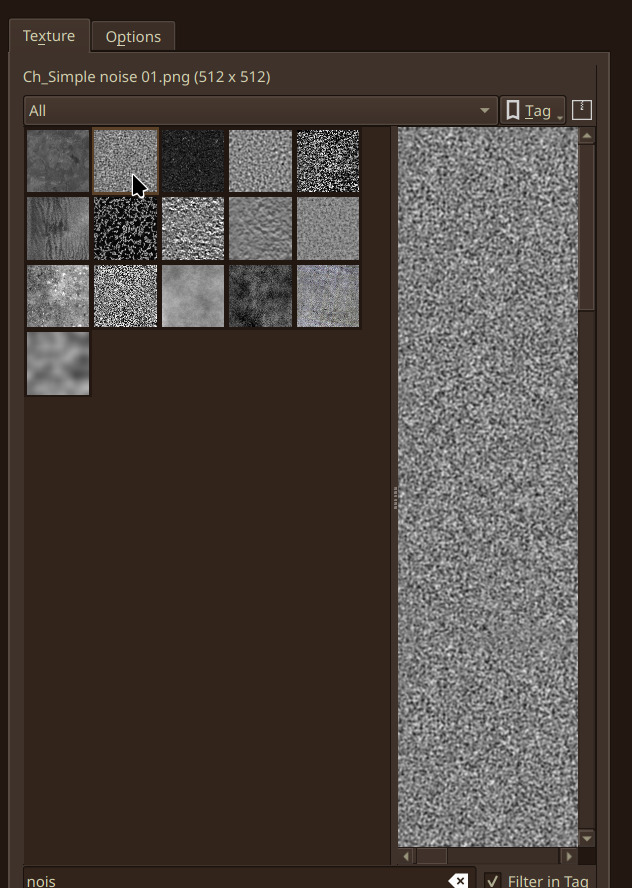
(Texture from Charcoal_KA.bundle, because I was too lazy to make my own noise… ahah,…,)
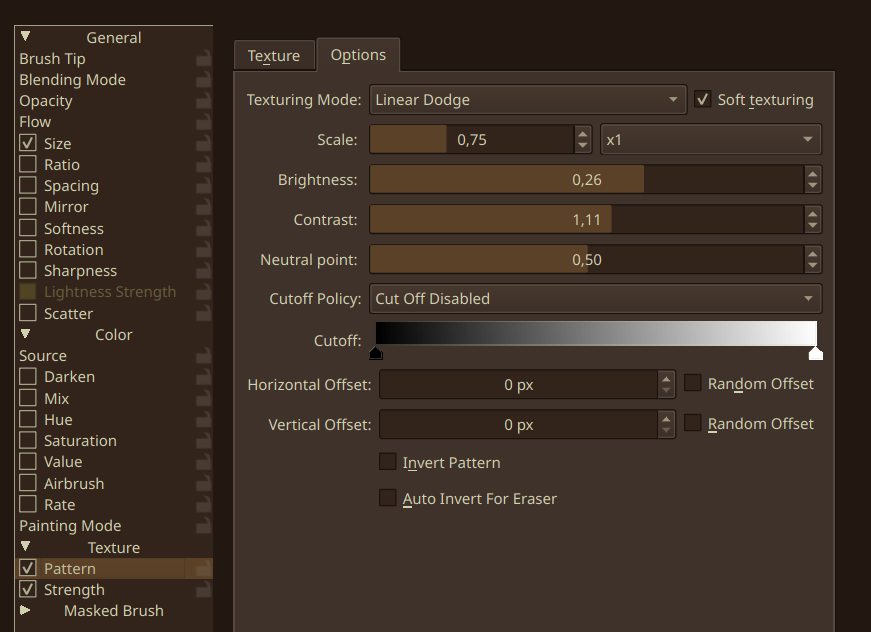
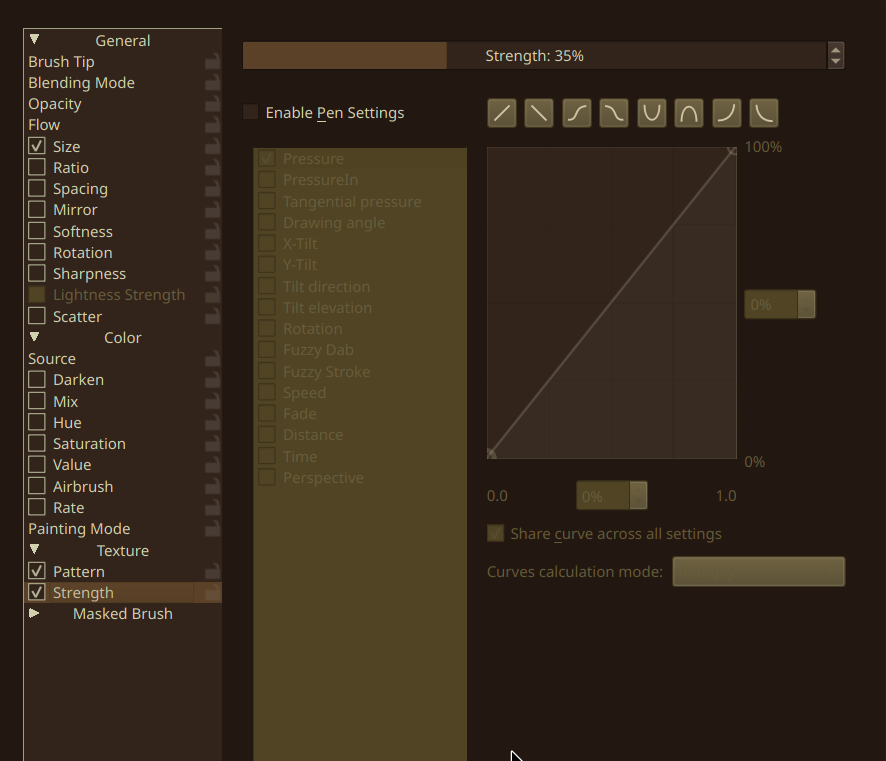
I will not be posting the final brush, because I’d prefer if you interacted with the actual creation process; I know it’s a bit unsatisfying, but you will have to learn it at some point if you want to use Krita.
I just hope the walkthrough was clear enough in my process;; if something makes no sense to you, let me know! I will slowly move on to the rest of the brushes, but it’s just boiling hot & that’s the best I can do for today lol.
Hate to say that this took me an embarrassingly long time
I’ll blame it on the hot weather and not reading your instructions correctly lol
Either way thank you so much! Your instructions were easy to follow(when I actually followed them) and very insightful!
Also I use the star driven brush for sketching more than anything else so it’s no biggie if it doesn’t have color mixing. But when we get there, I’d love to see if having it or not makes a difference for me ^^
I also got around to uploading the rest of the brushes I haven’t shared yet to google drive brush qr codes – Google Drive
I greatly appreciate the help but I totally understand if keeping cool from the heat takes up more of your time then fiddling around with brushes lol
uhh how do i get to that area? 
Hi! Not sure what you mean by “that area”?.. You haven’t marked any specific place in my post nor have you quoted a part of it, so it’s hard to understand what you’re talking about.
To quote a specific part of a post, select the part that you want to reply to and click “quote” or press Q on your keyboard. Hope that helps!
i found it nevermind! thanks so much i love the brush i made