For your original feature request, the difficulty would be that every filter that you want to use would have to be modified to make its parameters available/controllable by an Animation Curves docker type of interface. That would be a massive development effort.
I suppose the effort could be made for individual filters but it would still be effort required.
That effort was made for the Free Transform tool to give the Animated Transform Mask that is adjusted/presented by the Animation Curves docker but even that does not give animation access to every parameter and it also has UI/UX problems that have not been fixed yet, probably because of lack of available developer time/effort.
There are ‘tricks’ you can use for filters and there are three basic tricks with different levels of complexity, required time/effort and available control of detail.
The one I mentioned, the animated filter mask is the most complex and has greatest flexibility but is overkill for what I showed and I used it for a very simple end result.
In order of increasing complexity, the three tricks are:
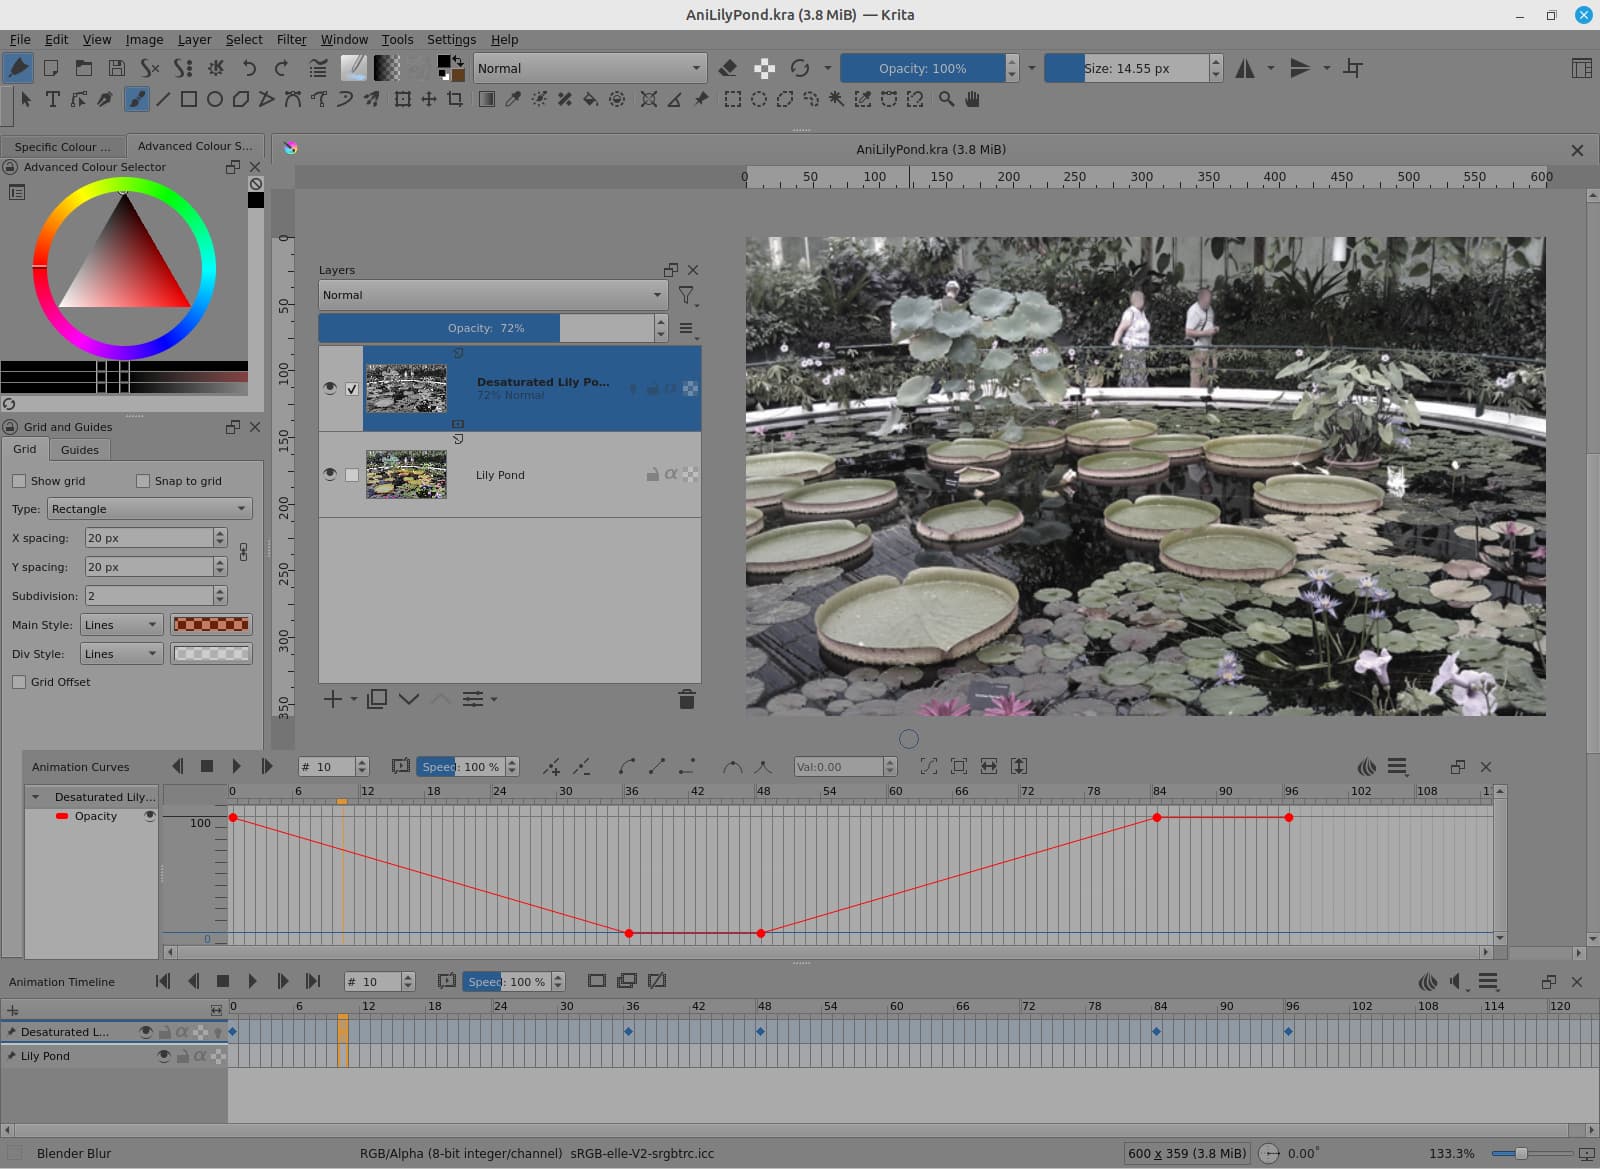
a) Animation Curves docker opacity transition.
b) Animated Transparency mask transition.
c) Animated Filter Mask transition. (I used this one because I’d forgotten how to make it so I gave myself a quick relearning session. With hindsight, it’s too complicated and takes too much time/effort for the end result.)
Method a) is the simplest and quickest method:
You can adjust the shape of the transition by using the bezier curve controls in the Animation Curves docker to give a visually pleasing transition effect. Because of how human visual perception works, i.e. its complicated, a linear transition is not always the most visually pleasing.
Method b) is almost identical to method a) except that the opacity transition is controlled by an animated transparency mask that fades a separate filtered image in/out over the original image. Time and effort is required to make the animated greyscale transition image for conversion to a transparency mask. This method has two advantages over method a):
-
The animated transparency mask can be quickly copied and used with any other image layer. That assumes it is a suitable transition effect for use with other parts of the animation.
-
The animated transparency mask operates locally on the image and so can be made with very detailed local control resulting in the ability to make a variety of fancy effects such as shaped wiping transitions. More detailed ‘local artistic’ effects can be made but that takes time and effort and would probably not be suitable for copying and reuse.
The disadvantage of method b) is that time/effort are needed to make an animated greyscale transition for conversion to a transparency mask. That’s the price you pay for flexibility and capability.
Method c) is roughly equivalent to method b) except that the animated greyscale transition that you initially make is converted into a filter mask instead of a transparency mask. This means that it uses fewer layers than method b) but that’s not a big technical advantage.
Please remember that none of these methods are the same as varying the parameters of an applied filter. They are visual/animated tricks that often look good or can be adjusted to look good.