So, my question is, how do I go about modifying the picture so that all areas of colour are completely flat, and also abut each other smoothly without any jaggies or staircasing?
Unfortunately the most important screenshot is missing, the one that shows a full screen screenshot, including the tool options docker visible as in your screenshot, and please not too extremely compressed as in your screenshots, so we can clearly see your image and the settings and all the information Krita shows us in a full screen screenshot, including status-bar and title-bar. I would say 75% compression at half image size should be okay for a good screenshot from a 4k display, at FHD you can keep the size.
But what I think what I saw is that you used a brush without clean/sharp edges, maybe something with bristles or something like a sponge, and when you fill something painted with such brushes you get an effect like feathering. A brush with sharp edges and no opacity variations would provide a better foundation for a cleanly filled area.
Without knowing the file size and zoom range/depth you’ve chosen to look at these subtleties, it’s almost impossible to give an informed answer.
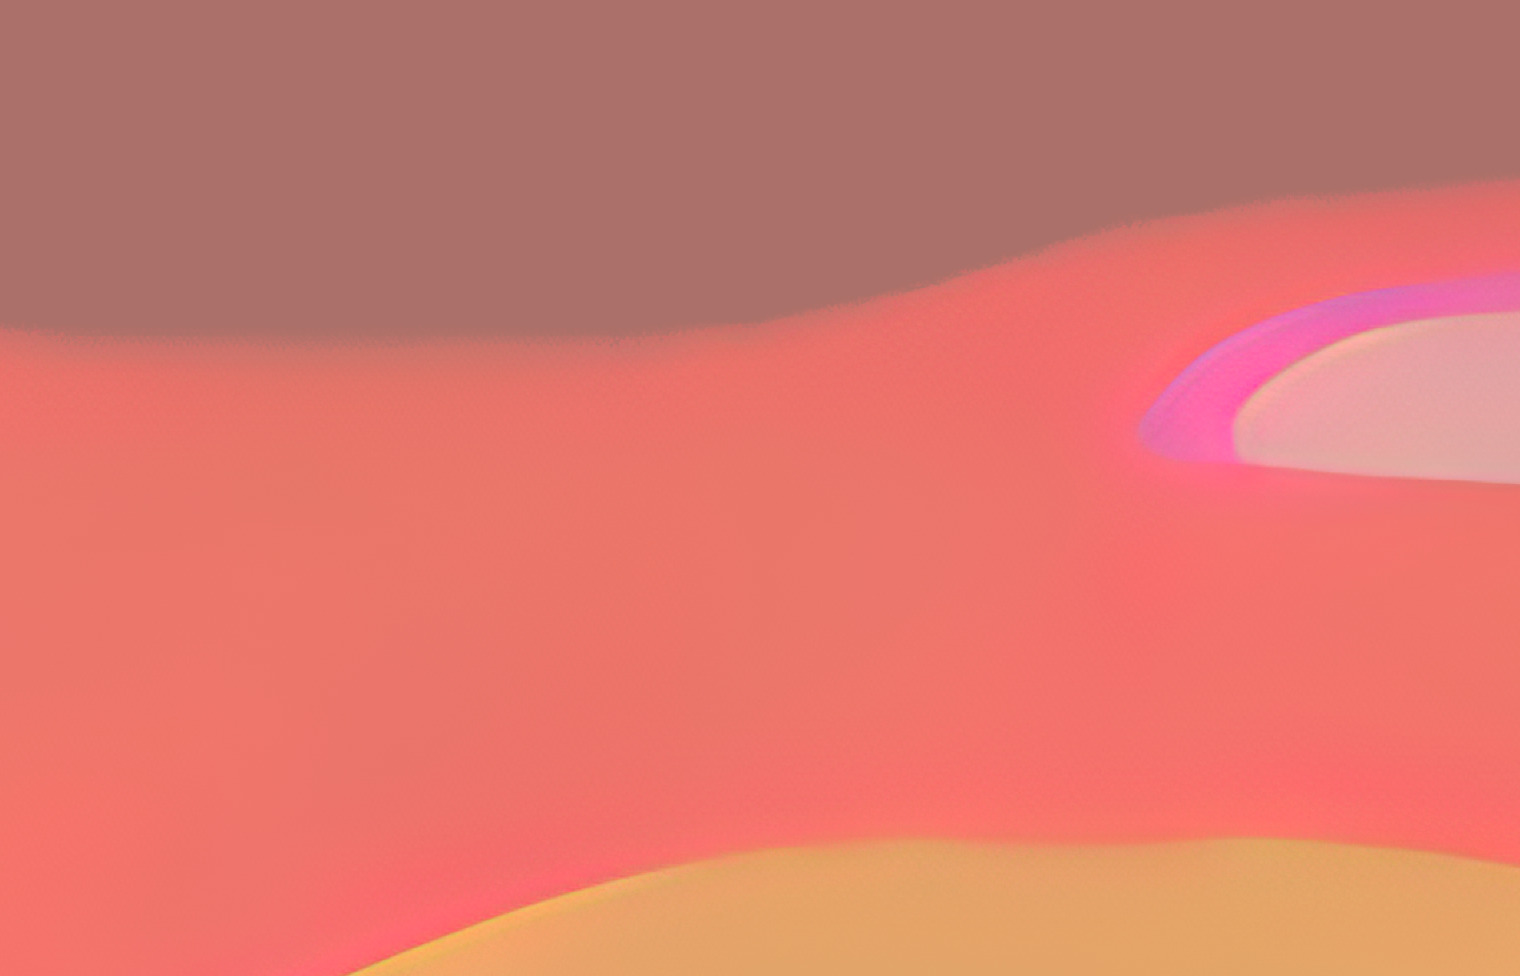
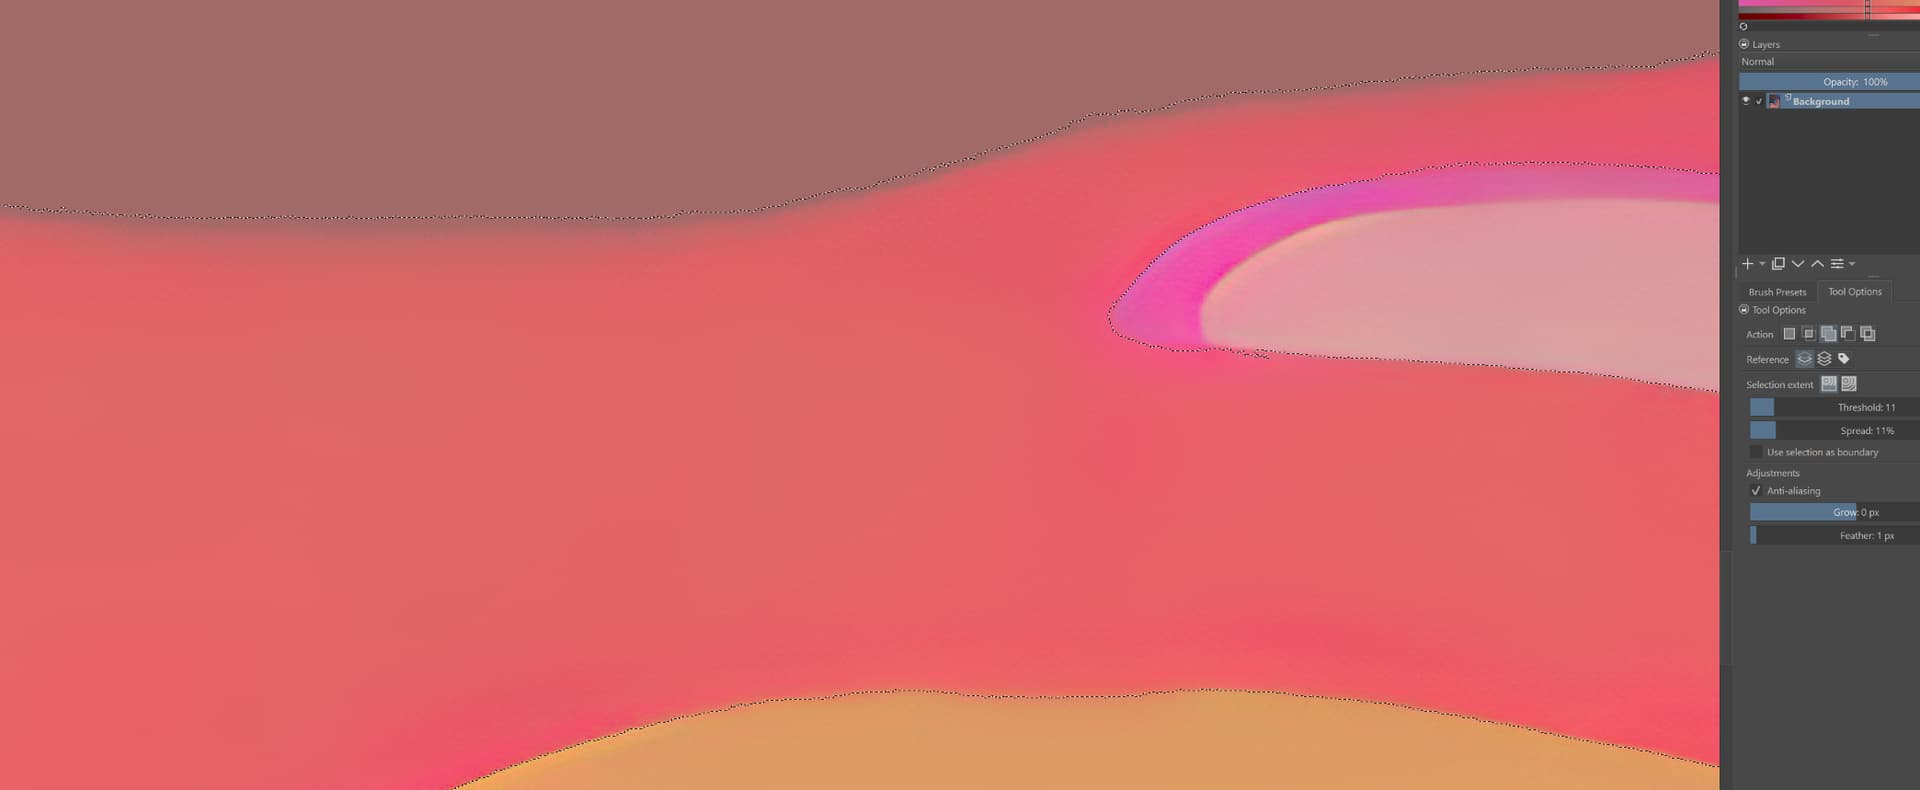
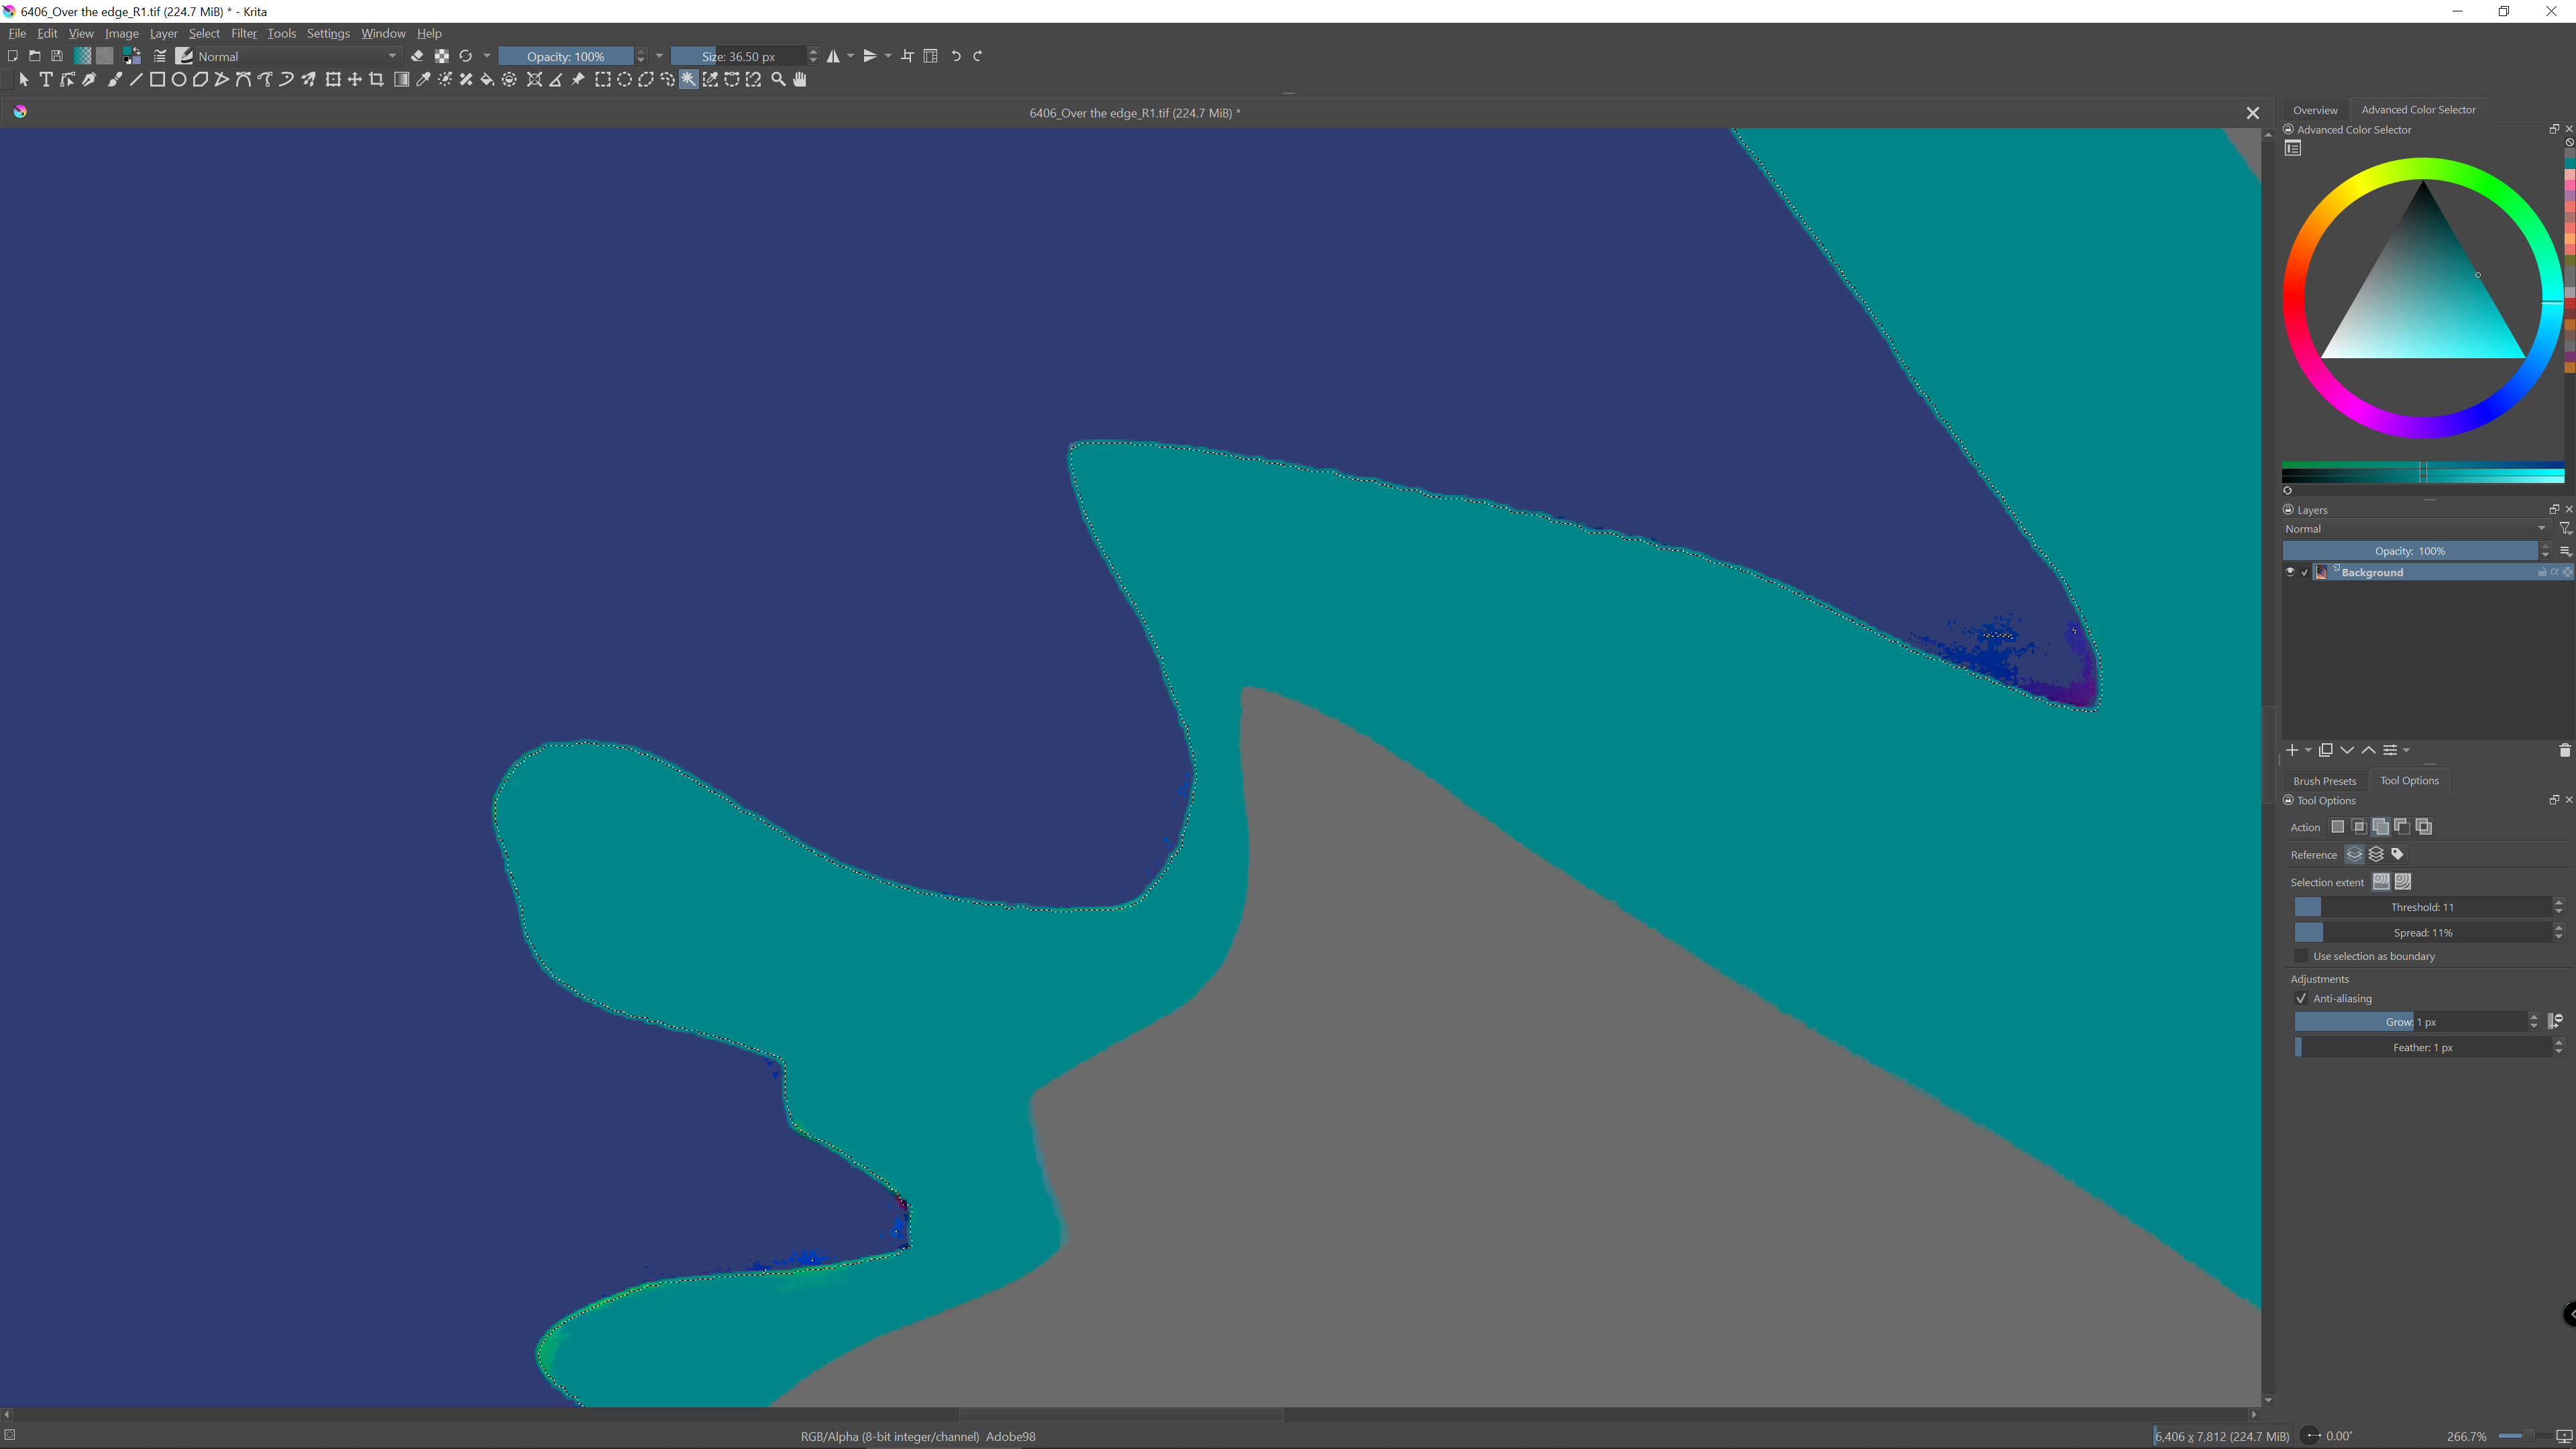
That, by the way, is a screen shot of another part of the image (I’ve been working on the one I sent first). The dark blue area is as yet unworked. You can see (Ihope) the rough edge. And this is traced when I create a selection, which is the problem. The grey/light blue edge has been, in the way I described earlier. (it’s not too bad, but there are worse examples and the method I’m using is labour intensive - is there not a way of sampling two adjacent areas and then telling them to abut smoothly?)
If the start point is the image with fuzzy edges then selecting one area may result on the selection having those irregular edges. That is normal due to thr nature of thr fuzzy edge.
What i would try to do is applying some filter first to thr image and see if that helps latrr when selecting. What comes to my mind right now is:
applying some kind of posterization filter to segment the different regions into flat areas. This does not guarantee that the irregular edges won’t appear, but is worth trying.
applying some blur to the image to smooth the edges. This should to some extent get rid of the fuzzyness although it may change a bit the shapes. Then select and fill.
I could not check these, but I’ll try when i’m on the pc.
Before I forget, don’t waste your posts, if no one has posted after you then edit your posts please (pencil icon) if you want to add anything else. This forum unfortunately has to deal with such unpleasant contemporaries as trolls, spam mafia and spambots, so new members can only post a limited number of posts, a necessary restriction that will quickly be lifted if they behave accordingly.
There may be a reason to change the default color space, but in the case of non-calibrated hardware and for personal use, you’re better off sticking with Krita’s default color space, which is a setting for professionals who have an end-to-end color-managed workflow.
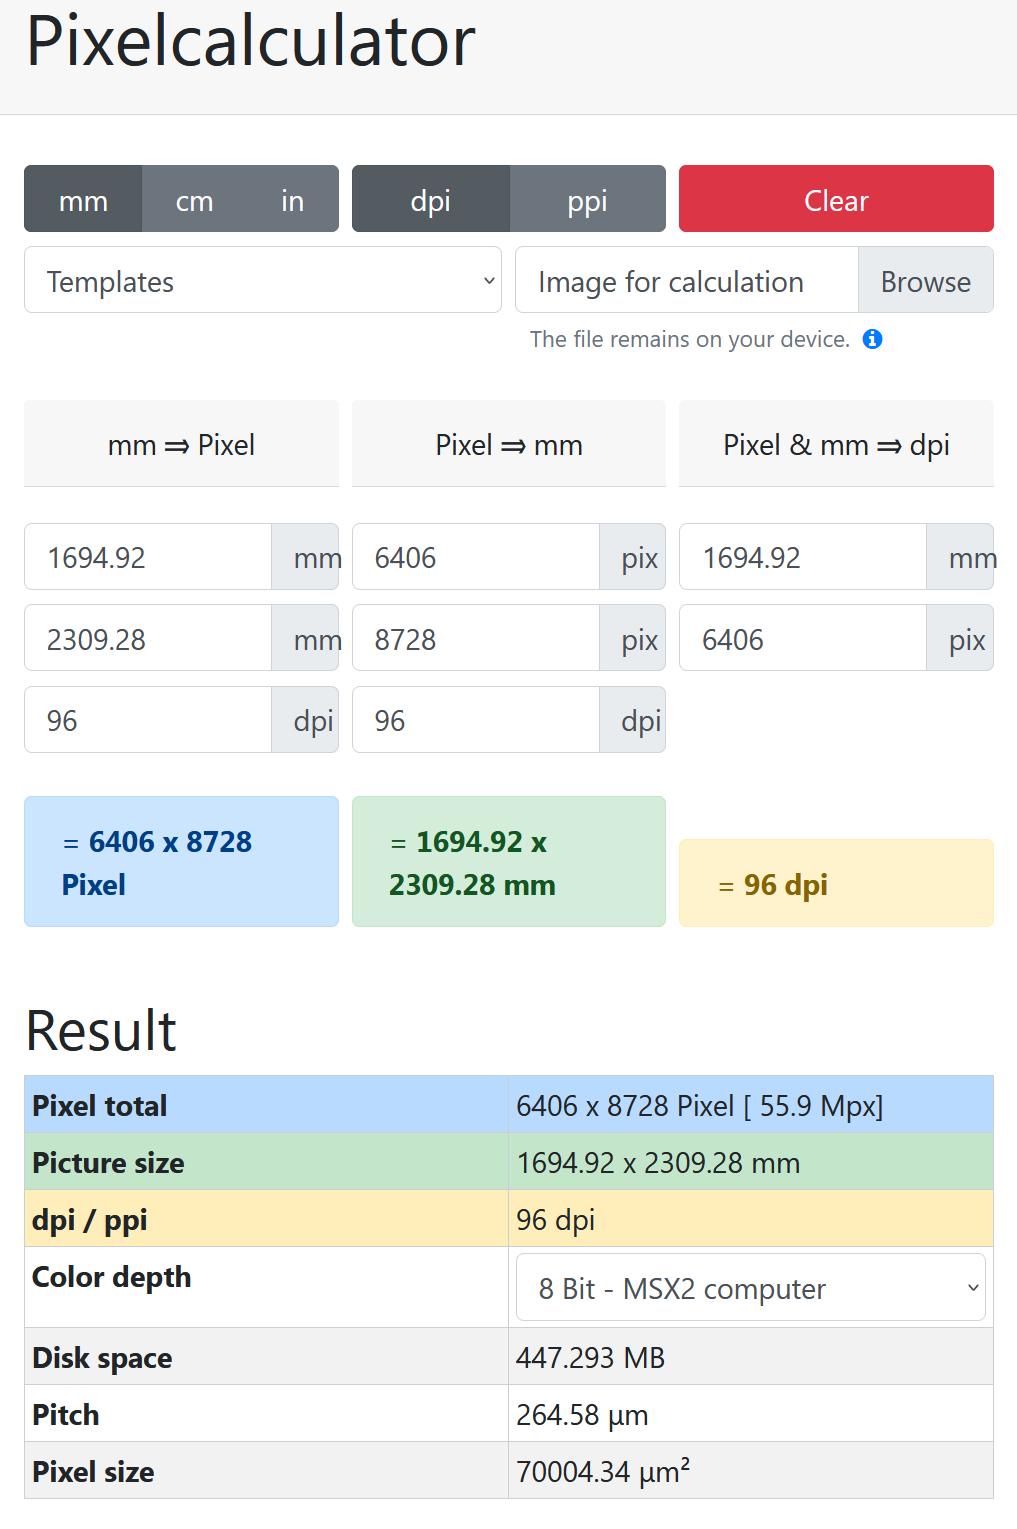
Wow, your picture has gigantic dimensions, as if you wanted to hang it on a skyscraper? Are you using 300 DPI or even 600 DPI? Please tell us what the intended use is and what the real dimensions of the image should be.
If not, and it is “only” supposed to hang in a living room, in the standard size of 70cm x 50cm or even 1m x 70cm, then no one will stand in front of it and look at the image transitions with a magnifying glass, have you calculated what real dimensions your image will have.
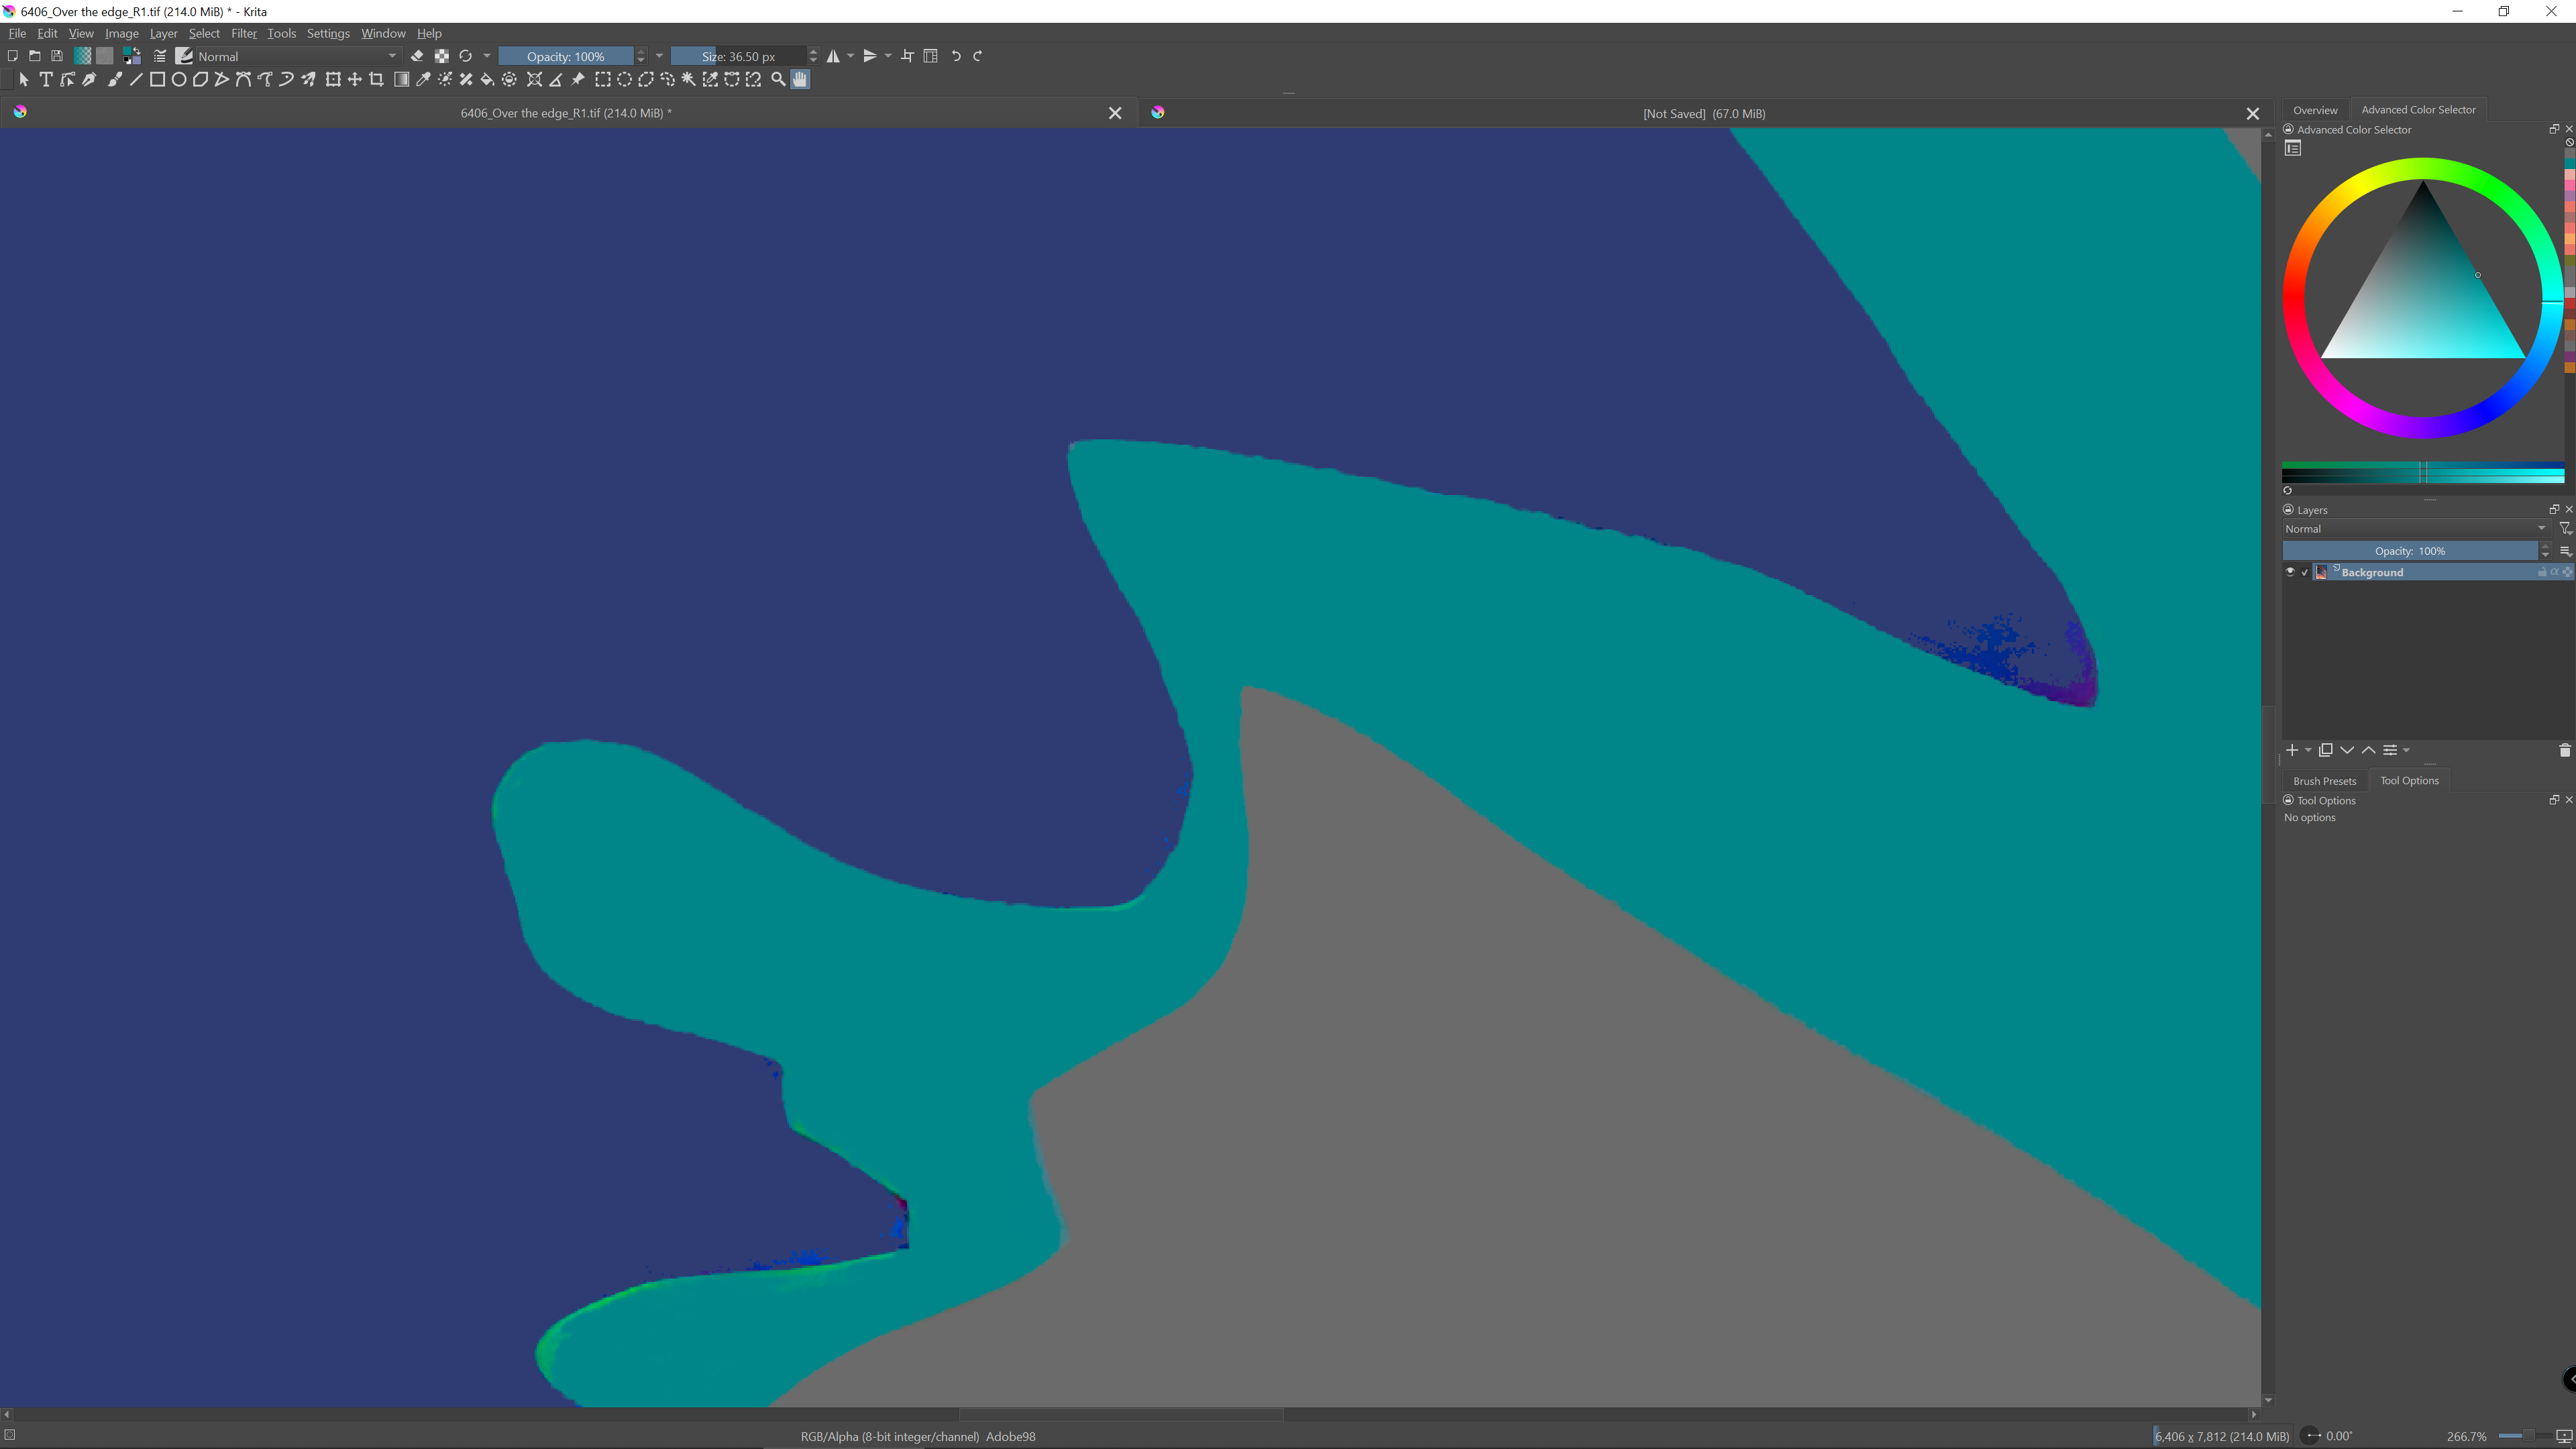
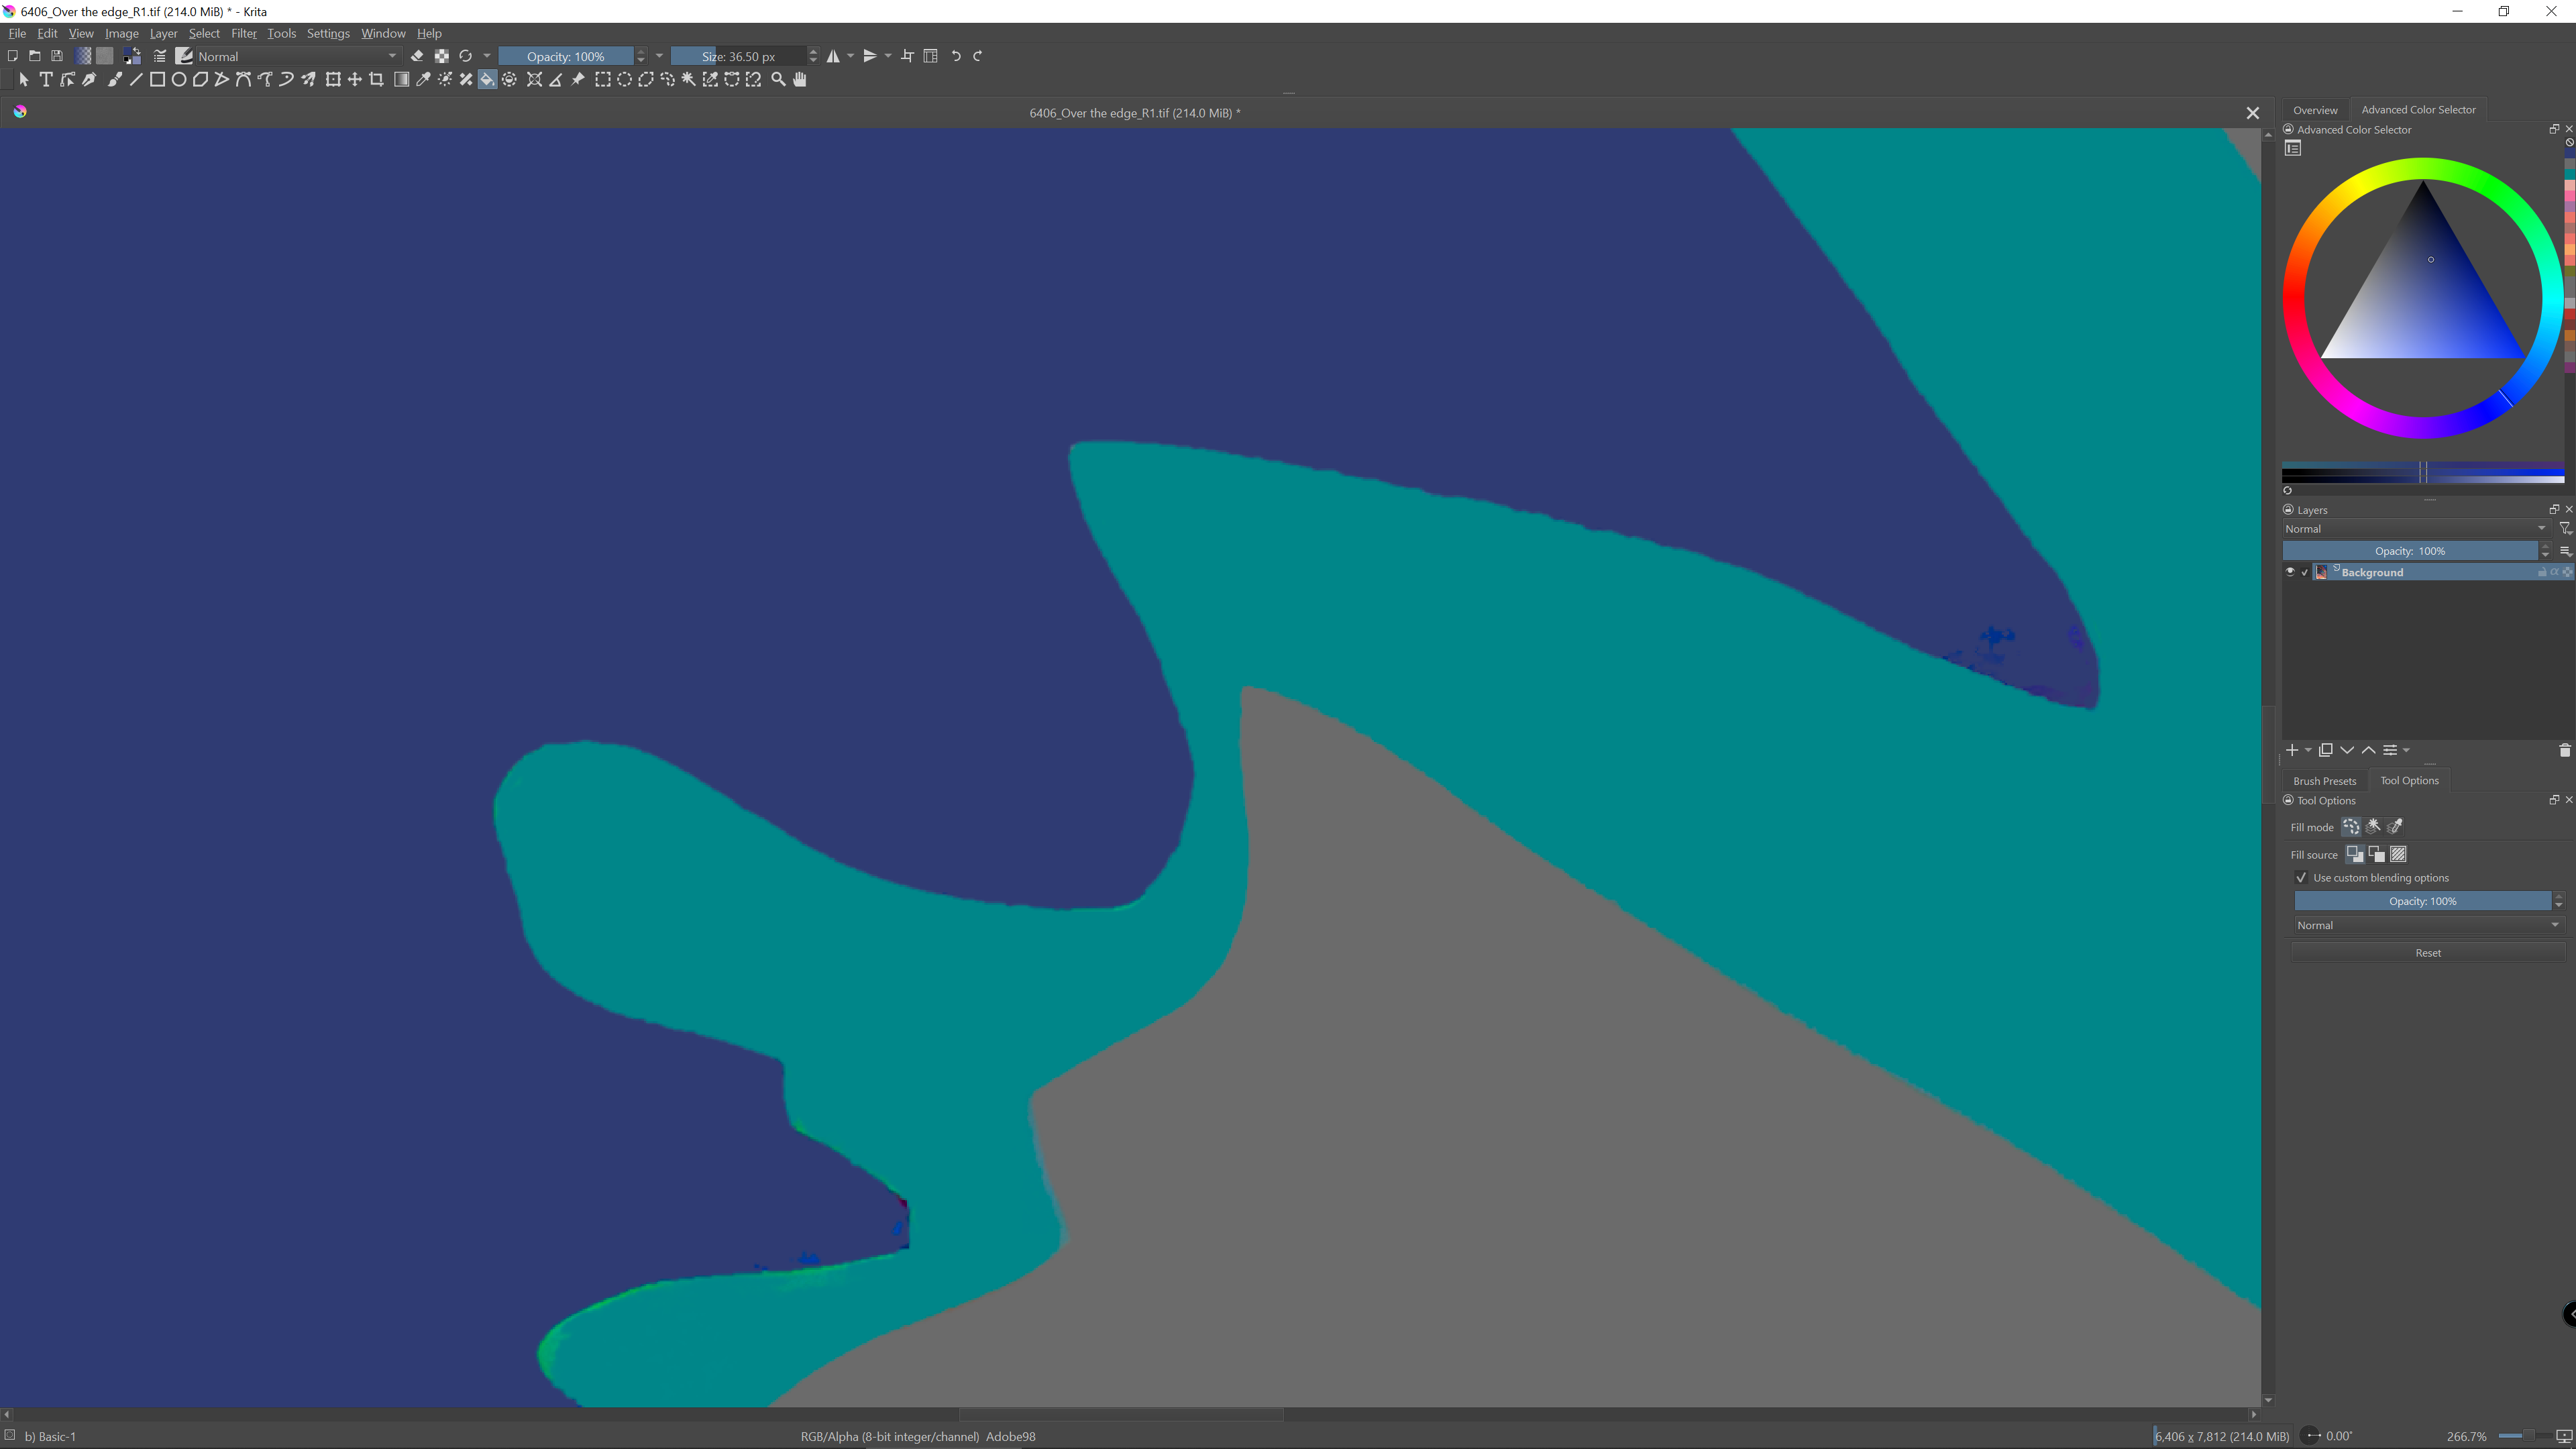
And now for a problem, the non-existent tool options of the pan tool don’t help us at all, because they contain zero information. I admit I forgot that I would have liked to see the options of the fill tool, sorry, but since it’s a problem with fills you might even have guessed that. So we would need a screenshot of the tool options with the fill tool selected, and if you fill by selecting the area beforehand, a screenshot of the tool options of the selection tool.
I have tried these things. I’ve been faffing about with it for hours. What’s needed, I think, is a button that flattens selection edges to removes the staircasing effect along the edge of the selection and produce a smooth curve. That would put some pixels outside of the selection, but then by applying the same process when selecting the adjacent area, these would be removed and you would end up with two smoothly abutting areas. It seems to me anyway. There is a smoothing function in Krita under selection/transform, but all that seems to do is feather it. Perhaps there’s a good reason why this is an unreasonable request.
The issue is with the original image that most probably has some noise in the smooth edges. Then, when selecting, the selection is affected by that noise, hence the irregular edges.
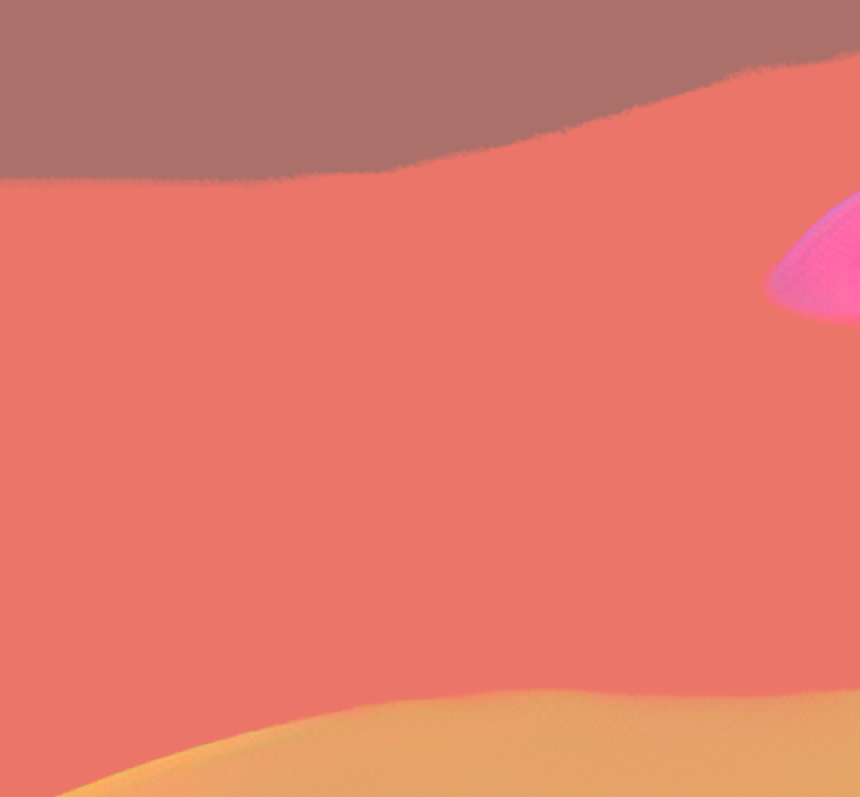
Please share the original, uncompressed, image, so that i can try, because the one you posted seems to be a reduced version (maybe due to the forum scaling) and i cannot see the issue there.
The TIF file I’m working on is 715Mb, so cannot upload. And this is yet to be enlarged. I could upload a 100% quality jpg at 9mb.
EDIT
Actually it’s better that I upload an earlier version, which is 160mb. This would show you the problem. But could I upload an image that size on here?
EDIT #2
OK I’ve cropped the image to a square, which includes enough for you to see. But it’s still 79Mb. Is this uploadable?
EDIT#3
Well I now have it down to a 24mb png file (although orig request was an uncompressed file). But I have no dropbox account and do not use google docs (or don’t know how to).
As I said above, the original TIF is large and I have no Dropbox account. I could send you a cropped version (the middle half) using WeTransfer though, if there’s an email address I could use. Still 143Mb. Please let me know if you want me to.
for such things. They allow sharing of files up to 5GB without registration, and the files are automatically deleted after 30 days.
And files up to 50GB can be shared via
Also without registration, for up to 30 days, 500 downloads per day, with password protection, customizable expiration date & adjustable download limit.
I’ve sent you an early version that I haven’t attempted to correct yet, so you can see the entire beast in all its awful glory.
I have been achieving reasonable results by using selections and then painstakingly going over the joins with a large brush of the colour of one of the two adjacent panels, clipping off the pixels and bumps and jaggies. Luckily, it’s not important if I adjust the shapes of the panels slightly by doing this, but it occurred to me that if accuracy were important, I’d have a problem.
Are you aware how large your picture already is? If you print out your picture with its current size, so 6406x8728 pixel at 96ppi, it is, with currently round about 2,3m by 1,7m, double the size you named as the maximum print size, so 4 times the area!
That means it makes not much sense to view it in Krita with additionally 260% magnification (about 5m by 4m real size) to find tiny dots that look not so nice and can only be found in that magnification. It is absolutely uncommon to view a wall hanging picture, of that size, with your nose on the picture and a magnifying glass between you and the picture. Normally, you stand a good distance away from such a large picture to enjoy it in its entirety.
If you want to calculate other pics in the future, here is the link to that site:
Regarding its size, your picture looks reasonably clean to be printed in the size you named.
And as long as you only want to have flat colors and sharp clean edges, I already mentioned it, use brushes that offer exactly that, like the b) Basic-1 or the b) Basic-5 Size, but at the moment you begin blending and smudging on canvas, you bring in a kind of “fuzziness” and there will always be slightly uneven edges, it is simply the result of a “mixing calculation”. But these things get only viewable if you zoom in, and in and in, at one point everything gets pixelated using raster graphics.
If you ask our forum search, you’ll find a lot of topics where this was not understood, the youngest is from this week. But the viewer of your pictures have no zoom to view your pictures, they use their bare eyes, and probably they’ll view it from a distance of more than a meter given it’s in the size you named.
I looked at your picture at a size of 1.6m by 1.2m and for me, it looks good, I don’t know if the little red dot in the lower right corner was deliberately or an accident, but it doesn’t look like an artifact.
That picture is 8728x6406. It’s a ground zero version to which nothing has been done, and I apologise if the print resolution says 96, it ought to say 300. The newer version upon which I have worked has been enlarged to 9000 long by 6750 (using AI)
So I’m printing the 9000 pixel long image at 300dpi, giving about 28.5 inches by 21, but the print will also be up to 43inches by 32.25, and possibly up to 42 inches wide. From a 9000 pixel image. 43 inches would give a print resolution of about 209 dpi, which in my opinion, and my printer’s, is a minimum for art printing giclee or C Type.
There’ll be six sizes in all printed from this one 9000x6750 file, some smaller and some larger, with the 9000 at 300 being the baseline. I have seven similar images in all, to work through and was just hoping there might be a quicker way.
EDIT
Yes I miscalculated the dimensions slightly above.
The image you shared has lots of noise. Due to that it is totally normal that the selection or the fill tool give regions with fuzzy edges.
So the main task will be getting rid of that noise. You can try these:
Apply some “filter->blur->gaussian blur”, maybe 5px radius. That should smooth the noise while keeping the edges more or less perceptually the same (a bit blurred, but since they are already a bit blurred, it is less noticeable). Then you can fill the regions one by one. Or you can perform an intermediate step: apply “filter->artistic->posterize” with a value of 4 or some like that… That should make the edges between regions harder. Then fill the regions.
You can see if there are some gmic filters that can help. For example you can try bilateral filter (smoothing filter) or similar. Then some color reduction filter that will make the large areas have the same color and get rid of the smooth edges.