Subtract color range and save it to another layer.

The following picture has a lot of black. When I print this the black area comes out very darkbrown/black.

Can I use Krita to seperate the black and dark colors from the yellow. And put them into seperate layers. Goals is to print 1 picture. This means I have to somehow make the areas with the removed color (blacks or yellow) translucent.

I read that in photoshop you can select a color range and select it. Tis means you can also subtract that selection and save it to a different layer (or file)

So…
*select black/blackwhite color range and subtract that from the picture and save it to a different layer or file.
*what’s left should be the yellow colors with everything that was black now translucent.
*Print the yellow and refeed the dried photo into the printer to print the black in monochrome so the blacks cones out pitchblack because it now uses only the black cartridge.

Thanks.

Use RGB curves and play with the separate Blue/red/green curves to change the colour of your blacks.
Currently, your blacks in this are a little brown. You could also fix this by crushing the blacks.
Here is how.

@Komorebi 's answer is definitely more along the lines of what you should do for this issue, rather than trying to print twice.

Warning: Unwarranted digression follows ! :smiley:

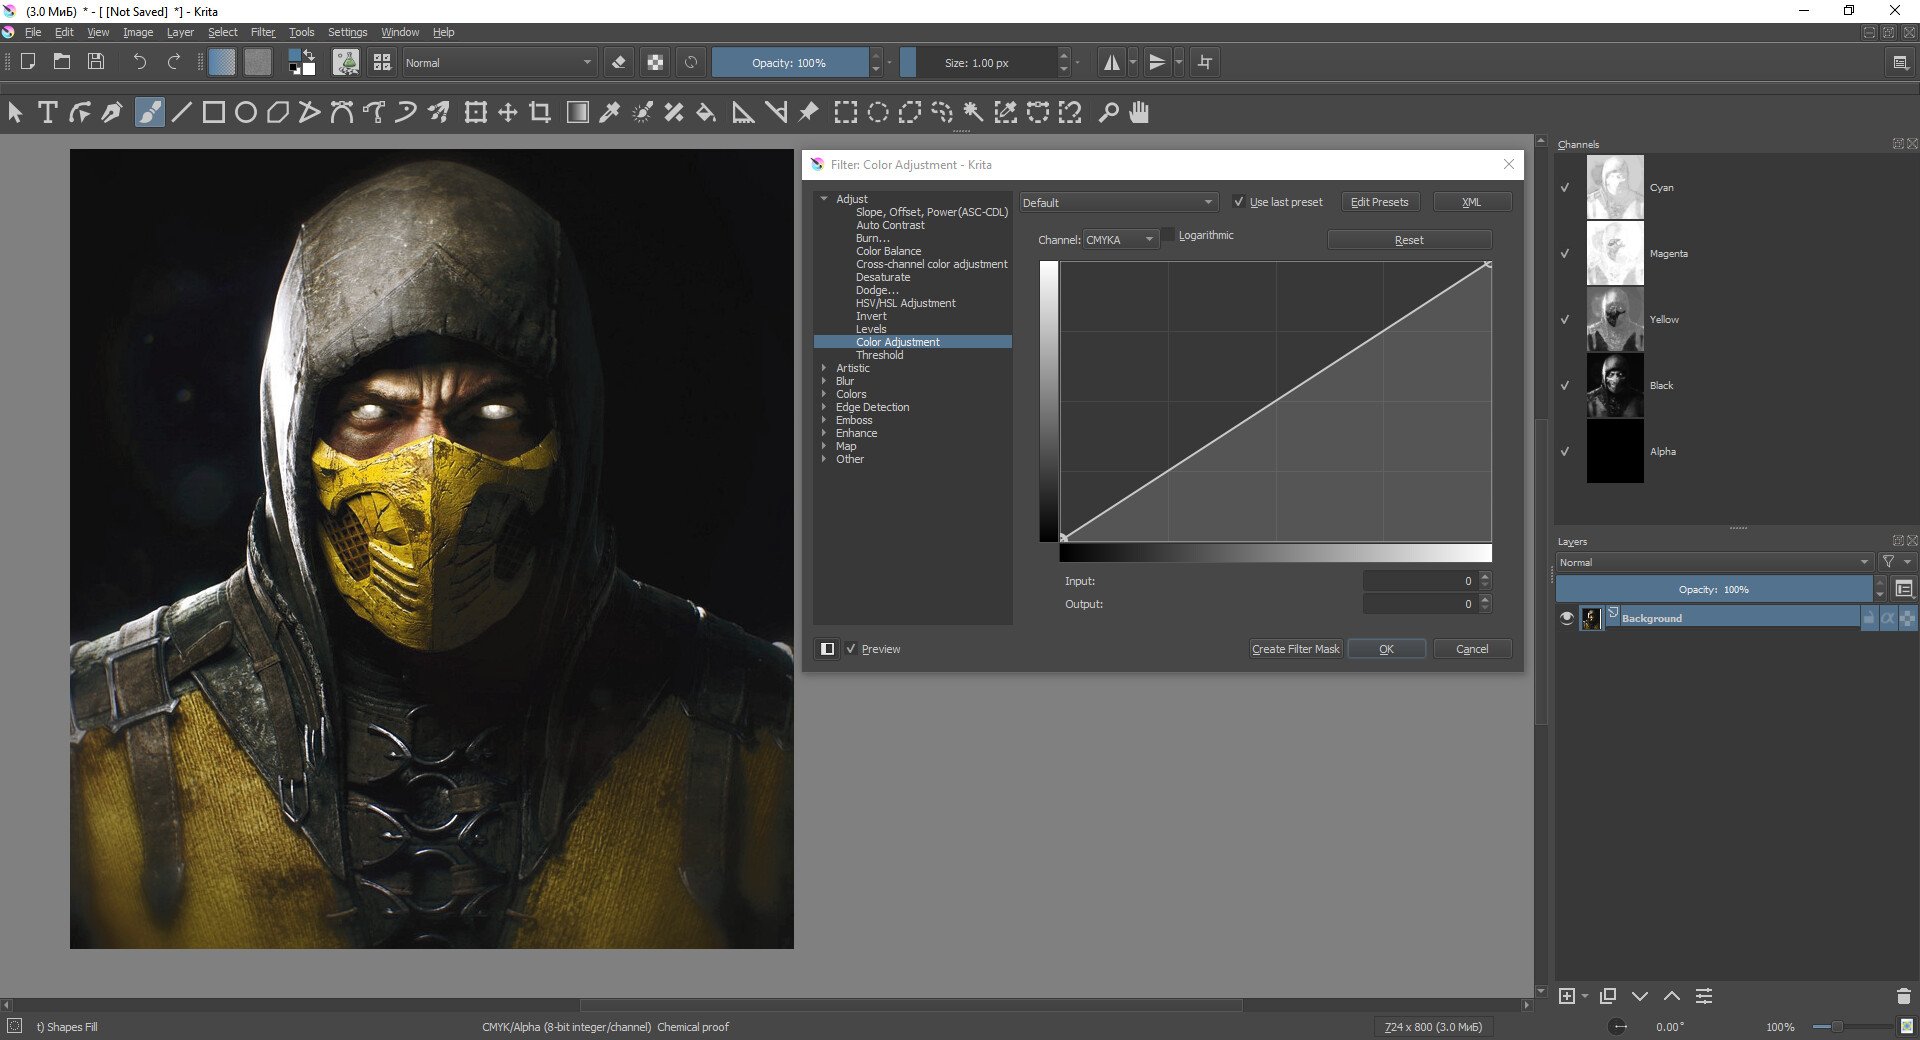
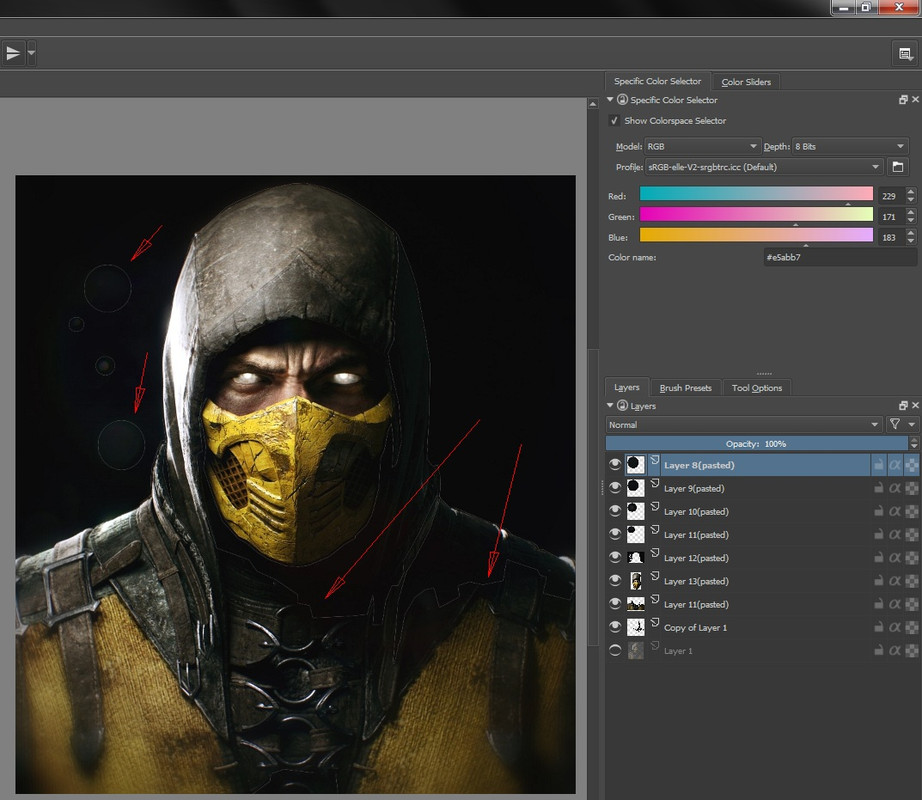
But to answer the original question of separating colours - you can do it, the selection tools just don’t really offer a good way to go about it. But you can just mess around with the RGB channels:

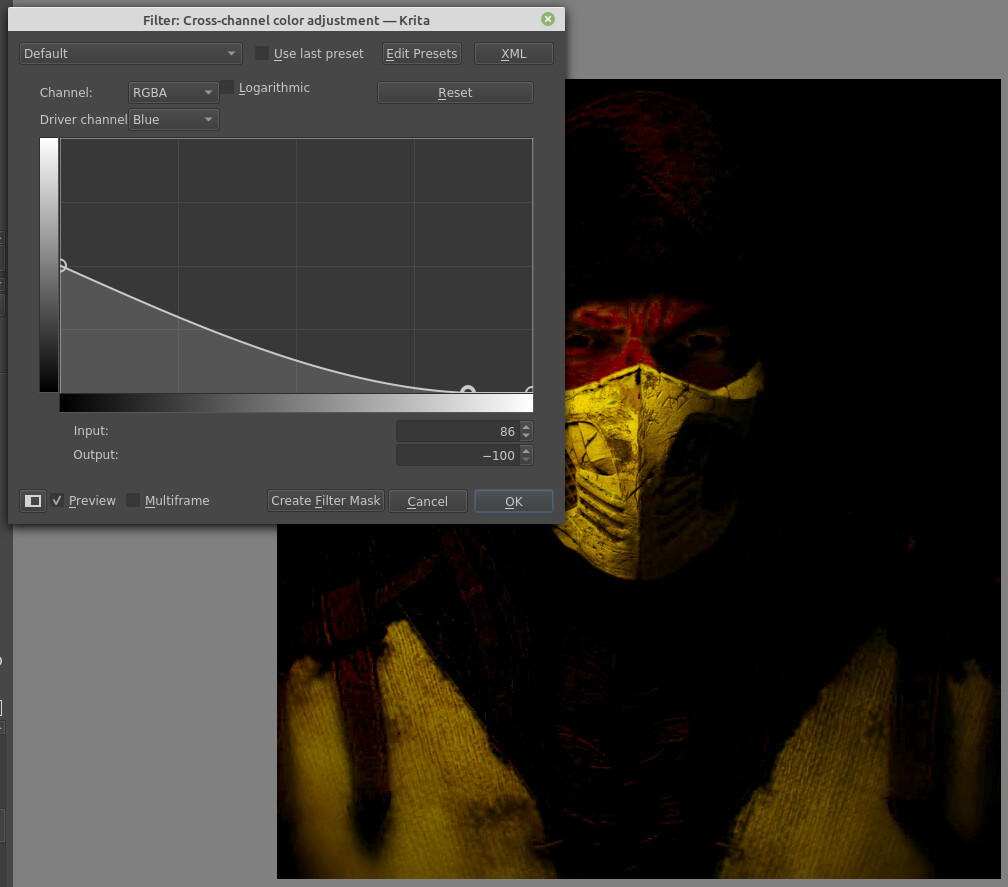
So we want to separate the yellows here. Thinking about it, that means the areas we want are not going to have much blue in them, since yellow is red + green in RGB.
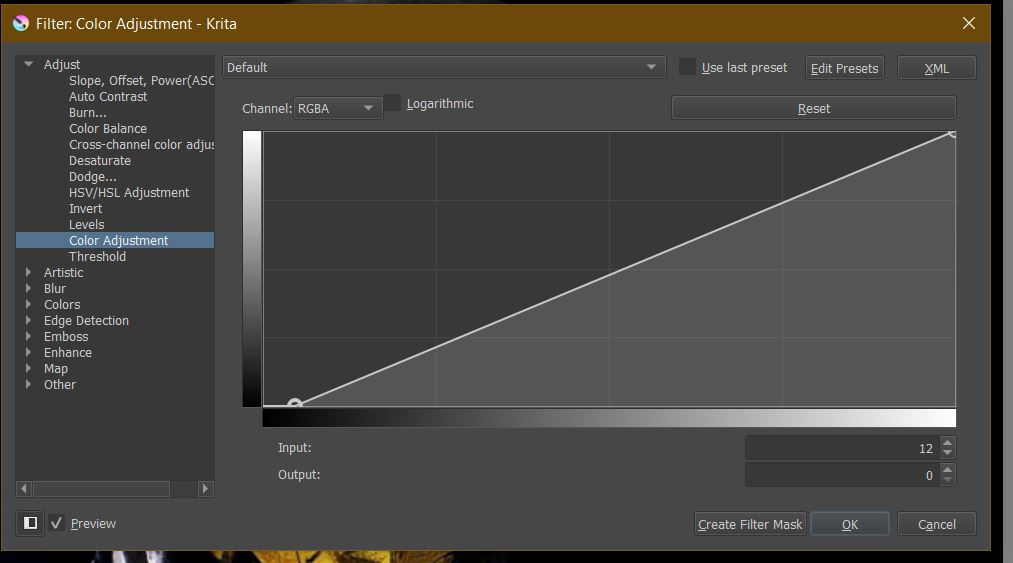
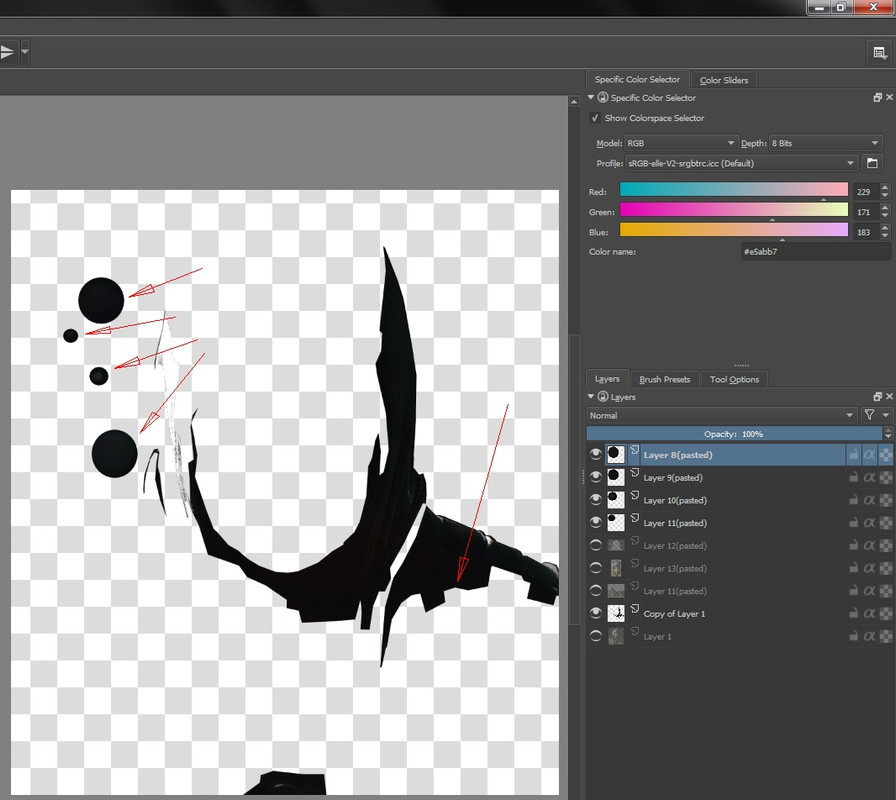
So lets’ try something simple. First we copy the image to a new layer for processing. We’ll just use the values of the blue channel to adjust the values of the RGB channels:

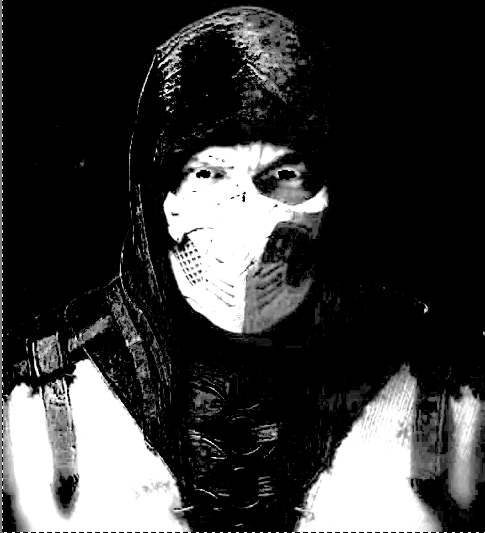
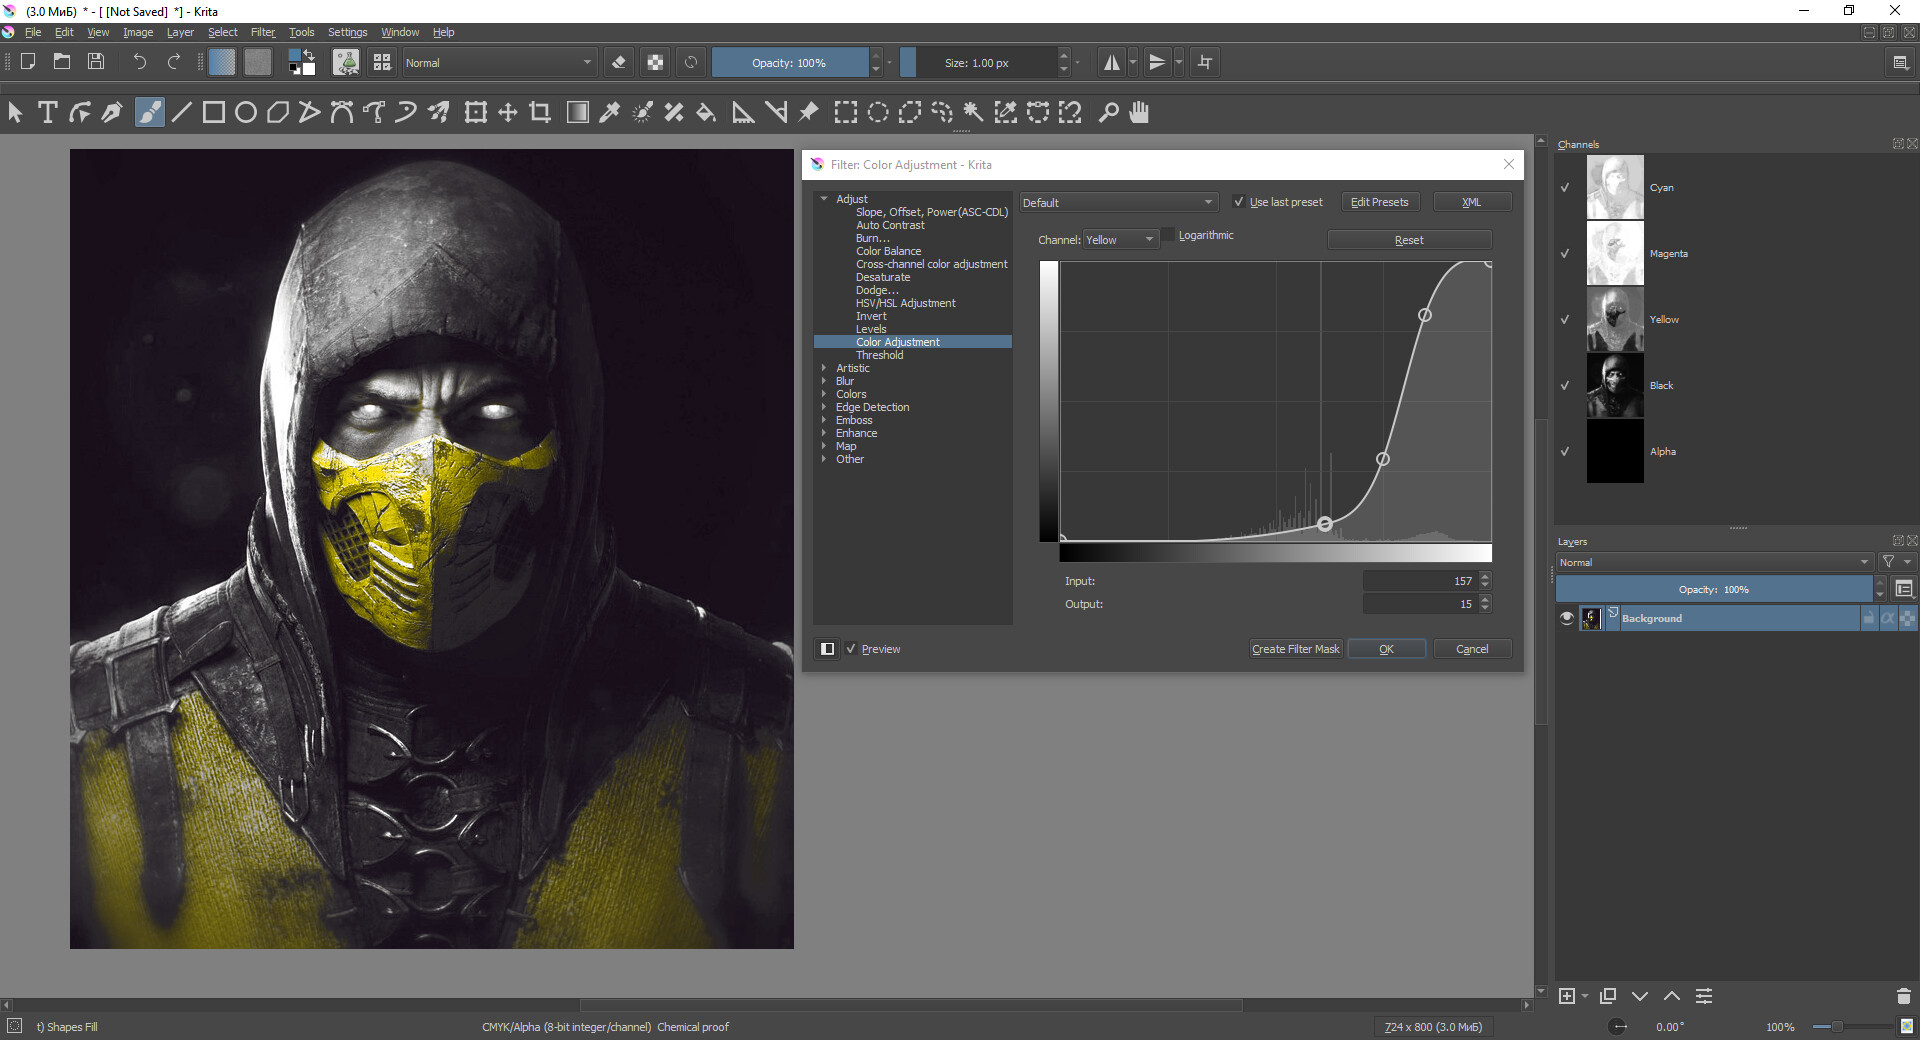
We want a BW selection mask, though, so I desaturate (I set the math to “max” because I felt like it):

Then levels:

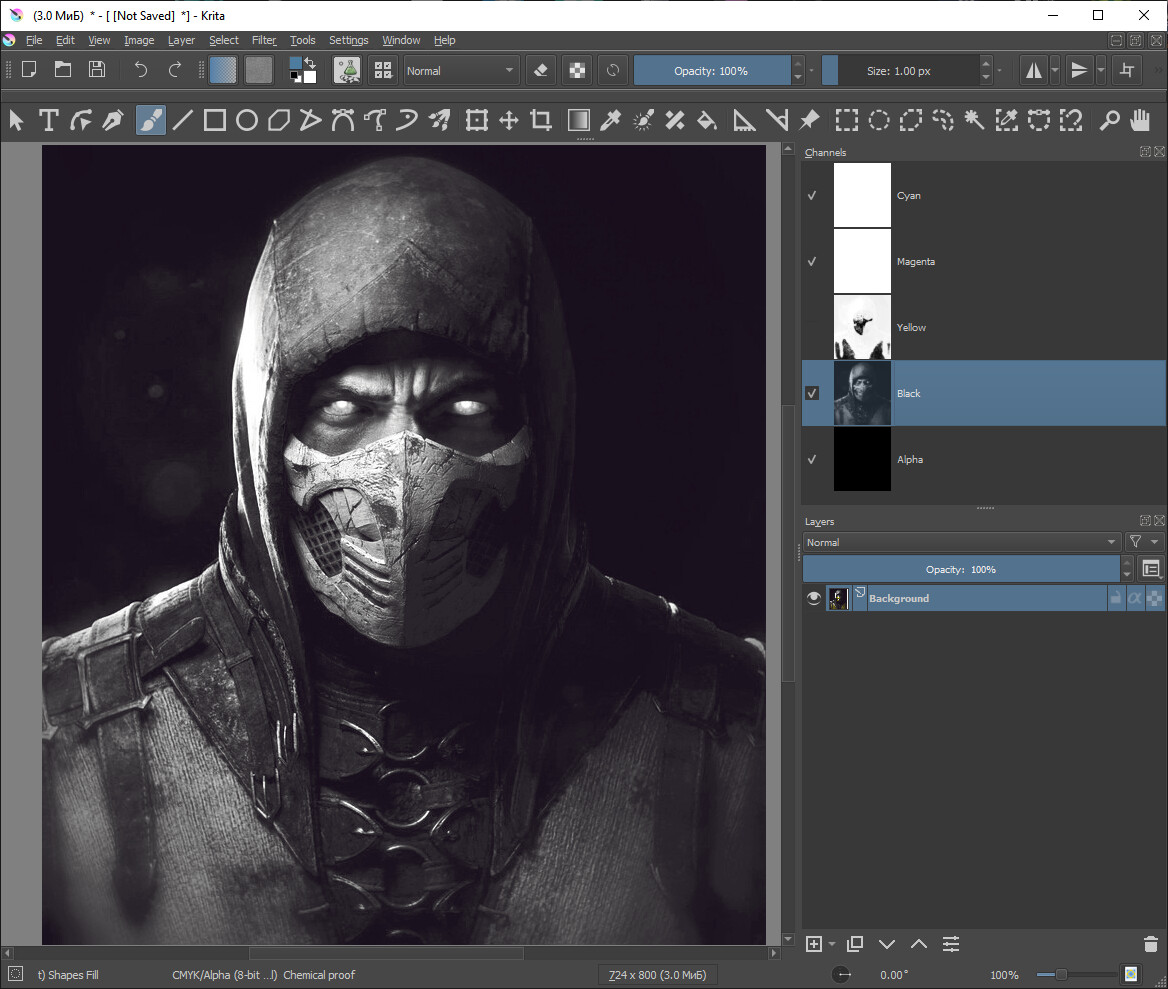
Now we right-click the layer and select convert > to transparency mask.
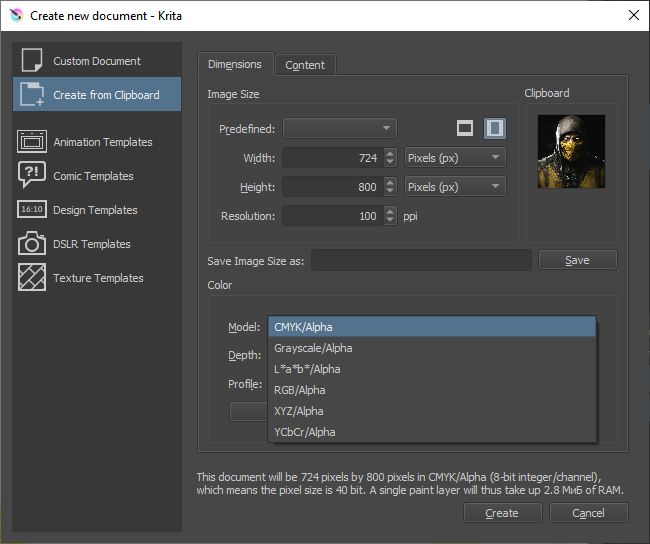
We need two layers with the original image now, one for the yellows, one for the rest. We drag the transparency mask we just created into the “yellows” layer, and an inverted version into the “not yellows layer”:

image

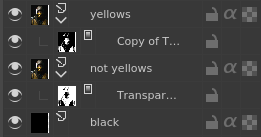
The black background is required for things to make sense as we add these layers up.
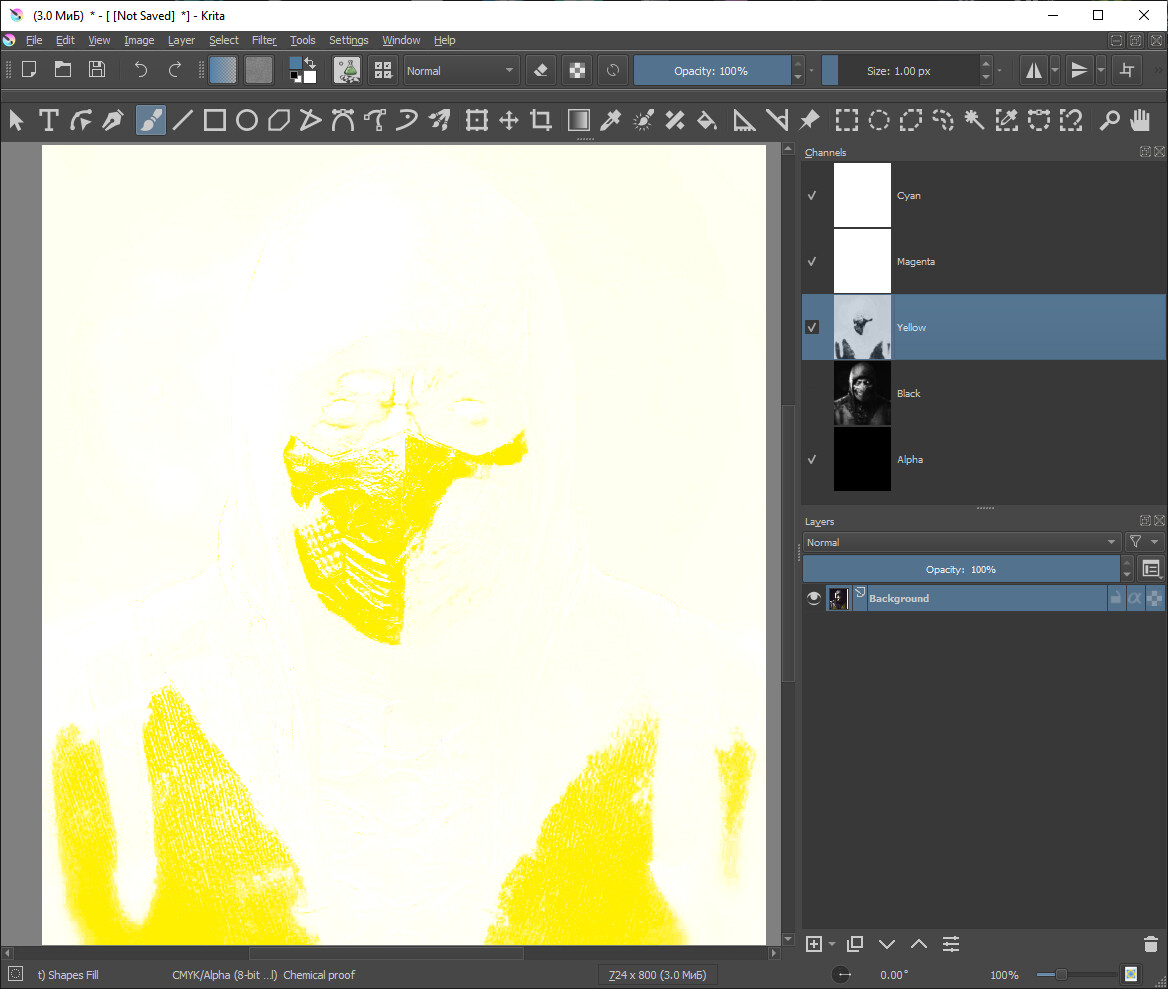
Now we get:
Yellows:


Not yellows:

Combining these doesn’t actually give the precise original result, possibly it’s a gamma issue with the selection masks or something else I’m not figuring out right now. But if you have to, it is a way to make selections based on colours. There’s a lot of different ways you could compare colours to each other depending on what colour you want to separate out. This is basically pulling a key.

You definitely can’t combine these by printing, though, since both layers are composited on black, and will look bad if you try to composite on white instead. The selection at the edges is not quite precise, so the combination of transparent pixels does not add up to 100% opaque for some reason. Maybe a gamma issue as I said, I’m not sure.

1 Like

I’m not sure that I understood the request correctly.
But if we are talking about printing a picture in 2 passes, being limited to a black and yellow cartridge, then …
*This solution is extremely limited as it is based on the matching of the Scorpion color with the Yellow channel

The printing logic is embedded in the CMYK color space.
To do this, from the very beginning, you will have to open the image in the CMYK color space instead of RGB


filter > adjus > color adjustment curves (ctrl+M)

By excluding the Cyan and Magenta components from the image(unscrew them to white) after adjusting the Yellow curve, you can get closer to a similar view

this is the intended view when printing 2 layers.

Unfortunately, I have not found a way to separate layers in Krita for separate saving. The only way is to create several copies of the file in turn to exclude unnecessary channels by filling them with white.

I couldn’t find where the RGB levels feature was. So I decided to try something else. Selecting the really dark to black parts and then ctrl-x and paste thrm to a new layer. Then at the end I can group the black parts and the colored parts sperately.

But then I get this. See where the red arrows point. This is where I selected in the picture and tben cut and then pasted to a new layer. But seeing the layers on top of eachother creates a visible line along where I selected and cut. Did Krita do a anti-aliasing thing when I cut?
I can’t figure out if I can still make this right and undo the anti-aliasing. And make it a hard cut. So it will dit precisely with yhe other layers. Hope this makes sense.

(you have to zoom in on your smartphone to see it)


Like Yellow or Hue = 60 I did like this.

  1. made 2 duplicates of the original
  2. one has cope red the other copy green
  3. added a black back ground
  4. merged them all
  5. desaturated them to get the mask.

The sucky thing about this is very fixed on the range it captures.
This is the mask for that yellow (no freedom)

Honestly you should be able to select a specific hue and add the delta hue to that value, or a limit left and right to the hue. also it does not care about the S or Y. so your stuck with tracking yellow and capturing a lot of white because yellow is up there next to white in terms of Y. I have spoke about the fragilities about fuzziness compared to selecting an actual range and this is one I think when I did a feature request for Inverting color selection for Color to Alpha. not to mention selection of a exact color is also quite hard in Krita, I resort to Gimp when I want to do this kind of things.

This issue is your monitor not being calibrated or the printer not being very good. most monitors dont display colors right and saying it looks black on your screen and brown is the paper is like using a faulty reference to put blame on something. My guess is that the paper is more right. monitors clamp the blacks and whites heavily if you don’t get a good one.

Why is color adjustment filter in HUE mode in percentage? this is so troublesome having to do math to know the correct range. Almost makes this Hue panel useless in terms of usability.

Thanks guys. I will have to do more studying before I can achieve what I want with Krita.

You could be right. My laptop shows the browns perfectly. My phone does not. Not really. But I think the inkjet still uses color ink to recreate black so it will never show as fully black. Unless I print monochrome. Ill make a monochrome print to compare the blacks from both cor and mono print. Maybe the black bg around scorpion will come out darker.

Can someone please respond to my last comment on how to fix the aliasing (?) issue when cutting a selection and repasting to a new layer?

I’m not sure how to fix it in this case. I think I can explain why it happens, but it gets a bit technical.

I think the transparencies are being added together using the formula

a+b - a*b

where ‘a’ is the alpha for layer A and ‘b’ is the alpha for layer B.

This means that where the alpha value for both layers is e.g. 0.5, we get
an alpha value of 0.75. So you get a fringe.

How to get around this in Krita, I don’t quite know. There’s probably a way and honestly I should be able to figure it out, but can’t think of anything right now! Maybe someone else can suggest a workaround.

Isn’t there an option to turn off whatever is causing this?
Is it anti-aliasing? There’s so many buttons it is confusing.

There is “Cut (Sharp)” and “Copy (Sharp)” that would make the copied/cut content aliased, which usually gets rid of those artifacts.

This topic was automatically closed 15 days after the last reply. New replies are no longer allowed.