The antialiasing of the Fill tool is a little weird

The antialiasing of the Fill tool is a little weird.

Note that the anti-aliasing effect is shown below, and some edges are still jagged.
w

Note: The extreme case demonstration in the gif is just to illustrate the problem.

Can anti-aliasing have better transitions?
Currently, there is still aliasing when anti-aliasing is enabled, and the transitions between them are strange.
In the actual painting, it is easy to appear that the line part is more transparent, as shown in the following figure.

Then the translucent part will appear as shown in the previous animation.
Better anti-aliasing to make fills better in this case.

Yes, that was intentional (that doesn’t mean it cannot be improved). Here is the explanation:

  • This kind of anti-aliasing used in the fill tool, contiguous selection tool, etc. is not “true” anti-aliasing. It is just a smoothing filter applied to the aliased selection. True anti-aliasing is something applies in the rasterization process of some shapes defined geometrically (vectors for example). There you can compute how much the shape covers a particular pixel and change the alpha when painting it. In the fill tool we start with a already aliased pixel image, so we have to fake the anti-alias.
  • The aliased image can be ambiguous in that there could be multiple geometries that could lead to that specific pixel image, so we have to come up with some heuristics to approximate the anti-alias.
  • I used FXAA as a starting point to make the anti-alias filter. Those anti-alias methods like FXAA or SMAA are fast and give decent results.
  • FXAA works by detecting edges and smoothing the image along them. This has an issue. Since it smooths all the edges, some artifacts can appear. For example, if you fill a square then the edges will be anti-aliased although they probably shouldn’t. Look how the axis-aligned squares look on this image:
  • To fix that, I set the algorithm to not smooth the right angles if their sides are 2px or more in length. The area you point at in your video surely is one of those cases where there is a right angle with sides greater or equal to 2px.
  • The main issue is that the algorithm doesn’t know if that corner should be smoothed or it should be left untouched. There are cases were you want it smooth and others were you don’t.
  • What I can do is to make it smooth some of those as long as the sides are small. Please see if you can test without and with anti-alias and tell me what corners should be smoothed. I think that if they have more than 2px on each side, they are distinguished as right angled corners and should not be smooth. But the case where one of the sides has 2px maybe it looks better if it is always anti-aliased.
5 Likes

Thanks for the detailed explanation.
But there is no anti-aliasing effect in some 1px places.
(I don’t know if I understood your instructions correctly, my English is so bad, so rely on software translation to read and reply.)
1px

Also I would like to have the antialiasing effect in the fill tool similar to csp.
I found through testing that csp seems to use the depth of the line edge to determine whether to use anti-aliasing.
I think this effectively avoids the current problem.

Please refer to the image below.
csp

Antialiasing is used on the light-colored parts of the line.
Antialiasing is not used in the darker parts of the line.
And the lighter the edge of the line, the darker the transition of antialiasing of the filled part, and the darker the edge of the line, the lighter the transition of antialiasing of the filled part.

I forgot to mention, 45 degree edges are not antialiased in these methods since they already look ok at 100% zoom. Antialiasing those would result on unnecessary smoothing in my opinion.

But if the problem was that there is no antialias, how would that solve it? It has a lot of aliased edges.

Also, after testing that in the demo of csp, I see that it does not always antialias all the edges (it can be seen on your second image, in the leftmost corner, it is not antialiased). I cannot deduce why it works like that. And what if you want the blue shape to be antialiased? How do you accomplish that in csp?

I think that csp may be using some kind of custom smoothing for the antialiasing that I cannot deduce right now. But I’ll think about it.

In my previous comment I was refering with my explanations to the aliased area that you pointed out with the cursor.

1 Like

I think CSP’s anti-aliasing is not literally anti-aliasing, but a feature that exists for better results with fill colors on line drafts.
That’s why it seems that transitions are enabled based on the depth of the line edges.

The whole antialiasing you assume in blue above, I can’t think of any reason to need it.
Especially the lineart fills drawn on a single layer with white opacity.
In the parts that need a good transition, it builds the transition, and it doesn’t build the transition where it looks good, I think it looks sharp with 1px at 45% so it’s a logic not to do antialiasing.
(In some paintings, different parts of the line art have different degrees of edge transition, some will look harder, some will look softer, which is used to express texture, etc.)

In other words I think antialiasing should not be really just literal antialiasing, but for good fill.

I also realized that I was being stupid. :rofl:

When krita enables anti-aliasing for ordinary line art (the kind with a deep middle of the line), after filling it, it seems that anti-aliasing is not used in some places.
I know it’s not obvious in the whole painting, but it’s more obvious when you look at it alone. (Compared to CSP.) Which led me to post this thread…

I also now find that the spread value adjustment can also improve the fill.
(Actually I hadn’t thought of using it before…)
If the line art is filled after the setting is lower than 100%, the part of the growth selection will automatically generate a transition…

After the MR you submitted is merged, users can also achieve better filling effects.

Finally, thank you for your work and patient explanation.

2 Likes

Well, after some thought, I think that what csp does is indeed not antialiasing. I think that it just adds a 1px border to the selection and depending on the similarity to the inside color it sets the opacity of their pixels.
I’ll look into that and see if I can do something.

5 Likes

I have to say that after trying that “anti-alias” option in the fill tool of csp, I’m confused. I cannot deduce what it does. It seems to work all along the border of the fill region but sometimes it modifies the border pixels inside it and others it adds an additional 1px border. Most of the times it doesn’t apply anything similar to anti-aliasing.

Can you test and see if you can derive what it actually does?

Sorry, I’ve been busy these days, so I’m only replying to you now.

I think your test results are the same as mine.
But you need to pay attention to the description of my previous test, the expanded 1px color will change with the depth of the line edge color.

Regarding practical use:
I think this tool option produces better fills when enabled by default. (It is better to enable it by default to avoid manual switching by the user.)

If the edge is a pixel, then it is a pixel directly, which means that if the image is a pixel painting, the direct fill will not have antialiasing that shouldn’t appear.
There is no need to turn off this tool option individually. (If it’s literally antialiasing, this tool option needs to be turned off.)

If it is a normal painting (the kind that is deep in the middle of the line), it will be extended by 1px for anti-aliasing. (I think it should be used with the function of extending to the deepest part of the line. It is not suitable for use alone.)

If ordinary paintings contain pixel paintings, such as pixel art advertisements on the wall, it can also be automatically recognized to make the edges of the filled color blocks look good.

If you are a user of special line art, such as a combination of lines with different anti-aliasing levels, including pixel lines, you can also achieve a good filling effect.

The anti-aliasing in krita’s current fill tool is another kind of selective anti-aliasing under logic.

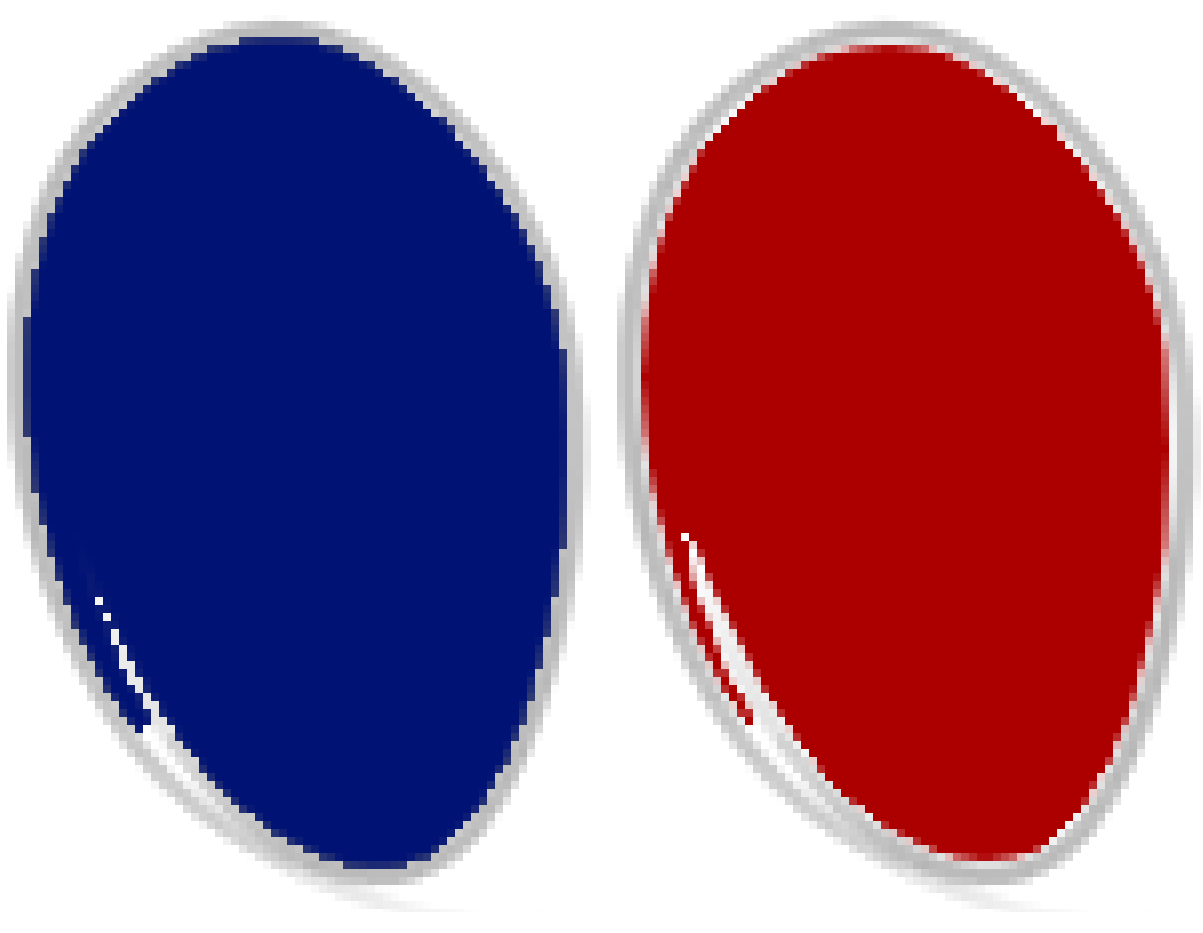
The difference between the two is that the csp can work better when zooming in to see the details, and there is little difference between the two in the overview of the whole picture.

That is to say, the anti-aliasing of csp uses a better judgment method, I think so.
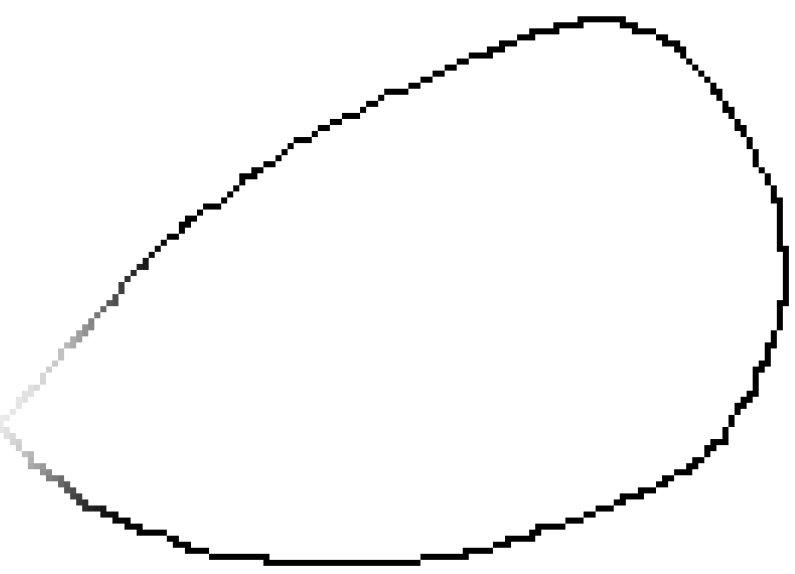
Please take a closer look at the comparison chart below (the comparison chart is much enlarged), or download kra for a closer look.


Left is csp, right is krita.
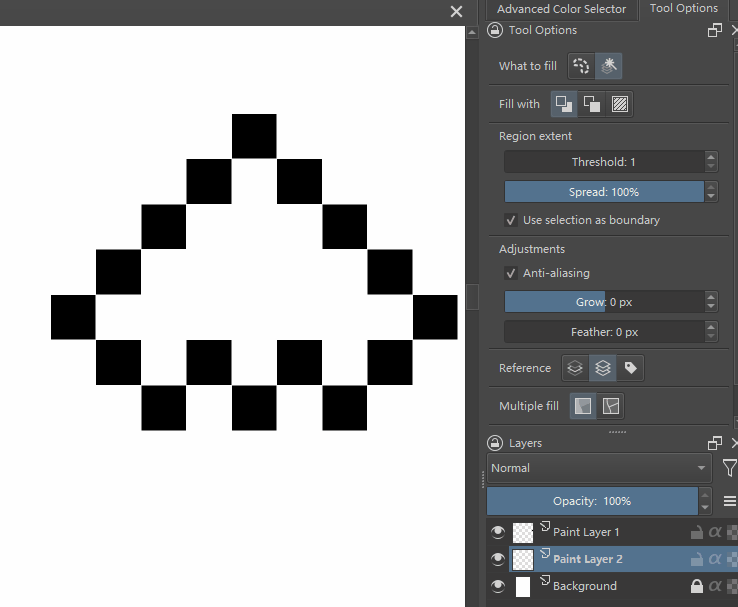
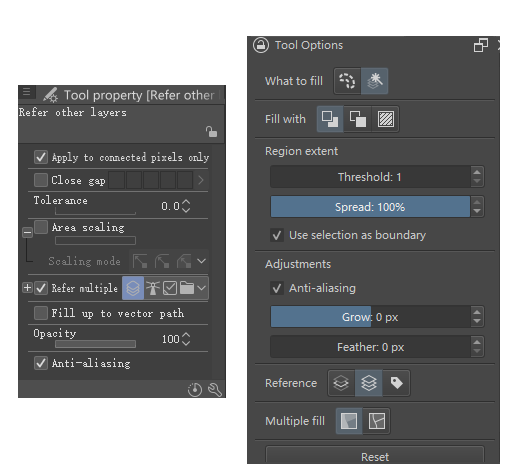
The two filled tool options settings are shown in the figure.

(Note, this setup is just for testing!)

Of course, at present, the propagation value can be adjusted in krita to achieve a similar effect, but the propagation cannot automatically determine whether it is a pixel painting/pixel line, etc.

2 posts were split to a new topic: How to find Tool Options