They are independent so to not cause issues on the registry. Despite the differences I did my best to maintain as close to original and adding new stuff to it as I could, it should be considered as a possible future version if it is adopted for the vision it was meant for.
You can drop the images into the plugins: Pigment.O and Key Enter. If anyone makes a drag and drop feature it will work onto their plugin also.
The “modified” version per-say is made to work with Key Enter plugin in parallel but having both is not needed or even required. Key Enter only extends function. That “modified” version of Photobash was the last one before I changed direction in concept as i am not favoring a Photobashing workflow now and will have a different use case. But my last modified version is preserved to be used if anyone desires.
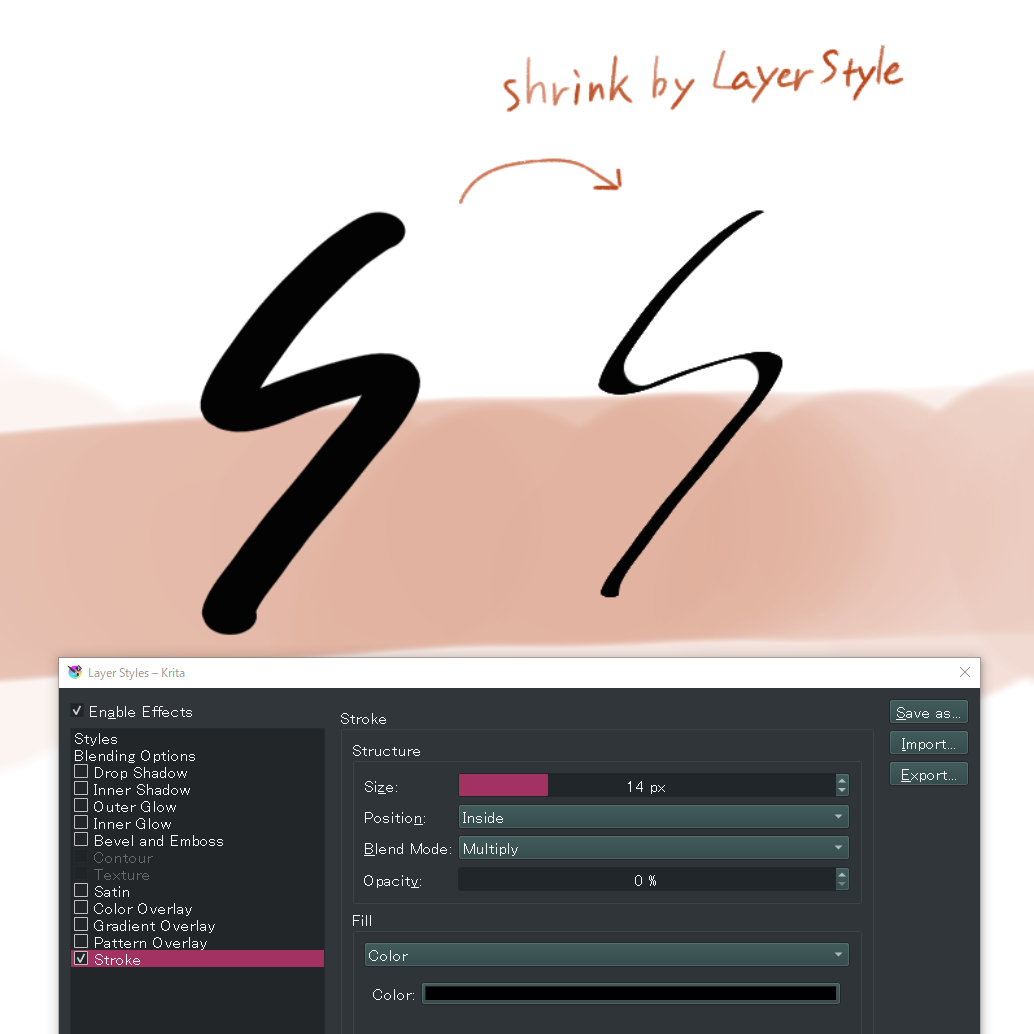
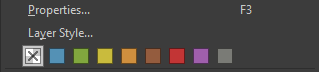
Layer styles can be used to add outlines of any thickness to an image.
Conversely, you can shrink the image by setting “Position” to “Inside” and “Opacity” to “0%”.
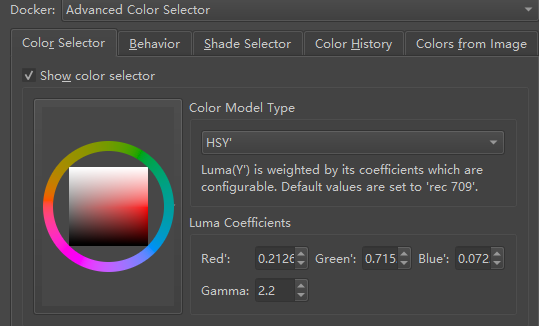
This allows for easy control of visual brightness.
For example, keep the position in the rectangle unchanged, and only adjust the hue wheel, so that different colors with the same visual brightness can be selected.
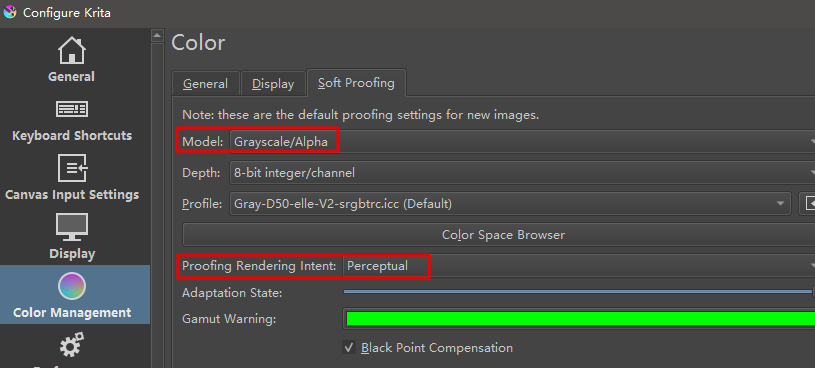
Use soft proofing to see visual brightness changes.
After making the following settings, use soft proofing Ctrl+Y.
Some hidden features I use all the time have to do with comic-book style coloring tools.
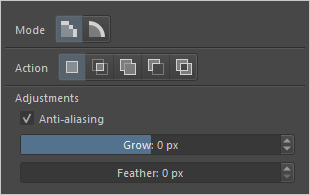
feather function on all selection tools
Recently I once again noticed that not everyone knows this, even some people quite deeply familiar with krita, but did you know that you can use the feather function on any of the selection tools these days?
What the tool does is softening the edges of what you paint on your selection, a powerful tool for rendering shadow and light.
You’ll find the option under quick settings.
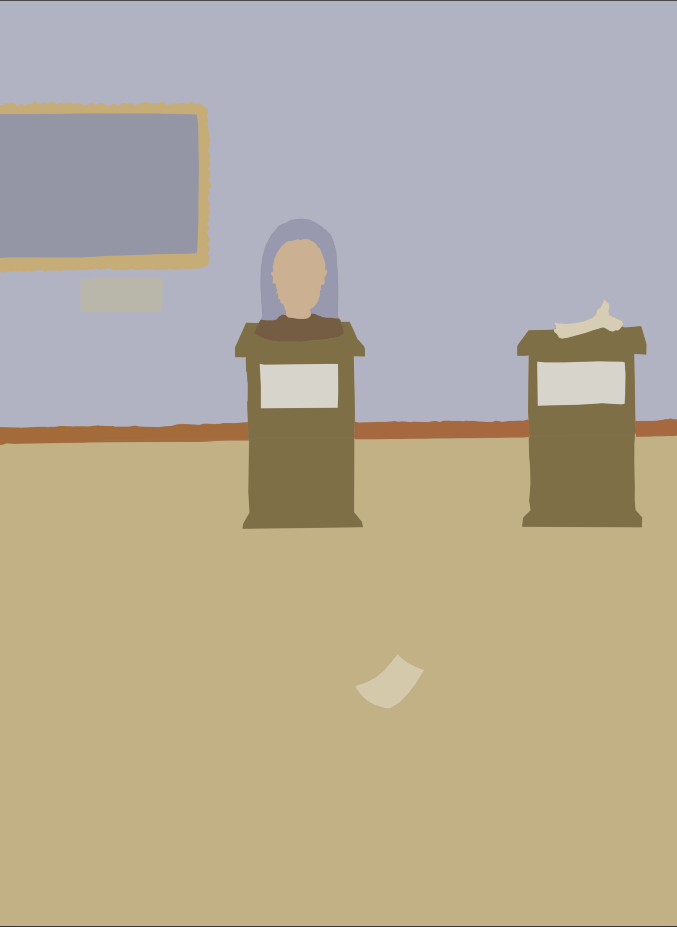
There is also a way to have the magic wand tool select specified areas through a ‘flats’ layer.
You create such a layer by making selections and filling those with a specific color, not necessarily one you are going to use.
The best way to go about it is to work from large to small.
For example, selecting the entire image first, giving that one color, then deselecting a part from it, applying a new color to the selection etc.
A resulting image will look somewhat like this:
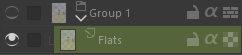
Put the ‘flats’ layer in a quick group, keeping the layer visibility on, but turning the group visibility off, like so
(as you can see I used green to specify the layer, pick whatever color you like though)
Create a new layer outside of the group
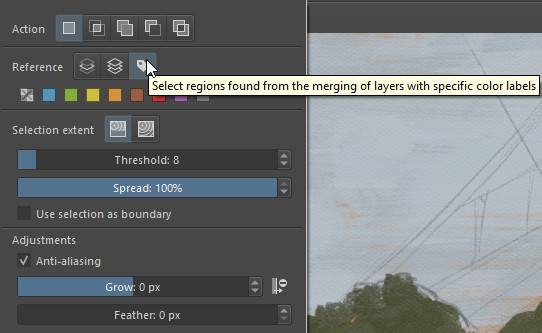
Select the magic wand tool
Clicking on any part of your canvas will select the flat area
This obviously takes some time to set up, but will grant you the possibility of staying within the lines as intended, actually saving you a lot of correction time.
Having reference images however and wherever you want them on your canvas
A bonus tip, because this really isn’t a Krita tip, but part of my workflow
I dislike the Krita reference tool, even when used out of canvas.
For that reason I use a free software called Pureref, specifically made for the use of reference images.
My tip is easy and short.
When using it, press ctrl+Y to turn on overlay mode.
What this does is making Pureref’s UI invisible while keeping the images.
You can then put the images on your krita canvas and can move and edit them as needed.
You find this mask under selection → show global selectionmask.
The mask will be shown above your layer.
When you’re on the global selectionmask you can use any brush to paint with black or white, and even the opacity will be considered.
Why is this usefull?
Imagine you want a filter to be applied onto your image, but you want the effect to be less strong at the focalpoint. You use the global selectionmask put a radial gradient on it and then change to layer you want the filter to effect. The filter will then be applied according to the opacity.
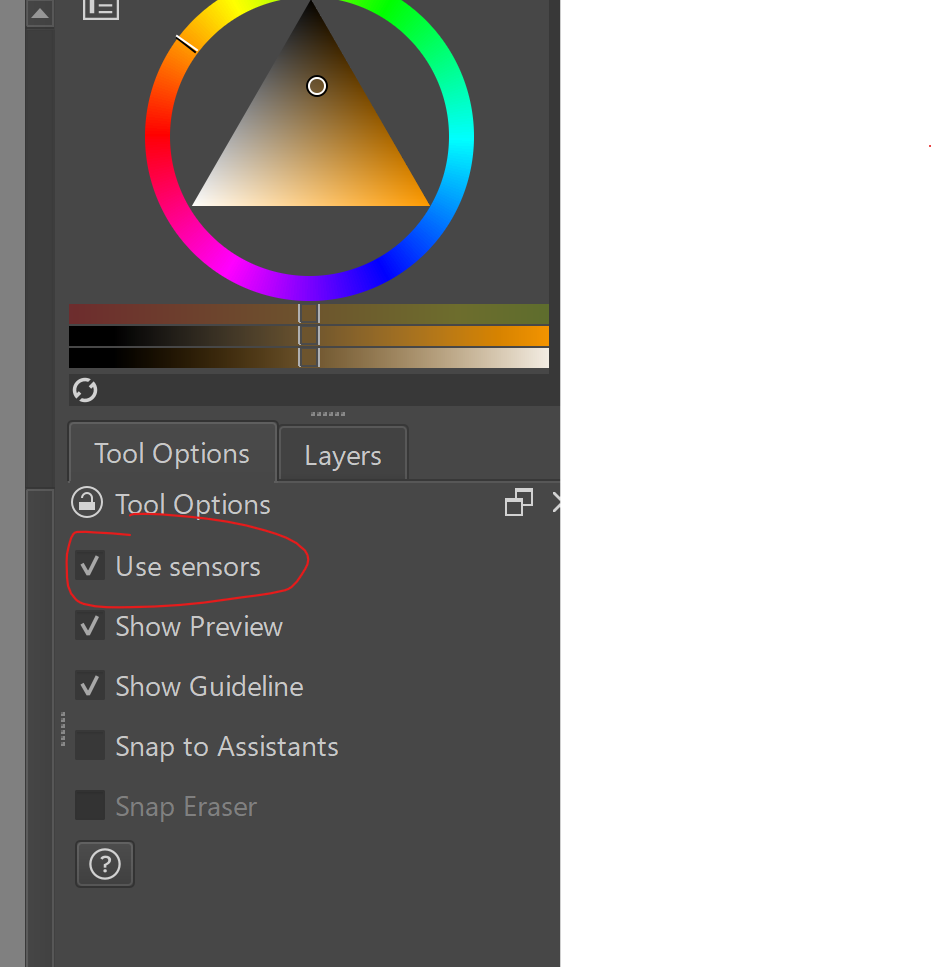
I permanently modify many of my favorite brushes to be tapered on the leading edge (using the Size option in the brush editor). But when using the straight line tool, I noticed they always revert back to no size taper. The other day, I stumbled upon a fix for that. Just check the “Use Sensors” box in the Tool Options tab. Viola! This may not be new to many of you, but it was certainly a helpful discovery for me
Not a mindblowing trick but pretty neat if you ask me:
Yesterday I learned you can set a solid flat color background to preview your work without having to create a real layer. It’s non-destructive and can be turned off at any point. You can export transparent images without having to turn it off.
Image > Image Background Color and Transparency...
Very useful to work on icons, decorations for layouts or GUIs and game assets – as long you don’t forget you’re using it.
Not been using too long but coming from the restrictions on Photoshop’s shortcuts, the openness of setting up your own (unrestricted) hotkeys to your own workflow is wonderful.
Install “Unbind Alt Shortcuts” to use the alt key and keep the other hand busier.
Assign Global selection mask to hotkey (Alt+s for me). Hop between, easy.
Assign single key shortcuts to any task (unlike Ps) so I use D=Delete (for example) because I use it all the time.
I am using Krita as more of an image editor, rather than Illustration/Painting so the hotkeys allow huge flexibility.
In case you don’t know, you may like the Local Selection Masks that can be created with Add Local Selection.
You can create and drag them all over the place and activate/use them as needed. You can also store them in the .kra file by ‘parking’ them all on an unused paint layer.
I’ve already written this in another topic, but I don’t remember where.
When Krita is busy (apparently frozen for some reason) you try to save your work, but it can’t. Maybe Krita is saving, but for some reason the progress bar doesn’t go past 66.6% for some reason you’ll never know why. So you go to: Tools >> Script >> export layers. You’ve saved all your work and Krita is still frozen.
If you have 1000 layers, you will have 1000 layers exported in separate files (but at least you didn’t lose your work)
Don’t forget to choose the PNG option when exporting layers. Don’t use JPG.
You have the brush tool, so you press CTRL for the eyedropper tool shortcut, you hold down CTRL and press ALT at the same time, then the magic happens. You are on a layer with 50% opacity, but you want the original color (at 100%) with ALT you catch the original color.
When working with lots of layers, the list gets long and hard to scan through. I add specific, short strings to layer names so I can type 2-3 characters in the filter and only see relevant layers. For example, to only see layers that allow me to draw (not effect layers) I will add [dr] to the layer name.
The filter will still display the names of Groups to which the filtered layers belong. I guess this helps with duplicate names, but it could become an option to hide them if the Devs allow that. Still better than nothing.
Oi, all friends of Krita!!
I always like Hacks and “McGyvering” (if your old enough, you know) things, and my existance, and that also goes for Krita, so ive always secretly wished I could contribute in this, right here, particular section somehow, someday… but everyone else bet me to it, every frikking time.. haha…
but…
Snaredrum-rollings
Here I am! Cymbal-Splash!
…
Something I learned about a month ago—and I’m not even sure if it’s new, but it was definitely new to me:
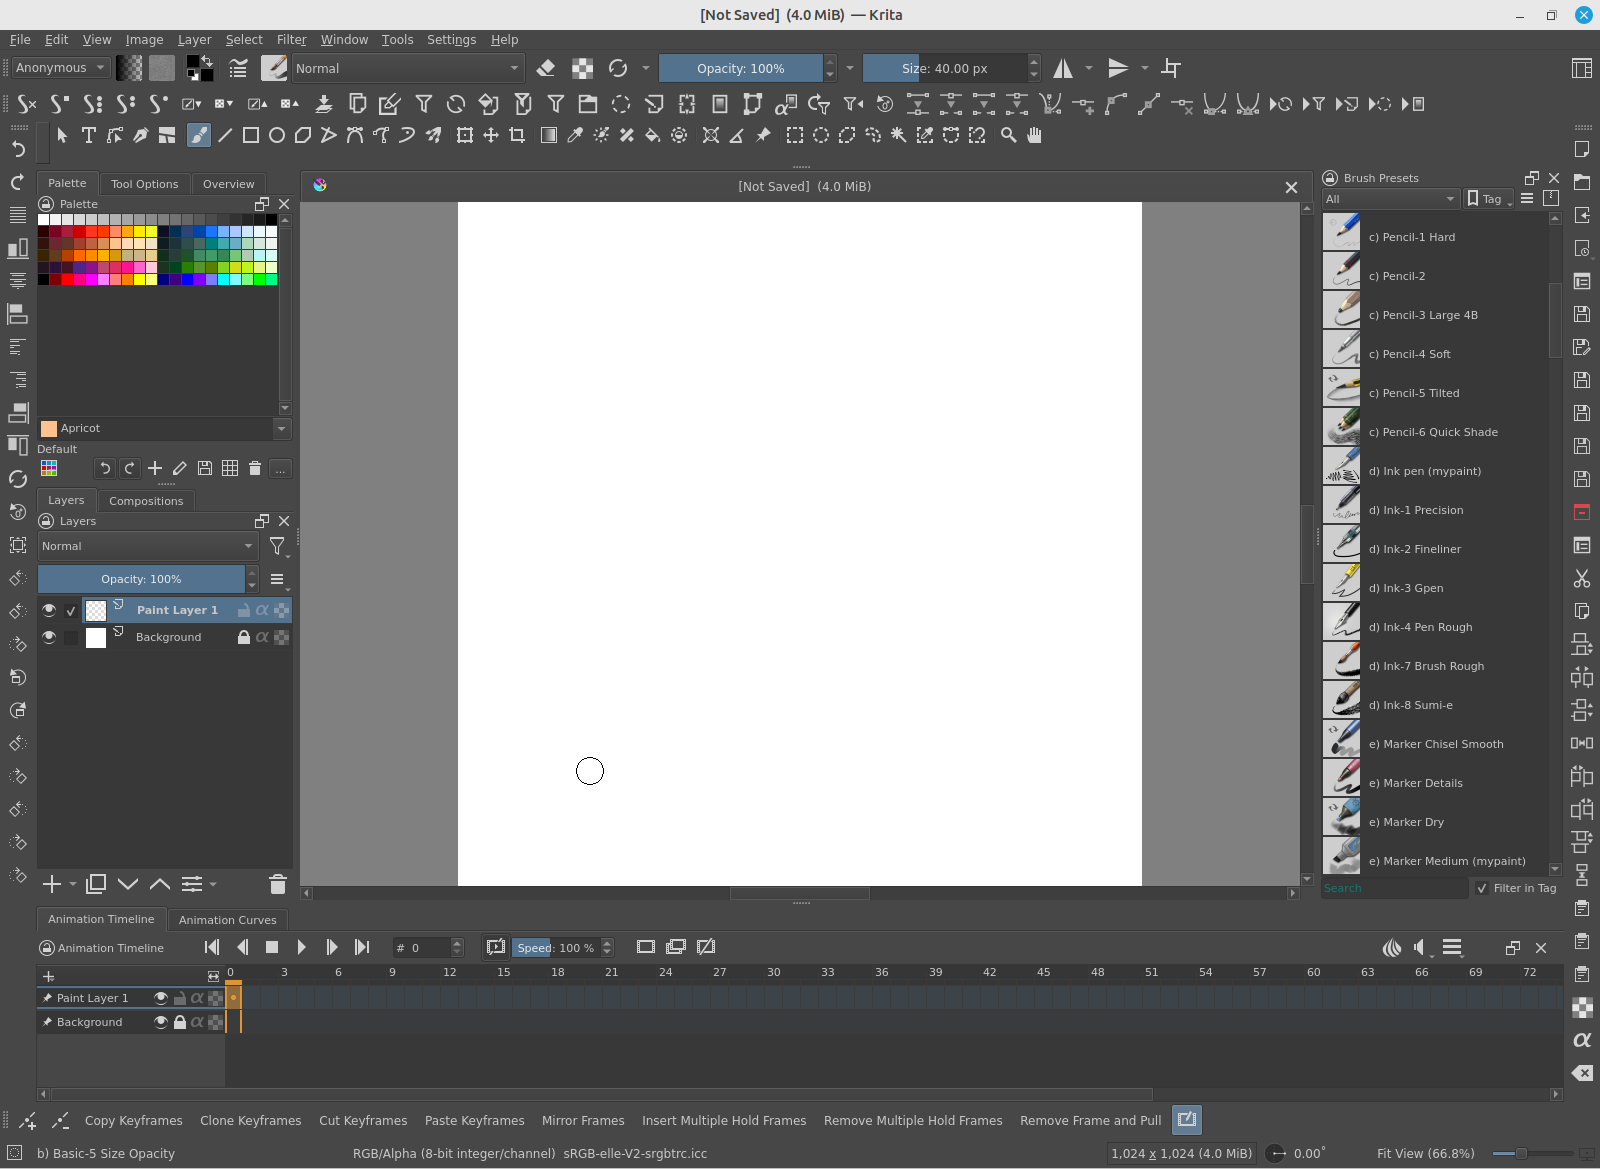
If you’ve customized your toolbars and, like me, ended up with more tools than space allows, you’ve probably noticed that some buttons just disappear. The other day I accidentally locked the toolbar, and boom—there’s this small grey six-dot icon at the end of it.
Clicking that reveals an extra row with all the tools and actions that don’t fit in the main toolbar. Basically, the stuff that would otherwise be out of sight shows up there.
These days I don’t overload my toolbars as much, thanks to the newer UI layout with dockers and everything, so I discovered this a bit late—but it’s still pretty cool!
Anyone else got some tips and tricks to share further?
Thats a tool-Disco! .. effective set up! Now when inlook, i git the idea to have rhe alignment short’s visible.. thats kinda smart actually, coz inusr it quite often, or should implement to use it more..