In this tutorial I’m going to teach you how to create simple cutouts using the Destination Atop method.
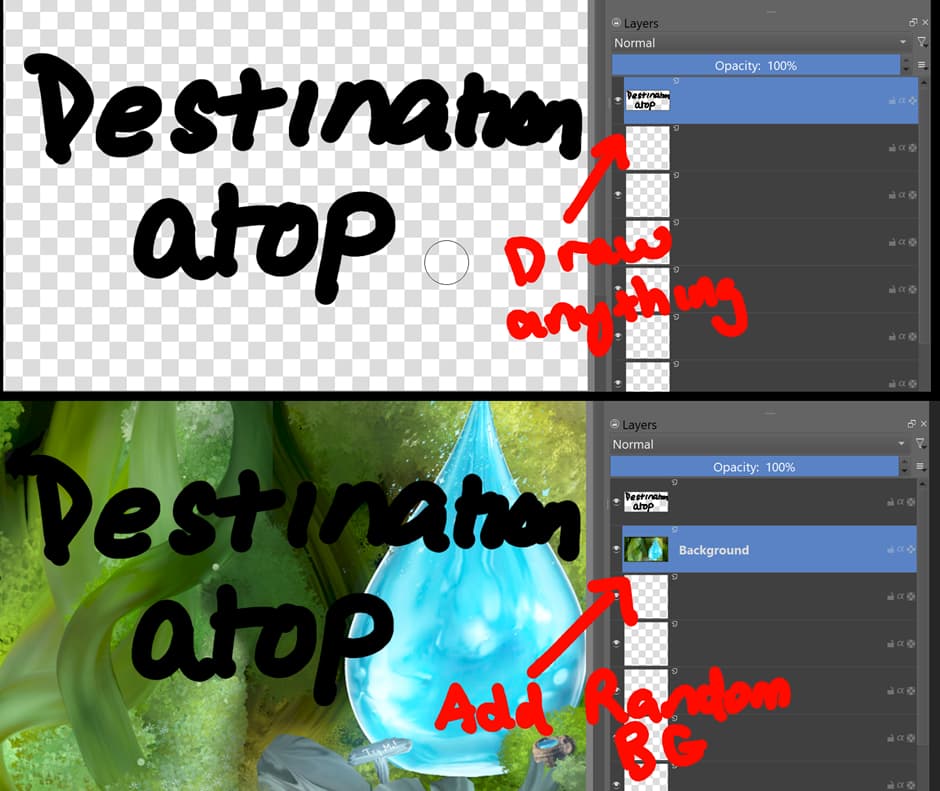
Step 1, Draw Anything
Step 2. On a layer underneath, add any background image of your choice.
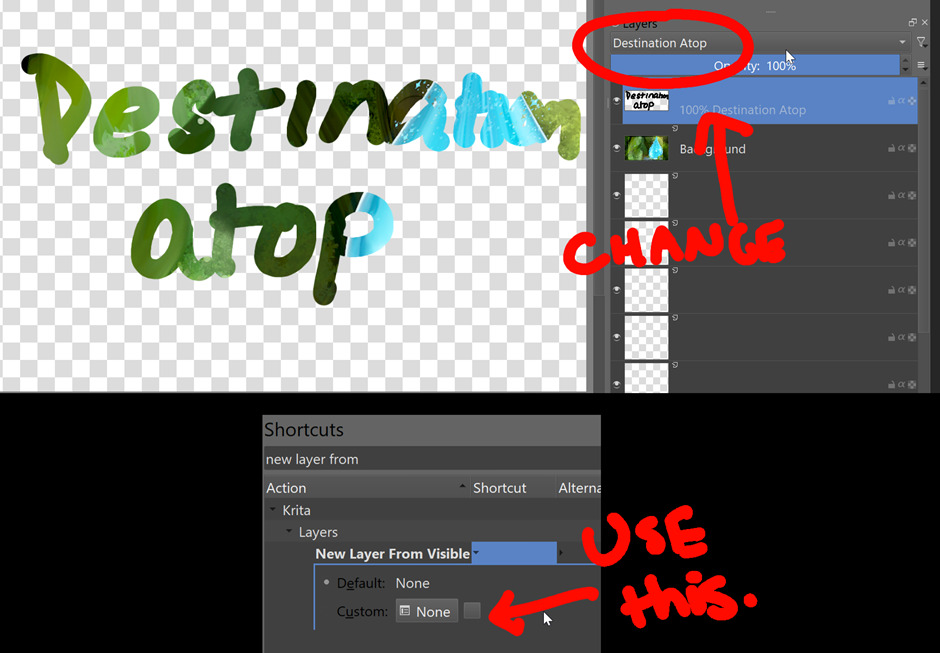
Step 3. Change the top layer’s blending mode to Destination Atop.
Step 4. Use the Shortcut for New Layer from Visible. This will create a new paint layer that locks in the transparency.
Step 5. Change the Layer blending mode of the original from Destination Atop back to Normal. (Also turn off the visibility of the background layer).
Step 6. Move it behind our new cutout to create a 3d Shadow effect
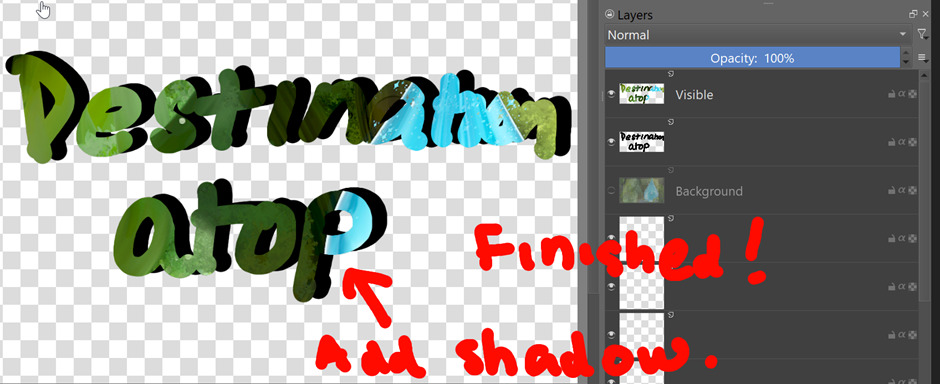
Finished!
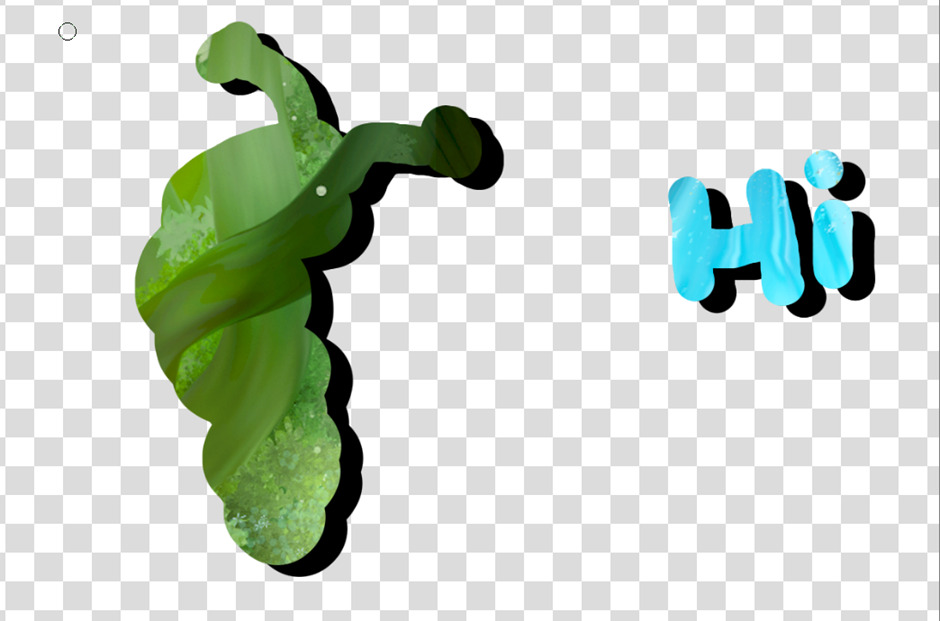
As a bonus tip you can also use the same method for the SVG Text tool!
If your wondering how Destination Atop works, it causes all drawn pixels on a single layer to display what is visible on layers beneath it. everything else will display as transparent. The more you know! Hope you enjoyed learning this tutorial. let me know if this is helpful