Perhaps we can avoid these duplicated Value modes by using HSL+neutral point? If we set neutral point to 255, then it will work like the current “Value” mode, and if we set neutral point to 0, then it will work as “Value (highlights)” mode. Am I wrong?
Yeah, I think you’re right, that should work. Since you did the slider for the original brush tips, can you add that for this? I’ve already started focusing on implementing the lightness mode for the smudge brush 
Okay, I’ll add the neutral point slider and remove Value mode.
Hi, @Voronwe13!
Did you test the combination of alpha and lightness textures? I have a feeling that we need an option for both algorithms…
I did, and it turns out the texture system automatically converts the texture to an 8-bit map, so it loses everything. I’m rewriting KisTextureMaskInfo::recalculateMask() now to save the texture as rgba8 instead of alpha8, and keep everything. I’ve already confirmed that the standard texturing modes still work like normal, since KisTextureProperties::apply() also converts the texture to alpha8 already.
Since I’m already rewriting KisTextureMaskInfo::recalculateMask(), and that’s where it applies all of the other texture options (scaling, offset, brightness, contrast, etc…), I think I’m just going to go ahead and apply the neutral point option there. That way we don’t need to pass it around elsewhere. Also, the neutral point option might be useful for standard texture masking (alpha subtract/multiply) as well. I’ll test it out, anyway.
Hi, @voronwe13!
I’ve already implemented the neutral point. Please rebase over my branch:
Here is a package with this implementation:
What changes I had to make:
- I removed Value mode, please check if one can emulate it with neutral point
- Added neutral point slider
- Disabled “cut-off” functionality for the lightness mode
- [IMPORTANT] Disabled pressure to affect Lightness mode in any way (see comments below).
About the pressure sensors. I tried several combinations and I came up to the following conclusions:
- The user should be able to link pressure to the following options of the texture:
- alpha-based strength (current “subtract” mode)
- texture brightness
- texture contrast
- I’m not sure we actually need full RGBA texture image. Continuing with the current
alpha8mode should be enough. The difference to the brush is that the value of the texture emulates the hight of the canvas surface. Basically, it is a heightmap. So splitting it to gray-color channel and alpha channel will not give us much in physical model of this surface. - Even though alpha texturing and lightness texturing should use the same “hight” channel, these channels should use different settings for brightness, contrast and invert. Due to historical reasons, “Subtract” mode works with the inverted texture, so to properly emulate curved canvas surface, the two source textures should be inverted relative to each other.
Since I though that the user should have separate options for strength, brightness and contrast and they need separate adjustments for the texture, I decided not to connect it pressure to anything. Since these decisions affect file-format for the brushes, we need a proper plan for future extensions to ensure we will not break user’s brushes in the future.
This applies to one interpretation of textures, where the texture basically imitates the texture of paper or canvas, which the original alpha modes do pretty well. Even here, though, I can see value in having alpha and lightness as separate values, so the canvas can add subtle highlights and shadows in the paint, but also leave spots where the paint doesn’t stick. I suppose this could be implemented with just the alpha channel by using the cutoff option to say what part is alpha, and what part should be interpreted as lightness.
I can also see a case where a texture is being used for painting a texture onto objects (like snakeskin, or tree bark), and the texture is supposed to have open spots in it where the underlying color comes through instead of the paint/texture. It just gives a lot more options for how to use the texture mode.
I will try out implementing the cutoff with lightness as a marker for setting part of the texture as alpha, since that could make some interesting effects with the current textures we have (which don’t have alpha in them). Once I have those things implemented and producing useful results, I’ll post some example images showing how it works.
Well, the only concern I have about RGBA textures in user interface. We should make it understandable and logical to the user I don’t see how we can do all these options without a ton of switches. If you have a good idea about it, please do.
Here’s an example of what texturing with lightness and alpha combined can do. You’ll see the paint looks like it’s on concrete or some kind of surface like that, but there are parts where the paint didn’t stick (or flaked off) and so you can see the color underneath. I actually love the effect, and think it needs to be in…
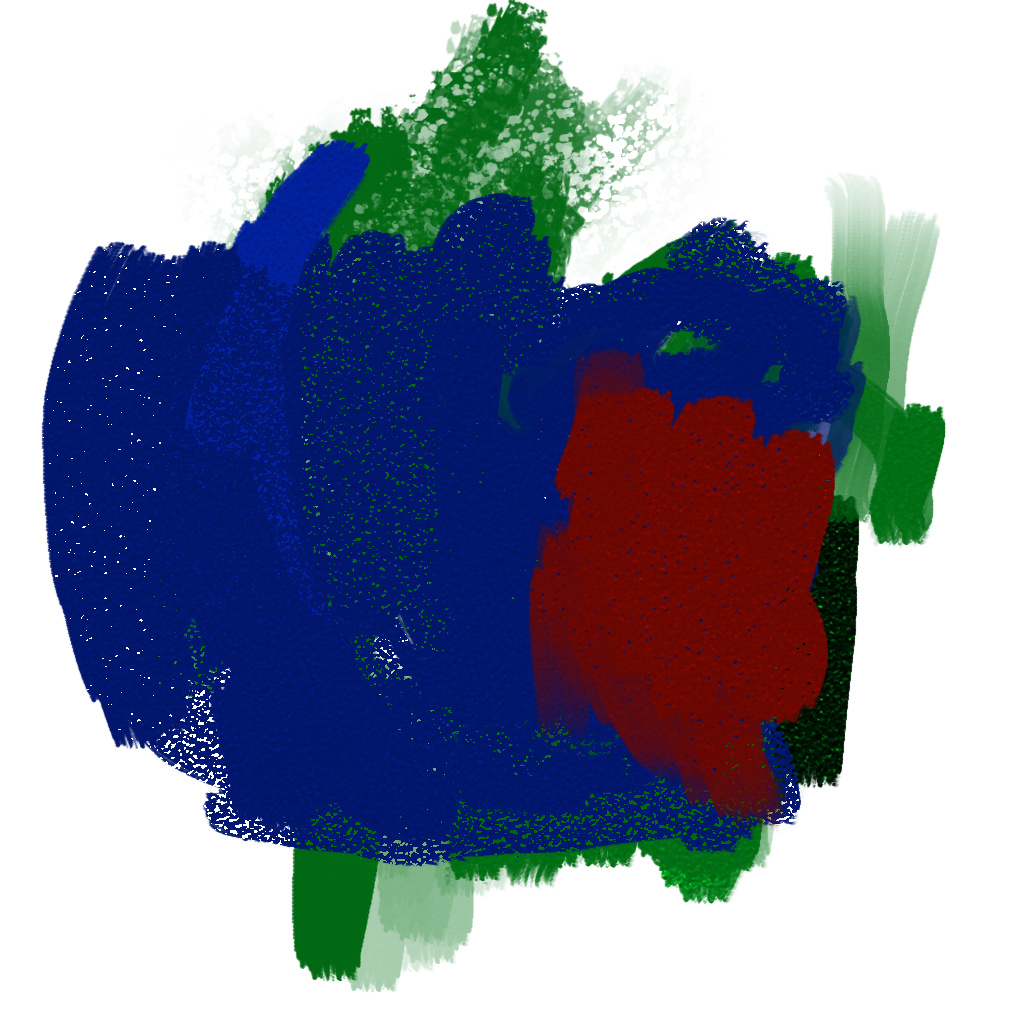
This was done with the Dry Brushing preset, except I changed the texture to Lightness mode, set the neutral point to about .2 (it’s a dark texture), and I set the black cutoff a bit up, so the darkest parts of the texture get turned to alpha (the cutoff to alpha was a pretty easy change )
I need to do some cleaning up of the code, and then I’ll see if I can merge it with your changes.
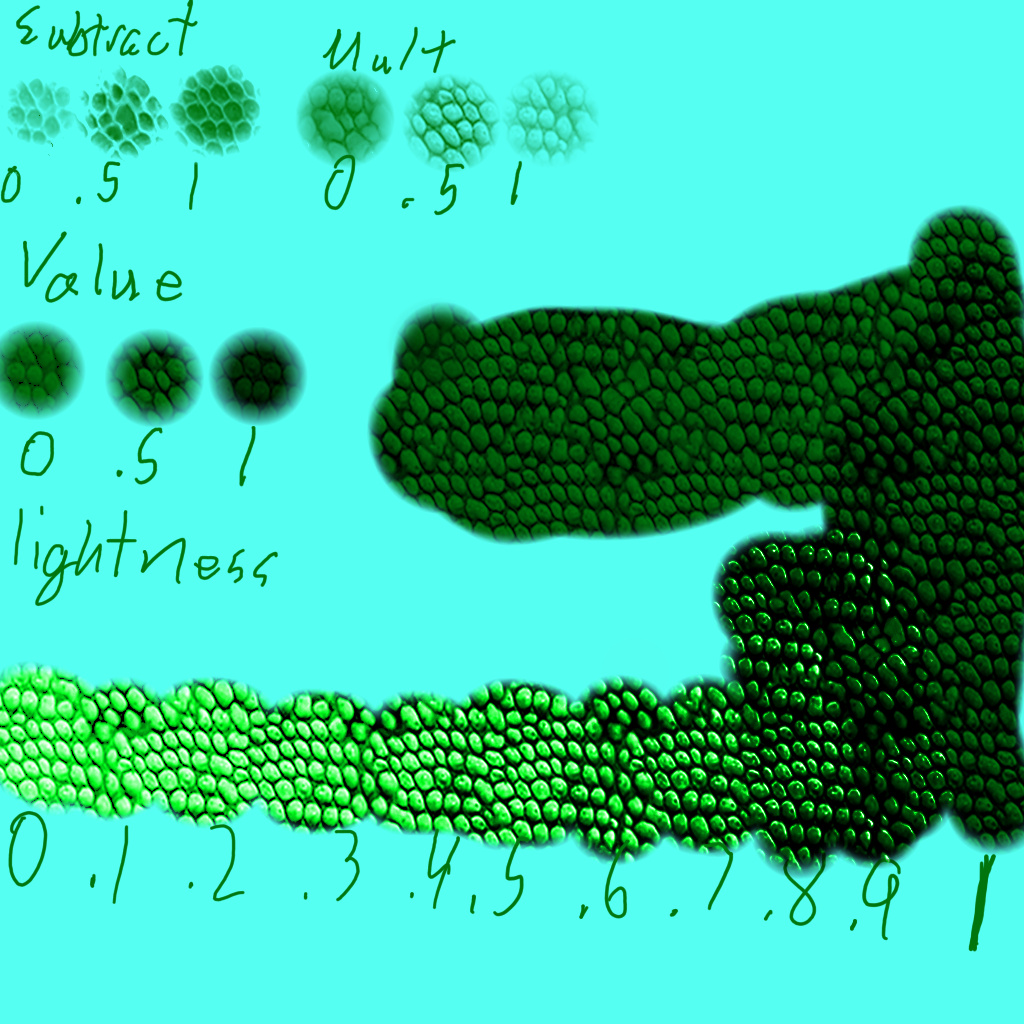
Also, the lightness mode with neutral point adjustment doesn’t give exactly the same results as the value mode when neutral point is at , but it’s pretty close. It seems to add more contrast than the value mode had. I’m not sure why that’s the case, but I’m also not sure that’s a bad thing. Second image is some testing of the brush in different modes to see what the effect of different options is. Lightness with properly adjusted neutral point definitely gives some great results The reptile texture with somewhere between .8 and .9 neutral point looks really nice! So even though it’s not exactly the same, I think it’s fine to drop the Value mode.
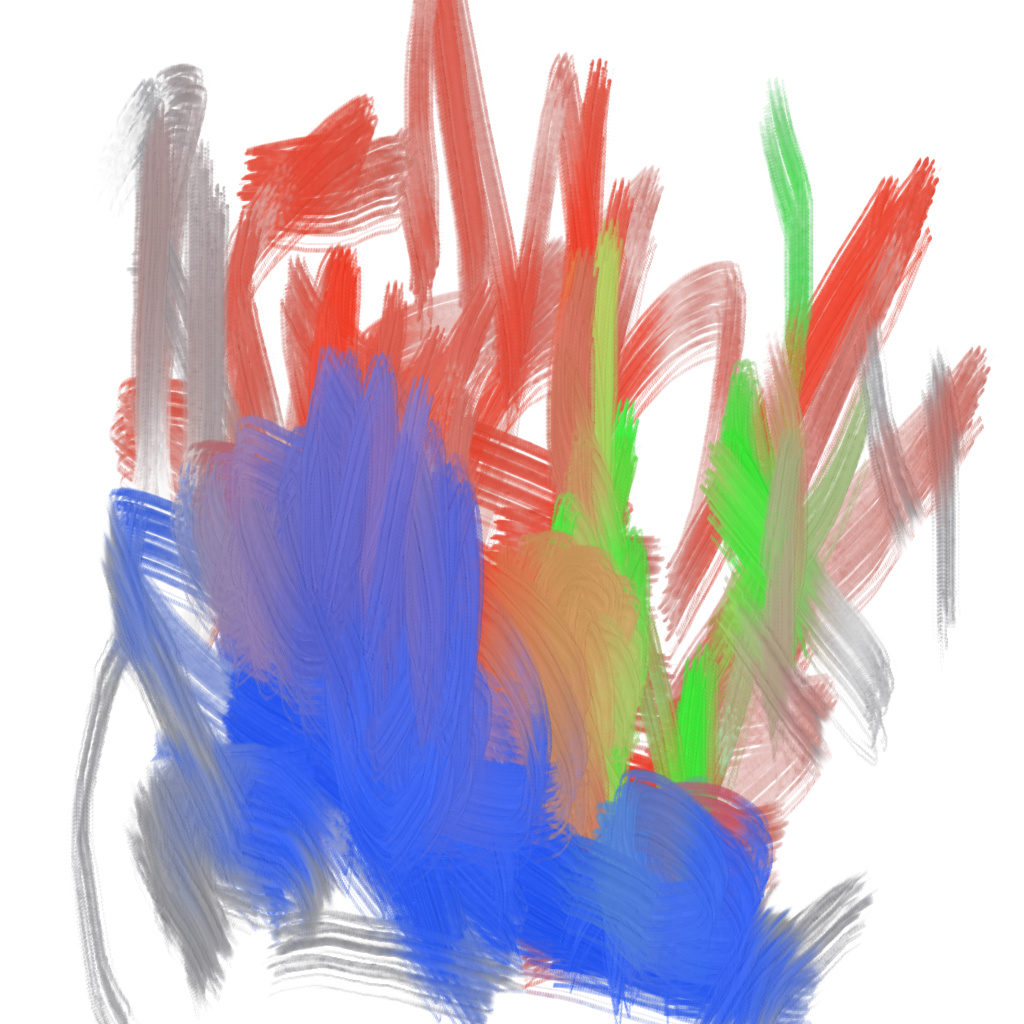
I did some more work on the Lightness brush in the smudge engine. I have it mostly working now. The only thing that is off right now, that I can tell, is if color rate is turned off and you smudge from a colored area into a blank area. When the color runs out, it keeps drawing gray instead of going clear. Otherwise it seems to work like it should. Performance is acceptable, but not great. Here’s an image of playing around with the smudge engine using the DA_Oil tip. It’s gives a nice impasto effect to the smudge engine, so if I can get the gray issue fixed, this will be a winner
I can’t pretend to understand the kind of voodoo you’re pulling off here - every time I try to read it my brain switches off in protest 
I’m really keen to try these out though - especially seeing what Ramon is doing with them. Am I right in thinking the intent is to include these in the next official release?
Keep it up guys! 
If this lightness feature has been implemented for the smudge brush engine, I wonder how well it will work with the smear alpha toggle switch being developed separately.
This other smuge brush feature might still need some work before it can work with the brush lightness settings, but hopefully it will be able to work in the end.
@Mythmaker: The original lightness option for the brushtips should be in the next version (4.3) from my understanding, since it’s already in the stable nightly builds. I’m hoping to have it also working for the smudge engine and the texturing option, in time for both features to be tested and verified for 4.3 as well. I think the texturing option is basically ready, I just have to merge the code with other changes that were made. The smudge option will probably require more testing, so I’m not sure it will be ready for 4.3, but if it’s not, maybe they can release a 4.3.1 version when it is. I’m not sure exactly what their version release policy is
@Rigognos: I just read through the other thread you referenced, and it looks interesting. I may have to find the branch @dkazakov developed that on and see if I can use it with my code. I don’t see any reason why it wouldn’t work. It might even help me fix the issues I’m currently having with the smudge brush. Thanks for bringing my attention to it!
I think I’ve figured out part of the problem with the smudge brush, and I think it’s a problem that existed before… The smudge brush picks up the color at the center of the brush, and puts it on the whole brush, not just the part of the brush that is in the color. So if a brush overlaps part color and part clear, if the center is on the color, it automatically puts that color on the whole brush stroke… I think that is leading to some unnatural effects, including the gray that appears when pulling out of color… I think this can be fixed, so I’ll look into it. Unfortunately, I suspect it will cost some in performance… 
Edit: Okay, that only happens in dulling mode… smearing mode doesn’t do that, but I still have the gray brush problem, so I still have to figure that out. And I think that is something that should be fixed in dulling mode as well…
Could that behaviour explain the problem I posted about last night? It’s been bugging me for ages! 
In this post: Banding with colour smudge brushes
Hi, @Voronwe13!
The explanation might be the following: if you apply the lightness correction to m_finalPainter, then it applies also to the color that was fetched from the layer. It means that “average lightness” of the dab starts to behave as a coefficient of a negative feedback loop. This feedback will the converge to black (if “average lightness” < 0.5) and to white (if “average lightness” > 0.5).
I don’t have any canned recommendation on how to fix that. You might either try to apply the conversion to m_colorRatePainter only or try to solve that differential equation in such a way, that convergence point of the feedback loop would always be placed at some specific place, like (\alpha * backgroundColor + \beta * colorRateColor) * dabNormalizedLightness. Right now dabNormalizedLightness makes the function exponential, which is not what we need.
That is exactly what “Dulling Mode” is expected to do. There is a special option “Smudge Radius” that controls sampling area for the dulling mode. It is an offical workaround the issue. I’m not sure any other fixes are needed.
Hi, @voronwe13!
The alpha smearing patch is basically a one-liner and it shouldn’t affect your work. Here is the link to the commit (it is not yet merged to 4.3, though I plan to do that soon)