Recently I’ve been really into recreating CSP’s animation-related features in Krita. Originally I planned to make a Python plugin myself to implement these features, but I soon found that this was beyond what Krita’s Python API can do, and modifying the C++ code is beyond my ability.
But then I changed my approach and realized that we can actually combine Krita’s own capabilities to achieve all the features we need. Let’s take a look!
I’ll fill in these tips step by step; I’ll delete this line once the update is complete
Goals:
- Export layered output with alpha (2026-10-25)
- Movable onion skin
- Camera animation
- Hide color-separation lines while coloring
- Free variation across multiple frames
- Personal project workflow conventions (linked clone frames, loop start/end, project layer tree)
1. Exporting layers with an alpha channel
This is a pretty important feature, but unfortunately quite a few programs don’t support codecs with alpha like VP9 or AV1, and the common H.264 codec has no alpha channel.
The classic solution is to use a PNG image sequence. This works well when the video is short, but what if a single shot in our animation has hundreds of frames? Or when there are multiple shots?
Even if a single PNG is only 0.2 MB, suppose Shot 1 has three layers with these frame counts:
- Layer A: 150
- Layer B: 100
- Layer C: 50
That’s 300 frames, about 60 MB. Add the Krita source file, and one shot could be 80 MB. If we have a five-minute short with about three seconds per shot, that’s 100 shots, around 800 MB—and a single PNG may well be more than 0.2 MB…
My approach is:
Export a separate mask-layer MP4. Most editing software has basic compositing ability and can correctly combine an alpha channel encoded as luminance with the color channel.
Let’s walk through the steps:
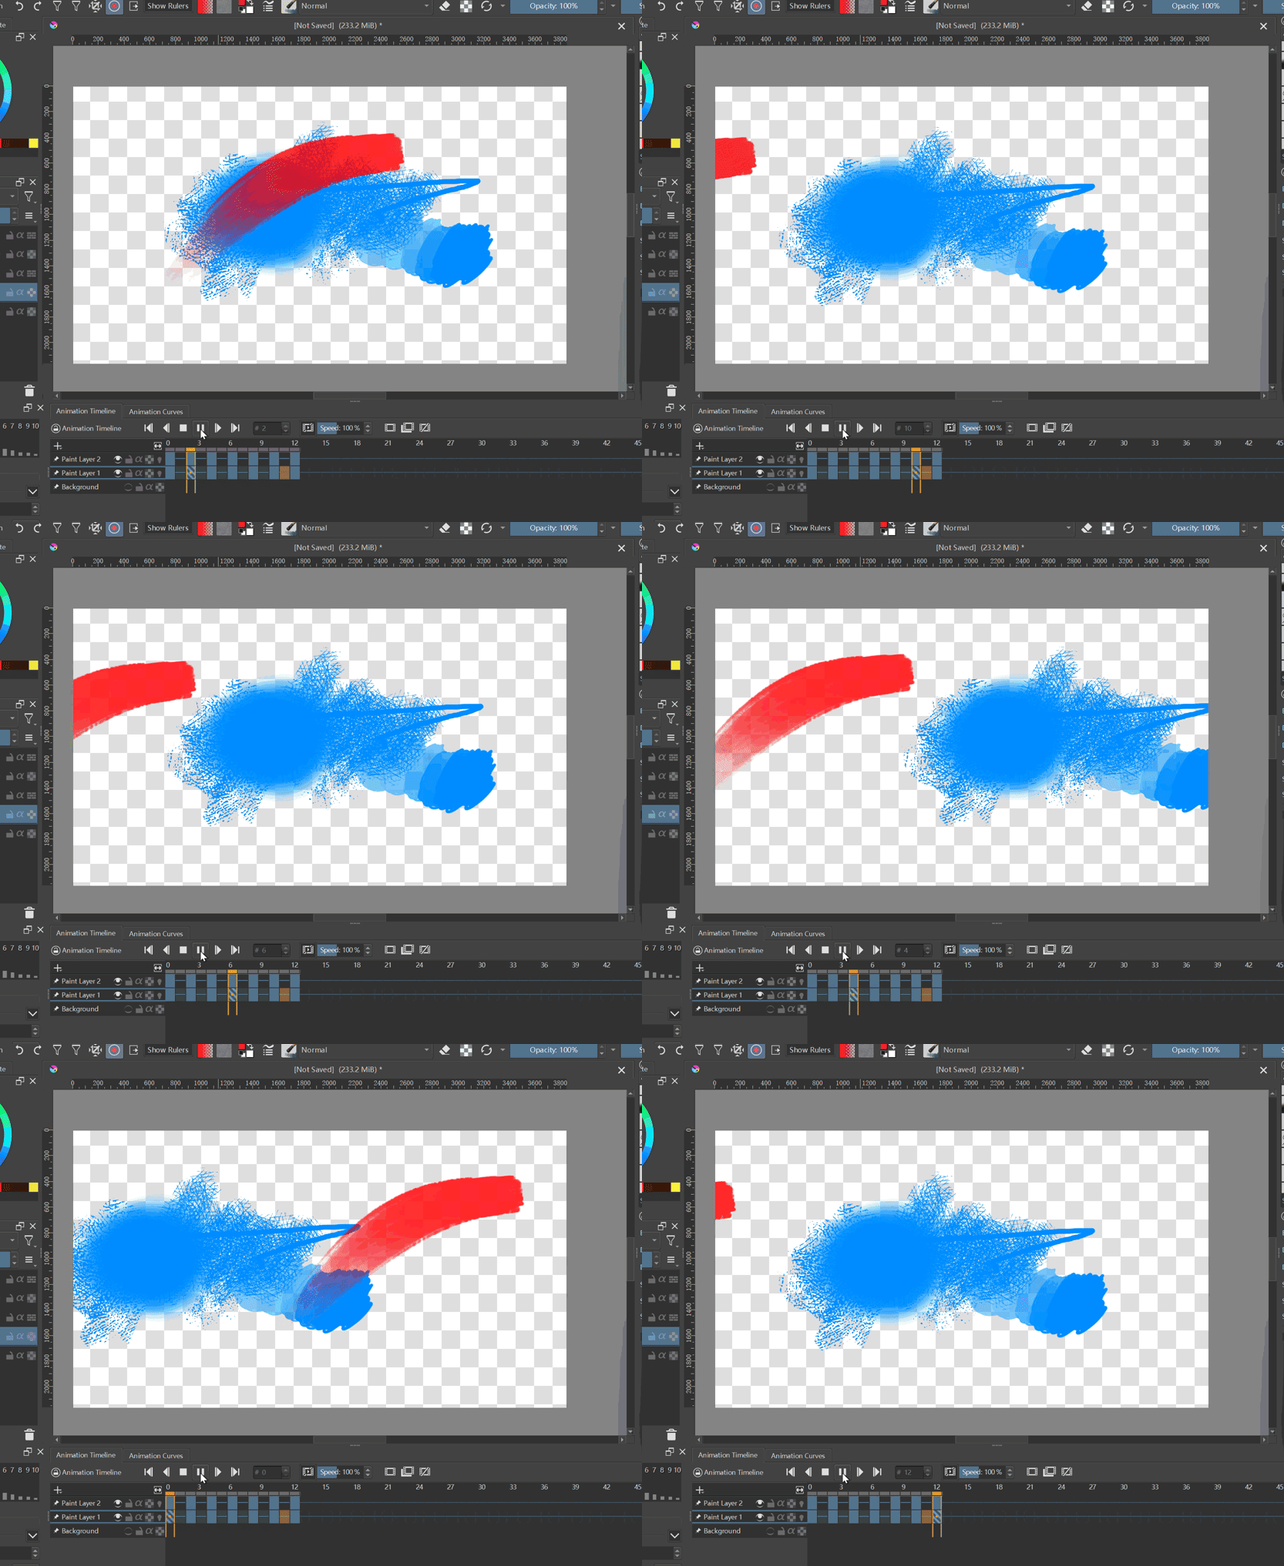
This is a demo animation I made; it has complex alpha-channel information.
Before we start, we need the Composition feature. Open it from Settings → Dockers:
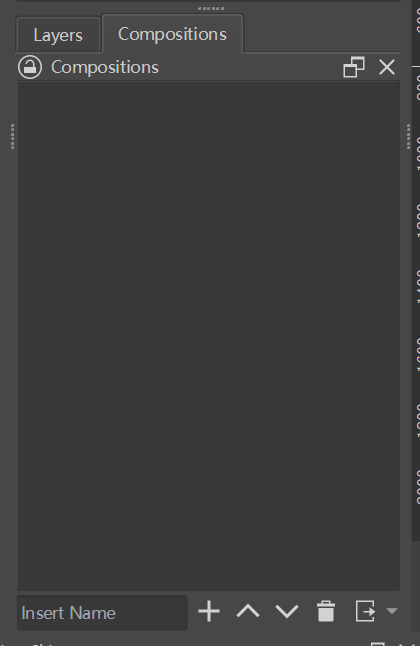
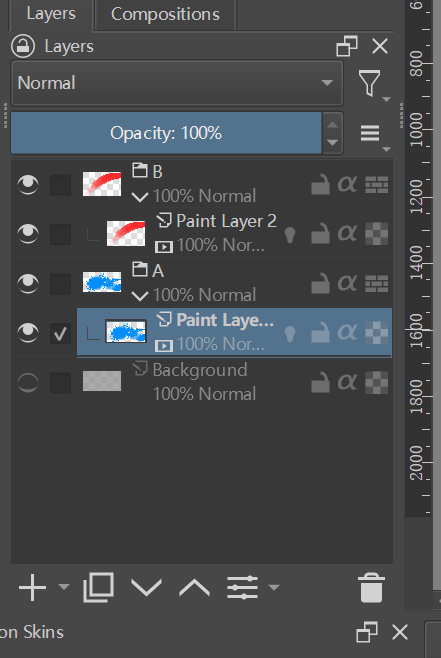
Step 1: Put the layers that should be exported as one layer into a layer group. I recommend naming it with capital letters (a Japanese animation industry convention).
Step 2: Create new layers filled with black, place one at the top of each layer group, and turn on Inherit Alpha. Then fill the background with white (make sure it’s pure black and pure white).
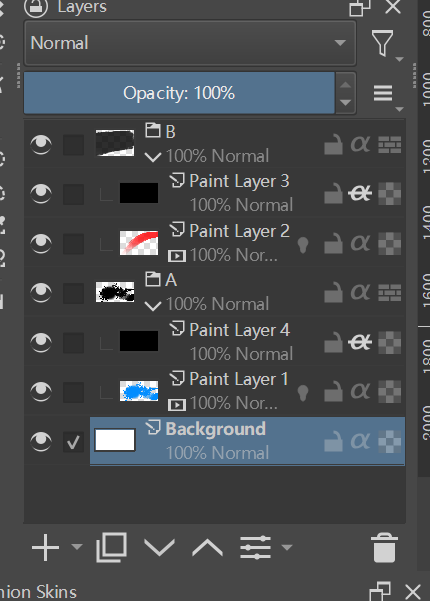
Our animation now looks like this:
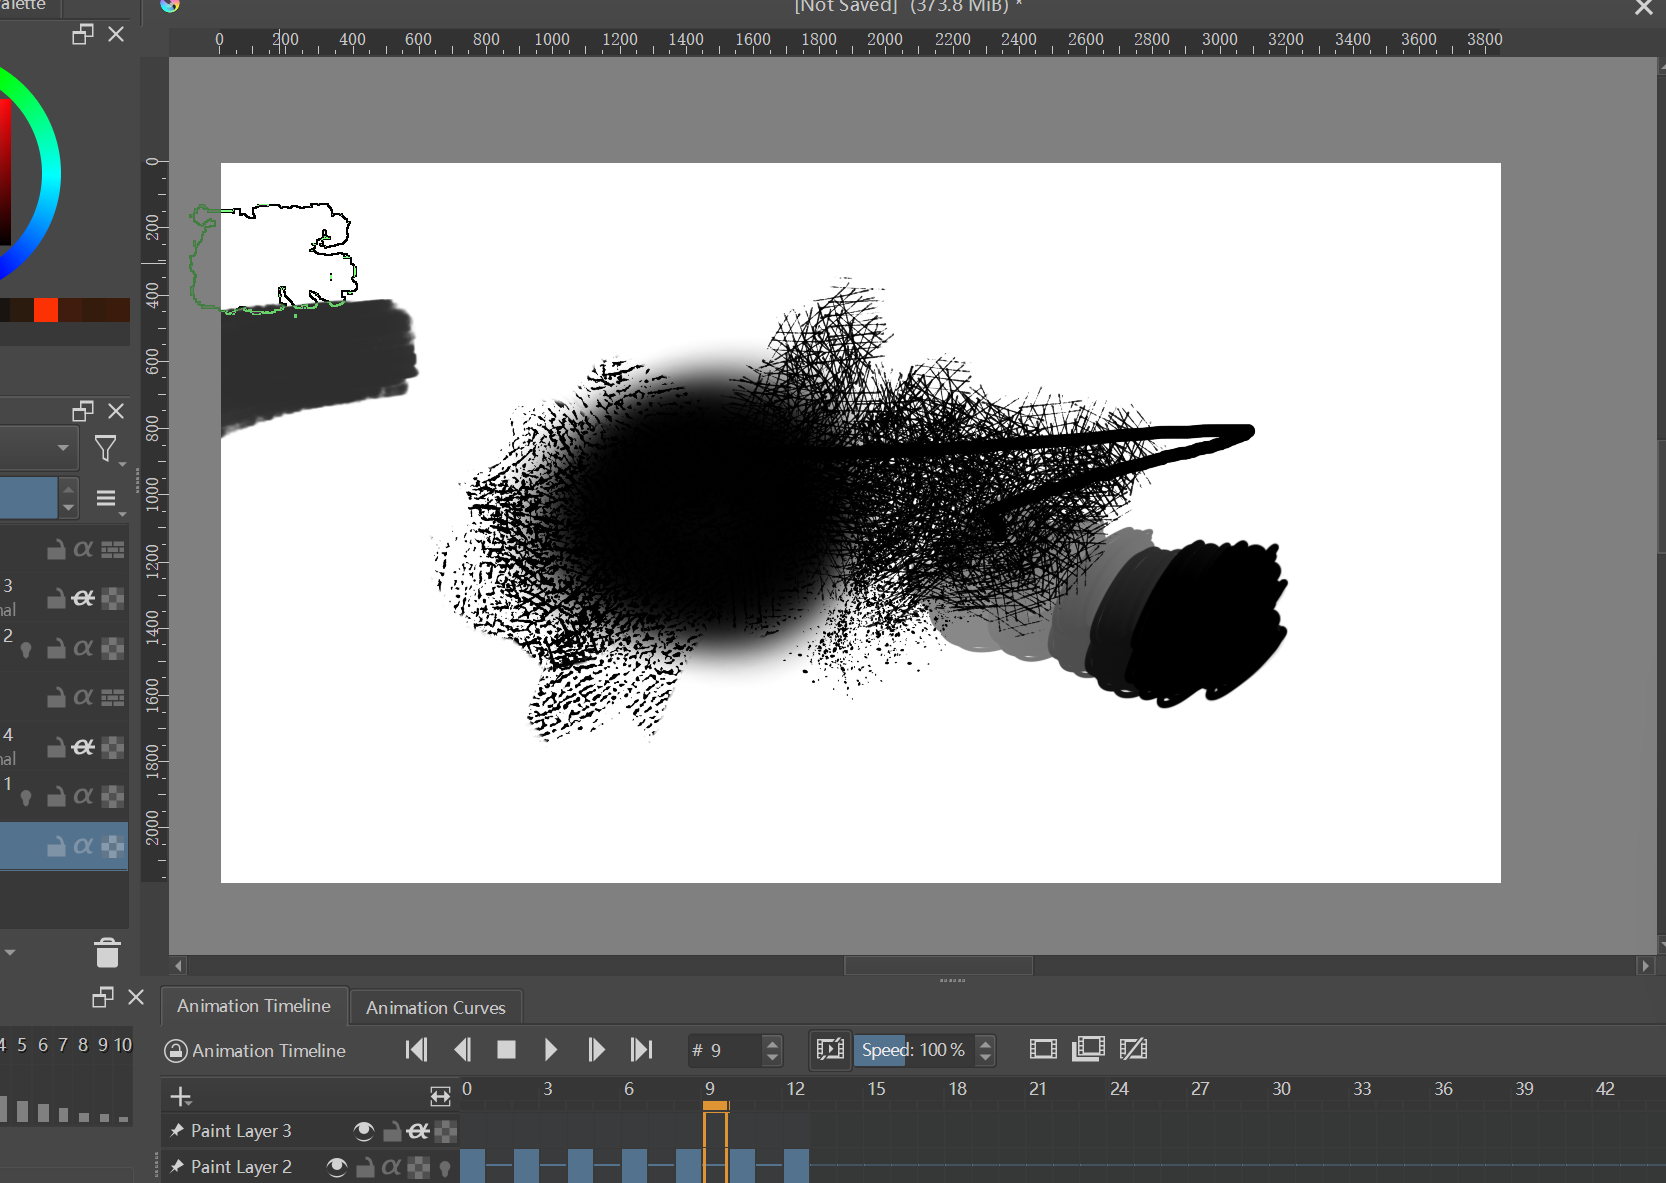
At this point, white naturally means transparent, black means opaque, and gray means semi-transparent.
Step 3: Create a filter layer and place it at the very top of the project, with the following settings (filter: Color Adjustment, mode: Alpha, and drag the left end of the curve to the top and flatten it).
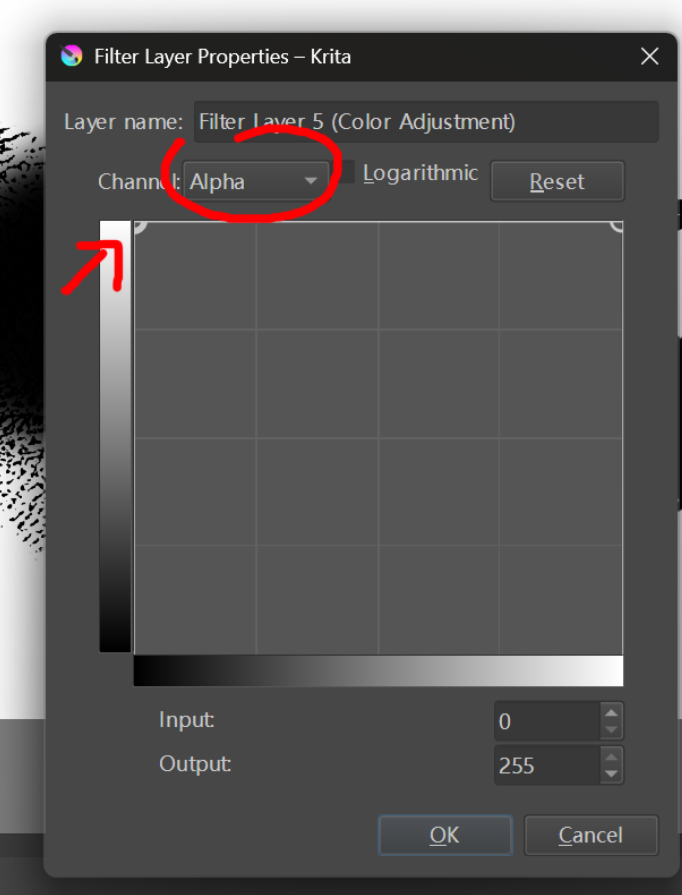
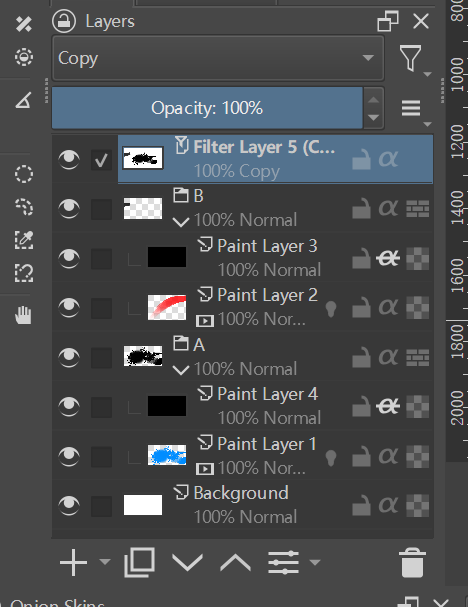
Your canvas should now become pure black.
Step 4: Now we use Composition.
Let’s start with Layer A:
Set the layer visibility toggles as shown below (turn off the filter layer, turn off the B layer folder, and turn on the pure black layer and pure white background).
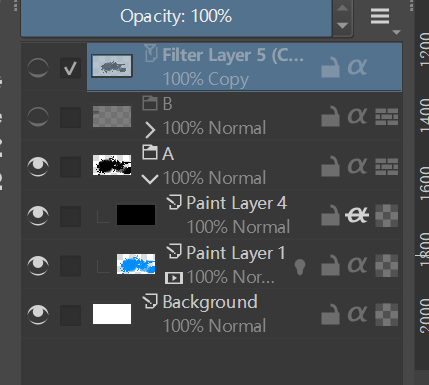
The canvas should look similar to this:
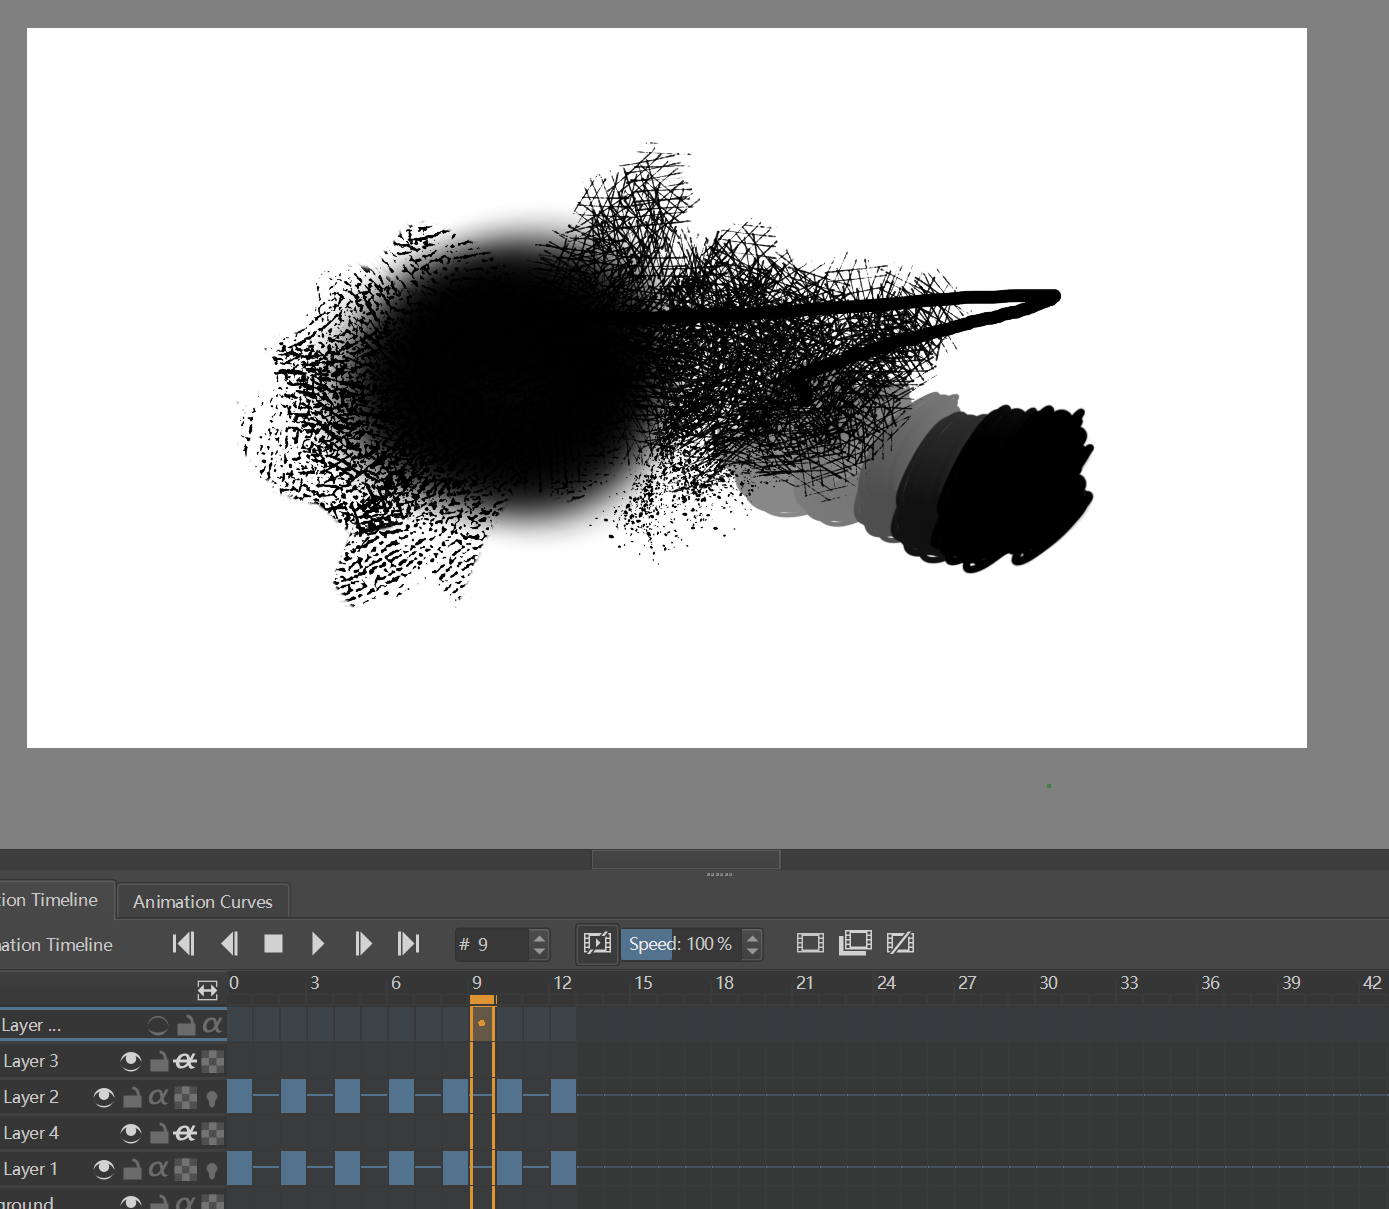
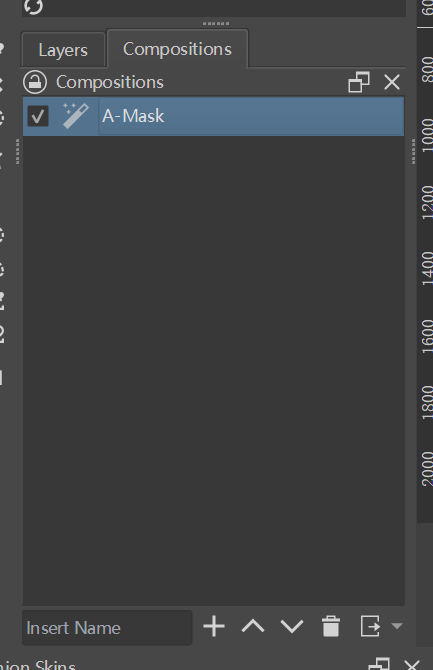
In Composition, add a configuration named A-Mask, as shown below:
Next, set the layer visibility toggles again as shown below (turn off the pure black and pure white layers, turn on the filter layer, and keep Layer B off).
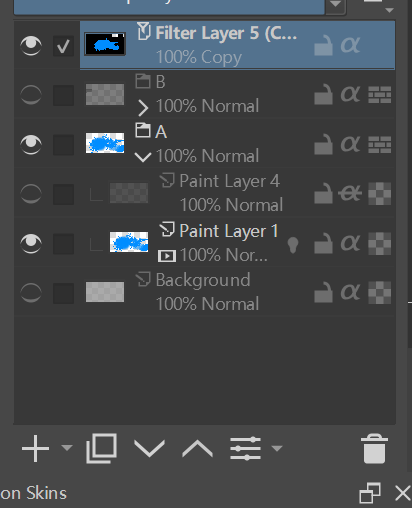
The canvas should look similar to this:
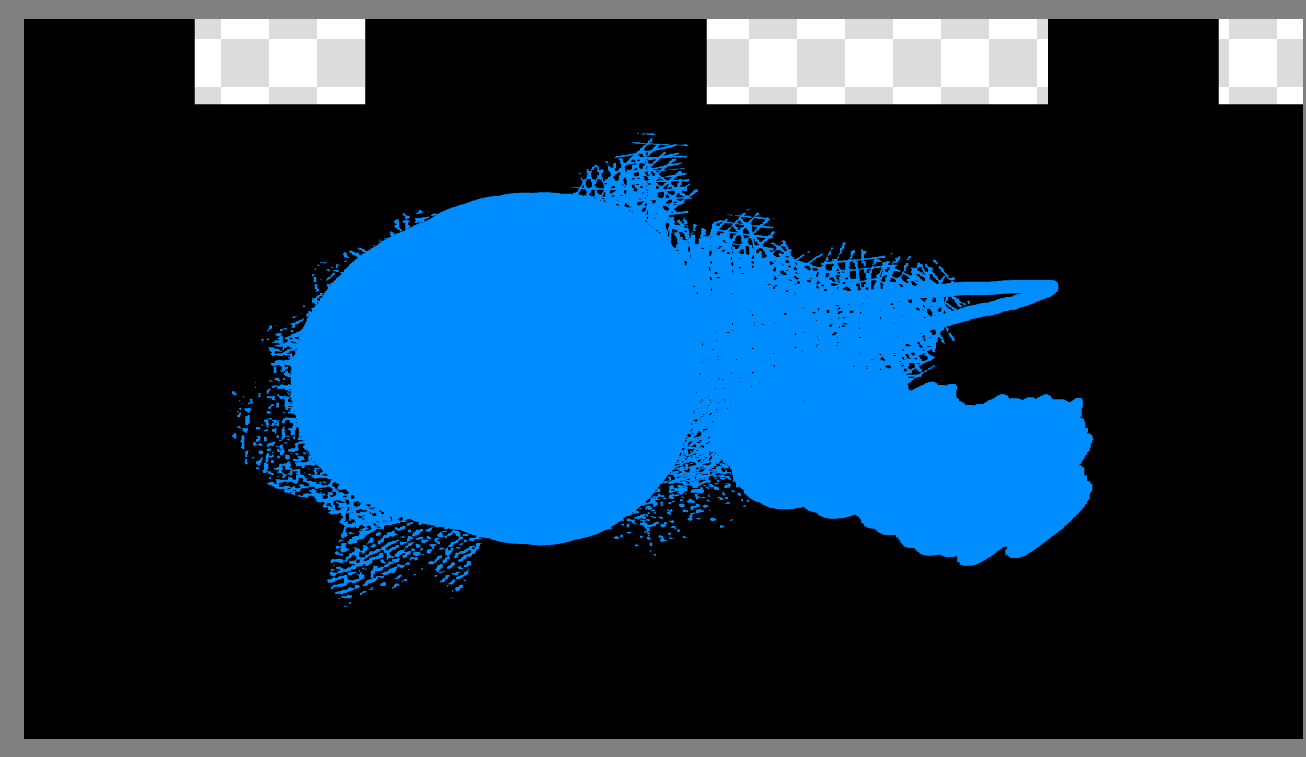
A Krita refresh bug causes issues in irrelevant areas of the canvas, but this doesn’t affect our actual image at all, don’t worry.
In Composition, add a configuration named A-Video, as shown below:
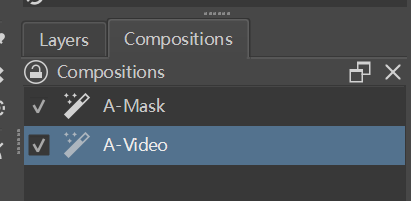
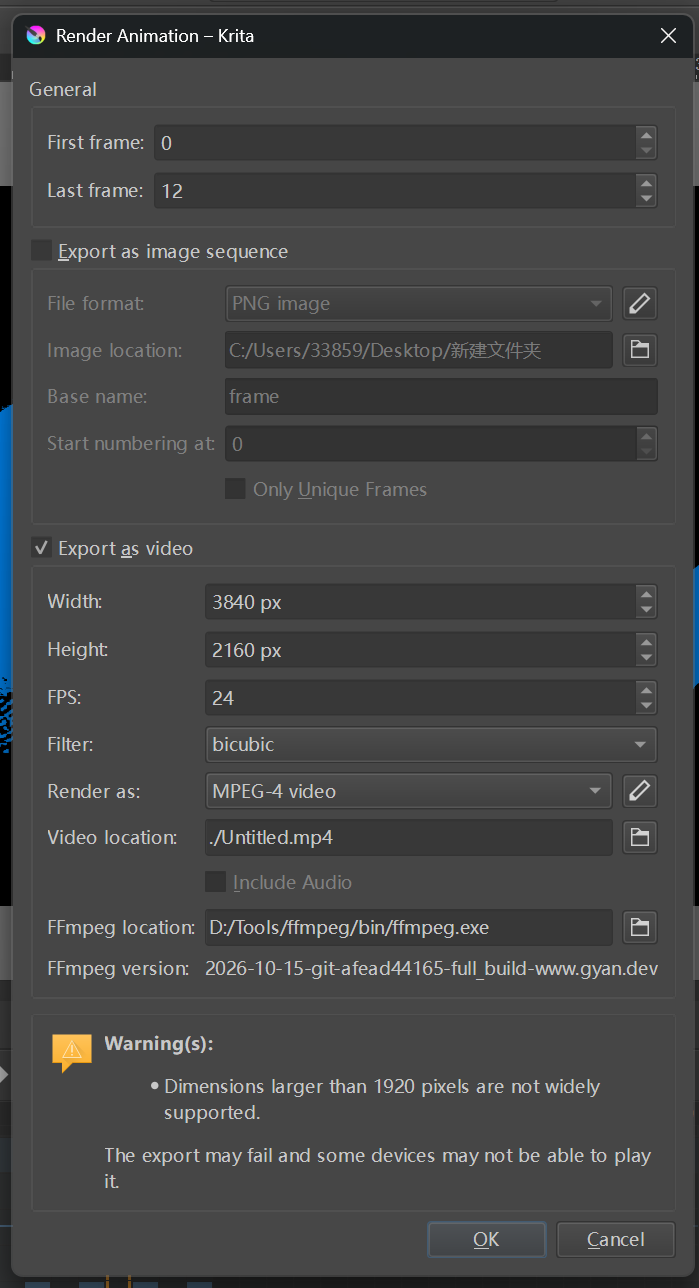
Step 5: Repeat the previous steps for Layer B. Then click Render Animation and set it as shown below (Video only, H.264). Click OK and then immediately click Cancel (because Krita only saves the render settings after you click OK).
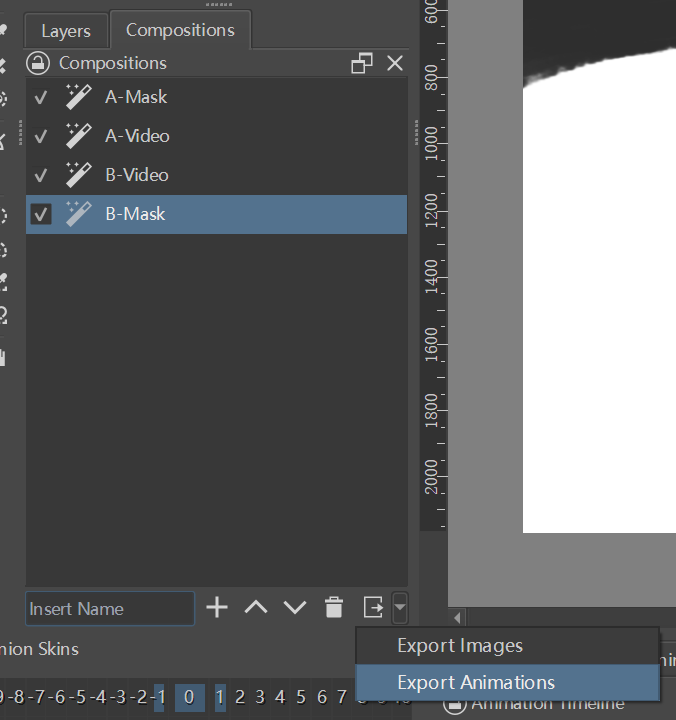
Then go to Composition and click Export Animations, as shown below.
It will generate four videos like this:
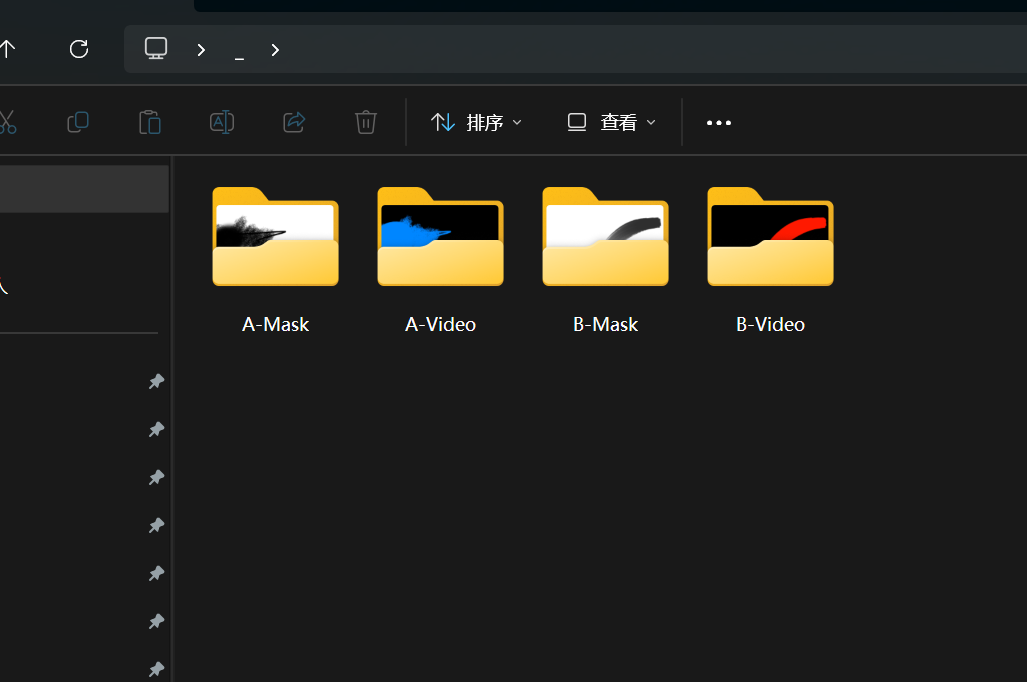
We need to organize the directory manually:
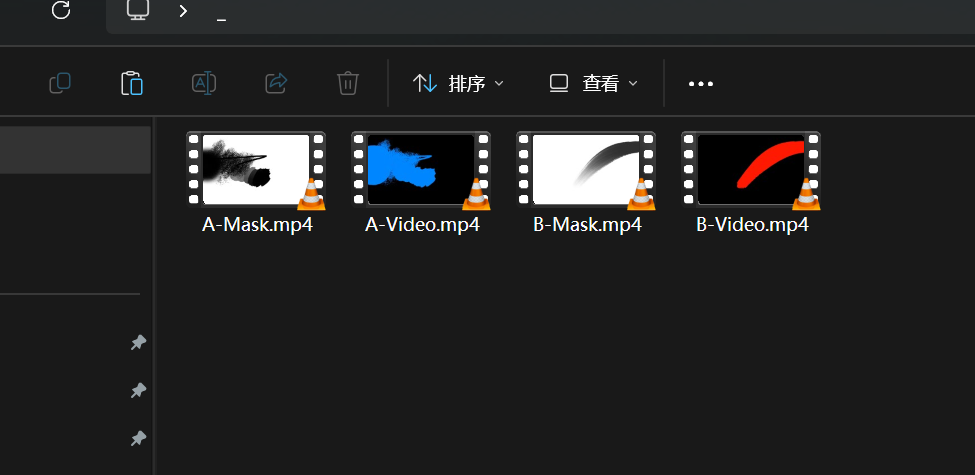
Step 6: We just need to combine the two channels in editing software.
Using Shotcut as an example:
Shotcut:
Import the four videos into the playlist, and put the two videos with the Video suffix onto the timeline, as shown below:
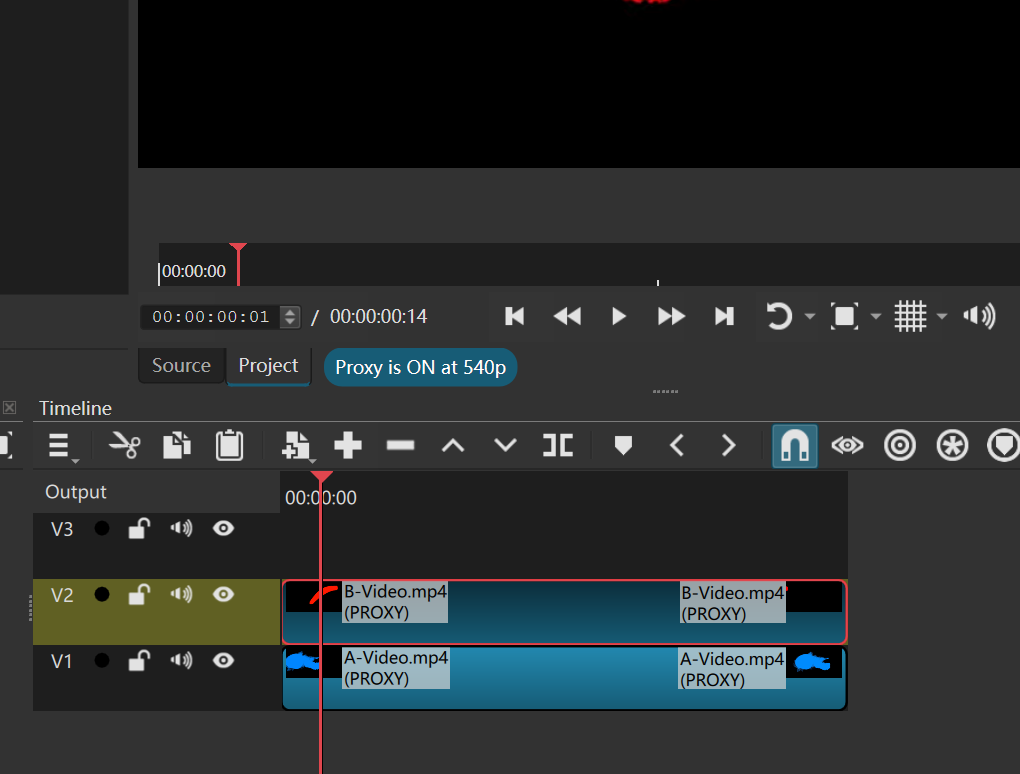
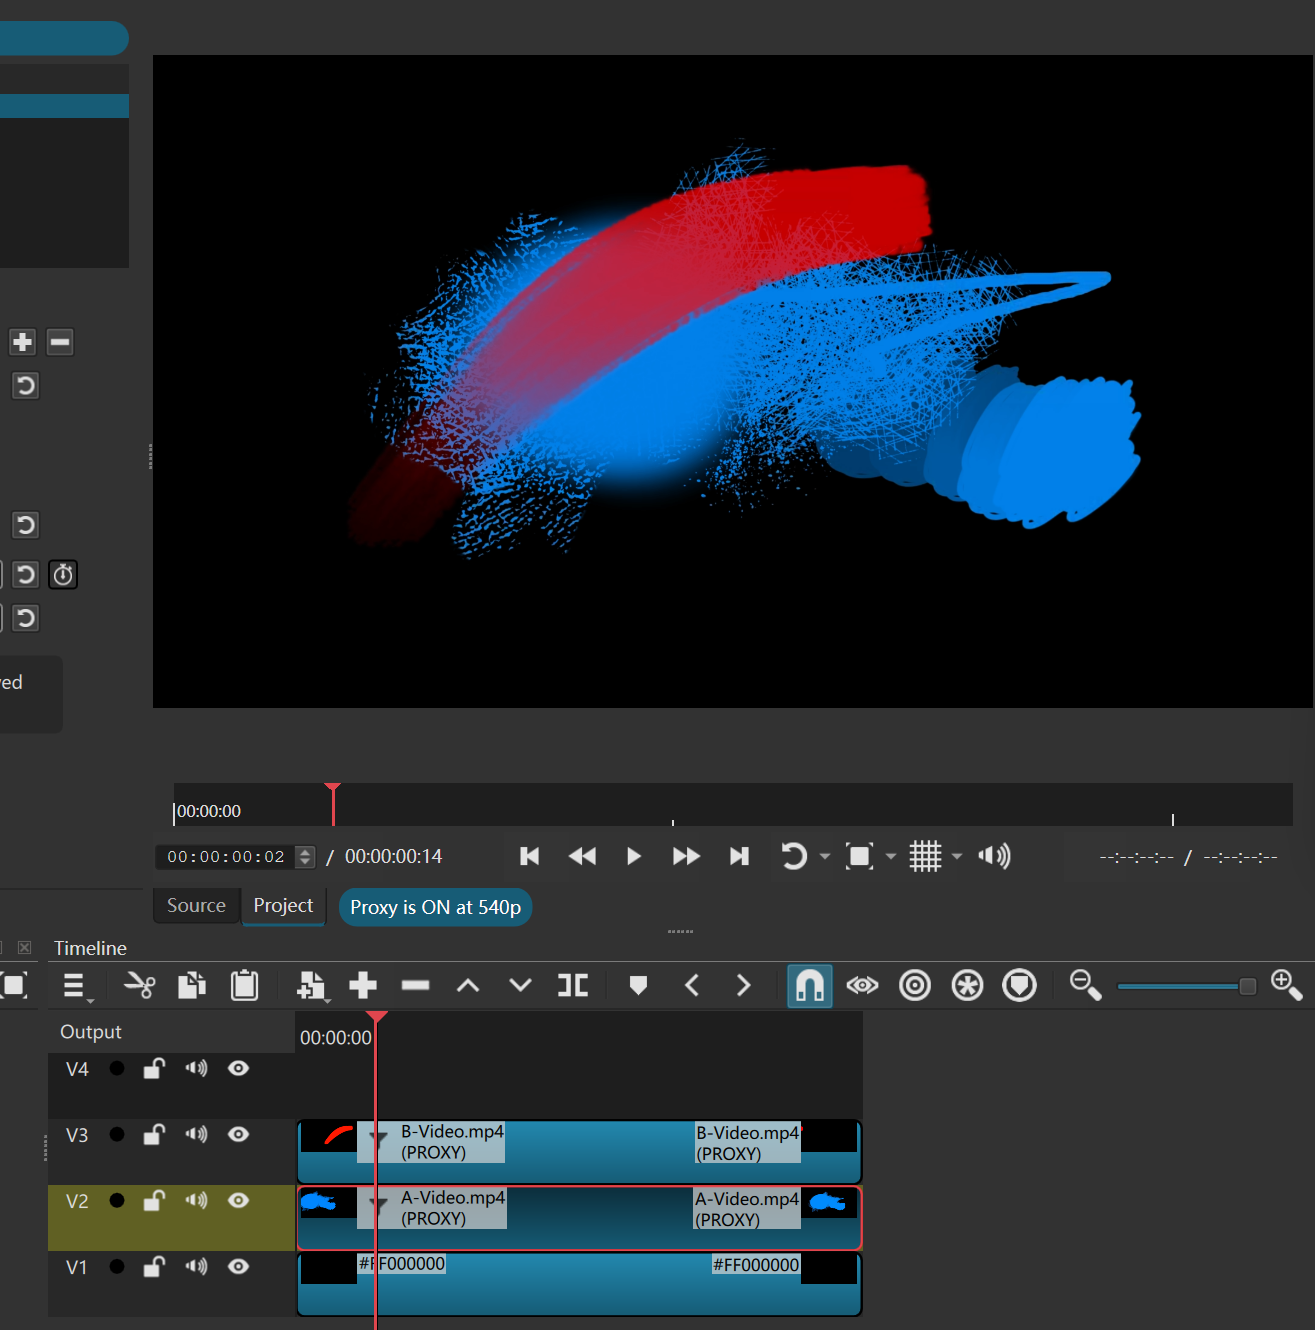
Next, add the Mask: From File filter to the two Video-suffixed videos, with settings as shown below (set the Mask file to Custom and point it at the file with the Mask suffix; check Reverse; check Brightness; uncheck Threshold).

The result is almost perfect:
We can do any kind of complex compositing, for example, add text in the middle and drop in a complex background (the final composite is an ugly diagram, my own rough attempt, obviously):
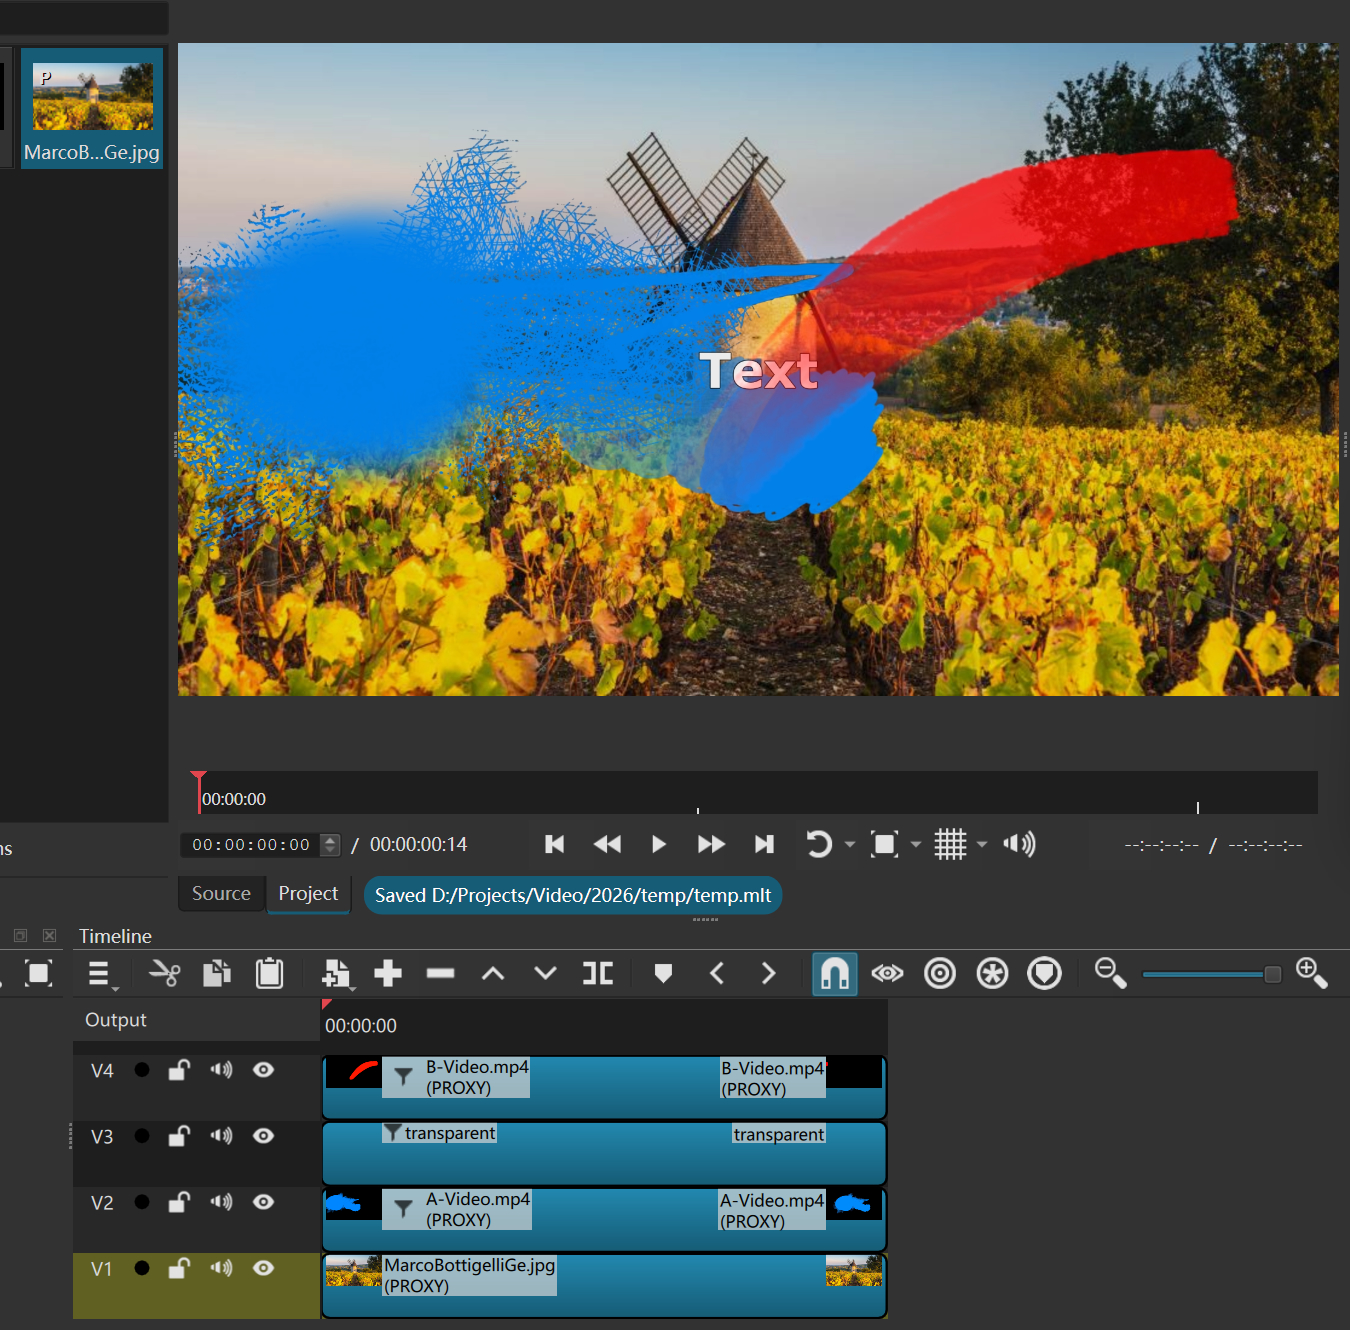
This way, with just a few highly compressed MP4 videos, we can pass along layered animation almost losslessly. Compared with PNG sequences, the advantages in disk usage and collaboration/transfer costs are huge.
