I want to know if Krita has any separate feature for camera movement like CSP(video taken from youtube)
Yeah, I know we can use camera movement by adding separate layer and using animation curves. But the main task I found is cropping canvas as camera while rendering.
And also, we can make camera movement by moving background too, but I found too much trouble to do this.
2D Camera Movement refers to the simulation of camera motion within a two-dimensional (2D) space, such as in animations, games, or video editing. It gives the illusion of a moving or panning camera, creating dynamic scenes and adding depth to flat, 2D artwork.
Why It’s Used?
Creating Focus: It helps to direct the viewer’s attention to specific parts of the scene, guiding their eyes through the action.
Enhancing Storytelling: By simulating camera movements, you can convey emotions, build tension, or highlight important moments in the narrative.
Adding Depth and Dimension: Although the artwork is in 2D, camera movements can create a pseudo-3D effect, making scenes feel more immersive.
Dynamic Scenes: Static scenes can feel lifeless. Adding camera movements can make the scene feel more alive and engaging.
Simulating Realistic Movements: It mimics the movements of an actual camera, adding a cinematic quality to the animation.
Conclusion
Camera movement helps maintain focus on the main object by keeping it centered in the frame. Additionally, it saves animators time by eliminating the need to create separate frames for each scene or manually move elements to achieve the desired effect. Instead, smooth and dynamic transitions can be achieved through camera motion, enhancing the overall efficiency and fluidity of the animation.
Ok then,
I changed this topic from General Question to Feature Request
This request is about camera movement.
Yes, I know it’s very easy to make camera movements using Krita like CSP. But the main problem occurs when we try to render an animation, because rendering an animation will contain the full canvas but we need a separate part from the canvas or you can say a cropped area from canvas for each frame. Here is the main task to crop every frame before rendering. So, if there is a feature that comes to Krita like this can save our time.
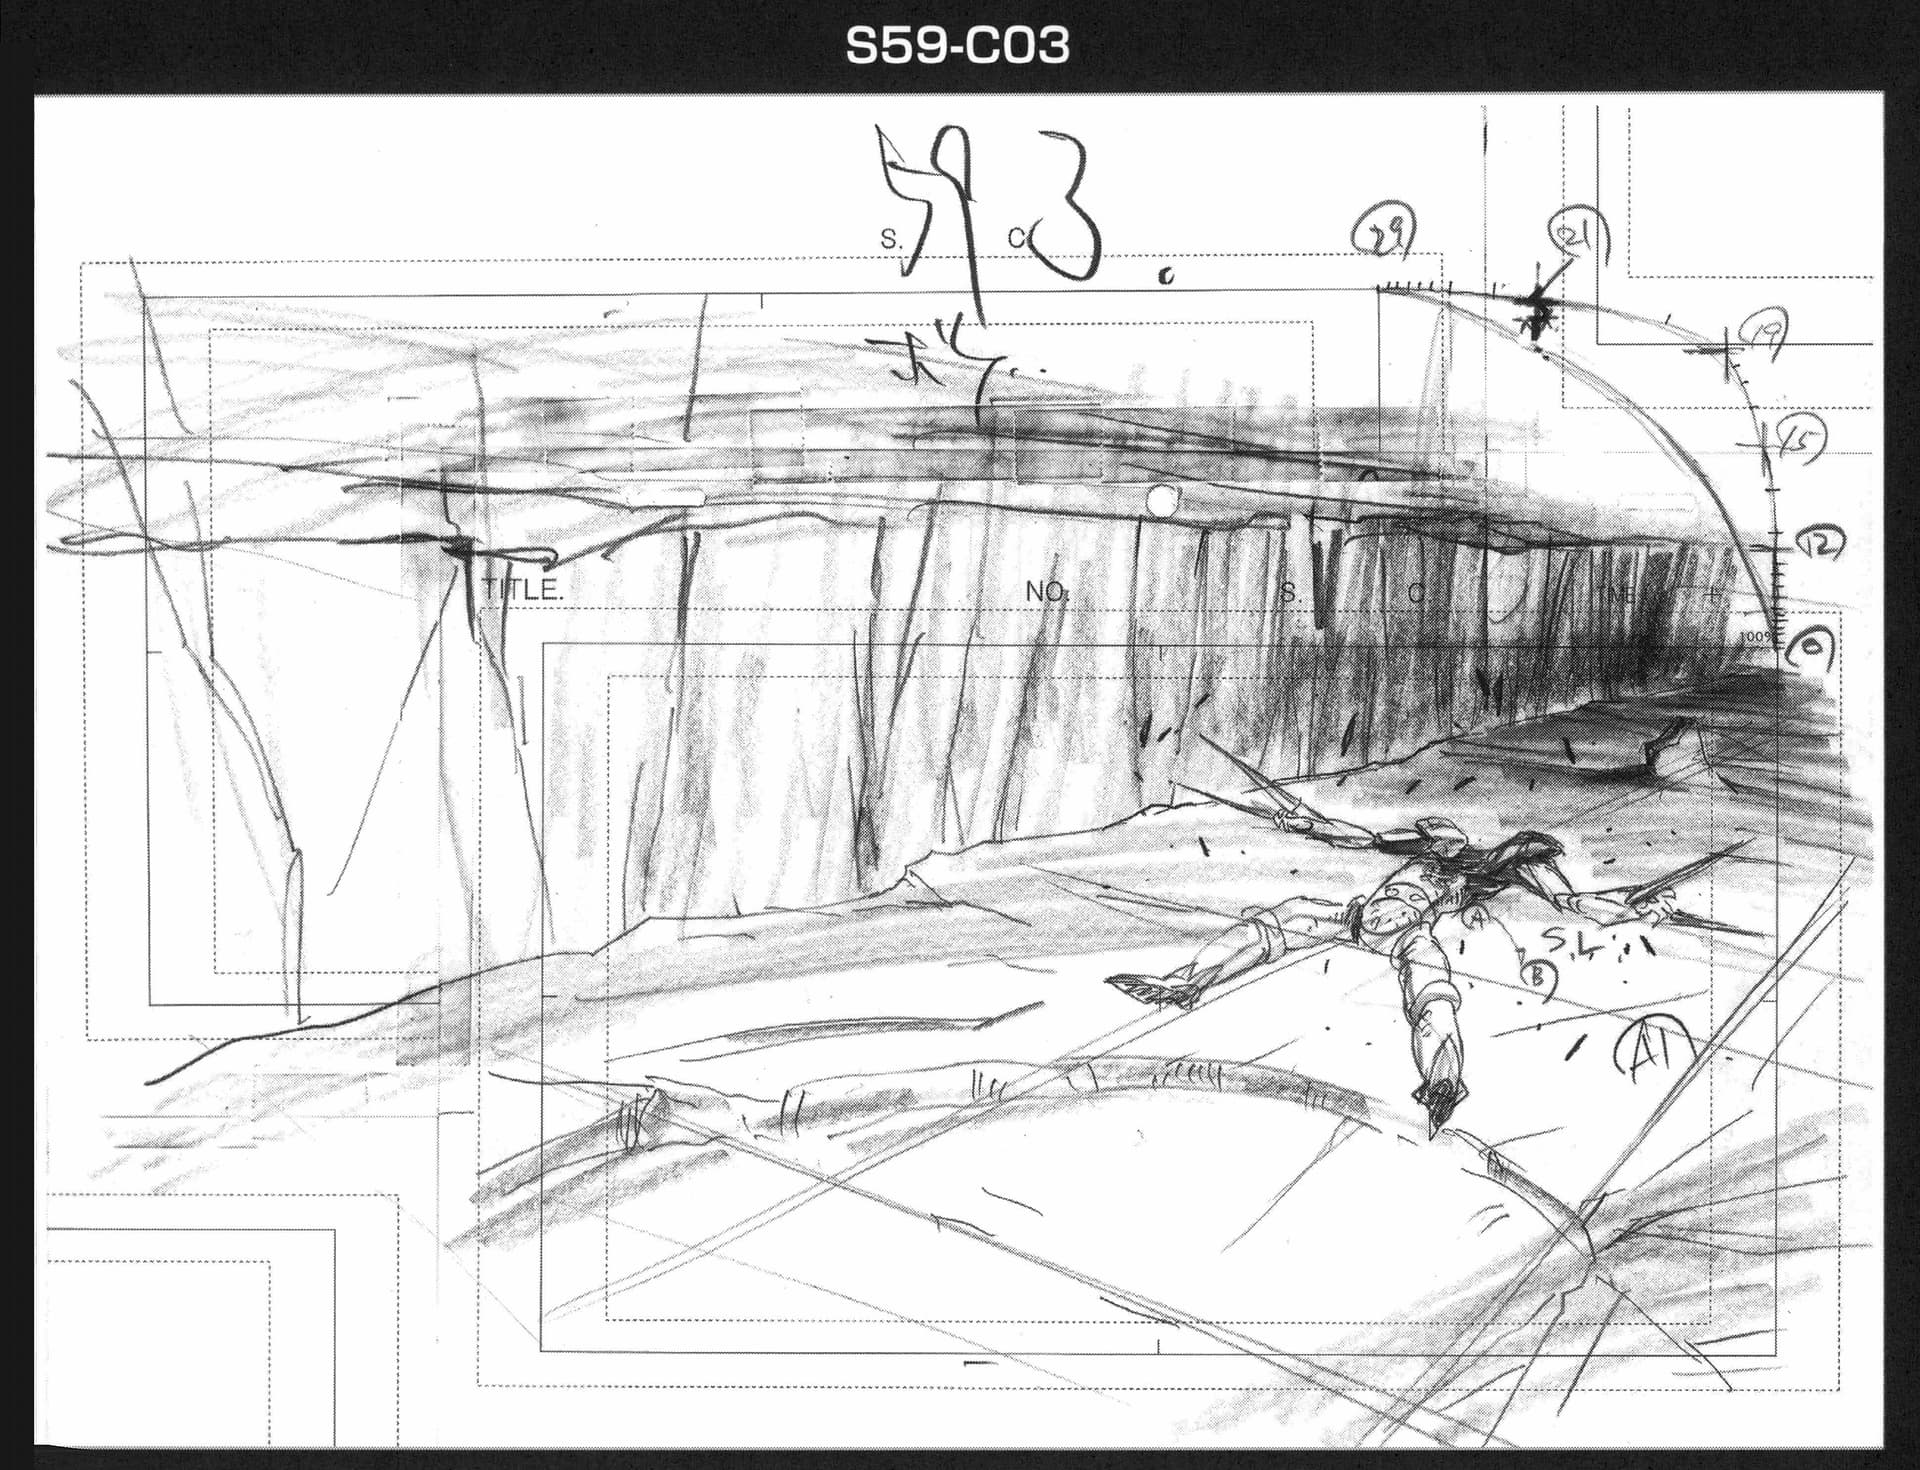
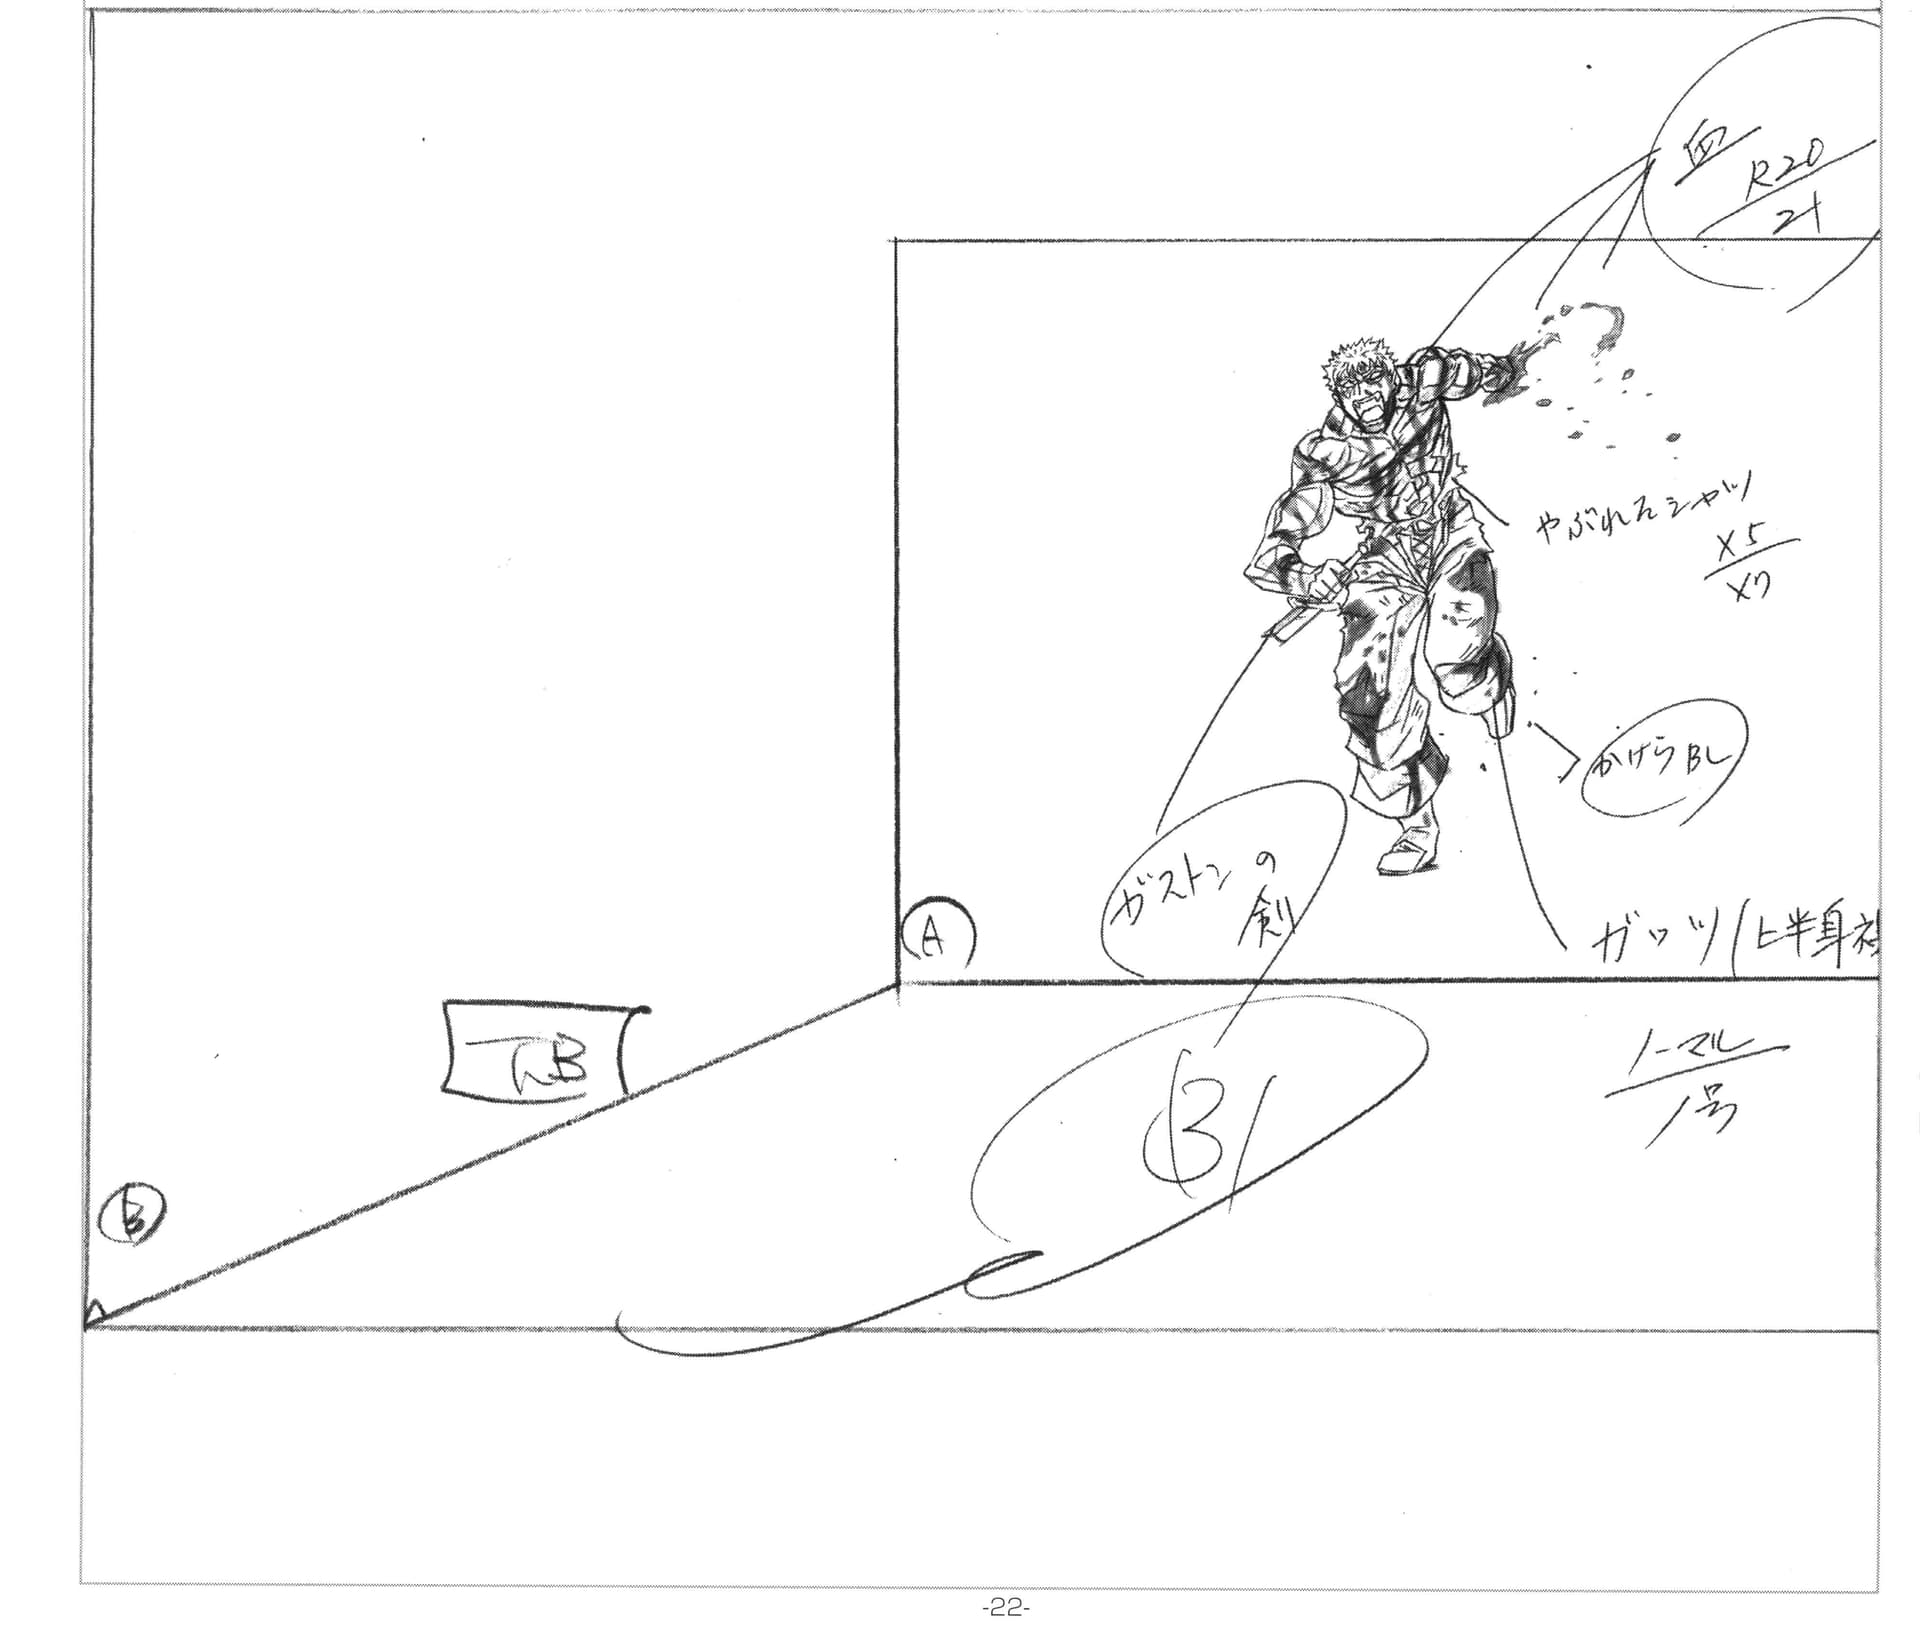
The idea behind the moving camera function would be applied in different directions that emulate what is usually done on paper and tape when done in the traditional way. Even for such long cut animations, they use A3 paper or join 2 A4 papers together.
Some examples of what could be useful.
I have a feeling that it is possible to do it in Krita because I know there is another method. But it is somewhat limited at the moment. What we are usually looking for is to be able to replicate these techniques in Krita.
I’m confused, how and why would this be difficult in krita? I’ve seen YouTube videos with relatively creative camera movements. Would any of those be similar to what is being talked about?
I just want clarification about how these two videos are different from what you’re talking about.
I’m not an expert in explaining something but can give it a try.
In the first video you shared, the animator used only two different backgrounds and a mixed color blurry scene while changing the camera angle. The approach is similar in the second video as well. If they had utilized camera motion, it could have resulted in a scene that’s not only 100 times more dynamic but also easier to create, adding depth and fluidity without requiring additional complex background work.
Now let’s explain in depth…
What is 2D camera movement?
2D Camera Movement refers to the simulation of camera motion within a two-dimensional (2D) space, such as in animations, games, or video editing. It gives the illusion of a moving or panning camera, creating dynamic scenes and adding depth to flat, 2D artwork.
Why It’s Used?
Creating Focus: It helps to direct the viewer’s attention to specific parts of the scene, guiding their eyes through the action.
Enhancing Storytelling: By simulating camera movements, you can convey emotions, build tension, or highlight important moments in the narrative.
Adding Depth and Dimension: Although the artwork is in 2D, camera movements can create a pseudo-3D effect, making scenes feel more immersive.
Dynamic Scenes: Static scenes can feel lifeless. Adding camera movements can make the scene feel more alive and engaging.
Simulating Realistic Movements: It mimics the movements of an actual camera, adding a cinematic quality to the animation.
Conclusion
Camera movement helps maintain focus on the main object by keeping it centered in the frame. Additionally, it saves animators time by eliminating the need to create separate frames for each scene or manually move elements to achieve the desired effect. Instead, smooth and dynamic transitions can be achieved through camera motion, enhancing the overall efficiency and fluidity of the animation.
I hope it was helpful to you. And hope you found your answer.
transform layer is way too annoying and clumsy compared to an actual camera. Specially since you can have a square canvas and draw wherever and then have a 16:9 camera that can be moved around without having to mess with anything on the canvas
I saw a bunch of people saying “you can just add a transformation mask and its the same” so I did that.
Reasons why a transform mask can’t replace an actual 2D Camera feature:
It eats your computer alive:
I created a relatively small file, A5 300dpi (~1760px X ~1260px). Its small because it cant deliver a 1920x1080 animation so not ideal. I used that small size to create a small animation 50 frames longs with just 1 layer and ~10 drawings and added a camera movement.
It became really laggy and the playback was skipping frames, I had to render it to actually see the animation and the camera movement. No, my computer is not slow, its not extremely fast either but its more than enough for every other program (ryzen 5 5600x, radeon rx6650xt, 16gb ram, nvme drive).
Can’t change your canvas aspect ratio:
So in the current state of things, the camera IS the canvas. Everything that is on the canvas will be rendered, so if you want, for example, to create a camera pan from top to bottom, you’ll have to create a smaller drawing and after that scale it up to match the camera you want which makes it lose resolution; work on a bigger canvas and then crop it before making the camera movement (which means you cant comfortably make any changes later); or work on 2 separate files, one with the camera size and aspect ratio, one with watever size you need.
This is because when you work with camera movements, the drawings you have MUST be bigger than the camera, which isn’t the best when your camera and canvas are the same thing.
If your camera is a separate thing, you can create a giant canvas and move your camera throught it, having it a different aspect ratio and resolution (which also helps with render times).
Clumsy:
This one is mostly a personal opinion, however transforming your drawings for the camera movement is very clumsy and makes it really uncomfortable to work that way.
When your camera is separate you can move a rectangle, not your whole drawings, which makes it easier to make adjustments.
The technique you mentioned, @Fermoselle, is one option, but we can create something similar to a 2D camera like this:
It may look strange, but you can create a layer on top of others with a rectangle of a similar ratio to your canvas (maybe 19:6) and then use it as a 2D camera like we do in other software (e.g. OpenToonz, Harmony, CSP)…
However, I’m obviously averse to it because it’s impossible to have the same features as a 2D camera.
A video example of how opentoonz (Libre 2D animation program used heavily by studio ghibli) works with its animation camera. It’s also in C++ and also uses Qt, currently on Qt5. It’s under a permissive BSD like licensing. If I could make a suggestion, dig into the code how it works so it can be made of use for krita?
However it works, it’s NOT the same thing as using the transform masks and it’s factually more effective. Transform masks has uses, it shouldn’t be removed, but something similar to what OpenToonz has is vital for krita to do more complex animation.
You can provide an example too, because doing this in traditional methods, likes the images i posted before, its just tapped or joined the papers sometimes, A3 papers they used as well, but the idea for starting from there. Wich its the case.
That button I clicked was the camera animation. You have a drop down option of selecting the layer, the table, or the camera itself to animate. I just didn’t switch from the layer to the camera. Had I done so, the keyframe would have been applied to the camera, not the layer.