I’ve watched 5 different videos on YT, worked with ChatGPT, read the manual, and googled a number of articles. They all have different approaches or refer to things I can’t find on my interface. I made no progress on any of the. You would think the Manual would at least be a starting reference but is the least informative of them all!
A basic description of what I need and what I have done so far:
1-I created a bunch of layers with one stamp image per. After some hair-pulling I was able to get GPT to write a python script to export those as one horizontal tile-strip. That seems to be the format that multiframe brush tips need to be in.
After that, I just can’t make any headway. Import doesn’t have any animation option. Stamp does, but doesn’t seem to ask about the number of tiles! Does it assume the stamps are square and that the height equals the width and divides the horizontal resolution to calculate the number of tiles embedded in the tilestrip? When I try it just stamps the whole strip. Or does Stamp expect me to select a whole series of images and it assumes each image is a stamp? There is a huge hole in information here and animated brushes are extremely useful for making grunge maps but really seem to be under served.
edit: ok, I figured out that using +Stamp in the predefined automatically uses the existing layers, no need to export and reimport.
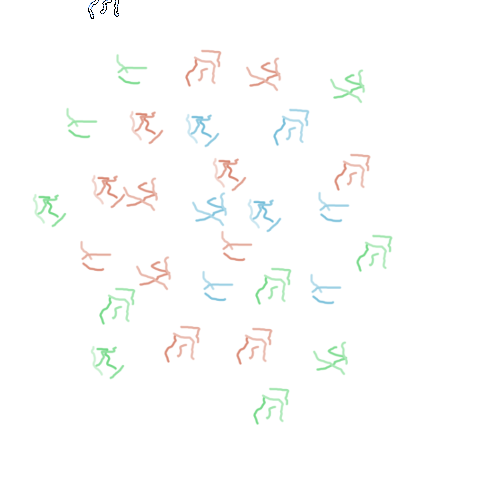
Now I just need some advice about settings. I have a series of shoe scuff images and I want to randomly scatter them around but I don’t plan on doing strokes because that’s too uncontrolled. I just want a different image to stamp with each click, randomly rotated so I can just click in a number of places to add random stamps.
Drop that AI garbage, AI hasn’t done anything good for creating art so far …
Then, this post has the descriptions you need:
And sorry, also Krita’s manual belongs to them, but the GIMP manual describes it better, and for creating GIH brush tips GIMP is better suited than Krita, but Krita does too.
You need to create your single brush tips layer by layer, so each layer will get a brush tip of your GIH-Brush Tip you create, but not any export to whatever your AI-Script made.
After you have the layers with your brush tips, you have to save “this picture” as a GIH file, that will open the dialog in which you define the characteristics of your GIMP Image Hose-Brush Tip. You need to sort your layers beforehand saving them into your GIH-Brush Tip!
Just searched a bit deeper:
Also, this topic (with a lot of similarities) on will help you:
And very helpful will be Krita’s series on creating brushes, the most comprehensive tutorial on making brushes:
So, for now, I have to stop and sleep. If you have further questions after the lecture and watching the videos I gave you, I’ll try to answer them, but I’m a human and don’t know everything.
I just made one. It’s a lot quicker and easier to make one than it is to wrtite about it
GIMP can make a .gih brushtip when the brushtip images are created ‘side by side’ in a strip presented as a single document layer because of the options in its .gih export action. (It can also use multiple individual layers where each layer contains a brushtip image.)
This has the great advantage that you can see each brushtip image separately but at the same time.
Krita only uses the method of one brushtip image on each of multiple layers, So each brushtip image is presented in a multilayer stack and you would have to use right-click → Isolate Active Layer in the layers docker to get a clear view of each brushtip image.
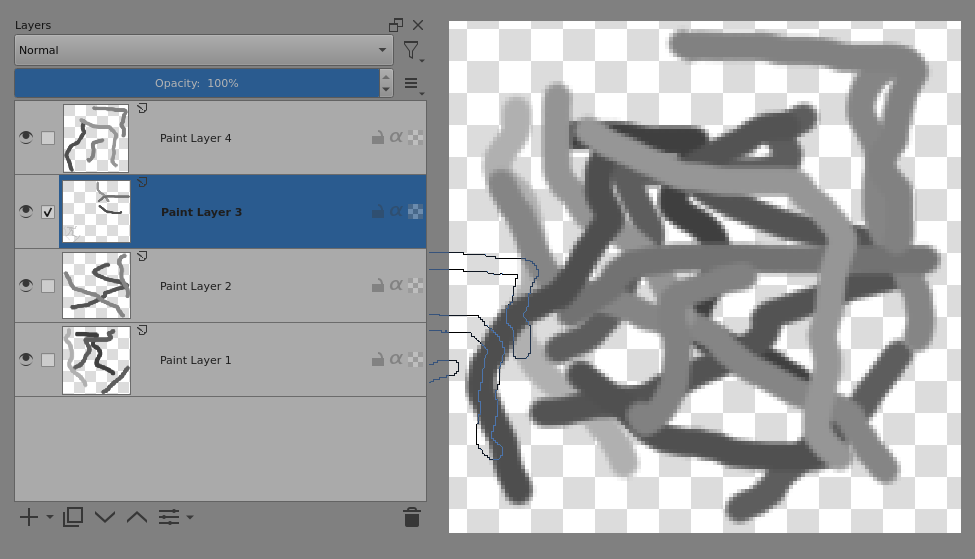
Here are four greyscale brushtip images intended to be made into a .gih file:
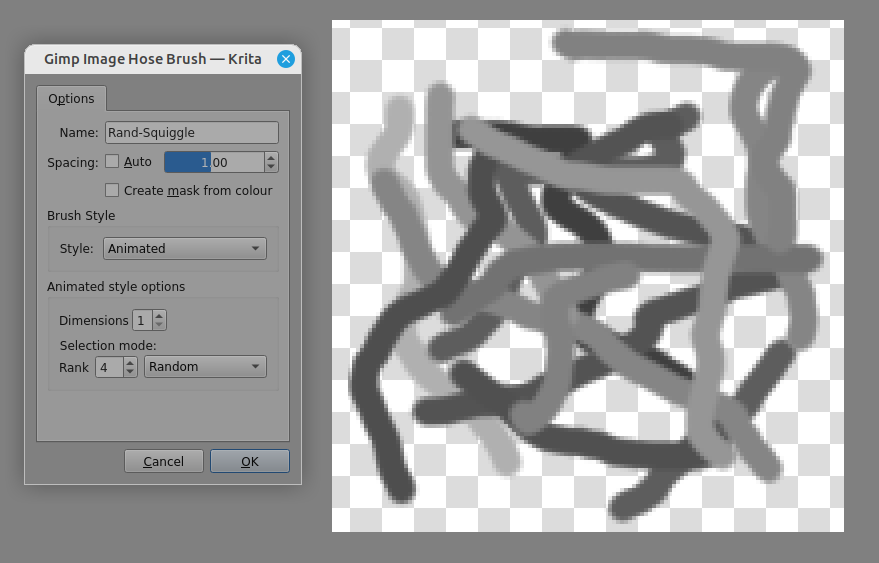
Export as a .gih file:- Animated, Dimensions: 1, Rank: 4, Random
(You can make multi-dimensional brushtips, each dimension being controlled/selected by different control inputs but that should not be tried until you’ve got used to 1-dimensional .gih brushtip documents.)
If you’re using a stylus instead of a mouse, I recommend that you set the spacing in the brush editor to be Auto: 10 because it’s easy to accidentally move the stylus when ‘stamping’ with it and that would give multiple dabs as a short brushstroke which would look bad.
maybe you didn’t see my edit but the manual was actually correct. Just make each stamp on a layer, visible, then in the brush editor select +stamp and save with whatever mode you selected. Whatever is in the active window (if you have more than one doc open) is used. No need for Gimp hosing. Course that is just the animated brush-head but I was able to set the stamping behavior spacing and rotation to my satisfaction.
As for ChatGPT, I use it a lot for various coding. You have to keep a keen eye and baby-sit it like its an idiot-savant stoner. At the time I was following tutorials that walked you through how to turn layers into a tile-strip which was somehow the format you needed to import an animated brushhead and auto-scripting that was an obvious step. Ive got a dozen scripts co-written with AI running Blender renders and even GPU shader code in Godot. But yeah, I would never use it for composition
That’s right, I didn’t see your edit, which was inserted 10 minutes before my post. One reason for this is that I almost exclusively edit with the editor maximized or even in full screen mode.
The other reason is that I woke up in the middle of the night again and, as usual, worked through a few posts. It was around 5:45 a.m. when I started researching and translating my reply, and 6:22 a.m. when I posted it. And then I had to sleep for a few more hours because my eyelids were getting heavier and heavier and kept closing. So I just sent it off and shortly afterward turned over and closed my eyes.
I’ve been working on setting up my new computer, so I’m a bit late to this thread. Not sure if you got what you needed, so will just throw in what I’ve come to understand about animated tips in Krita.
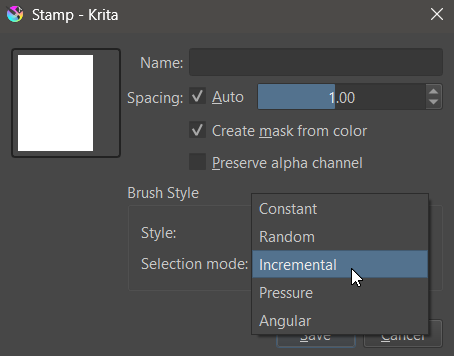
With the animated brush tips, how the images in the layer sequence of the tip are pulled depends on the Selection Mode you chose when you created the tip (see attached). So, if you wanted the tips to be chosen at random, you would have needed to create the tip with a Random Selection Mode.
For the purposes noted in your edited post, I’d recommend using the Pixel Engine.
Rotation (randomly): Turn on the Rotation feature and be sure the Enable Pen Settings option is turned on. Check the Fuzzy Dab option and make sure the rest of the options are un-checked.
At this point, whenever you click you should end up with a randomly chosen image from your animated brush tips layers, and that image should be placed at a random angle. You mentioned scattering, but I think you didn’t want it (for control reasons), right?
 Hello
Hello