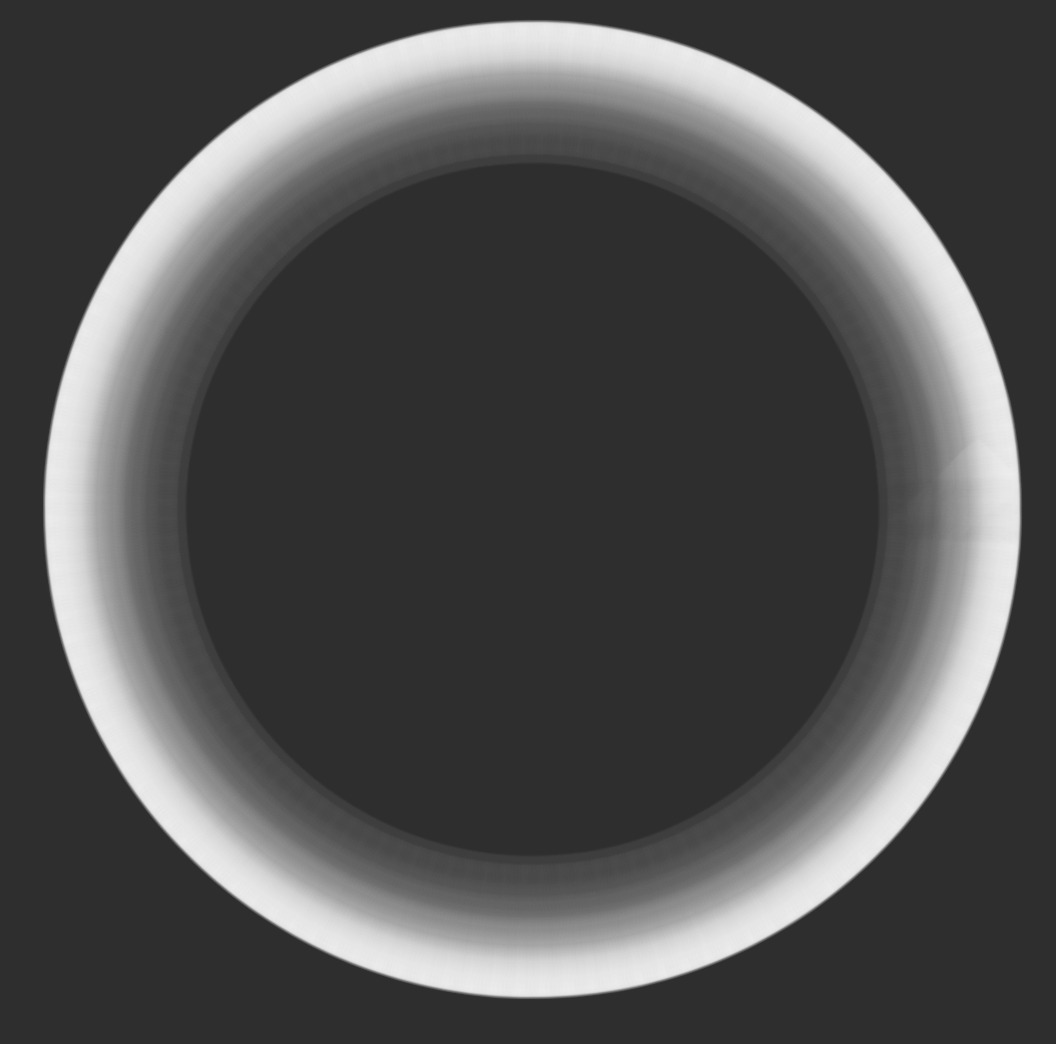
How would you go about drawing this? I honestly don’t know where to start with all that transparency and little spikes at the end of the transparent circle. Any help is appreciated.

1 Like
Maybe with the ellipse tool and a specific brush tip. For example, this is what I get when using the ellipse tool with the Aurora brush from Rakurri’s bundle, with Rotation + Drawing Angle sensor enabled.
1 Like
Which one should I download?
All download links in that thread link to the same bundle.
If you want to use only Krita’s default tools, you can use the Gradient Tool in the Radial Mode.
- Create a circular selection and fill with color
- Select the gradient tool
- In the Tools Options select Shape: Radial
- In the Gradient Tab choose Foreground to Transparency
- Activate the Eraser Mode (default shortcut E) while in the gradient tool
- Drag and apply the gradient to your liking inside the selection
- After: Grow the selection, and fill it with the opaque color
- Apply a blur filter to ‘blend’ the rim color better
That is how I would go about this effect
2 Likes
@embrace_shorty specifies about the softly spiked inners edges of the gradient, which makes me think brush tips are involved somehow, rather than the gradient tool.
Maybe spikes of light-reflections breaking in this kind of soap-bubble? But that is only guessing, perhaps @embrace_shorty can give us more information about what is wanted. It is the old issue, my magic crystal-ball is only a fake, it won’t tell me the thoughts of the OP.
![]()
Michelist
1 Like
I first look at OP image in my second monitor, a cheap LCD monitor connect via VGA (really, analog connection. I’m poor ![]() ). Then I moved the topic to my main monitor. A LED IPS one, and didn’t really see any ‘spike’ in the transparency.
). Then I moved the topic to my main monitor. A LED IPS one, and didn’t really see any ‘spike’ in the transparency.
I then manipulated the image to try and see:
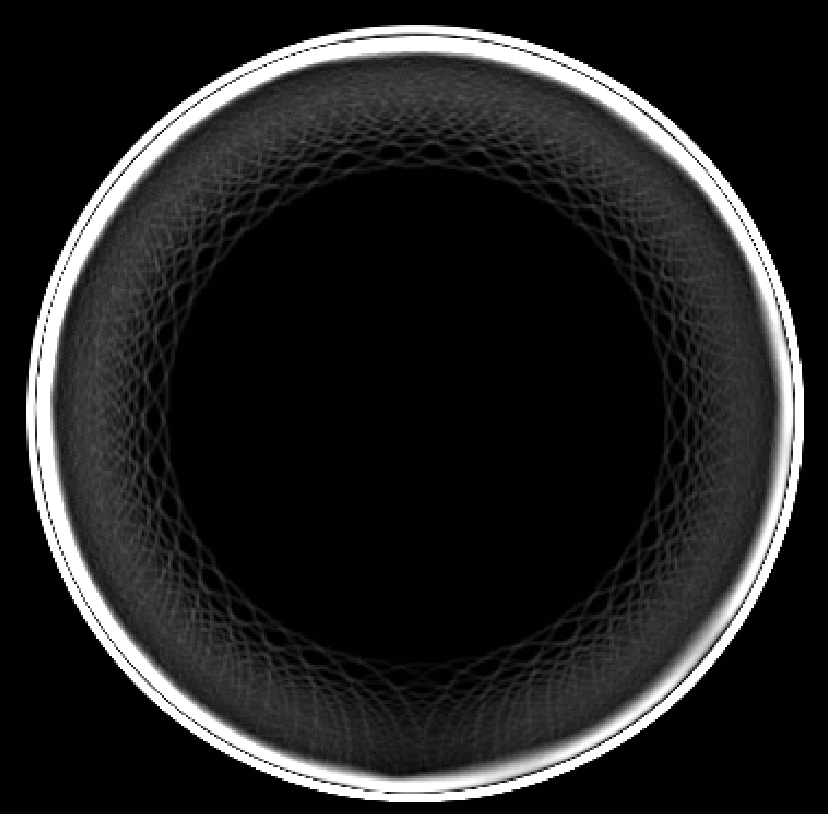
Is everybody seeing this? Am I blind or my monitor isn’t properly adjust? I’m kinda of worried now. ![]()
1 Like
Circle selection, elipse gradient that would probably be inverted then drawing a circle around where the selection was.
Kinda looks like leather
“Spikes” wasn’t the right word, but at the very least it isn’t a perfect gradient.
The original is an 8-bit Greyscale/Alpha white image on transparent background.
After some adjujstment using Levels, there is this detail:

I’m surprised that anybody could see that detail in the original. (Maybe my eyes are too old, maybe my monitor is too old.)
@embrace_shorty The obvious question is, where did you get that image from?
Edit:Add: I forgot to deal with your original question:
It is possible to make a custom brush that could be used to produce that effect, by repeatedly painting around an Assistant circle.
However, at this stage of your knowledge and experience with krita that would be quite advanced and difficult for you.
Unless, perhaps, you do have experience with other digital painting applications and brush making?
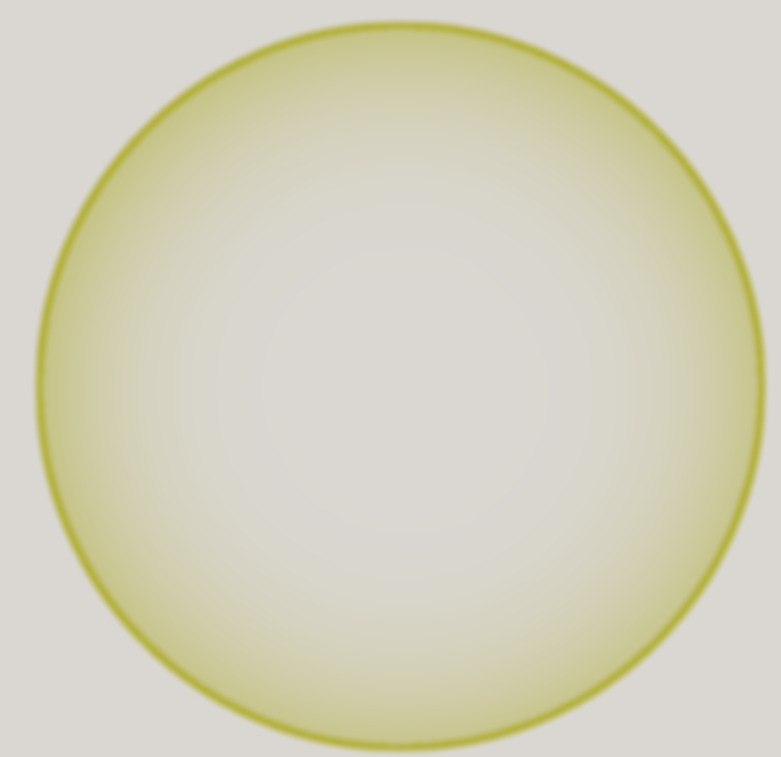
- I created a new file with the same width and height. In my example I used 600 px;
- I painted the background with a dark gray;
- View > Snap To > Snap Image Center;
- I chose a blue color. I created a new vector layer and used the circle shape vector tool, with these settings: Fill - Foreground color - Outline: No Outline.
- I think I used Shift and Ctrl to make the circle come out in proportion (I don’t know, sometimes it doesn’t seem to come out much in the center…)
- Right-click on the layer and choose: Convert > Convert to Paint Layer;
- Duplicate the layer and put Transparency Maks on both. Hide the copy layer for now…
- On the original layer: hold the Ctrl key and click on the circle: it will be selected.
- Go to Select > Edit Selection. Krita will switch to the free transform tool. In her options, choose Scale and click on the current symbol, so that the transformation is the same in Width and Height. Put 96%.
- Go to Select and uncheck Show Global Selection Mask. Now we need to smooth the selection by going to Select > Feather selection. put 6 and press OK.
- In the layers docker, click on the transparency mask. Paint the selection with black: this will create a smooth inner edge.
- Remember the copy layer? make it visible again and lower its opacity to 50%;
- To give the effect, I applied a black radial gradient, on the transparency mask. Unfortunately once will not be enough: I applied maybe six or eight times.

1 Like
I’m kinda confused on step 9. I tried to use ctrl key and select but it said only on vector layers (It was converted to a paint layer.) I ended up using the magic wand and when i went to the free transform tool and I couldn’t find scale anywhere.
In step 8: After the vector layer has been converted to the paint layer, you have to get the Move Tool. Click on the layer, docker and the circle will be selected.
In step 9, when you click on Edit Selection, Krita will switch to a screen similar to the one you are seeing below and with the selection transformation tool activated.
In the tool options you must click on the indicated symbol (1). Select Scale (2) and click on the little chain icon (arrow): so when you type 96 in Width, the same value will be placed in Heght. Click the apply button (3).

oh wow, that worked, thank you.
Nice! ![]()
I forgot to say: I applied a little Gaussian blur on the transparency masks. if you want to refine the effect, you can do the same.
This topic was automatically closed 3 days after the last reply. New replies are no longer allowed.