Hello, everyone!
Today, I am going to show you how to perfectly center an image or shape on your canvas. This has been requested multiple times.
To make the tutorial worthwhile, I am going to show you how to create a bleed for a document.
This can be very useful for some of you. Maybe you have created a business and you want to create business cards.
This tutorial will show you how to create a bleed for your document and how to make sure that it is perfectly centered on the canvas.
In brief, today you will learn:
- How to perfectly center a shape or image on your canvas
- How to view the rulers and change their units of measurement
- How to create guides
- How to view or hides guides
- Finally, how to create a shortcut to view or hide your guides
Chapters:
00:00 Introduction
00:09 Let’s get started: showing you how to create a business card canvas that will include a bleed.
01:56 How to create a bleed
04:05 How to center our bleed (shape) perfectly on the canvas
06:53 Bonus! How to create a shortcut to hide or view the guides
08:26 Conclusion
Hope this helps. Have a great week.
Cheers.
https://youtu.be/sAD9t_LRfHE
7 Likes
Hi @CelticCoco and thank you for another well made video tutorial.
There are a couple of points I’d like to mention about this.
If you have View → Snap to → Snap Image Centre enabled, the centre of the rectangle will snap to the horizontal and vertical centre of the canvas. You can see this and almost feel it happening as you move it around near the centre.
Also, for vectors, there is the Arrange docker which will align a single selected shape and can adjust the distribution and spacing of multiple selected shapes.
Here, the business card vector rectangle has been horizontally and vertically centred by clicking the Horizontally Centre icon and then the Vertically Centre icon:
I’ll look forward to your next tutorial 
5 Likes
Well, there are several ways to do the same thing. I usually do like this:
-
Using this card example, I would create the file to the exact size (without considering the bleed);
-
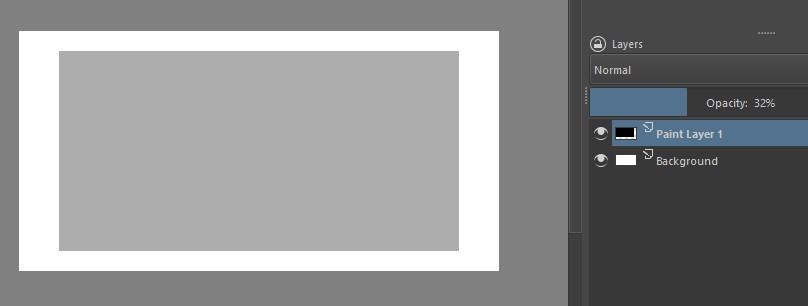
I create a new layer and fill it all with a visible solid color. It can even be black, if necessary just reduce the opacity…
-
I hide the new layer and click on the background. I go to Image > Resize Canvas and there I put the bleeding.
-
The filled layer serves as a basis for me to visualize the limits of the art.
It’s kind of a weird way, but it works for me… anyway, the tutorial tip was great, thanks, I’ll give it a try.
3 Likes
Thanks , Guerreiro64! I appreciate your feedback. I, also learn as I go, and it is so wonderful that other artists in this community share their ideas, tips, and knowledge. THANK YOU!!! 

1 Like
You are my angel! Thank you!!! I will add an update to another video soon and make sure to share your answer with my viewers. I have been redirecting my viewers to the forum a lot and to your responses. You are becoming famous. LOL. Cheers. 
3 Likes
Well…
@AhabGreybeard: the docker it is, indeed. Simple and efficient.
I wish it would work for other layers as well.
I didn’t know about the “snap image Center” option, that’s a great tip, thanks!
1 Like
There have been suggestions and discussions about having something like that for raster layers so you’re not the only one wishing for it and it’s ‘on the radar’.
The various snap options are very useful but if you have too many enabled then it gets confusing.