INTRO?
Back in May 2020 I made a V.2 of a vector library I made in 2019. So its been out there sometime now but I haven’t really shared it here. It was originally for personal use as a complement to David Revoy Pepper and carrot speech bubbles.
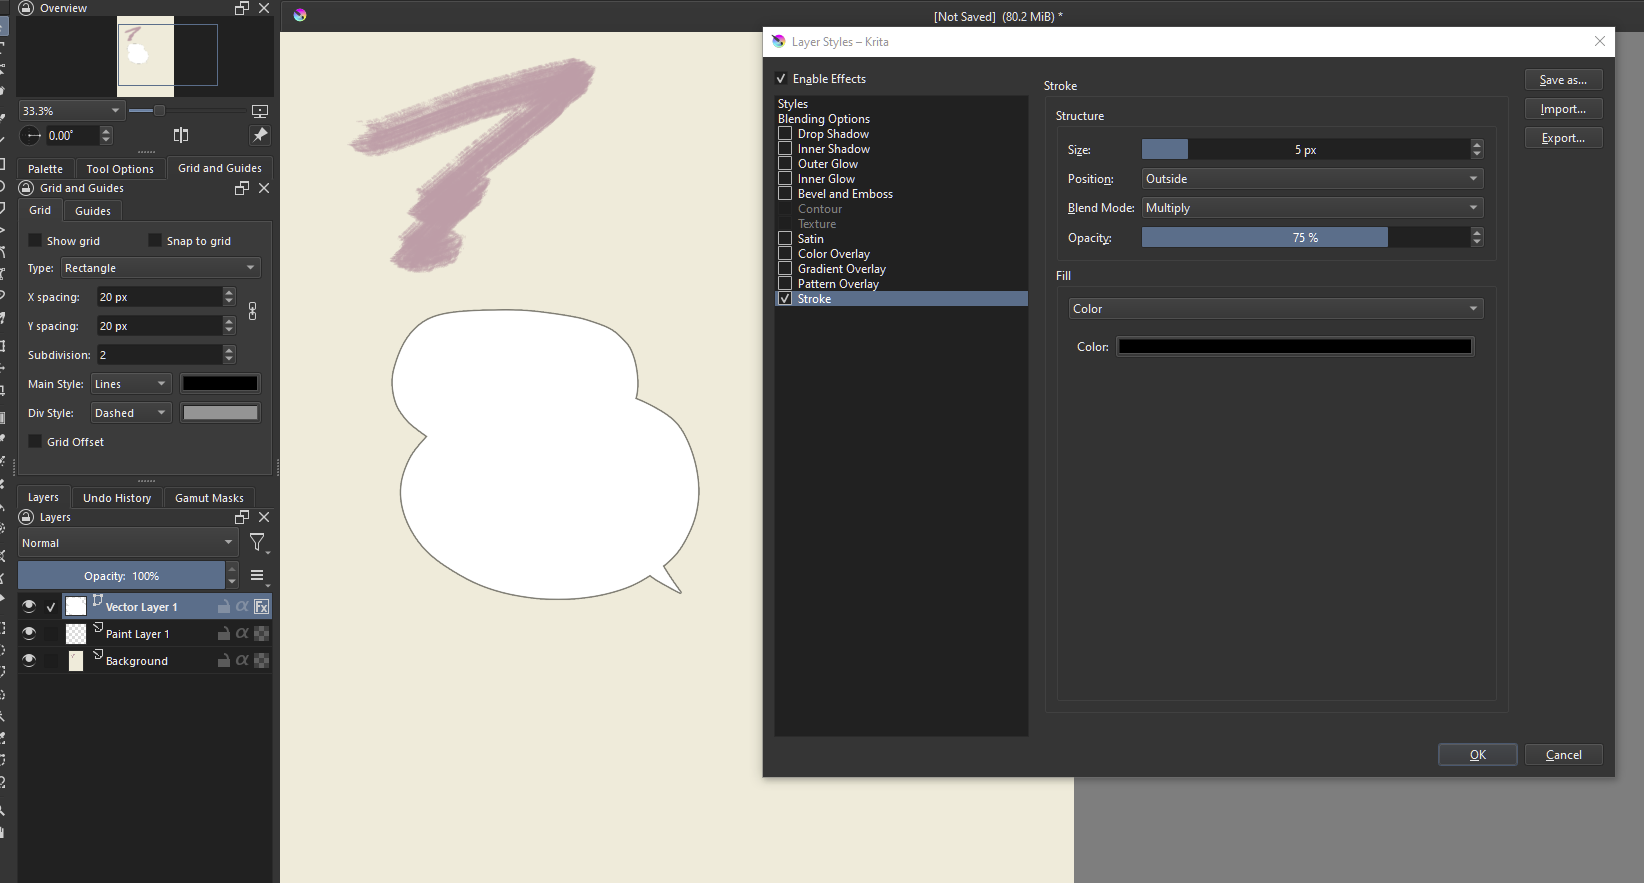
It just that this set has more manga style flair. I drew them in Krita, vectorized in inkscape [Yayy FOSS!]
Sharing it to anyone who want more premade speech bubble options to complement to the default set.
The Set
What do you get?
3 sets of different speech bubbles, shout and thought bubbles, tails and connectors.
6 SVG files.
2 version for each set [ one white only, and one with black outline]
A total of 92 speech bubble, 15 thought/cloud bubbles, 32 burst/shout bubbles,
42 thought bubble tails , 34 connectors, 106 speech bubble tails.
NOTICE:
This is a MIX and MATCH style set.
Tails and Connectors are separate to the bubbles. So you kinda drop the bubbles choose a tail if you need. So one can get more variety and combinations.

How to install?
Unzip the file.
On Settings Menu > go to Manage Resources > Click Open Resource Folder
Look for symbols folder, paste the svg file inside this folder.
Close Krita and re-open it again.
Open your vector library docker, on the drop down box the symbol library name should show.
It should show KCH Speech Bubbles …
How to use it?
Here’s a painfully executed tutorial - because i’m scared to speak.

A text version:
If you only want to use a bubble:
Simply drag and drop it to the canvas, you can then proceed to rotate, resize it.
To recolor:
Select the shape you drop and ungroup it [only once]
Then select which one you want to recolor the front face or the outline, then change the fill color in the vector tools option.
To mix and match with tail and connector:
If it has outline;
Select the shape you drop and ungroup it [only once]
Select a desired tail or connector, drag and drop it near or on top of the bubble shape.
Right click it and choose lower (ctrl+alt+[). Reposition as desired.
No outline version;
Choose a tail or connector, drag and drop it onto the canvas.
Reposition as desired.
Optional Step;
Select the shapes and regroup.
Now your speech bubble is ready to go - you can place text on top of it.
That’s it , I guess.
I hope this is useful for those in the comics/manga drawing part of krita.