after eating I will do what you want but I still find it pointless overall.
I spend more time to respond than to implement it.
2 Likes
You should be able to have the circles antialiased. How are you drawing them?
1 Like
@Renderluz - hue shine
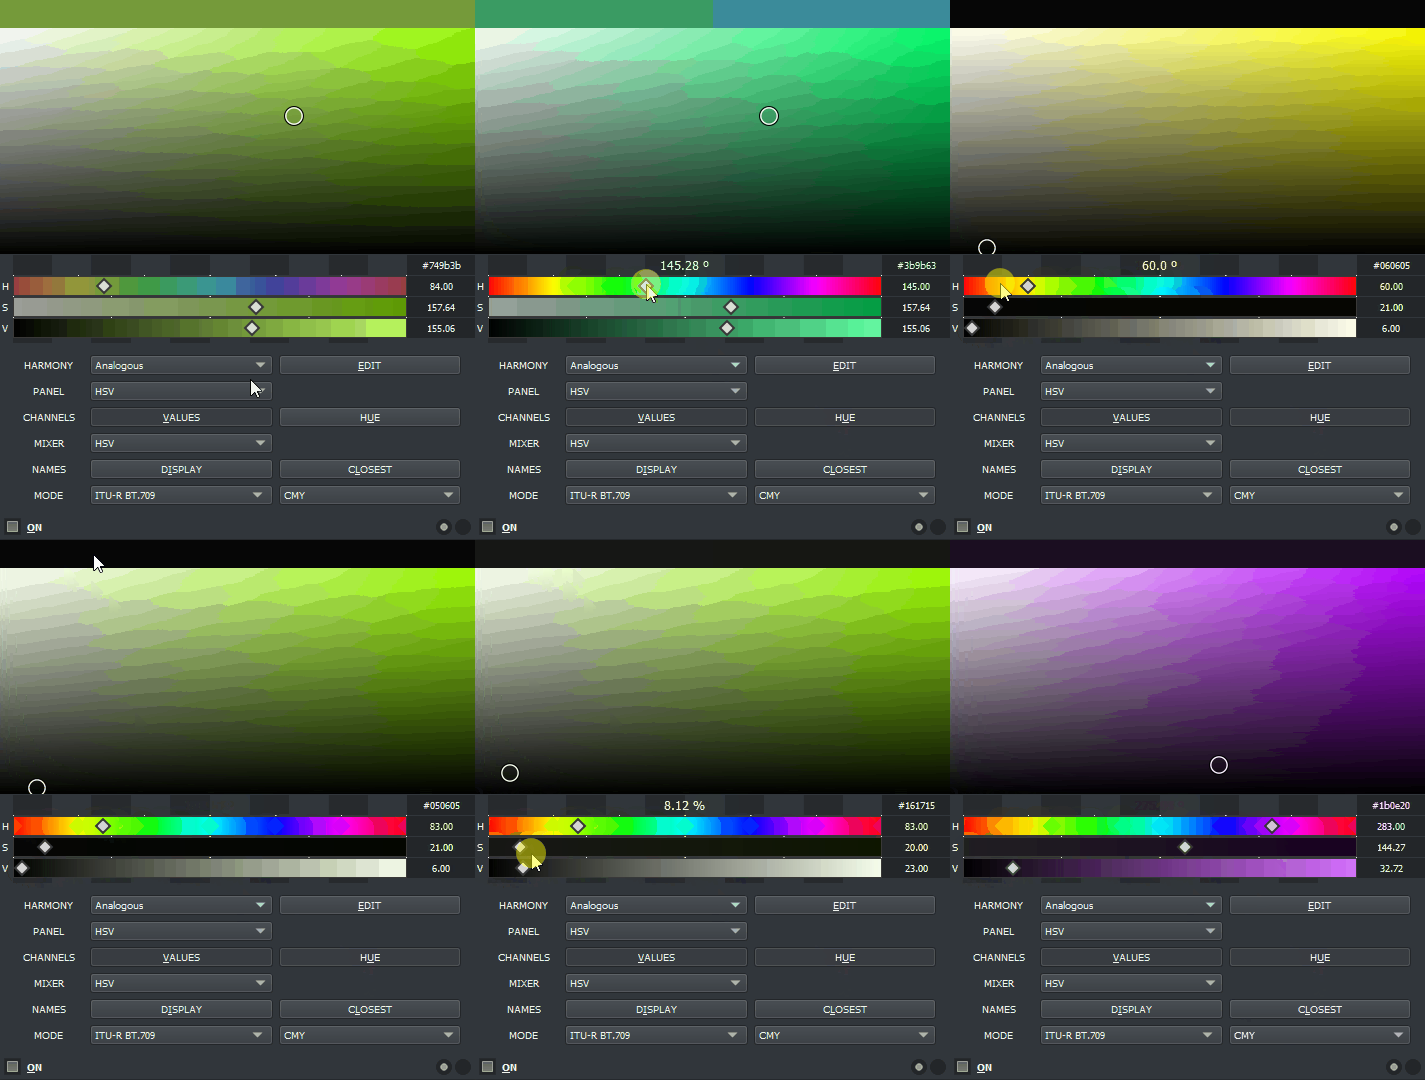
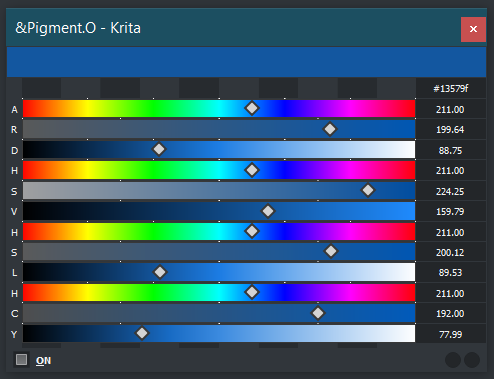
@Deif_Lou - For the outter edge I mask the widget by doing :
self.layout.panel_hue_circle_mask.setGeometry(0,0,self.layout.panel_hue_box.width(),self.layout.panel_hue_box.height())
            hue_circle = QRegion(0,0, self.layout.panel_hue_circle_mask.width(),self.layout.panel_hue_circle_mask.height(), QRegion.Ellipse)
            self.layout.panel_hue_circle_mask.setMask(hue_circle)
While inside the masked area I do:
        # Start Qpainter
        painter = QPainter(self)
        painter.begin(self)
        painter.setRenderHint(QtGui.QPainter.Antialiasing, True)
        # Regions
        region0 = QRegion(0,0, self.panel_width,self.panel_height) # Everything
        value1a = 0.068
        value1b = 1 - (2*value1a)
        region1 = QRegion(self.panel_width*value1a,self.panel_height*value1a, self.panel_width*value1b,self.panel_height*value1b, QRegion.Ellipse) # Inner Most Region
        value2a = 0.03
        value2b = 1 - (2*value2a)
        region2 = QRegion(self.panel_width*value2a,self.panel_height*value2a, self.panel_width*value2b,self.panel_height*value2b, QRegion.Ellipse) # Outter Most Region
        value3a = 0.35
        value3b = 1 - (2*value3a)
        region3 = QRegion(self.panel_width*value3a,self.panel_height*value3a, self.panel_width*value3b,self.panel_height*value3b, QRegion.Ellipse)
        # Dark Border
        painter.setPen(QtCore.Qt.NoPen)
        painter.setBrush(QBrush(QColor(self.gray_natural)))
        region01 = region0.subtracted(region1)
        painter.setClipRegion(region01)
        painter.drawRect(0,0, self.panel_width,self.panel_height)
        # Line Gray
        painter.setPen(QPen(QColor(self.gray_contrast), 5, Qt.SolidLine, Qt.SquareCap, Qt.MiterJoin))
        region23 = region2.subtracted(region3)
        painter.setClipRegion(region23)
        painter.drawLine(self.circle_x,self.circle_y, self.panel_width*0.5,self.panel_height*0.5)
        # Hue Gradient
        if self.wheel == "CMY":
            painter.setPen(QtCore.Qt.NoPen)
            hue = QConicalGradient(QPoint(self.panel_width/2, self.panel_height/2), 180)
            hue.setColorAt(0.000, QColor(255, 0, 0)) # RED
            hue.setColorAt(0.166, QColor(255, 0, 255)) # MAGENTA
            hue.setColorAt(0.333, QColor(0, 0, 255)) # BLUE
            hue.setColorAt(0.500, QColor(0, 255, 255)) # CYAN
            hue.setColorAt(0.666, QColor(0, 255, 0)) # GREEN
            hue.setColorAt(0.833, QColor(255, 255, 0)) # YELLOW
            hue.setColorAt(1.000, QColor(255, 0, 0)) # RED
        if self.wheel == "RYB":
            painter.setPen(QtCore.Qt.NoPen)
            hue = QConicalGradient(QPoint(self.panel_width/2, self.panel_height/2), 210)
            hue.setColorAt(0.000, QColor(255, 0, 0)) # RED
            hue.setColorAt(0.083, QColor(255, 0, 255)) # MAGENTA
            hue.setColorAt(0.236, QColor(0, 0, 255)) # BLUE
            hue.setColorAt(0.394, QColor(0, 255, 255)) # CYAN
            hue.setColorAt(0.541, QColor(0, 255, 0)) # GREEN
            hue.setColorAt(0.661, QColor(255, 255, 0)) # YELLOW
            hue.setColorAt(0.833, QColor(255, 127, 0)) # ORANGE
            hue.setColorAt(1.000, QColor(255, 0, 0)) # RED
        painter.setBrush(QBrush(hue))
        region04 = region0.subtracted(region2)
        painter.setClipRegion(region04)
        painter.drawRect(0,0, self.panel_width,self.panel_height)
        # Line Dark over Hue
        painter.setPen(QPen(QColor(self.gray_natural), 5, Qt.SolidLine, Qt.SquareCap, Qt.MiterJoin))
        region04 = region0.subtracted(region2)
        painter.setClipRegion(region04)
        painter.drawLine(self.circle_x,self.circle_y, self.panel_width*0.5,self.panel_height*0.5)
        # Finish QPainter
        painter.end()
2 Likes
You don’t need to use QRegions.
The way to do this is:
- don’t mask the widget, it can be expensive
- in the paint method:
- fill the widget with a background color
- draw anything that should be behind the hue circle
- create a path with QPainterPath that consists of the 2 circles, outter and inner
QPainterPath wheelPath: wheelPath.addEllipse(QPointF(centerX, centerY), outerRadius, outerRadius); wheelPath.addEllipse(QPointF(centerX, centerY), innetRadius, innetRadius); - draw the gradient as you did, using the path as the primitive, you can use any pen for the border, and set antialiasing in the painter if you want:
QConicalGradient gradient(centerX, centerY, angle); // set colors of gradient painter.setPen(QPen(QColor(0, 0, 0, 128), 1)); painter.setBrush(QBrush(gradient)); painter.drawPath(wheelPath); - in the mouse event handlers: I don’t remember if the mask prevents the events from being fired if the point is outside of it. If that’s the case you have to filter the events yourself, for example, for the wheel, you can see if the mouse position is inside a certain radius range from the center of the wheel.
2 Likes
The masking I feel is a better choice because it is more reliable in terms of where the edges are. If you do by radius you will have a fuzzy edge of 2 to 3 pixels that are very noticeable on diagonals. That mask is pixelated but does a clean input region regardless of widget scalling. I would consider it more if I did not scale everything down to zero or had a fixed size. Also it cleans all paint excesses as inputs but because of it placing a circle inside it and near the edge is not wise when scalling down either, as the bigger pixels will dent the edge ultimately.
Design wise I feel like I arrived at a good balance regardless and I like it. Although pixelated it works and that for me has more worth than prettyness and for that I am not too worryed about changing it.
Another reason not to change design is the color wheel swap that I will be introducing next version, that I have been trying to get right ever since I did the harmonies. By not changing the saturation and hue you can visually see which wheel you have selected without looking at the options or be forced to change the color. This all ties into color theory and the upcoming presence of CMY compared to the ussual RYB in the analog world.
I will try and replace the inner regions for paths to see it helps performance more. But I need to test it regions do the same edge as the mask so things line up when I crop paint elements. I feel it will be too perfect or not crop i really need to see it in comparison. I will test everything though.
1 Like
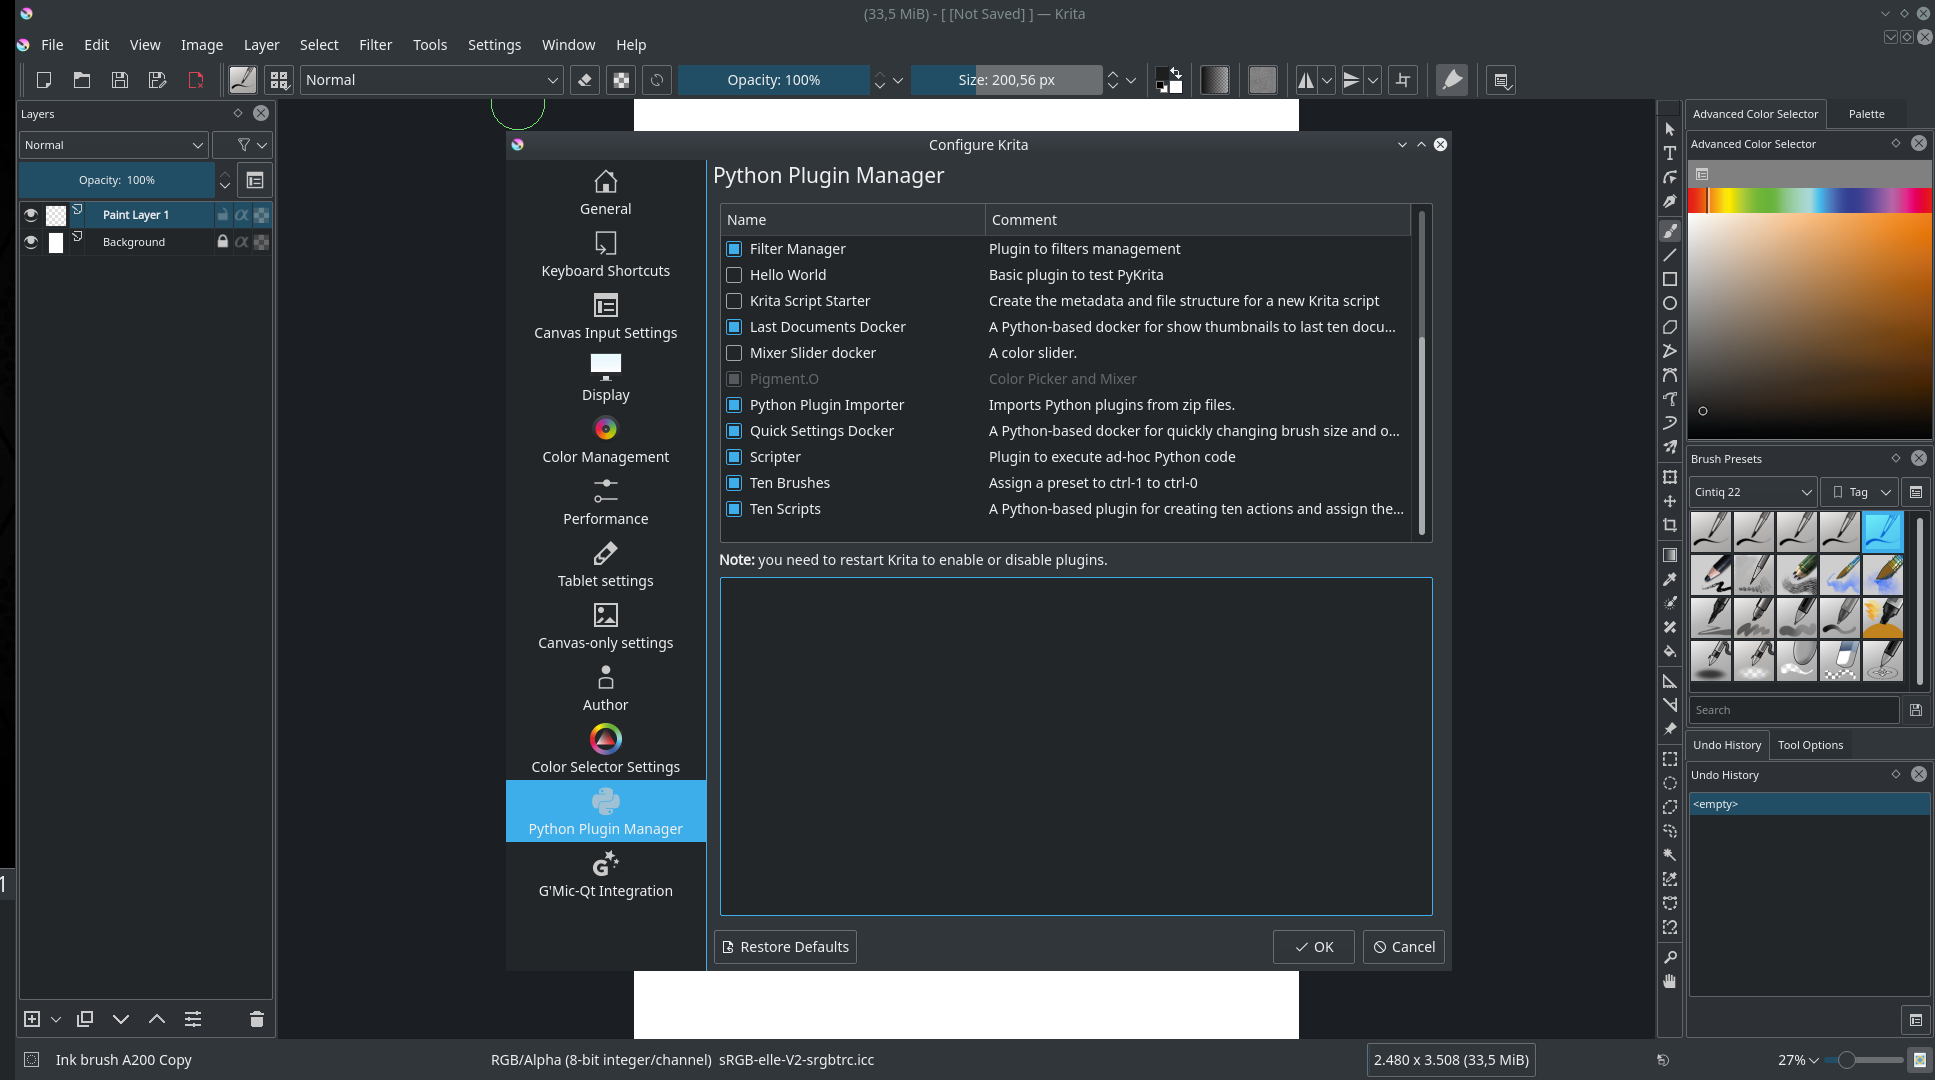
Hello @EyeOdin
I tried to install the Plugin, but unfortunately, it no way to enable. Any sugestion would be great
iam am on Linux KDENeon
Cheers
1 Like
@alexsabo
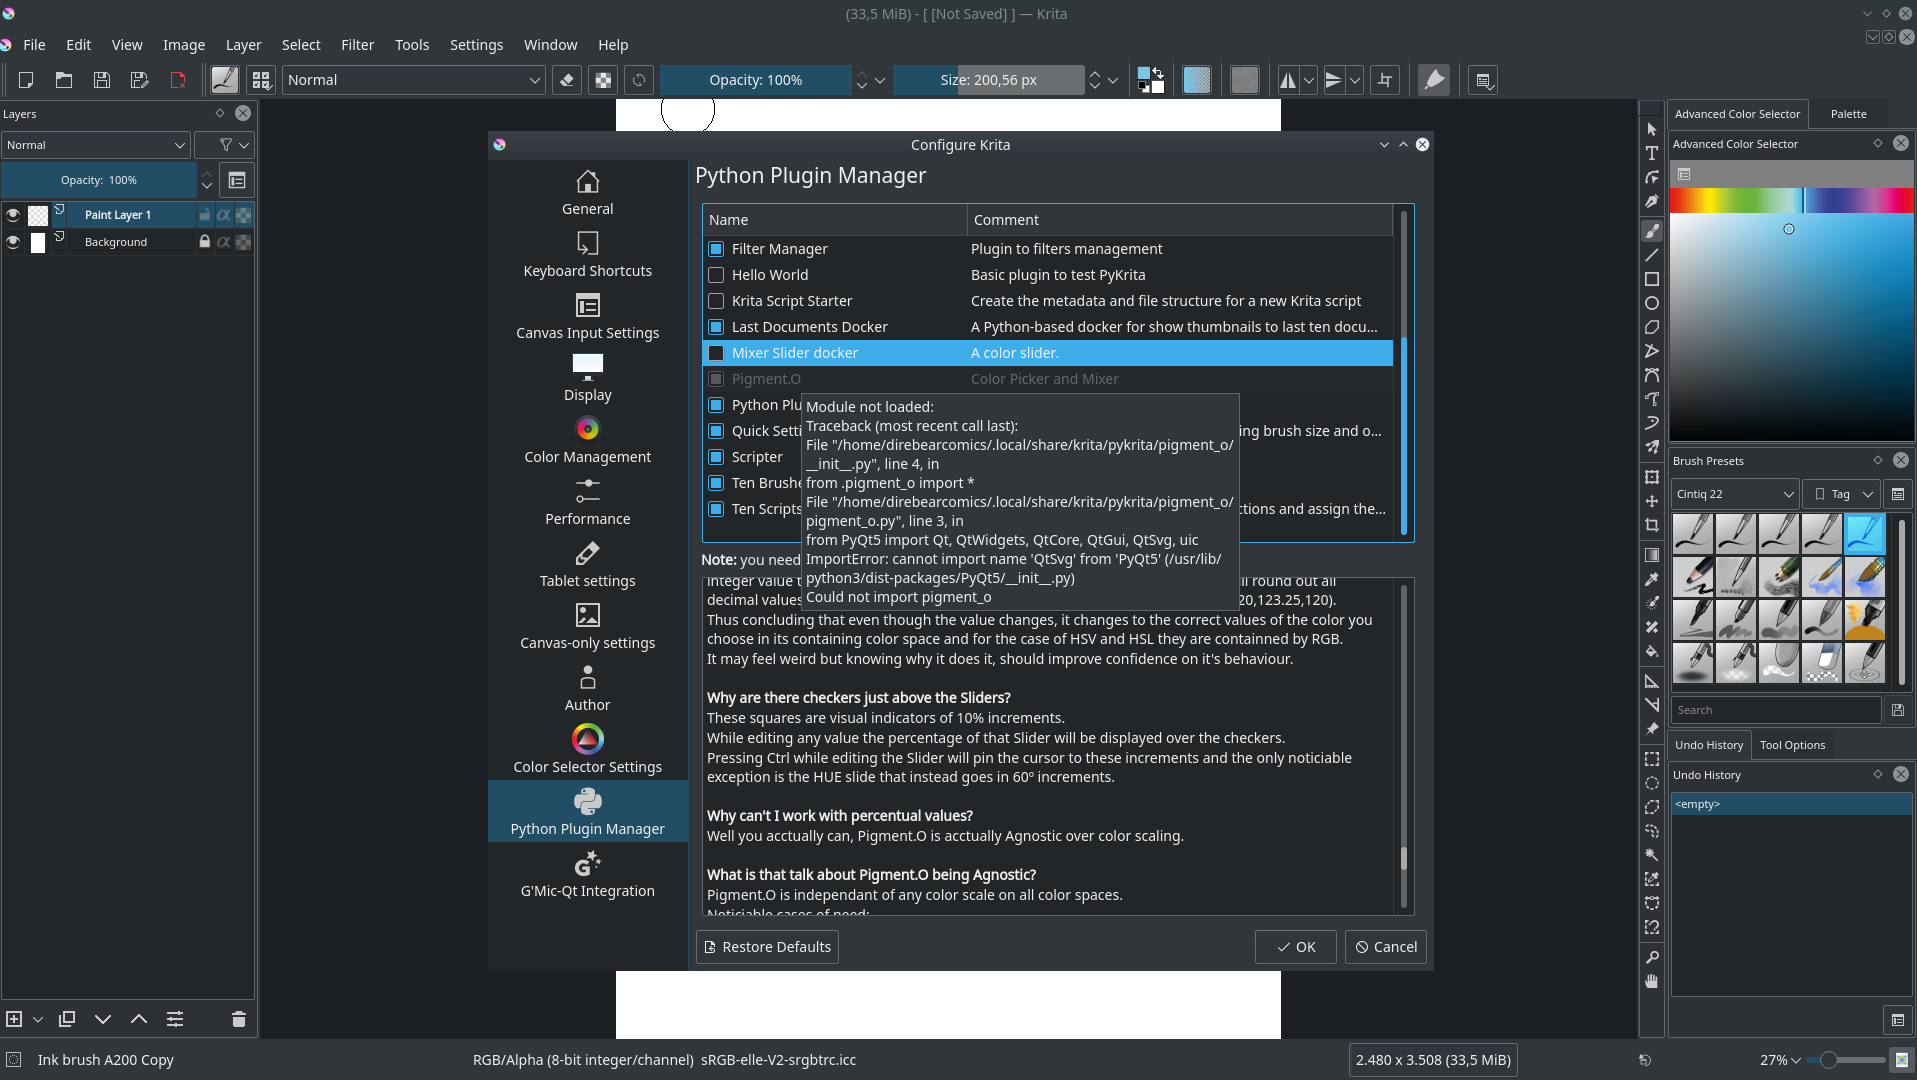
move your mouse and hover it over the greyed out pigment.o entry until the tooltip appears on screen.
take me a screen shoot of that tooltip please.
1 Like
@alexsabo
That version of Linux does not have “PyQt5-QtSvg” you need to install it on your system.
I have requested this to be included with krita before but I donno if something happen, seems not yet.
On the manual, the frequently asked questions section mentions this also.
After the install you should be good.
1 Like
Thank you @EyeOdin. Works now.
Great work! I have to explore a little bit. 
Cheers
Alex
2 Likes
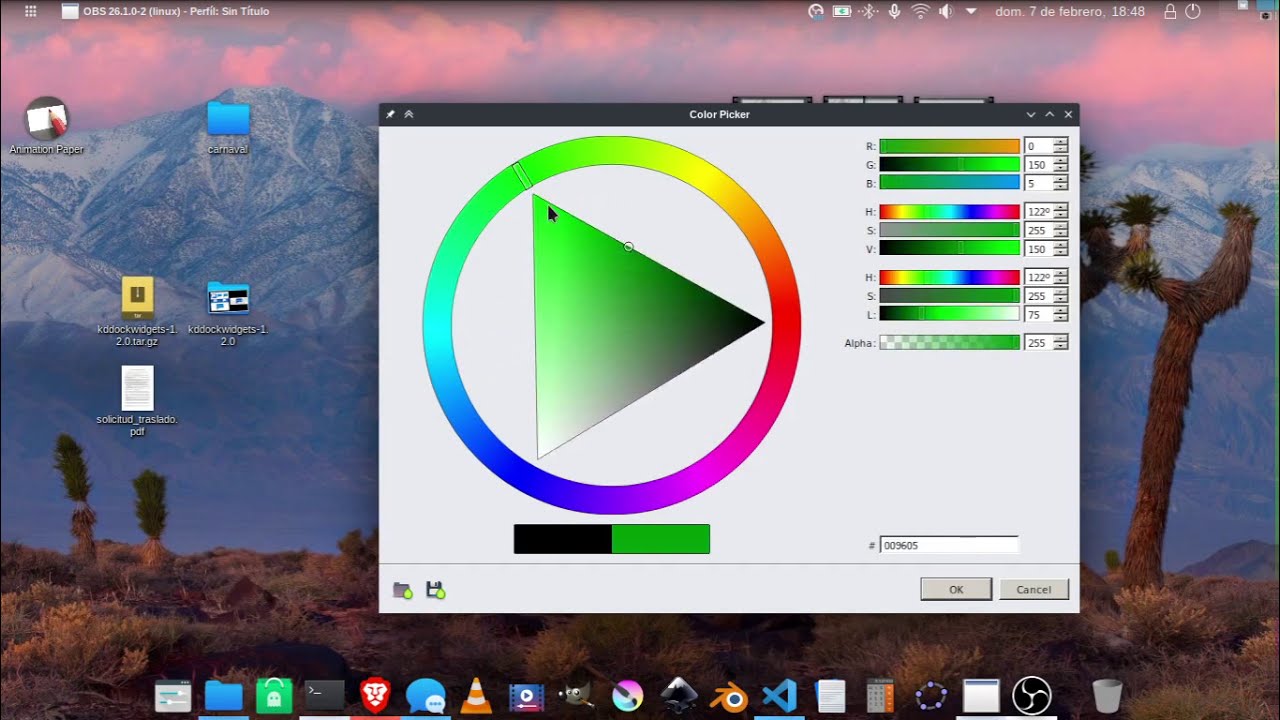
Just in case you want to reconsider the approach, I let a video of a color picker I did with the method I mentioned (the slow down when changing the window size is because it is running in wine):
3 Likes
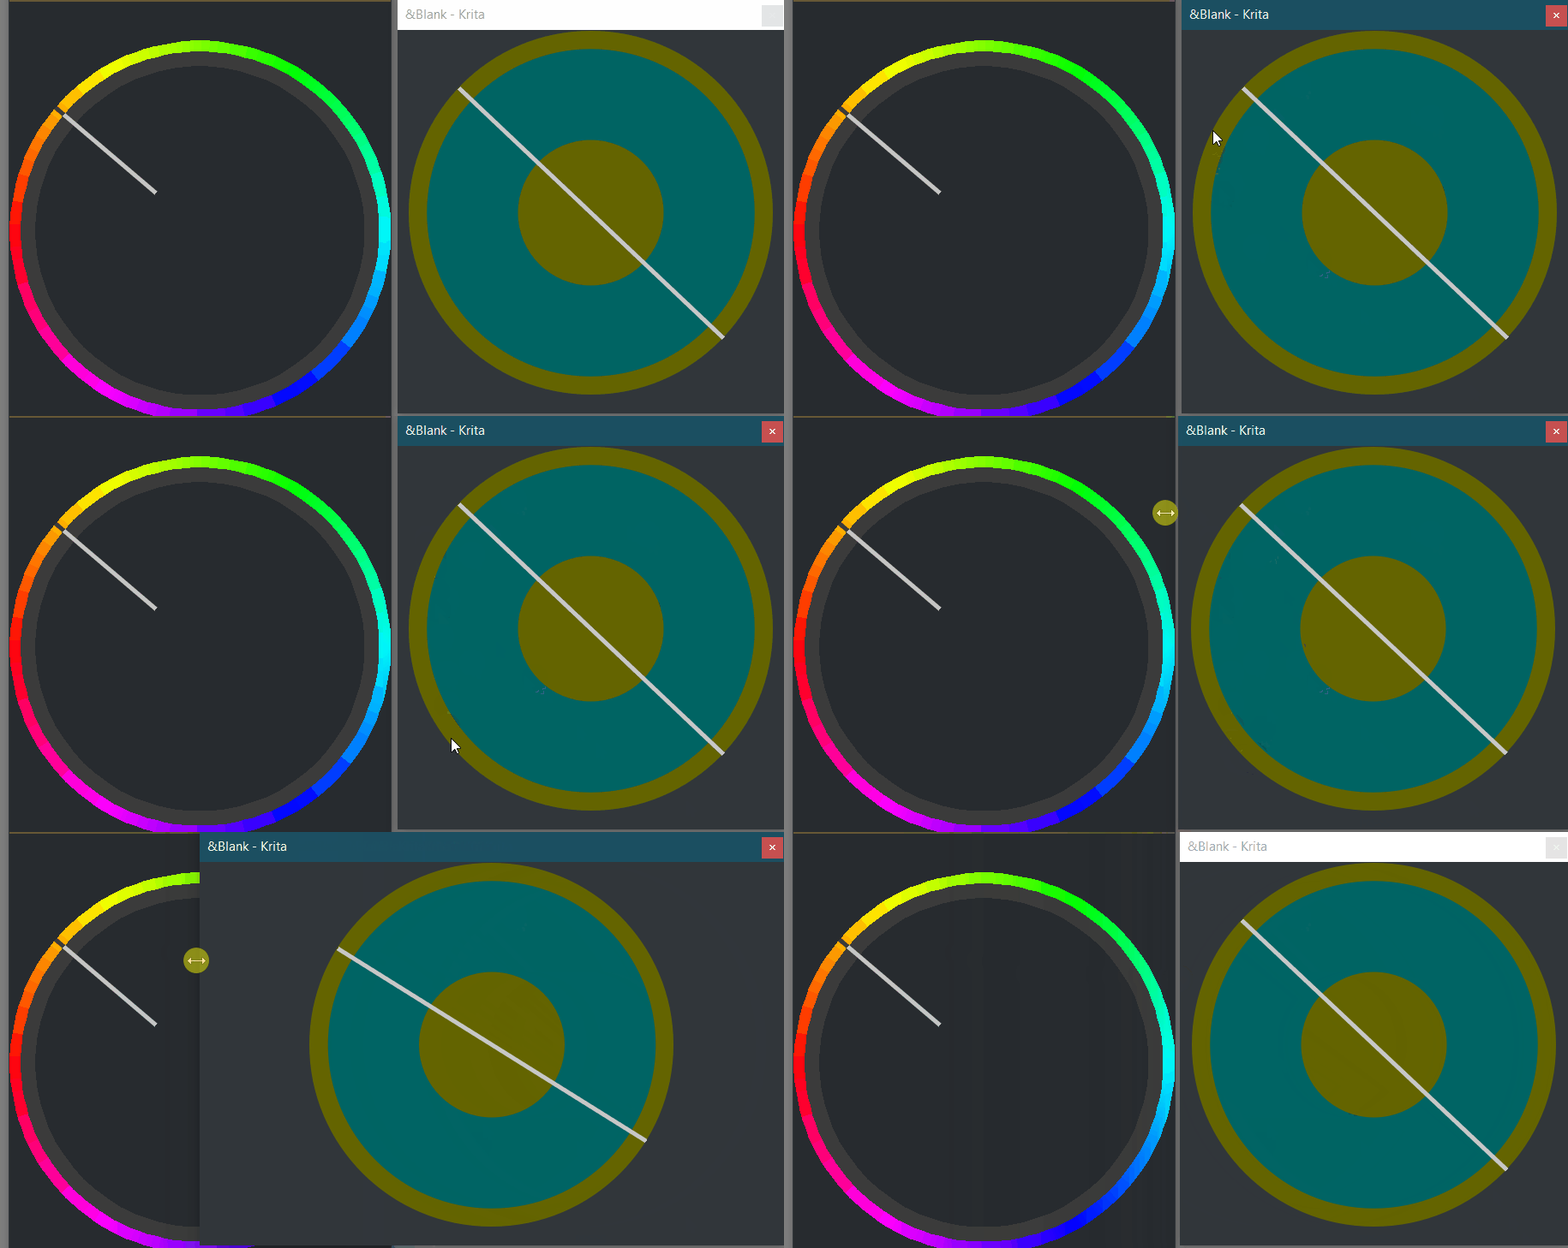
I made a new widget to test it out what you told me to do without any dependencies around and it is much smoother as you said.
Also it is scaling a lot better with the path which makes the math work well with the better visual cue.
but I was not able to get rid of the QRegion command fully I needed it to crop the lines still.
comparisson
code:
    # Line
    region = QRegion(
        self.width*0.5-self.side*0.5, self.height*0.5-self.side*0.5,
        self.side, self.side,
        QRegion.Ellipse)
    painter.setClipRegion(region)
    painter.setPen(QPen(QColor(200,200,200), 5, Qt.SolidLine, Qt.SquareCap, Qt.MiterJoin))
    lines = QPainterPath()
    lines.moveTo(0, 0)
    lines.lineTo(self.width, self.height)
    painter.drawPath(lines)
is there a way to do this without the QRegion?
by the results of this alone I will remake it.
1 Like
You can clip with a path also. You have to use setClipPath. With the path the shapes that are clipped should be automatically antialiased where they are cut.
2 Likes
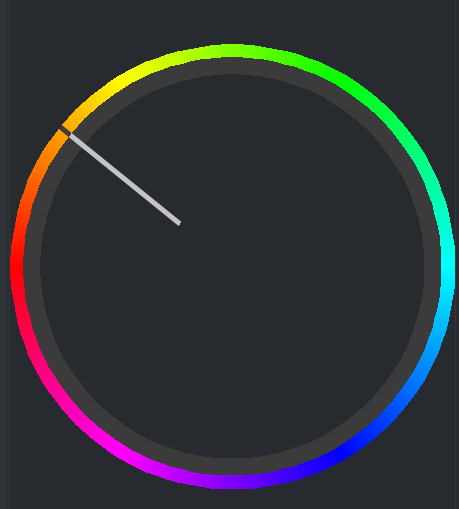
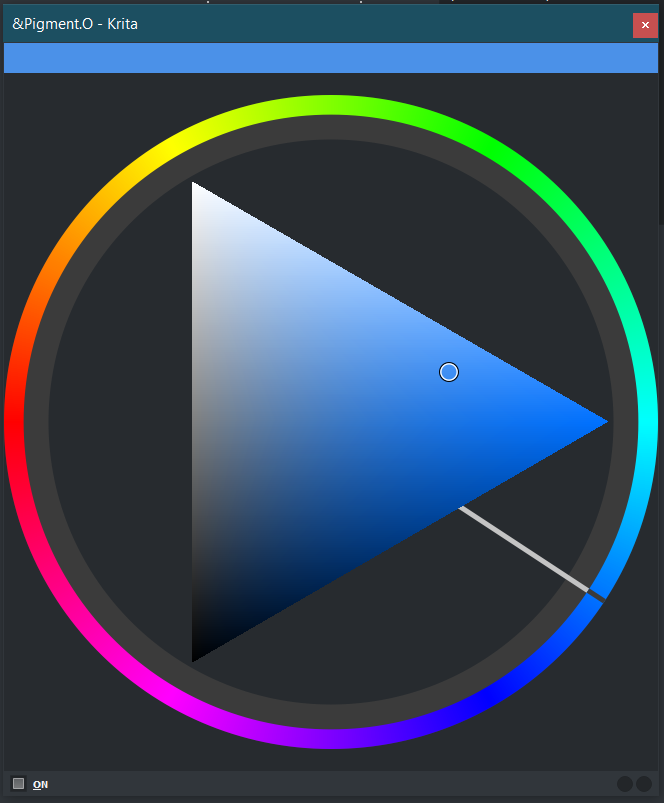
Looks nicer. You can also try to make the triangle antialiased and it would look perfect.
1 Like
it looks better with this method, on my 2k monitor it look very aliased 
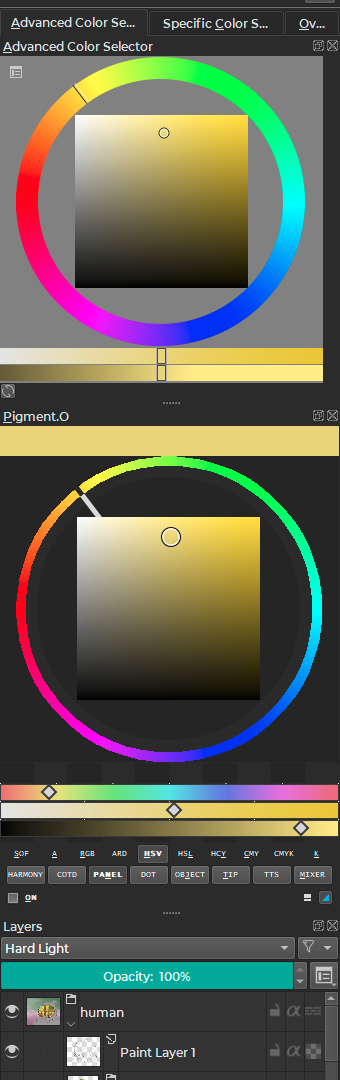
Juste a suggestion, and i don’t know if it’s possible in python, but as we can now choose font and font size for the iu, maybe using this setting in the plugin would be a good idea, it will feel more integrated… i said that because on my screen, the plugin look very different from the overall ui (and very “small”)
1 Like
@Deif_Lou
Okays I will do that. Also on that train of thought I will path the masks of other panels of the same sort.
@Mako_Matt
My initial idea was for it to be as screen compact as possible and because of that I set the font size to a really small one. But it has grown way to bloated with options for it to be compact anymore. After I got a complain about it not long ago from @Reptorian I did a cleanup to ensure it uses krita font and font size at all times. That it is why it is very unaligned now but with it you should be getting the right size. Pigmento font size is different from your Krita font size? If it is can you send me a screen shot? To see where. Also are you on windows or linux? So o can test it.
1 Like
i’m on Windows 10, i don’t know if it’s the same as krita fonts and size, because everything is really small and aliased compared to other docker, that’s why i stopped using the plugin. Here is a screenshot
2 Likes
I can see where, I must say the font difference does not seem as problematic as I was imagining it. But I think I did correct that already.
Do you want to test my WIP version for it but on your screen? I work on windows too but my monitor has a different scalling so my perspective is quite different, the font size for me is very legible.
It should not give any crashes if it does not work it will just ignore input mostly.
1 Like
sure, share a link i’ll test it
1 Like