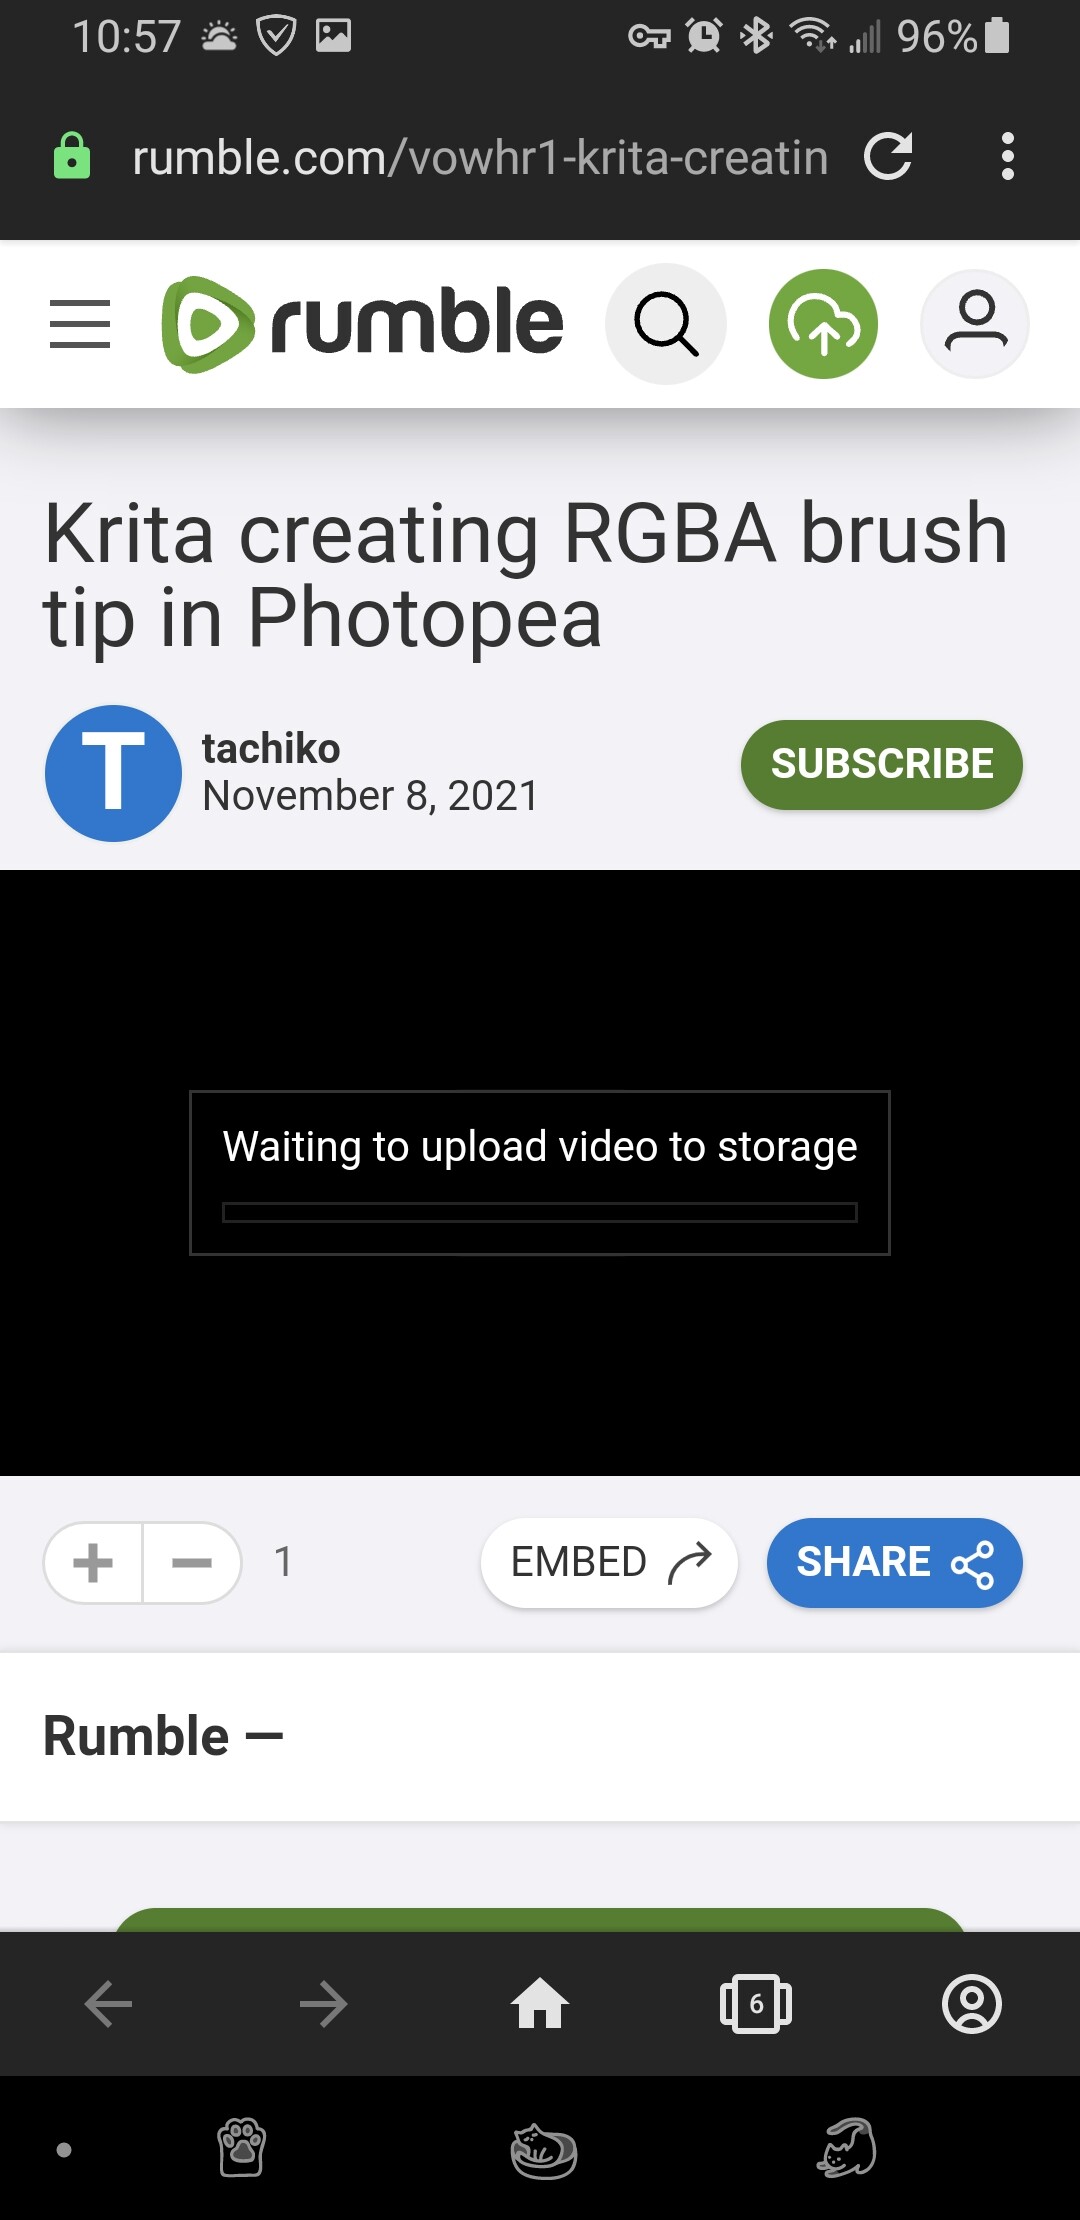
@tiar asked me to create a separate thread to make it more visible, so here it is
I’ve made a tutorial on how to create RGBA brushes in krita on the go, without really stopping your painting. I highly recommend to try to come up with some ideas for it, as the new possibilities are really amazing.
Buig thanks to everybody who participated in creating this feature - can’t wait for more
Fantastic tutorial, wojtryb! Well crafted and clearly explained!
For some reason I have never thought about importing the brush tip straight from the current document, I have always gone trough the hassle of creating a new document That will save lots of time when testing!
(Also, lovely sight at hehe 1:11-1:12 Super cool to see those brushes in such a great tutorial)
Thank you for such kind words sometimes I use different document too, to store those brushtips in a form easier to edit. But for instant idea and proof of concept, this is a bit faster
Oh yeah, I download quite a lot of brushpacks to pick one or two for further editing and for available brushtips (gonna catch 'em all)
I guess I still haven’t checked the updated version. Will have to get it someday
No, the whole concept of brush engine is that it’s basically a separate program, that paints strokes. You need to recreate it from scratch, as there are other options to choose from.
But once you create a brush tip, it’s available in both engines of course.
Ty for this tutorial. I’ll give it a go.
Starting a thread that shares brush icons for people to make their own icons with would might be useful.
I think I’ll make a few free icons
No problem!
That’s a neat idea. I always use the default brush icons and just recolor them with HSV sliders, but that’s aleays nice to have more opportunities.
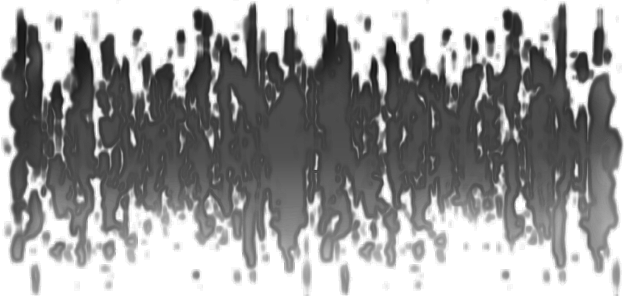
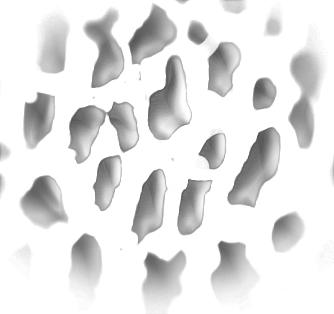
Well the official way is “Lightness option” I think, RGBA is what voronwe used I think, so it kinda got popularized here on KA, so now Ramon uses it in videos, and now it’s a very common but completely opaque to newcommers name for this feature RGBA doesn’t even make sense tbh, because it mostly uses (RGB) + A, instead of all R, G and B channels separately, like the Color Stamp option.
So it’s another “historical reasons” name I guess…
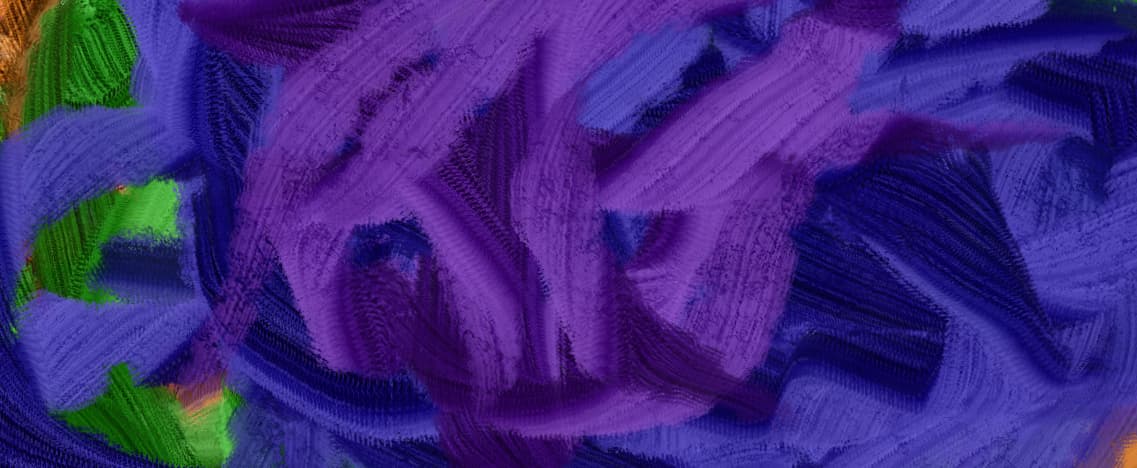
(literally first time even trying these techniques, brand new to photopea and i’m just playing around but happy with result)
check out my process: tachiko - Twitch
at 10 min into video its like i’m mixing colors
i get that its mainly the smudging, still I was surprised how much it blended. is that from how i made the brush tip?

 Well crafted and clearly explained!
 That will save lots of time when testing!
 Super cool to see those brushes in such a great tutorial)
 sometimes I use different document too, to store those brushtips in a form easier to edit. But for instant idea and proof of concept, this is a bit faster

