Just noticed one bug. The neutral point, brightness, and contrast sliders don’t work on animated brushes. The lightness option works on them, but the sliders don’t do anything for them.
#ifndef KOCOLORSPACEPRESERVELIGHTNESSUTILS_H
#define KOCOLORSPACEPRESERVELIGHTNESSUTILS_H

#include <KoColorSpaceMaths.h>

template<typename CSTraits>
inline static void fillGrayBrushWithColorPreserveLightnessRGB(quint8 *pixels, const QRgb *brush, quint8 *brushColor, qint32 nPixels) {
    using RGBPixel = typename CSTraits::Pixel;
    using channels_type = typename CSTraits::channels_type;
    static const quint32 pixelSize = CSTraits::pixelSize;

    const RGBPixel *brushColorRGB = reinterpret_cast<const RGBPixel*>(brushColor);

    const float brushColorR = KoColorSpaceMaths<channels_type, float>::scaleToA(brushColorRGB->red);
    const float brushColorG = KoColorSpaceMaths<channels_type, float>::scaleToA(brushColorRGB->green);
    const float brushColorB = KoColorSpaceMaths<channels_type, float>::scaleToA(brushColorRGB->blue);
    const float brushColorL = getLightness<HSLType, float>(brushColorR, brushColorG, brushColorB);
    const float lightnessB = 4 * brushColorL - 1;
    const float lightnessA = 1 - lightnessB;

    for (; nPixels > 0; --nPixels, pixels += pixelSize, ++brush) {
        RGBPixel *pixelRGB = reinterpret_cast<RGBPixel*>(pixels);

        const float brushMaskL = qRed(*brush) / 255.0f;
        const float finalLightness = lightnessA * brushMaskL * brushMaskL + lightnessB * brushMaskL;
//        const float lightOffset = 2.0 * brushMaskL - 1.0;
//        const float lightBlend = qAbs(2.0 * brushMaskL - 1.0);
//        const float lightOffset = (brushMaskL - brushColorL) * lightBlend;

        float pixelR = brushColorR;
        float pixelG = brushColorG;
        float pixelB = brushColorB;

        //addLightness<HSLType, float>(pixelR, pixelG, pixelB, lightOffset);
        setLightness<HSLType, float>(pixelR, pixelG, pixelB, finalLightness);

        pixelRGB->red = KoColorSpaceMaths<float, channels_type>::scaleToA(pixelR);
        pixelRGB->green = KoColorSpaceMaths<float, channels_type>::scaleToA(pixelG);
        pixelRGB->blue = KoColorSpaceMaths<float, channels_type>::scaleToA(pixelB);
        pixelRGB->alpha = KoColorSpaceMaths<quint8, channels_type>::scaleToA(quint8(qAlpha(*brush)));
    }
}


#endif // KOCOLORSPACEPRESERVELIGHTNESSUTILS_HDK-5 used here. When i use DK-6 i have like jumps at the start of the brush stroke. I think a buton to reset the Brightness and contrast will be useful if doesn’t require lot of code. But wow! the experience is really really good. Let me test a bit more in the weekend and i will publish here my conclussions. Thanks for your hard work and collab. @dkazakov @Voronwe13

Hi, @Voronwe13!
UPD2:
The formula seem to be symmetric in the end. I just forgot that t has different sign when adjusting highlights. Anyway, it would be useful to know the logic of the formula to be able to test “smoothness” option (see message below).
Could you share the source logic of your formula? I spent some time on trying to unwind it and found some weird effects that I cannot explain/document:
When brushColorL = 1.0, then final lightness is controlled by equation
L = 1.0 + t - 2 * t ^ 2,
where t is brushMaskL - 0.5.
When brushColorL = 0.0, then the final lightness is controlled by equation
L = t + 2 * t ^ 2
It means that this formula affects shadows and highlights differently. Was it intentional? How did you get this formula at all?
UPD:
Here is a script for octave:
tx = ty = linspace (0, 1, 41)';
[xx, yy] = meshgrid (tx, ty);
tz = max(0.0, min(1.0, 4 .* (0.5 - yy) .* xx .^2 + 2 .* (2 .* yy - 0.5) .* xx));
surf (tx, ty, tz);
hold on;
mesh (0.5 * ones(size(xx)), xx, yy);
hold off;

xlabel ("maskL");
ylabel ("colorL");
zlabel ("finalL");
The reason why I worry about the formula is, I have a feeling that the power factor matters in the “smoothness” of the brush. Therefore, it might be useful to let the user choose power factor as a “Smoothness” option. When the formula is simple, like the original “overlay”, we can add this option quite easily later on. And if we go with this formula in a form as it is now, there seem to be no way to configure it.
We needed a formula f(x) where f(0) = 0, f(1) = 1, and f(.5) = z, where z is the lightness of the color chosen. This can’t be linear unless the color chosen is also .5. So I went with a quadratic equation and solved it.
f(x) = ax^2 + b^x +c
0,0 -> 0 = a0^2 + b0 + c -> c = 0
1,1 -> 1 = a1^2 +b1 + c -> 1 = a + b + 0 -> a = 1 - b
.5,z -> z = a*.5^2 + b*.5 + c -> z = a/4 + b/2 + 0 -> z = 1/4 - b/4 + b/2 -> z = 1/4 + b/4 -> b = 4z - 1
f(x) = (1 - (4z - 1)) * x^2 + (4z - 1) * x
So yes, the equation will be different for every value of color chosen, because that’s the only possible way to achieve the goal of an equation that runs through (0,0), (.5,z), and (1,1).
I did try an exponential function (f(x) = ar^x + c) with those three points, but unless I solved it incorrectly, the results didn’t come out looking how I wanted it to. The quadratic does it perfectly.
But it doesn’t mean that the shadows and highlights are treated differently. For any given chosen color, the entire range of the brushTip follows the same formula. I think you’re getting your x and y confused.
To put it another way, if your paint color is black, you shouldn’t be able to see shadows on it, but highlights should still show up. If your paint color is white, you shouldn’t be able to see highlights, but the shadows should still show up. So, if that’s what you mean by it affecting shadows and highlights differently, that is precisely what is intended. It would be wrong otherwise.
Also, you can just actually test it with real brushes like I did, and see that it works exactly as it’s supposed to.
I’m not sure what you mean by the “power factor” or “smoothness” of the brush…
I did work out the general form, if we wanted the neutral point to change (so the line goes through (0,0), (w,z), and (1,1)), but I saw that you’re adjusting the neutral point before sending the brush mask to this function, so that wasn’t necessary. But if you want the general form, for some reason, I can give it to you.
Hi, @Voronwe13!
Sorry, I just didn’t know a proper English word for it ![]()
By “smoothness” I meant a degree of that polynomial f(x). I have a suspicion that this degree may be used for making the brush more smooth or sharp. I based my though on the fact that changing a degree of (2.0 * brushMaskL - 1.0)^2 that you passed to a lerp function in the initial version of the patch used to make the the brush smoother/sharper. Though I’m not yet sure if it is actually useful. It basically works like a “contrast” slider, but a bit differently.
How do you think, is it worth investigating this idea of adjusting the contrast of the brush in the main mapping algorithm? Or we should better add different nonlinear contrast adjustments? Or it is not needed at all?
I think the contrast, brightness, and neutral point adjustments that we have now provide the same effects, even though they’re done before we calculate the final lightness. So far, those adjustments appear to work exactly as I would want or expect them to, and I think they offer all the fine-tuning an artist could ask for in making brushes. I’m glad you added them!
Like I mentioned before, the only request I would add, would be to make the contrast and brightness options controllable by pen pressure. I think the neutral point option is fine where it is, both since it seems more specific to the brushtip image than the other two, and because the brightness option seems to be almost redundant to the neutral point otherwise. This way, you can set the neutral point, and have the pen pressure adjust the brightness from that neutral point.
Currently, there’s a “darken” option that’s controllable by pen pressure, but that’s not as generally useful as “brightness” would be. And I can image letting pen pressure control contrast would make the Atelier Oil brushes look even more realistic.
I will play around more with the contrast, brightness, and neutral point options, to see if there’s any effect I can think of that I might want but can’t get from those, but I think for now, those are pretty good as is!
Hi, @Voronwe13 and @RamonM!
Here is the latest package with the latest algorithm from @Voronwe13. It also fixes a few bugs. Please test it!
DK8: https://yadi.sk/d/_73LxKkaotZ__g
If it works fine, I think we can merge it to master (and 4.3) quite soon.
Hi dudes , I m on IOS .
I presume this feature is not yet in the mac version , is it ?
I ve test the 5.0.0 prealpha with no success . And I m quite sure your dev version is only working on linux.
Cant wait for test it ! XD
Anyway , Thanx for you great job !
Hi, @bloxboy!
This patch hasn’t been merged to master yet. It is waiting for the final approval from the painters ![]()
So far DK8 works great. Animated brushes are working with the brightness/contrast settings now, too, so that’s fixed! I’ll keep testing, and let you know if I run into any issues. Thanks for putting it all together!

Here’s a brush preset I made from the default Vegetal Stamp: https://drive.google.com/open?id=1ivFl2pqBG8rJddw93NY-ISY-iKg_0qTB
In case that file doesn’t work, here’s the brushtip file: https://drive.google.com/open?id=1muicHvW0iX7piky5bv8YGHSimlasKTyu
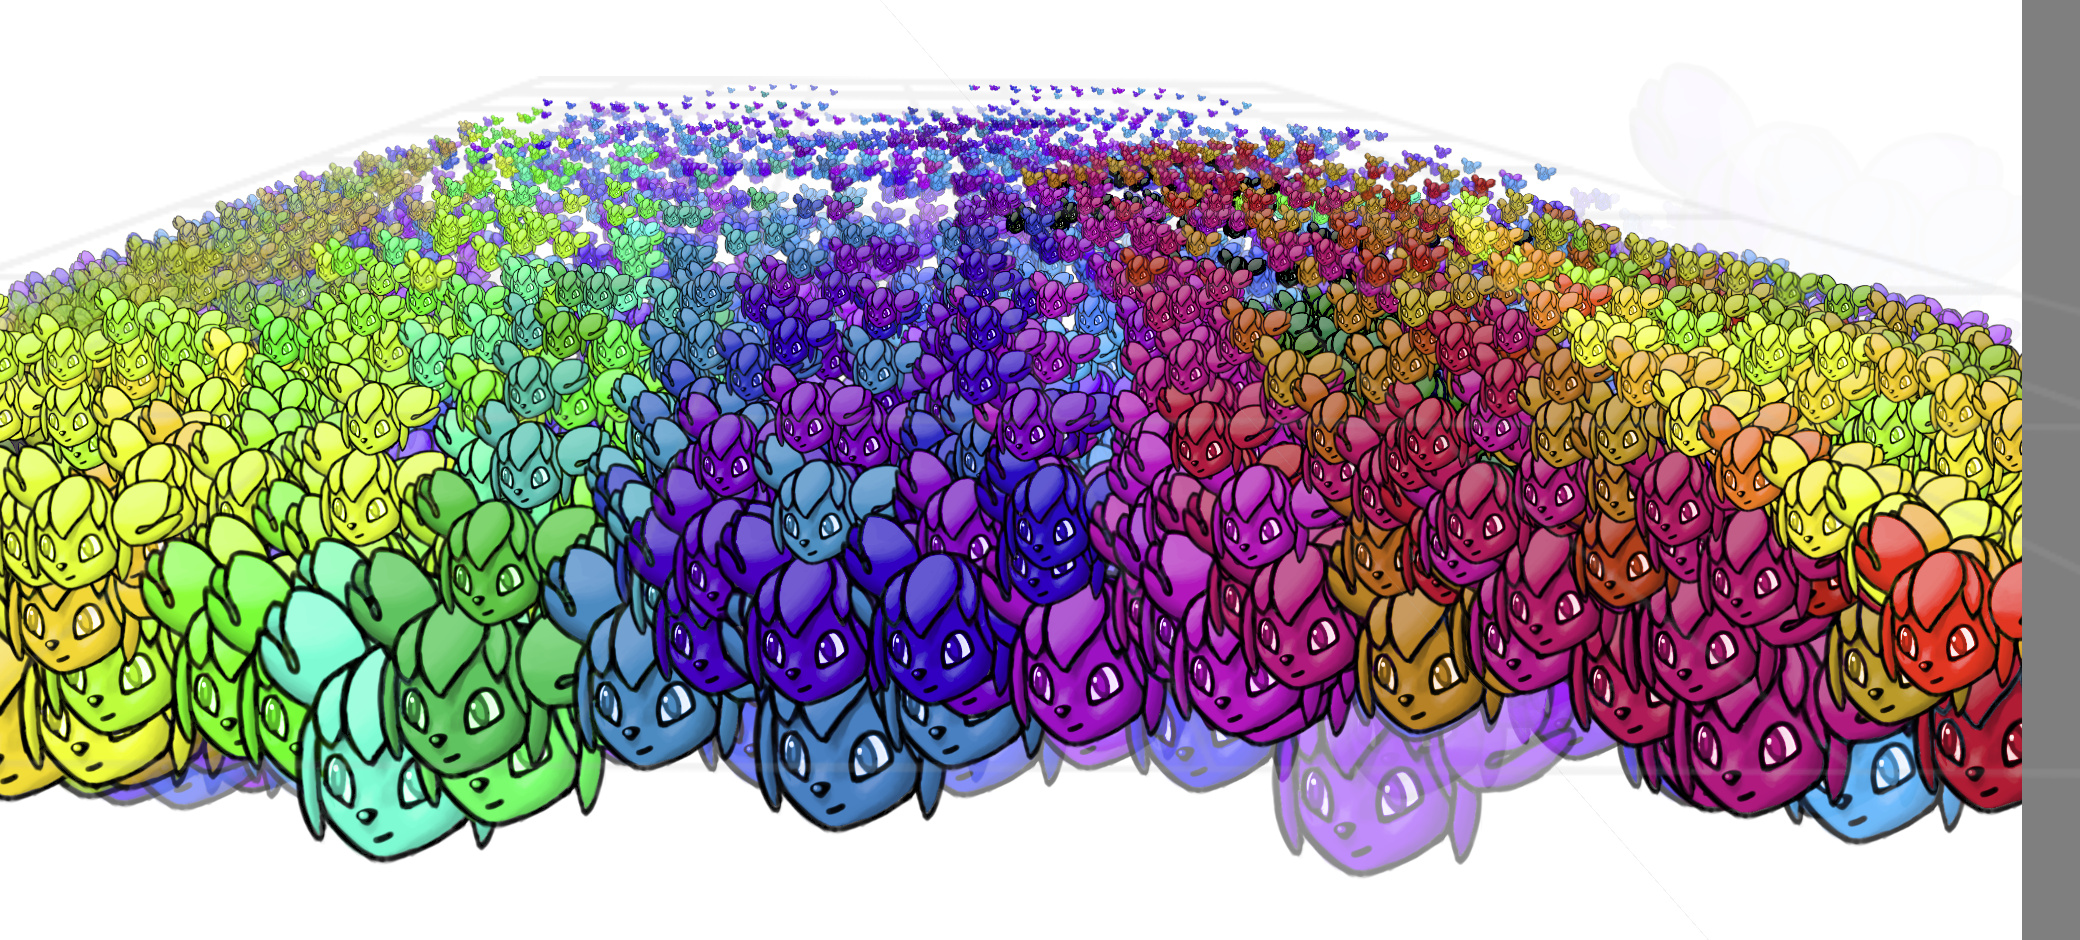
Yes! How we could exist without crab fingers brush before!
Come on, isn’t that awesome? ![]()
(I haven’t managed to create an oil brush, but I managed to create something else
Alright so!
I’ve made those brushes:
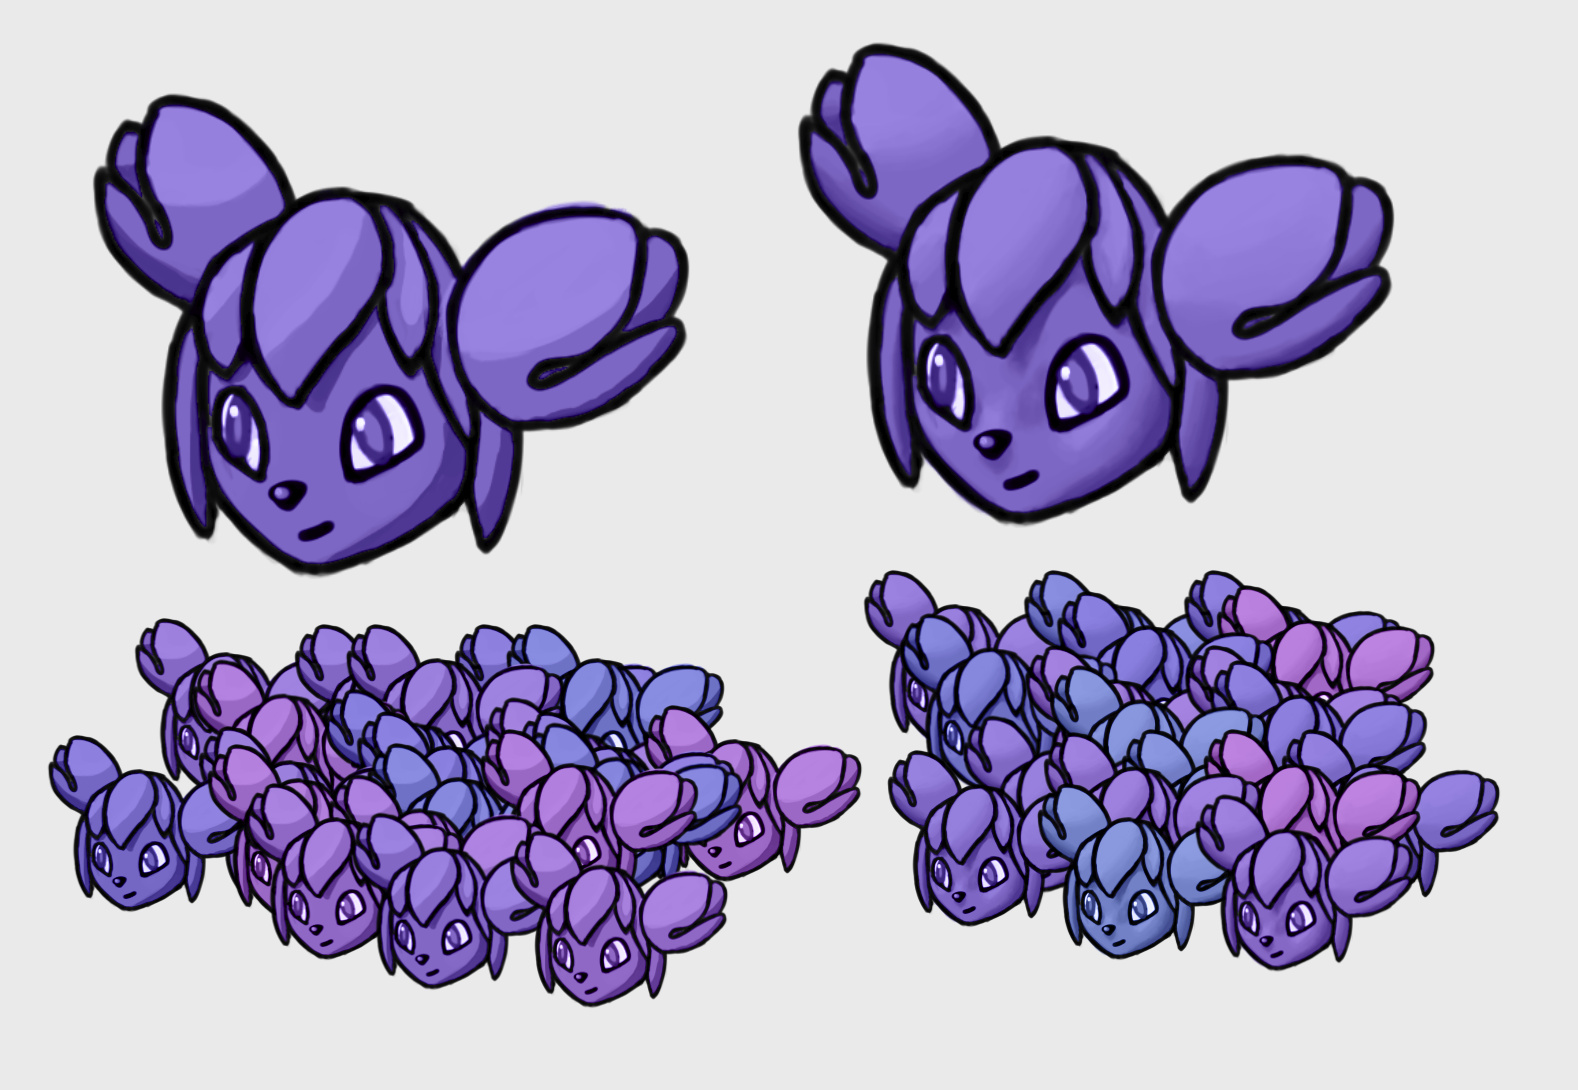
One Kiki is cell-shaded, one is soft-shaded. They change colors
Download here: KikiBrushes.zip - Google Drive
Note: they don’t work on linear sRGB profile… As in, they work, but are ugly.
@dkazakov
Notes (I was using your branch on your fork):
- None of the sliders do anything that I can see…
- If I have Lightness option on and switch to a different brush tip with this alpha feature, it switches to the Mask option again, instead of staying on Lightness
- A bug:
- Go to Brush Editor (with this RGBA brush selected), choose “Size” or whatever tab, anything except for Brush Tip
- Go to canvas, paint
- Go to Brush Editor, go to Brush Tip tab
- Actual results: “Lightness” option is on, but sliders are disabled; Expected: sliders not greyed out