In this case, it’s a dynamic filter on the top, often done at the end of the artwork to enhance the presentation before sharing. I can show you how to do that in Krita.
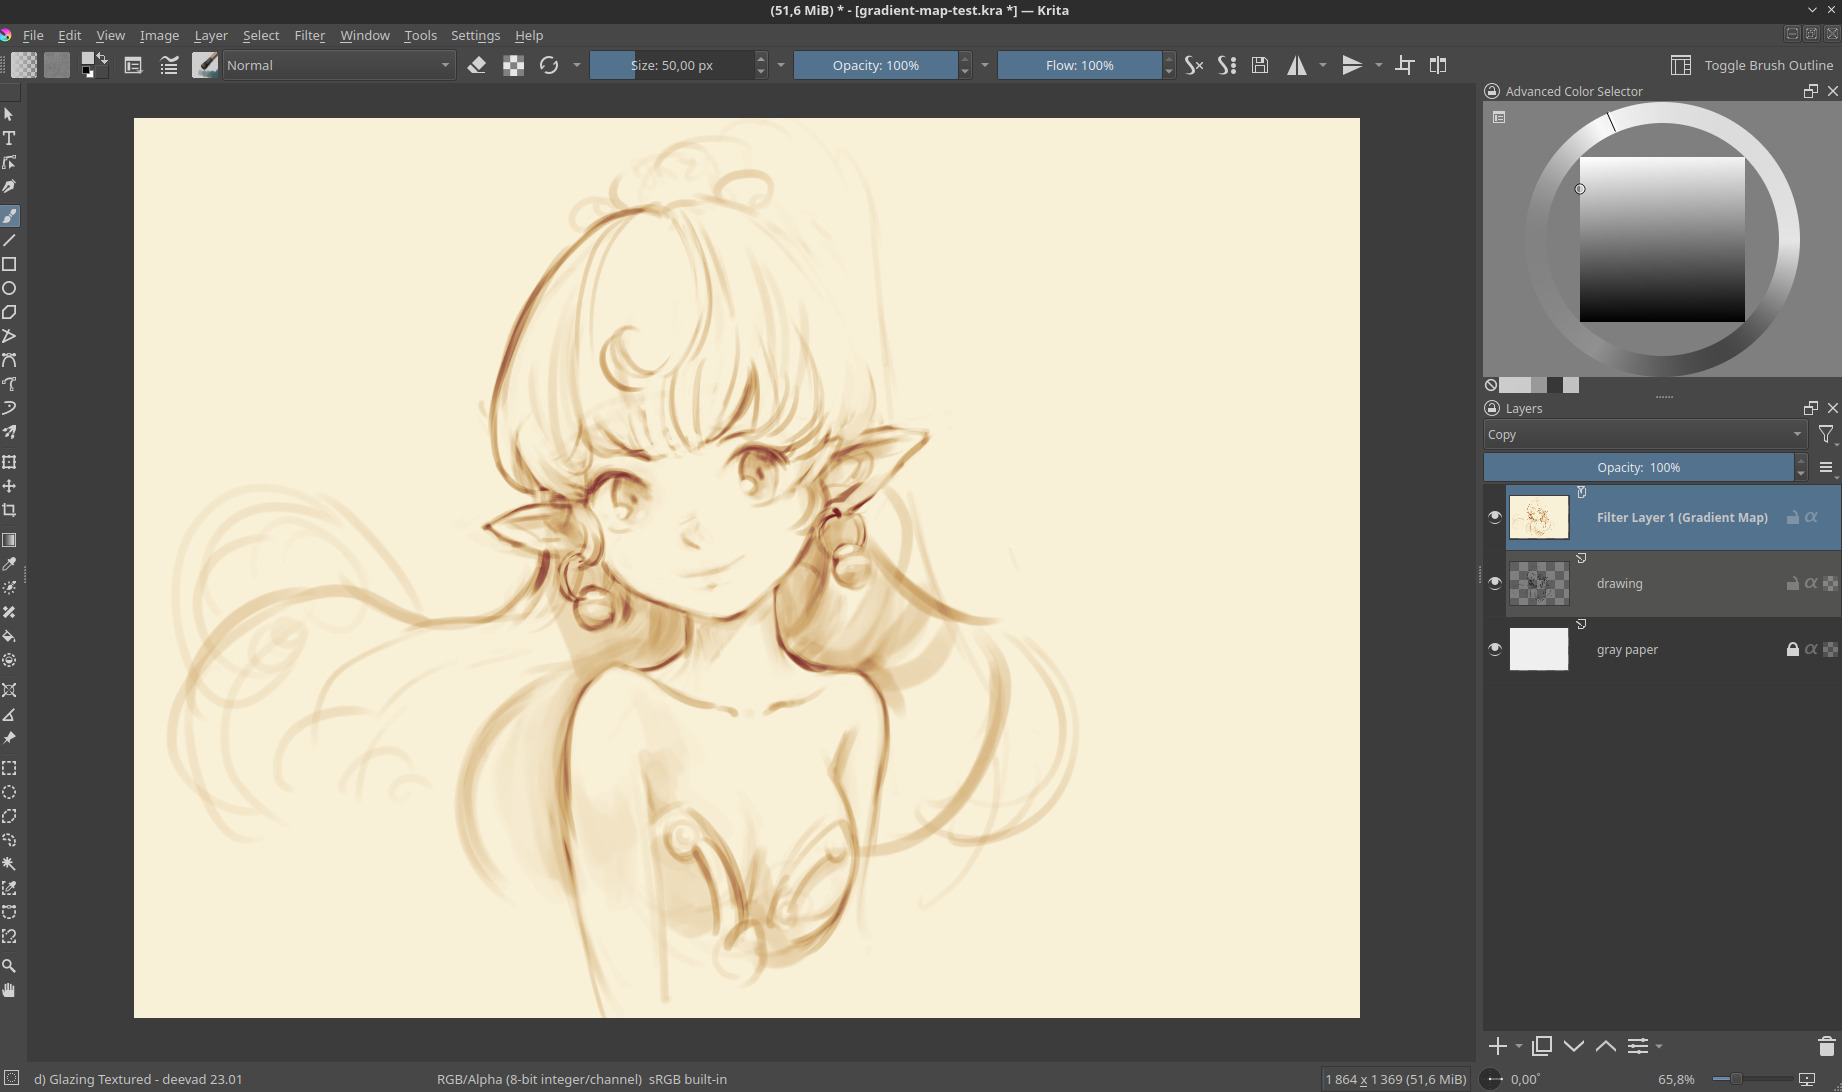
1. Sketch

Sketch on a layer, on a non-white background (pick a light grey), and draw with opacity variation to rich variation of greys in your lines.
2. Add a Filter Layer
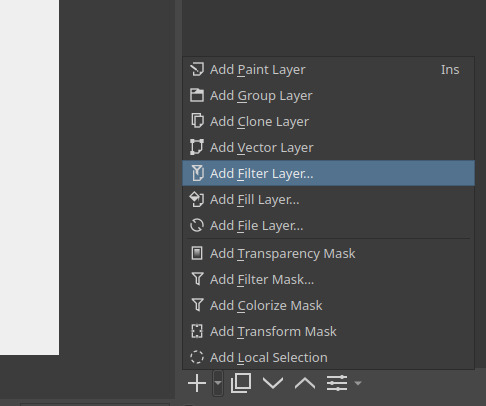
On the little arrow near the ‘+’ of the layer in Krita, you’ll find a menu to add a Filter Layer. It’s a layer type a bit special: it allows you to put a filter in the stack, and it will be dynamic: it will filter continuous every new pixels under. It’s often a bit taxing for performances (it recalculate automatically after each brush stroke) that’s why many artists prefer to keep this step for the end.
3. Set the Filter Layer to Map > Gradient Map

You’ll probably need a little fight with the graphic interface of the gradient in Krita; it’s full of cryptic options and icons grouped for reasons I have also hard time to now what or why; the easiest is to click “Choose Gradient Preset” and select a simple one and edit the nodes. You can name your gradient when you are happy and press the ‘+’ to save it.
Note: If you want to start with an easy set, you can install the set made by Rakurri → Rakurri Gradient Map Set - Free Gradient Maps 😁 .
4. Done 
That’s all, once you press OK, the filter will appear on the layer stack. You can turn it off to paint more, or directly paint under. If you want to adjust it later, you can press the “setting” icon on the bottom of the layer stack, the gradient editor will reappear.