I’ve been working on the Fast Sketch Cleanup plugin (formerly called Fast Line Art, see Introducing a New Project: Fast Line Art for details about the project). It’s not fully ready yet, but there are some preliminary results that might be interesting for some of you, and it would be good to learn about potential issues with devices or drivers on different systems sooner than later, so if you are interested in the project, you can check it out for yourself now.
Note: it’s only available on Windows and Linux for now.
PREPARATION
To use the Fast Sketch Cleanup plugin, do the following:
(Optional) Install NPU drivers if you have NPU on your device (practically only necessary on Linux, if you have a very new Intel CPU): Configurations for Intel® NPU with OpenVINO™ — OpenVINO™ documentation (note: you can still run the plugin on CPU or GPU, it doesn’t require NPU)
Run the plugin:
Open or create a white canvas with grey-white strokes (note that the plugin will take the current projection of the canvas, not the current layer).
Go to Tools → Fast Sketch Cleanup
Select the model. Advanced Options will be automatically selected for you.
Wait until it finishes processing (when the dialog will close automatically).
See that it created a new layer with the result.
USE CASES
It averages the lines into one line and creates strong black lines, but the end result can be blurry or uneven. In many cases however it still works better than just using a Levels filter (for example in extracting the pencil sketch). it might be a good idea to use Levels filter after using the plugin to reduce the blurriness. Since the plugin works best with white canvas and grey-black lines, in case of photographed pencil sketches or very light sketch lines, it might be a good idea to use Levels also before using the plugin.
Extracting photographed pencil sketch
This is the result of the standard procedure of using Levels filter on a sketch to extract the lines (which results in a part of the image getting the shadow):
Another possible result is to just stop at the plugin without forcing black lines using Levels, which results in a nicer, more pencil-y look while keeping the lower part of the page still blank:
Examples of sketches I made and the result of the plugin, showing the strong and weak points of the plugin. All of the pictures below were made using the SketchyModel.
On the pictures below, on the scales of the fish, you can see how the model discriminates lighter lines and enhances the stronger lines, making the scales more pronounced. In theory you could do that using the Levels filter, but in practice the results would be worse, because the model takes into account local strength of the line.
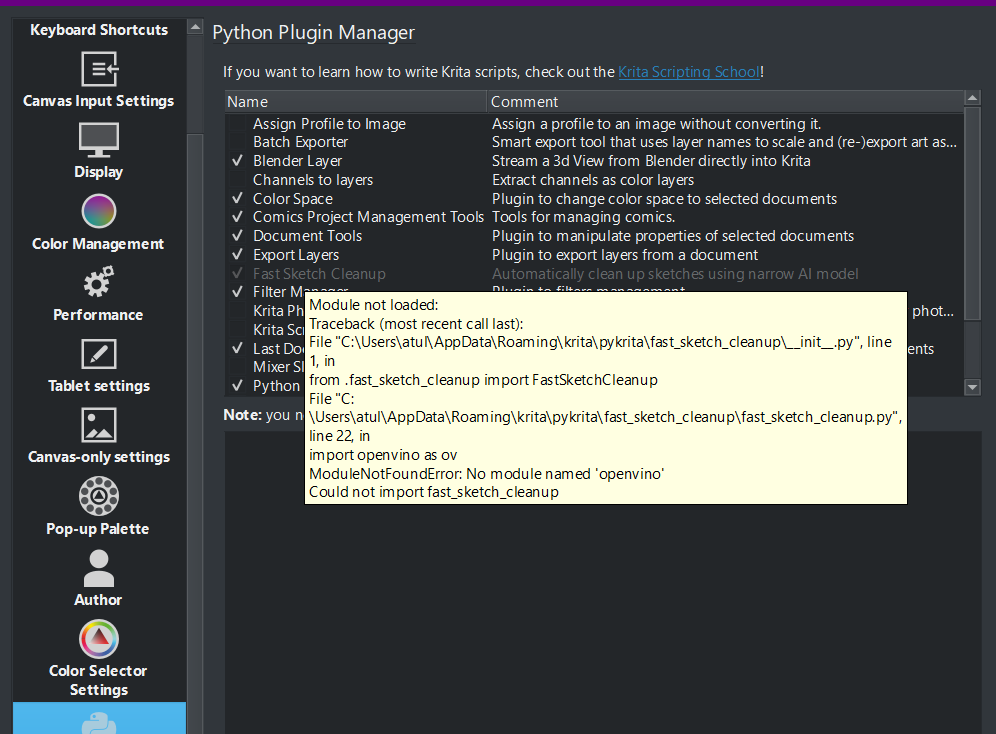
When downloading the complete package, a pop-up window will appear, and there are no models to choose from
When I download the plugin separately: it appears when the plugin is enabled, but it doesn’t seem to affect the functionality of the plugin. The only problem is that it can cause Krita to freeze for too long due to performance issues
Ah right, yes. It’s still in the main process, it has no progres reporting and it does take a while, especially for bigger pictures. Will be fixed later (including the waiting time, it might be possible to do it in multiple threads).
So I tried it on linux with my cpu. gpu and npu where not available.
My first impression is that I am missing an indicator to show, that the script is running.
I tried running it with a non white Background, with transparent background and with a white background.
Non white and transparent backgrounds are not usable, but that was to be expected.
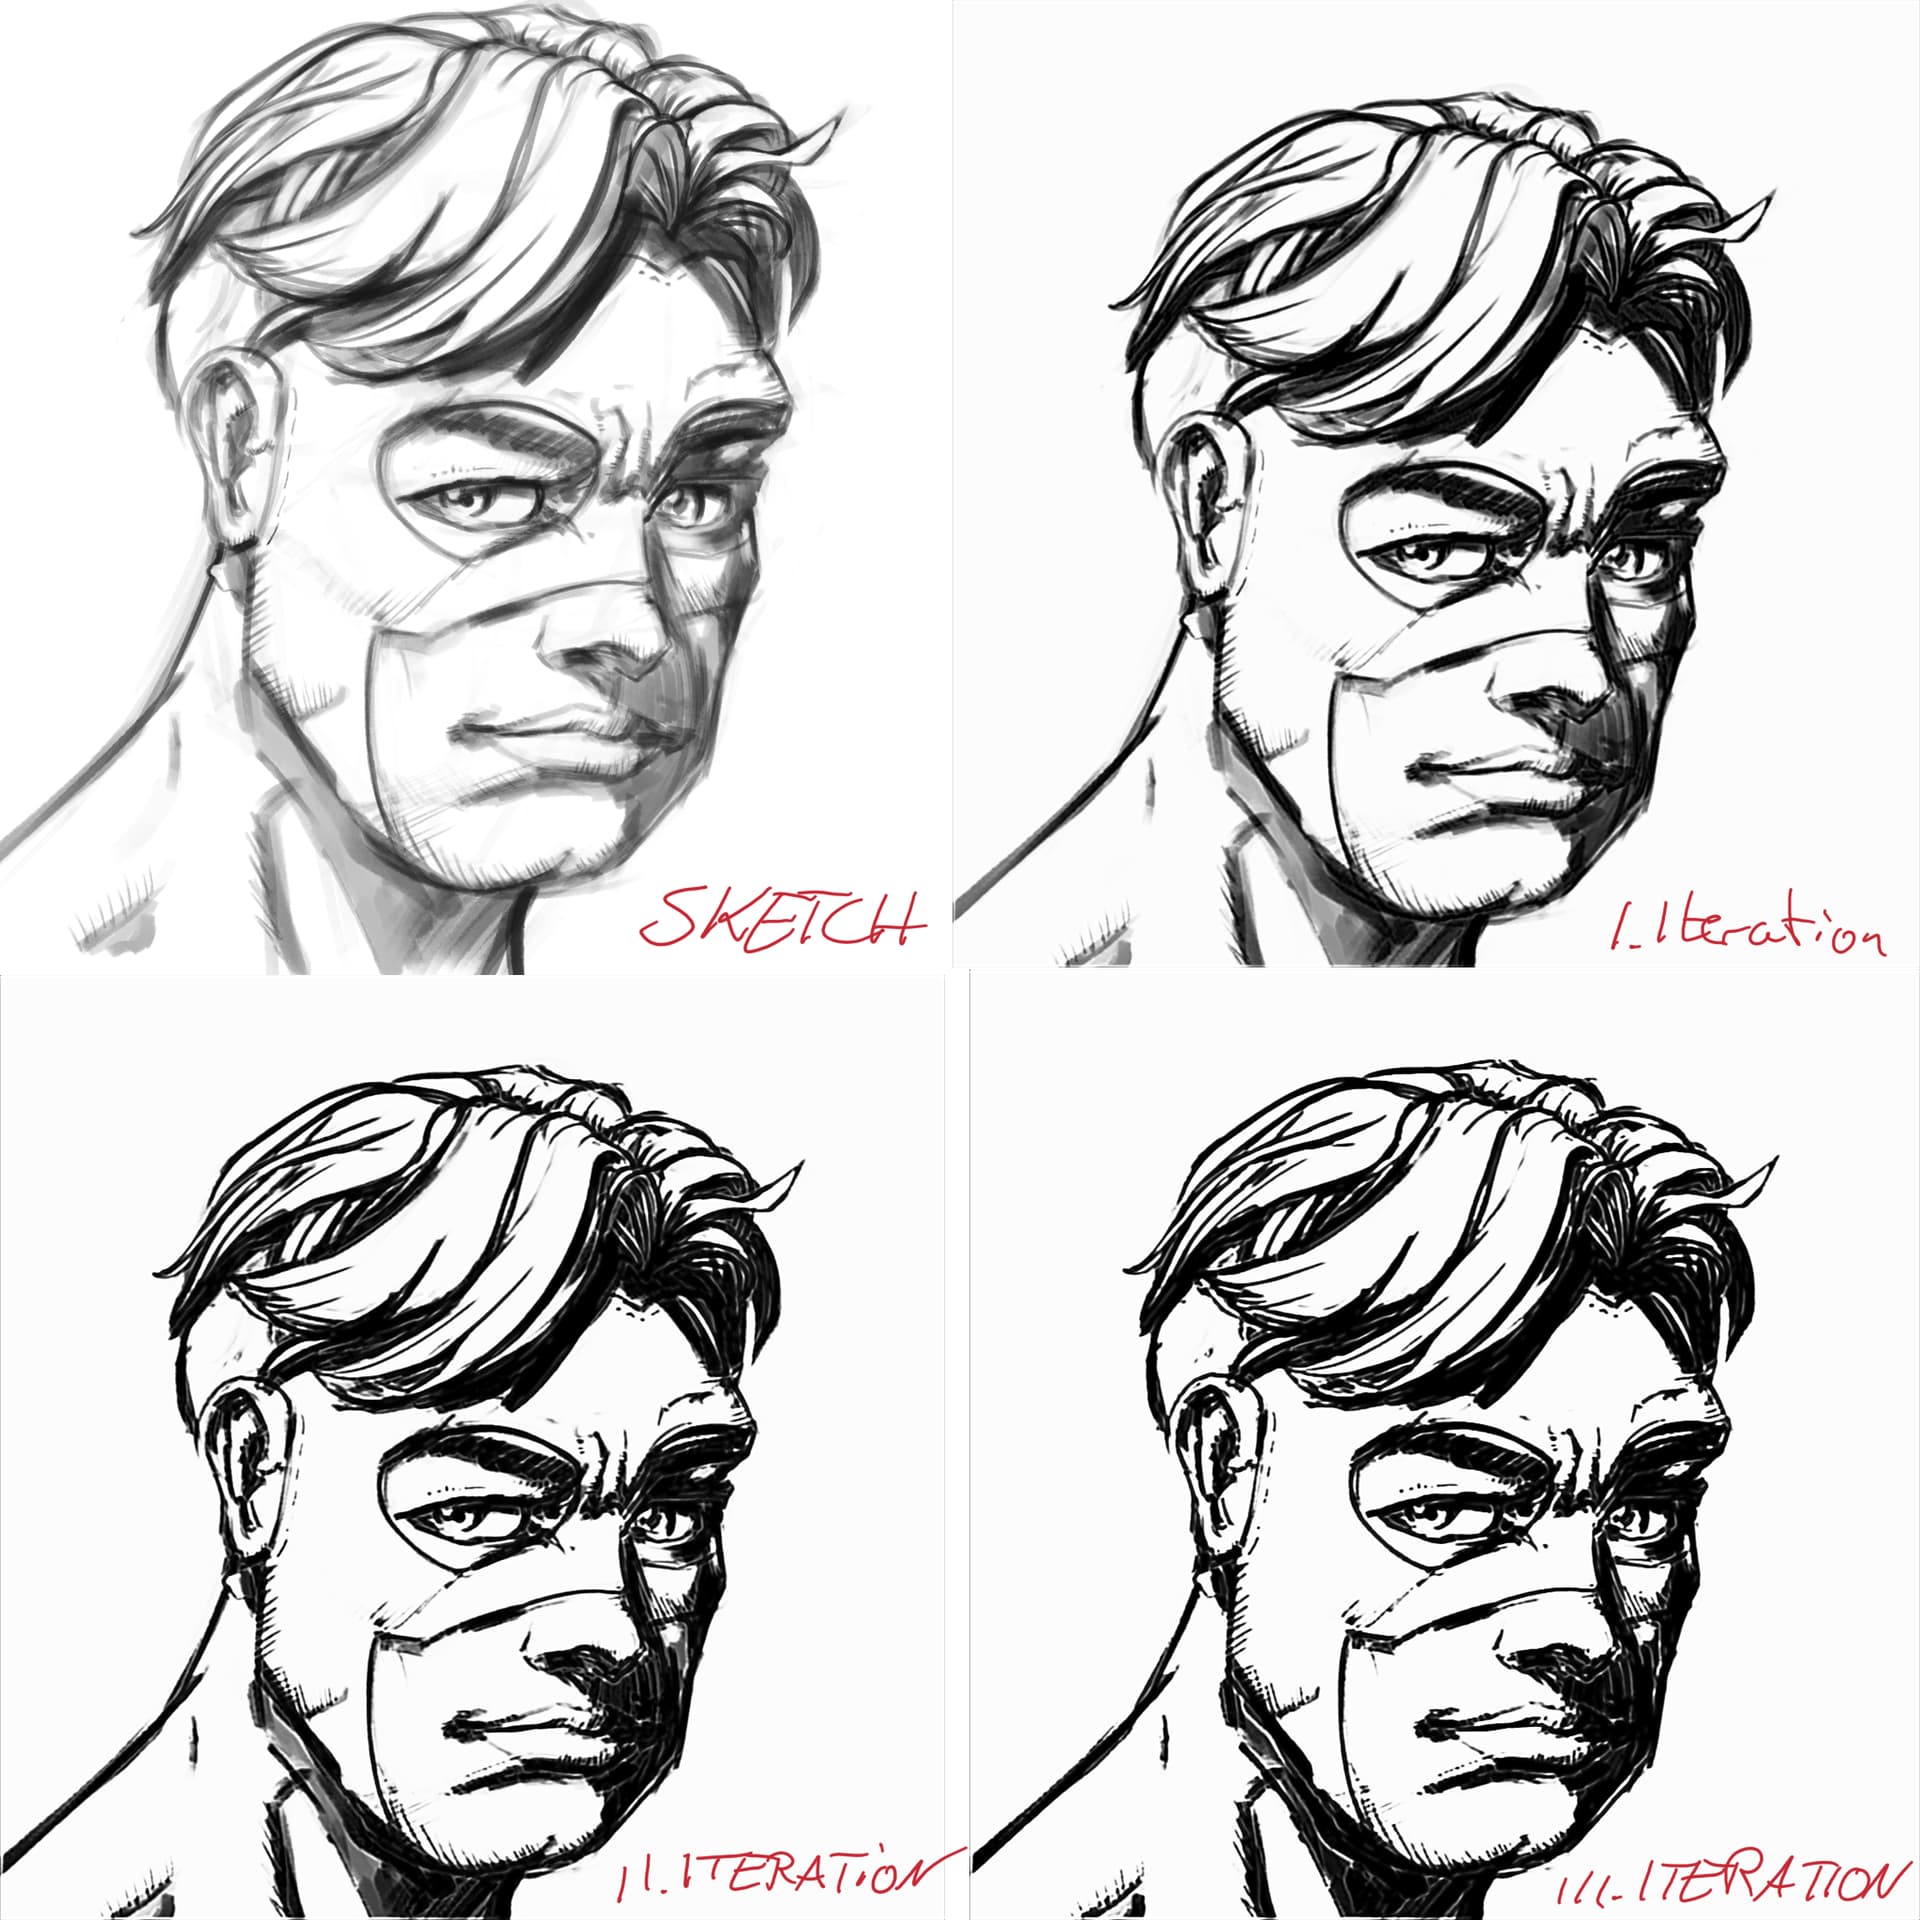
I then used a white background and generated 3 iterations.
What I am still missing is crispy lines and tempering of the lines which should be pointy. If I could wish me it would be at better detecting, shadows and excluding them.
Should I do a line-art from this image for comparison?
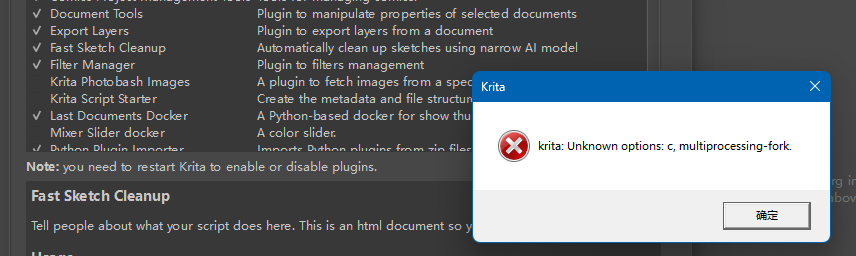
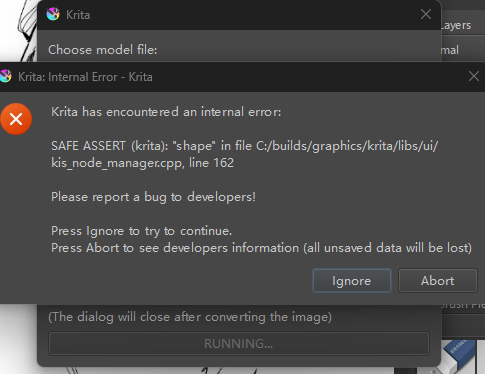
Hey, I checked the full Krita zip, version ae1a4b6 and saw the same error messages as mentioned before (“unknown options”, and “shape assert”). However, running the model worked as expected, and I just clicked “Ignore” to get past the assert.
I think the results are in line with your description. On simple brush strokes made with a mouse it looked decent, but for an actual pencil sketch, it was a bit hit an miss.
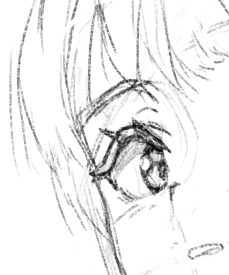
For a low-resolution image (around 1700 x 1500 pixels), it looked really weird, something like an emboss or edge detect maybe, and blurry as well. Probably the strokes were too wide compared to the size of an image.
When the same image was resized to 5000 x 4300 pixels, the result was much more acceptable, basically the lines got darker as expected.
I think it’s safe to say it will not create detail that isn’t there in the original (if anyone was worried about that).
I wanted to ask about a few things:
I noticed that the plugin is using OpenVINO. Is this only for the prototyping phase, or will this be the final and only framework? My concern is that this will probably mean a limited support for GPU acceleration, which may be of interest to users with lower-end CPUs.
When using the CPU, it seems SMT is not being used, which typically means the utilization is capped at 50%. It doesn’t seem optimal for all range of hardware. Likewise, this may matter for some combination of CPUs and/or bigger canvas resolutions.
Thanks for all the hard work!
EDIT: The usual disclaimer, the pictures were drawn by me.
Hello everyone! Happy New Year! The question is: how to connect the Fast Sketch plugin. I do everything as in the description, but it does not appear anywhere. In which menu can I find it? Or what am I doing wrong. I download the plugin from the link. The program asks to restart. I do. But where is it? I can’t find it anywhere… Krita 5.2.6
I can’t help you with this plugin, since I don’t use it, but I believe it better fits into the topic where it is tested, since that is what the topic is meant for, replies for testing this feature (even if the main focus is on how it works, and less on how you can get it working). Also, there it will be seen by @tiar (okay, now that I mentioned her, she’ll also see this topic) who created this feature and is the one with the deepest knowledge about it and how to make it functional.
No, just wait. Since I pinged Tiar on the one hand and asked our moderation on the other, your topic will get to Tiar one way or another. But it may take a while, because not everyone always has the time to reply shortly after a question.
Although many people here in the forum are very intensively involved with Krita, there is also a life besides Krita.
You did NOT follow the installation instructions and installed it as it would be a standard plugin, what it is not.
First, you have to uninstall the plugin.
This means, you must enter your installation folder via ‘‘Settings’’ >> ‘‘Manage Resources…’’ >> ‘‘Open Resource Folder’’, for example, there you have to enter the folder pykrita and delete the folder fast_sketch_cleanup and the file kritapykrita_fast_sketch_cleanup.desktop, then confirm that setting with the OK-Button in the lower right corner of that dialog and restart Krita.
Now close Krita again. Then do the following, but not before you have read it at least once in complete:
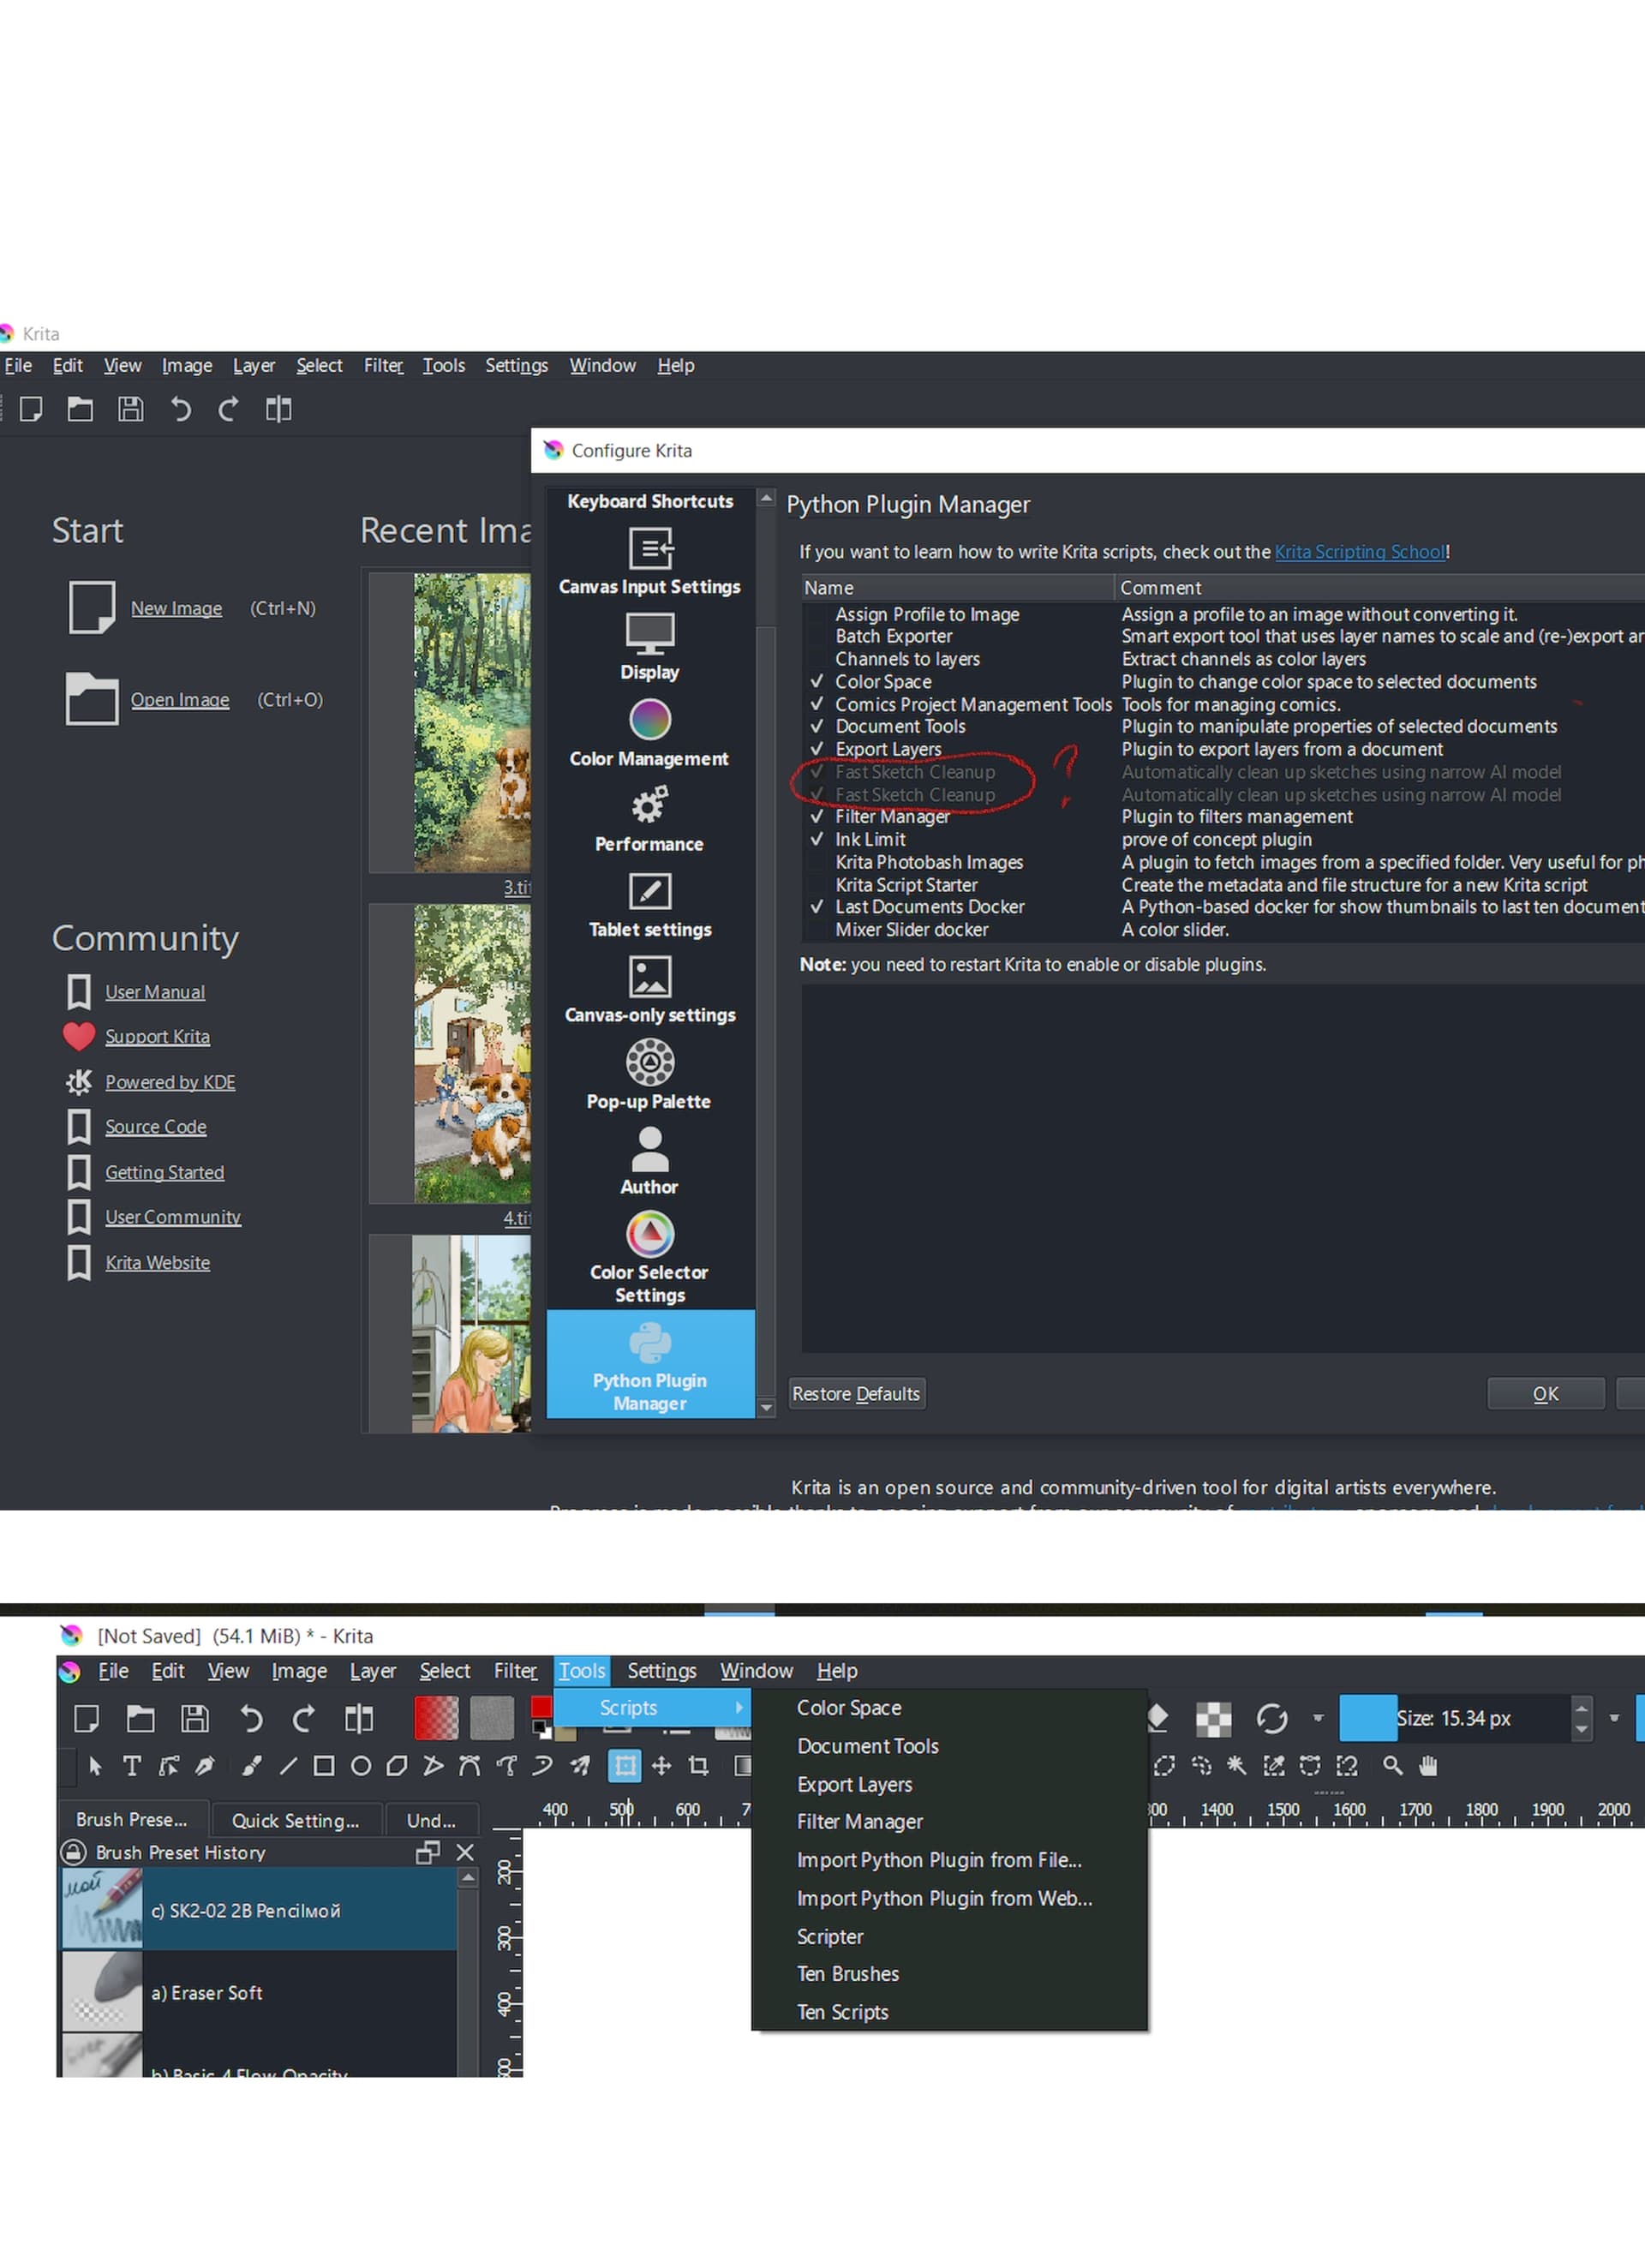
You must copy it in Krita’s installation folder. Then start Krita, in Krita via ‘‘Settings’’ >> ‘‘Configure Krita’’ >> ‘‘Python Plugin Manager’’ activate it through setting the hook in front of the plugin’s name, restart Krita.
Now open the menu ‘‘Tools’’ >> ‘‘Scripts’’ and click on ‘‘Fast Sketch Cleanup’’.
I hope you’ll find out the following yourself.
IMPORTANT INFORMATION:
Krita’s installation folder is c:\Program Files\Krita (x64)\, this means that this plugin is not installed in Krita’s resource folder, it works a little different.
Another very important thing to obey is that you have to unzip the downloaded file FastSketchPlugin-1.0.zip first and then copy its content, the 3 folders: lib, Scripts, share, into the folder c:\Program Files\Krita (x64)\, then you have made it correctly. Now you can start Krita and follow the instructions, as I described above.
Unfortunately, nothing worked(( I’m about to cry… I unpacked it into the Krita64 folder. But in the Krita settings, in the Python module management, the checkbox remained gray. And it still didn’t appear in the Tools… What am I doing wrong? I really need this plugin((( And there is no Scripts folder in the plugin package.I did everything as you described. Deleted, downloaded. But the result is the same. The checkbox is gray. The script did not appear in the toolbar. What else can be done?
It is a bit more complicated than usual because it hasn’t been merged into the main Krita… but as far as I know, it will be merged and it will be available later, maybe in Krita 5.3.x.