With gap detection set to a medium size tolerance (top example), it should fill the gaps that are below (or equal to) this tolerance, so the small and medium ones.
With detection set to small (bottom example), all larger gaps remain open and only the smaller one is filled.
And finally, with a large gap detection setting, the fill tool should only fill the left square.
The small detection is useful to only correct lines that failed to touch each other, whereas larger gaps remain open. You can see that having such a threshold will allow you to fill multiple regions at once depending on the threshold chosen. Thus saving a lot of time in the process as well. Ideally, the setting would be a pixel based input (integer), so you can set it to 20px, 51px or even 127px.
By the way, what are the plans for a gap detection in the colourise mask tool?
Good question. At the moment the heuristic works by restarting the raycasting recursively at the edges of the “unexplored areas”. So with many recursions, it can work around a circle from the outside. But the recursion depth could be a tool setting because it may starts filling too agressively.
It closes the gaps because the rays in the gap didn’t hit anything behind them. If there’s an object behind the gap, it will hit the wall behind it like in the next screenshot, but it will not leak out.
When the object is further away It will not try to leak out because it knows that the rays next to the gap are rather short and limit’s the raycasting distance.
What you’re describing is definitely possible. Since the algorithm “knows” all the gaps, it could measure the gap length and just behave as if the “user clicked in the gap again” if it has the desired length.
I don’t think raytracing is a good Idea for the colorize mask tool. The colorize tool already works well for gaps (at least for me) and has a more constant time behavior, the larger the image, the slower it is.
I wanted to give some development update:
In the video below the regular “bucket fill tool” (like we have now in Krita) is used to fill Mega Man’s face and it leaks through the gap in the eye.
Then I use the new “gap-aware”-fill tool first to fill out the eye and then use the bucket fill as usual to fill the face.
(red lines appearing in the green area show the segmentation)
I know Tahoma2D, an opensource animation software has option to close gaps (although I don’t remember if it can work in raster layers). Perhaps that would be of some use to develop it for Krita?
Also, is there someone doing nightly builds of Krita for Windows so I can test/try out any upcoming features that are in development (I don’t mind crashes, I save often)?
I suggest that you get the portable .zip package. That will not affect your current installation and will use the same configuration settings and resources.
@ramskulls
Fuzzy and textured lineart is still on my to do list. For fuzzy line art, it should work with a threshold similar to the existing bucket fill tool.
This is actually quite simple to implement and we need that anyways if we want to fill anything with smoother lines than pixel art. At the moment, the test app only fills 100% white, as you can see on the two tiny spots on the shoulder where it isn’t completely white and didn’t get filled.
Now I would be really happy to get some feedback how well the “fill-with-gaps” algorithm works
I noticed that it will divide the space of “S” shape. Is there any space for optimization?
When clicking different positions, the filling effect is different. Sometimes it can be filled at one time, but sometimes it needs to be filled multiple times, and it may leave a vacancy
@TheTwo
Thanks for testing the algorithm!
1.) If you click on “Preferences” there’s some adjustable parameters. But I hope that we’ll able to minimize the number of adjustable parameters when this tool is available in Krita, because it might be too overwhelming for the average user.
2.) You can try to modify the parameters in the preferences and see if it gets better for you. There’s of course space for optimizations. But sometimes it could be better to let the user click 3 times than press undo 3 times because it filled too much.
3.) Yes, it always uses the position where you clicked to start it’s search for lineart. This is different from the implementation from GIMP where (according to the developer) it first analyses the whole image in a background process and then uses that information for the fill-with-gaps tool.
At present, I don’t quite understand the parameters, but I think it is too complicated to fill in structures like hair. In addition, it is always ineffective for lines with large internal space.
@TheTwo
Thank you, both good and bad feedback are very much appreciated!
I took one of my lineart test pictures with hair and filled it with default parameters using my krita feature test app. It’s true that filling complicated structures like hair doesn’t work so well.
Below are the test results for both my testapp and GIMP’s lineart fill feature.
I fiddled around with GIMPs sliders for a few minutes, but the result was never what I expected. Maybe somebody mastered it already and can show that it works better than in my short video.
Krita Feature Testapp
GIMP
Update: I just tested GIMP’s tool with thick black lines and then it works very well but it also can only fill small areas at a time.
Are there any ‘scientific’ papers on the subject in which researchers present a gap fill algorith? Maybe that could give you some additional clues. Don’t you think there will be bugreports submitted if the tool doesn’t fill the whole region (e.g. the hair) in one go? People are, by now accustomed to that from Photoshop and such. Blender and Illustrator do so too, but they just extend vector lines, which doesn’t seem feasible here. Unless you were to vectorise the outline of the isovist (raytracing) as bezier curves, perhaps?
I tested the clip studio paint’s close gap feature. They have a setting where you can specify the amount of gap by pixel. So 50 100 px value covers most of the gaps. It fills the whole area but sometimes it doesn’t go to all the corner so there is some amount of work not much but it is there and it is expected.
A test with your image provided in source
As you can see the gap width determines the extent of fill. Setting the gap width high it neglects the hair outline and fills even the face. But here too at some point you need to click multiple times like the ponytail is not filled at once.
The flood fill option in your test app gave me instant complete fill although it left edges of white border.
And lastly I tested mypaint with same image.
I think mypaint beats all the software I tested, although it has slight lag it fills very well as expected even the ponytail and you can control how much aggressive it should fill. I believe we should take a look at mypaints gap filling code which can be found here - mypaint/lib/fill at master · mypaint/mypaint · GitHub
@Hologram
Most of the information about gap filling I could find was about increasing and shrinking the line art thickness until gaps vanish automatically. But I don’t think this is a good approach.
@TheTwo@raghukamath
Yes, the gap filling in mypaint is fantastic. Unfortunately there’s not a single function like fill(image,startPoint) etc. in mypaint’s source code but instead various layers of functions in Python and C++ that all require lots of arguments and possibly multiple threads. If someone could port this to Krita that still would be really awesome.
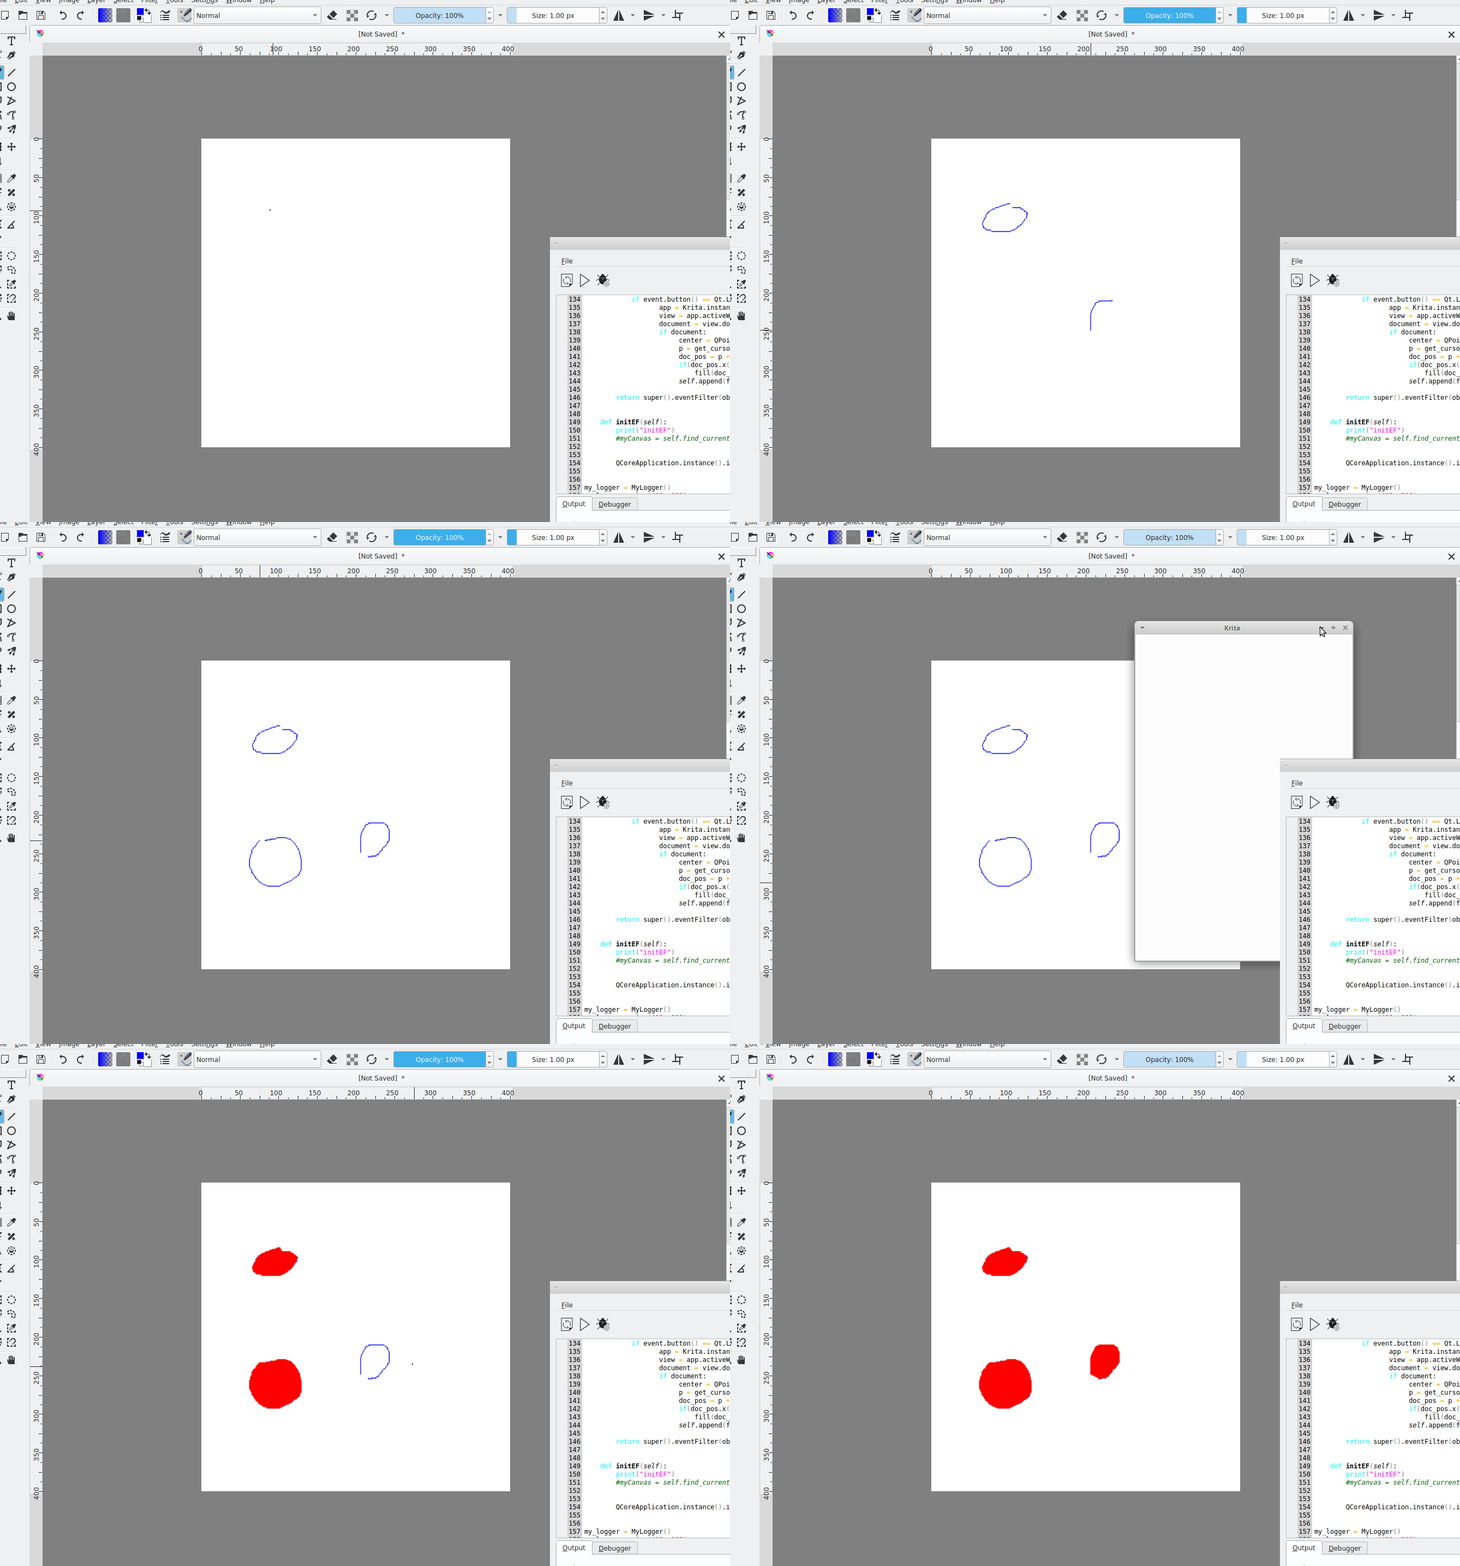
In the meantime I started to work on a python plugin that calls my own implementation of the gap filling algorithm. But this time, it’s inside Krita.