What is/are your mindset(s) methods and techniques when you use krita?

I am wondering this. Specifically:

Your technique(s)
Your methods of finding inspiration
your process you use to make your art- like, what do you do to make your art, thought-based? Visualistion? visual library? something else?
How do you choose specific brushes or plugins? is there any specific type of brush that you use commonly?

Sorry for all the questions, I am just curiuos about what other Krita artists mindesets and methods and techniques are.

3 Likes

I just use Krita as I would traditional media. I take photos for reference images and look around on the free stock photos sites. I need to copy either from real life or photos in order for my artwork to turn out well. My favorite subject is Gymnastics,:person_cartwheeling: however, it’s quickly becoming landscapes.

The brushes, meh, I just pick according to my mood at the time. Sometimes I want my work to look like oils, sometimes like magic marker, and sometimes I want to try the watercolor look.

I’m never sure what gets me going with the binge painting but when it awakes, I’m happy!

2 Likes

I typically draw either portraits or complications from various reference photos that are requests, or random pics that I find online that interest me. (I only use royalty free reference pics if I’m going to upload the art for sale). I pretty much draw for fun so just pick stuff I think would be fun to draw. I like fan arts and random pretty scenes.

I draw and paint just like I do with traditional medium. But with Krita I do add some additional shading and overlays with layer options.

I can freestyle a lot without the need for reference pictures, and I’m currently doing this in a children’s book I’m writing and illustrating for self publishing. But my preferred style is as realistic as possible and I like to use reference pictures to get the lighting and colours right. Although I’m OK at drawing people and figures without references, I’m bad at landscapes!

My go-to brushes are the triple pencil shading brush, and the wet paint brush. But depending on what it is I’m doing I’ll use textures brushes/stamps etc. When I do comics and cartoony fan arts, I like the fountain pen looking brush for the line art, and the basic brush for flats touch ups and hard shading.

3 Likes

The question is interesting, because it’s an opportunity to share and maybe learn something new from others!

Techniques

I mostly draw anime-style artwork, so usually it’s this: thumbnails → rough → lineart → flat shading → block shadows → soft shadows, textures, rendering → refined lineart, overpaint → post-processing.
Very often I don’t do all of these steps, or I finish with flats and simple shadow, it depends on how refined the artwork is supposed to be.

Inspiration

Honestly, I’m not too ambitious or trying to be original at this point. It’s been maybe 2 years since I started taking my digital drawing more seriously, and I still have a lot of basic stuff to learn and internalize. My main focus is achieving good execution and consistency. Likewise, I don’t care about my style yet. I’m sure that will eventually appear naturally.
I enjoy a lot of anime-like content: manga, light novels, anime, and games, so when I see something cool or that made an impression on me, I tend to pick that as a subject for my drawings. I like drawing fan-art because you can find a lot of references and the design is figured out for you, so you can only focus on the execution and interpretation.
Lastly, I tend to copy a lot as a practice and to understand why an image is good. And I watch a lot of videos by artists: tutorials, explanations, corrections, etc., that helps me get some ideas or to notice and fix my mistakes.

Process

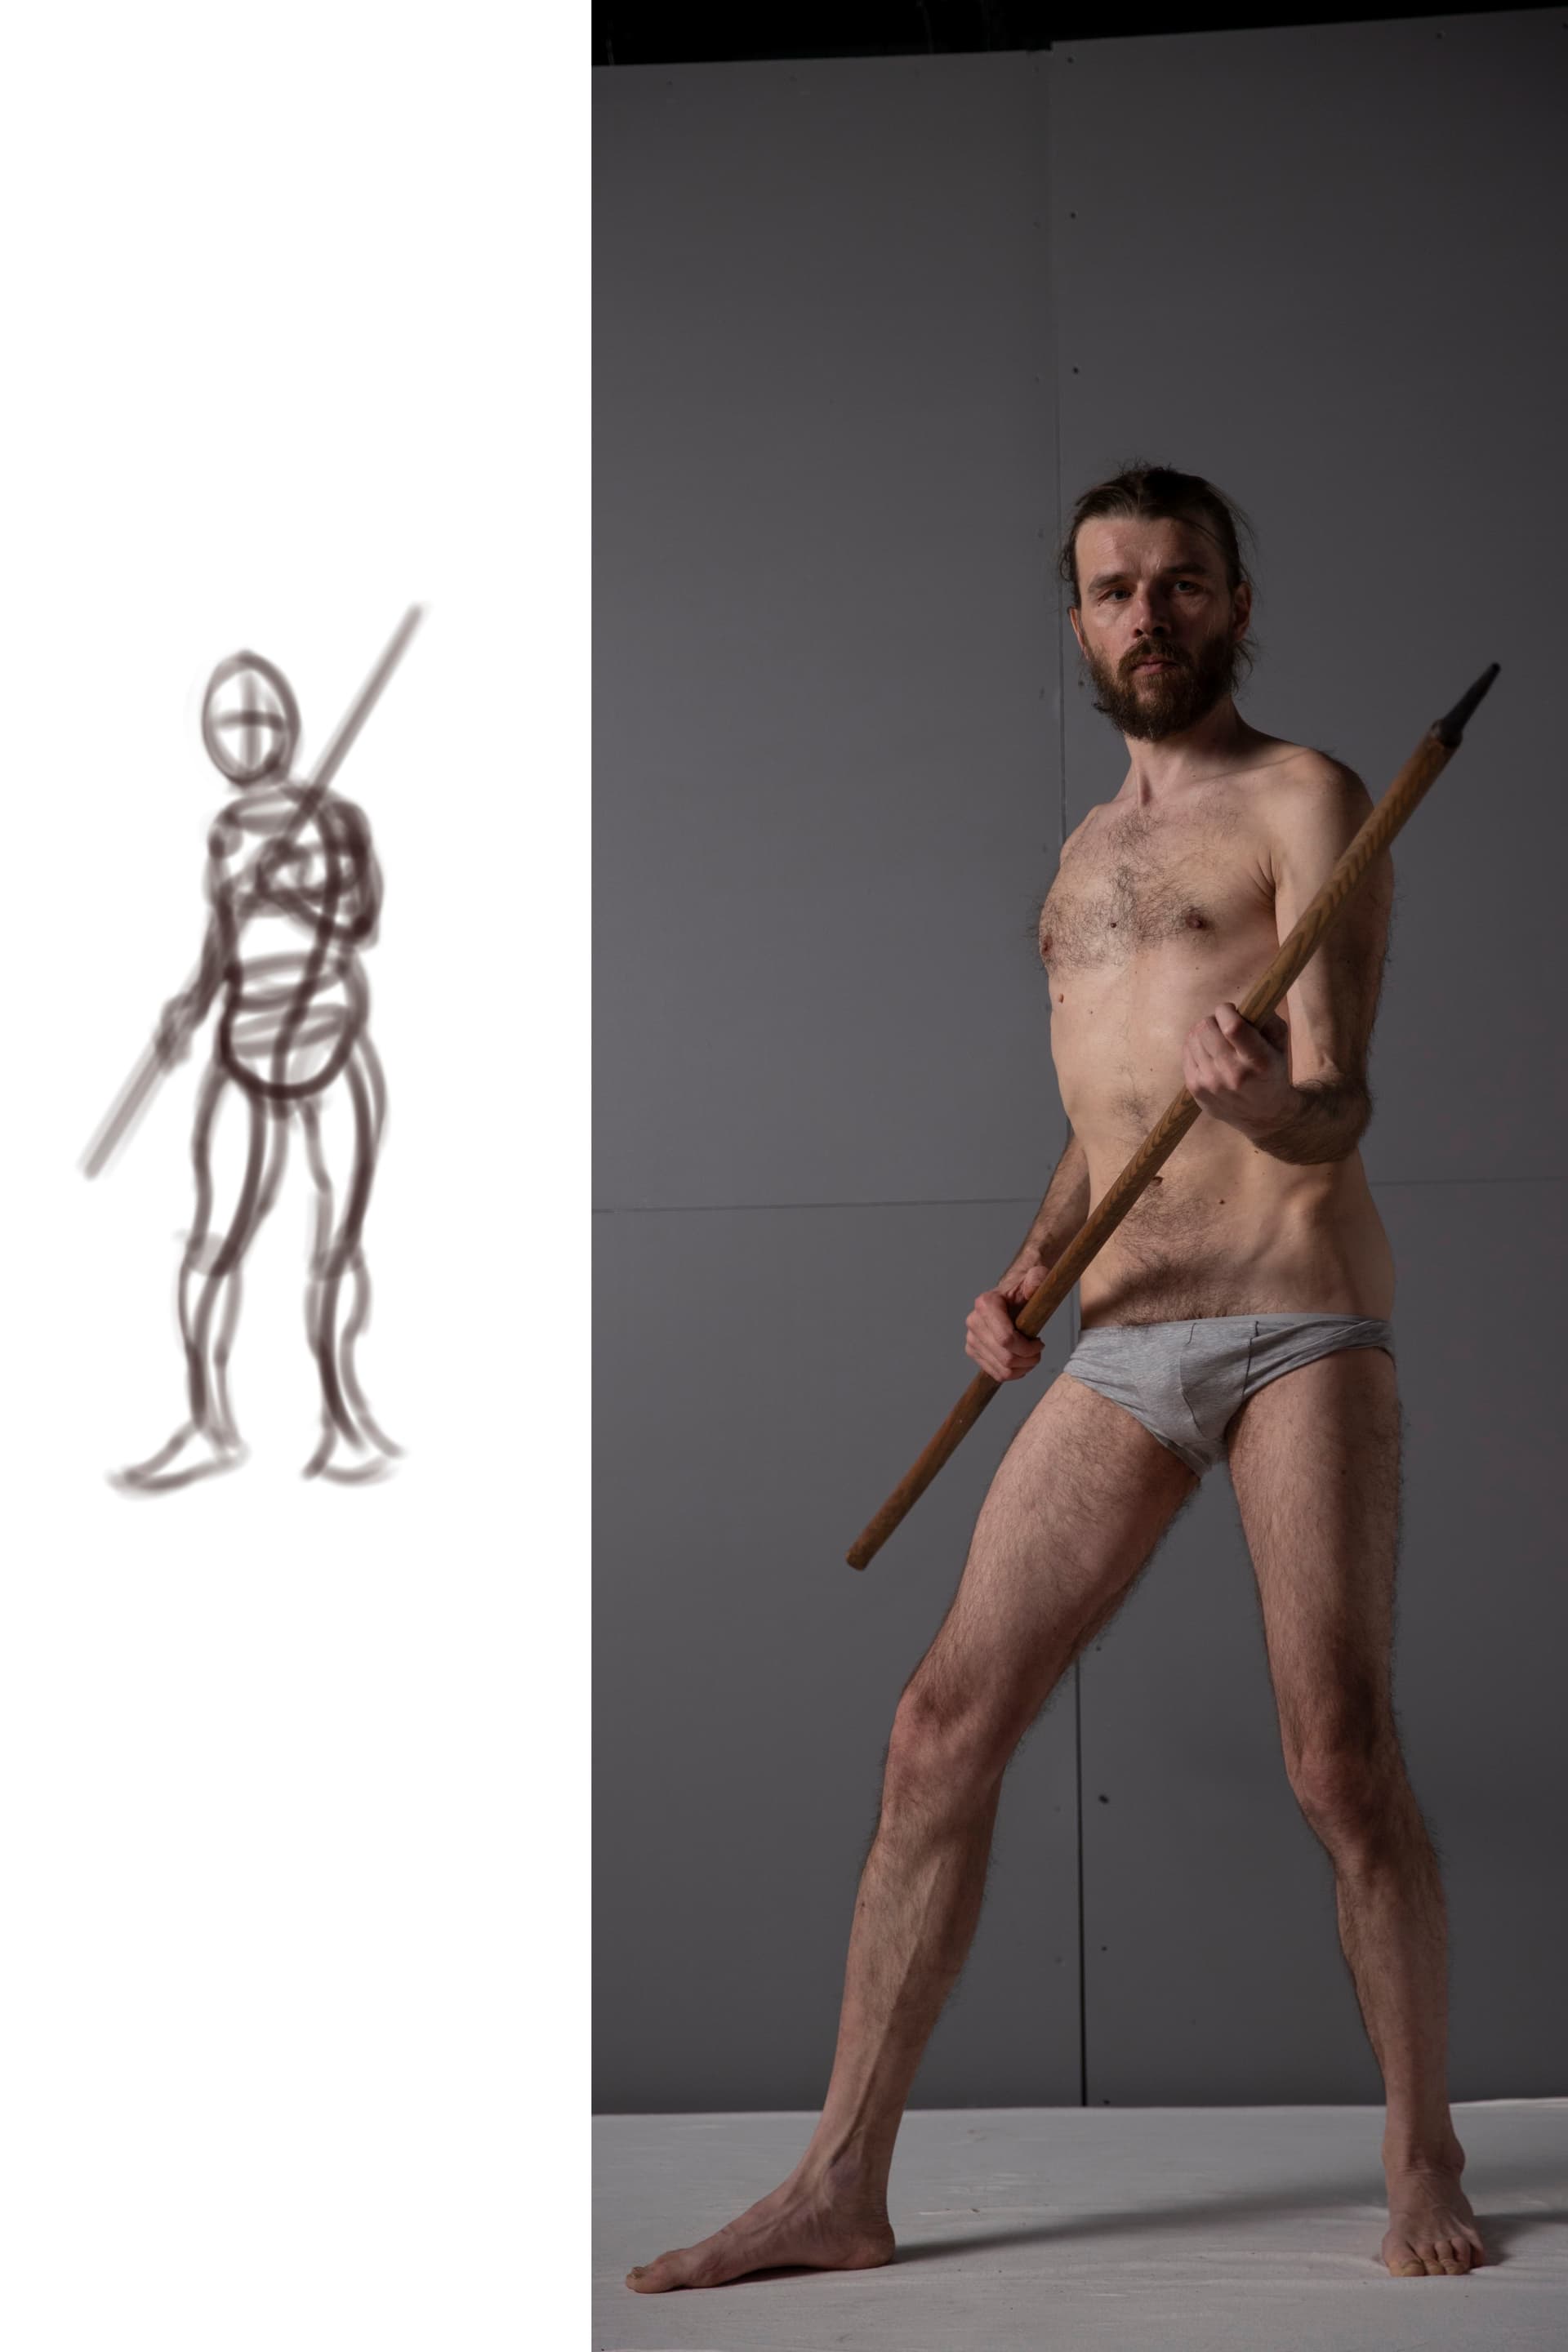
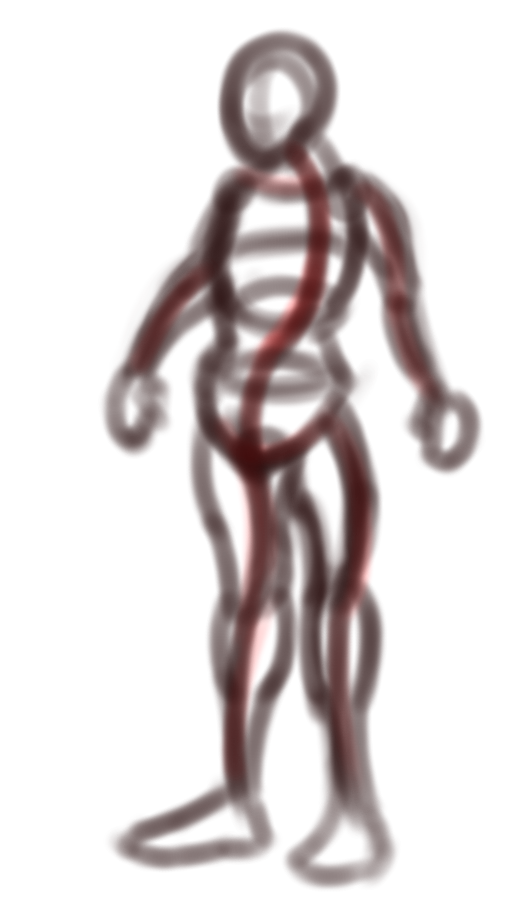
Yes, definitely a visual library is helpful. By consuming the content, I can either visualize or recall what I liked and that helps me find the right reference or try to see the scene that I want to draw in my mind. I recommend having a lot of references at hand, especially for poses, expressions, gestures, and difficult details. Once I have a general idea for what I want to do, the rest of the process is rather technical. Finding the right composition, building the mannequin for the characters… this is where you need to use references or have solid fundamentals and mileage to rely on.

Brushes and technical stuff

For starters, I recommend building a comfortable and ergonomic setup. I prefer a pen tablet (no screen), have a keyboard nearby and two big monitors to use for Krita and the references. This is my ideal configuration. Honestly, nothing beats the experience of painting freely on a 4K 144Hz screen, without your hand getting in a way, sitting up straight, and having your full keyboard at hand. I love it :slight_smile:

In Krita, I really only rely on a single plugin, Shortcut Composer. This is an indispensable plugin that offers many features, such as the tool pie menu popups, tools cycled on a single hot key, and many other enhancements. This is all about one thing - creating your own seamless experience, where you can focus on your canvas and just use everything that you need without thinking about it. I would guess that I can do 90% of my painting with just the shortcuts. When I start using menus, it is mostly to go through a lot of brushes, tweak tool settings, or invoke some unusual filters/modes.

Regarding some specifics:

  • My very often used actions/tools (on hotkeys)

    • brush/eraser/swap the last two brushes
    • lasso/rect select
    • color picker popup
    • pick color, pick layer, scrub through the layers
    • insert, merge down, reorder, hide/show layers
    • pan/rotate/zoom/reset canvas
    • change brush size
    • fill
    • transform/translate
    • crop
    • adjust HSV (good to lighten/darken a value or to try a different color)
  • Brushes

    • h) Charcoal Pencil Thin - perfect for lineart
    • b) Basic-1 - flat fill, eraser
    • d) Ink-4 Pen Rough - really great for sharp inked lines
    • d) Ink-3 Gpen - for getting a solid and smooth lineart (I usually prefer charcoal though)
    • b) Basic-6 Details - good for highlights and similar small things
    • b) Airbrush Soft - for bigger gradients, glow effects, used very sparingly
    • David Revoy’s brushes
      • a1) Eraser Tip - an eraser that can leave a bit of opacity if needed
      • d) Glazing Textured - absolutely love it for painting, especially over the flat base
      • d) Charcoal Rock Soft - very good to paint a color rough
    • Ramon Miranda’s ink brushes - have been using them lately for Inktober
      • inkP 02 Worn Out GPen - like the standard rough pen, but softer, amazing for hatching
      • the inkT bundle has a lot of great textured brushes

    I would generally recommend experimenting with all the brushes in the packs mentioned above. When I’m in the rendering stage of the painting, I tend to switch between them quite chaotically, until I find something that feels good in a given setting. Textured brushes can be a godsend to quickly get a convincing rendering, especially on a large area, like a stone wall, a tree trunk, foliage. Without it, painting such things can be a daunting task. I yet have to dabble into stuff like watercolor, or other realistic-like brushes, I haven’t tried these effects yet.

Oops, and here I went and wrote an essay. Sorry for that :sweat_smile: Don’t feel obligated to read :smiley: Cheers.

5 Likes

I pull inspiration from just about anywhere, even non-fiction things like biology, and then blend it with my taste that I’ve developed from films and games. Sometimes I would see/scribble out a shape that I think looks cool and then just build on it. I’ve nearly always operated that way, but I started getting much better results after I committed to learning more perspective tech; the more you practice perspective, the more it feels like you’re navigating 3D space. Some people find fundamentals boring or intimidating; I say keep studying the fundamentals until you learn to love them because they will always work to some degree in your favor, even when you’re breaking from realism. We digital artists have it great with layers, vanishing point tools, and mirroring.

Here’s a design that I think is both very visually distinct and technically sound:


This is Hirohiko Araki’s Soft & Wet, taken from the JoJo wiki. It’s great because the design itself shows that he put quite a bit of thought and care into how the character would occupy 3D space.

  • The antennae have star-shaped cross sections.
  • The anchor symbol is a cavity in the chest, so we see a bit of thickness from the top piece around it. The anchor doesn’t just look “painted on”.
  • The edge of the torso is beveled. Araki’s style is well known for having hatches for shading, but a fact that sometimes goes overlooked is that much of his hatching is also used to convey topography. There’s plenty of excellent JoJo fan art out there, but I’ve seen some weaker pieces where the artist tried to copy Araki’s drawings without fully understanding the actual function of the hatches.

The point is that construction is fun to see and fun to do, so do it.

As for brushes, I just use whatever looks right at the time, which is often from David Revoy’s set. I’ll be experimenting with the Ramon Miranda brushes for inking, though my go-to for inking is actually the real G-pen in CSP.

5 Likes

This thread seems to be what I’m looking for. I wish to ask this: Where did the general techniques of ‘drawing from observation’ vs ‘drawing from construction’ / ‘construction drawing’ originate from? It’s confusing because every resource fully prefers one over the other, and it seems to be treated as like a mutually exclusive thing. Either you take the route of breaking everything down into boxes or tubes OR you draw what you see using comparative measurements and measuring midpoints or angles. Did a book start the trend of these two techniques? Are there any good resources that aren’t biased towards one or the other? For example, my understanding is that some figure drawing artists like andrew loomis take a very strictly construction method, almost not at all talking about things like gesture, making it even more confusing what to listen to and what to ignore. Any help is appreciated, thank you.

My technique is firstly making gesture drawings using online reference, I sketch a scaled down figure of the human model with the airbrush brush with medium size and brownish color and occasionally mirroring, I first sketch the gesture skeleton and then the body parts by using circular shapes, I usually take 5-10 mins for each figure.

then depending on the medium, I use ink brushes like This for outlining the figure, Realistic Wet Brushes if I need to do a realistic painting and Hard Rough Brushes if I need a semi-realistic, comic-like style.

as for the mindset and inspiration/reference I usually get inspired by the nature around me when I do walks outside nature or when I go seeing a ballet in a theater, taking photos (at the nature) and then replicating them on the canvas, I usually take the photos with a humble old phone and then upscale them with AI if it is really necessary.

I don’t use any plugins as for now, but might be in the future.

3 Likes

Hi, I have no idea where the concepts originated from, I suppose it was discovered a long, long time ago :slight_smile: The way I got introduced to the “drawing from observation” mode, is from Drawing on the Right Side of the Brain book, which truly has some valuable insights.

For drawing from real life or for making a copy, probably “from observation” is the way to go if you want to achieve a natural and faithful result. It could be the go-to method for someone like a portrait artist. The huge benefit of this method is that it’s guaranteed to work and “only” requires a careful and mindful execution.

However, I think you must know the construction method to really be a flexible artist, and to me this is a superior method by a long shot. Again, this depends on what your goals are, but let’s say you want to a) draw comics, b) animate, c) create illustrations. If that’s your job, then the construction is the way to go.

My experiences are more with manga/anime side of things, and these typically use construction. Imagine you’re an animator and you have a character design sheet and key poses to work off of. What would you draw from observation here? Nothing, you need to create a unique pose for which you may only have a real-life reference with different proportions, clothes, etc. If you don’t have a technique (“construction”) to pose and size your character in the scene, you’ll be lost. Likewise you won’t draw the details from the first line, so it’s natural to keep refining from rough shapes to the full, clean lines.

Lastly, construction does not preclude gesture. All these key elements like the line of action/gesture, hip/shoulder lines, center of gravity, everything still applies, you just build your character on top of the mannequin to help get the proportions and perspective right. And don’t get me wrong, I think observation skills are still very valuable and essential to have. It’s just I wouldn’t build the whole illustration on that alone. But being able to observe angles, relations, negative space is tremendously helpful to catch mistakes and to accurately portray the character from reference. You just need to apply it to the shot you’re working with and that 99% of the time is not a 1:1 copy from the reference.

1 Like

Maybe this isn’t quite what you mean, but box break downs and measuring midpoints/angles go together. The book How to Draw is largely about how you can use a box as a means of navigating space (as if it were 3D) and duplicating both straight lines and curves (since they fit inside said box). For example, if you’re drawing a checkered floor, you can calculate exactly how a farther checker would look compared to a close checker. You can even map that tech to photographs/what you see.