Hello,
I’ve been using Photoshop CS6 for about 10 years now(I haven’t switched to using their later CC versions) with plugins and scripts, Lazy Nezumi Pro in particular. I can confidently say that I’ve optimized my workflow and know what I want to have if I’m gonna be using a different program as my main workhorse coming from Photoshop. I have to say, I’m impressed with Krita. After a couple of days, I’m already about 90% comfortable working with Krita, setting a lot of options, keybinds, and brushes the same with my Photoshop configuration.
Krita is great, but I have some nitpicks:
The Eraser being just a blending mode. It gave me a hard time adjusting because I’m used to Photoshop having it as a separate tool. I’ve seen threads about people having the same issue. I’m aware of the Ten Brushes script that comes along with Krita right out of the box, but it’s just not the same as having it’s own separate tool. Thankfully, there’s a downloadable script called Threeslots which basically allows the Eraser to be it’s own tool. I think for people coming from other programs, it’s better to have a right out of the box option to have the Eraser behave as if it’s its own tool.
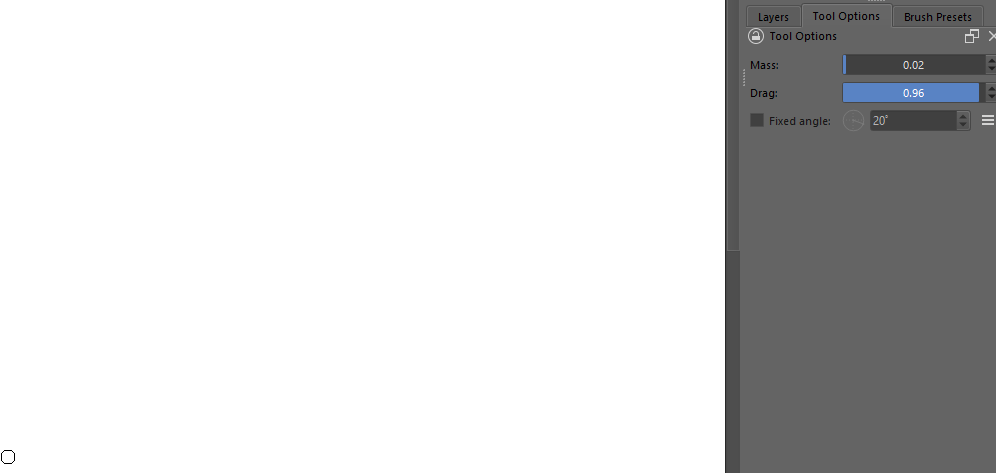
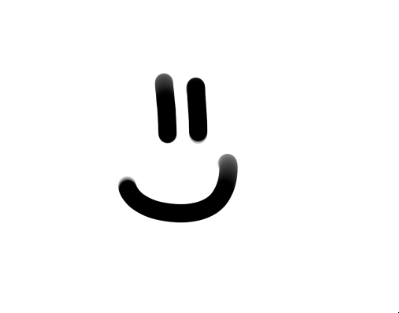
Awkward brush stabilizer. The stabilizer doesn’t seem to completely calculate the stroke once I lift my pen from my device and immediately just jump to the point where I lifted my pen, resulting in an undesirable spike in pen pressure, maybe to compensate with the lagging behind effect of the smoothing. With Lazy Nezumi, and probably with other programs that has a stroke stabilizer, it completely calculates the stroke all the way to the point where I’ve lifted my pen. There’s a noticeable delay, but that’s completely okay as long as I get the desired smooth transition of pressure.

I don’t know if that image accurately represents the difference between the two, but it’d be nice if I don’t have to rely on Lazy Nezumi, but for the moment, I will keep using it to stabilize my strokes.
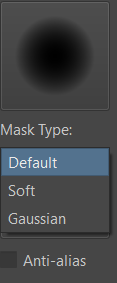
The brush settings need to have more anti-aliasing option, probably like Clip Studio does(I’ve used the software for a tiny bit). With my workflow, I just tend to stick with a few set of brushes, mainly the default round brushes and just quickly resize them. Hard-edge brushes at tiny sizes, like around 5 pixels, are too sharp for my liking.

I can deal with it by making the edge softer, but when I resize the brush to a bigger scale, it becomes too soft. I’ll have to have separate brushes for small and big-sized brushes and that slows down my workflow a bit.
I can’t import my Photoshop brushes. Despite mainly using just default round brushes, I still have some custom brushes that I use for very specific use cases. I’ve read that you can import ABR files to Krita(reads them as predefined brush tips) but I can’t just make it work no matter what I try. But then again, like in my previous nitpick, Krita’s brush engine behaves a bit differently compared to Photoshop, so I might as well make them again from scratch.

Same size brushes, same settings on Photoshop(0% hardness, 2% spacing, 5% flow) and Krita(0.00 fade, 0.02 spacing, 5% flow)
There’s no option to precisely set the opacity and flow of the brushes through keybinds. In Photoshop, you press the number keys to precisely set the opacity and flow percentage of the brush. In Krita, there’s an option to increase and decrease the brush properties at incremental rates, but that’s a bit slow so I have to make more brushes with different flow/opacity settings. It multiplies the brushes I need again and slows my workflow down more.
The brushes are sorted only in alphabetical order. I have to rename the brushes to get the order I want, which I think is not very good. I typically switch brushes quickly through keybinds, but now I have to open up the Brush presets or the Popup palette to pick brushes. It slows me down a bit in most cases.
The Assistant tool’s grids could have a more precise density adjustment, especially when you need to have some sort of measurement marks. Lazy Nezumi has precisely adjustable measuring marks so the devs could look into that software.
Also, if the devs can provide a plugin API that gives canvas size/pos/zoom to the Lazy Nezumi dev, that’d be great. No program besides Photoshop provides that apparently.
The Transform tool’s default preview should be set “Fast.” At first, I thought the Transform tool was slow and an awful experience until I found the preview options. I think for the average user, speed is the priority rather than accuracy when transforming stuff.
Shearing with the transform tool should be anchored to the other side of the transform area rather than the center, unless you press a modifier key while shearing. Make it similar to how Transform tool behaves when dragging one of the end points, it is anchored to the direct opposite point and will anchor to the center pivot point instead when you press Alt.
Relative zoom mode should have an option to change the zoom direction from vertical to horizontal, because that’s how it is for Photoshop. It kinda throws me off a bit when I go back to using Photoshop and when I try to do the zoom method vertically, it doesn’t do anything, so I gave to get used to how it is again with Photoshop. Same thing happens when I switch back to Krita.
Zoom with scroll wheel doesn’t work when I set it with a modifier key, like “Alt” in particular. Alt + scroll wheel is how you zoom in and out with Photoshop by default using a scroll wheel. In Krita, you can set the shortcut this exact same way, but doesn’t work. I think this one might be a bug.
The triangle color selector’s layout is weird. I think the top should be white and the bottom should be black, as that’s how it is with other programs.

When you look at the other color selector shapes in the Krita settings, most of them have white at the top and black at the bottom. It doesn’t really make sense to me. In any case, I recommend the Pigment.O plugin to be used as the main color selector. It’s the Coolorus plugin counterpart of Photoshop, but with way more features.
Having flick panning will have a better user experience. Panning really fast and suddenly stopping upon release feels unnatural.
There’s a tiny delay when using the fill tool/contiguous selection tool. To be fair, other programs with equivalent tools have the tiny lag as well, but I wonder why that is the case. Regardless, it feels better if those tools do their thing instantly.
That’s all for my feedback. I might have not tinkered with the settings enough for my nitpicks, so do let me know if you think so.
Keep up the good work, Krita devs and other contributors to make the program better. I’ll still use Photoshop for some actual work for clients and stuff(because it’s industry standard and I prefer to work on PSD files natively), but I’ll definitely use Krita a lot more for personal stuff from now on… and I’ll start shilling Krita to people.